टेक्स्चर पैनल में, टेक्स्चर व्यू में चुने गए टेक्स्चर का कॉन्टेंट दिखता है.
अगर टेक्सचर में मिप-मैप चेन है, तो सबसे नीचे मौजूद स्लाइडर (तस्वीर में नहीं दिखाया गया है) की मदद से, दिखाए गए मिप-मैप लेवल को बदला जा सकता है. डिफ़ॉल्ट रूप से, सबसे ज़्यादा रिज़ॉल्यूशन वाला लेवल 0 दिखेगा.
टेक्सचर इमेज पर कर्सर घुमाएं. इससे, इमेज में ऊपर दी गई इमेज की तरह, व्यू के निचले-बाएं कोने में आस-पास के पिक्सल की ज़ूम की गई झलक दिखेगी. इस पैनल में, इमेज के उस पॉइंट के लिए टेक्सचर की चौड़ाई और ऊंचाई के साथ-साथ x और y कोऑर्डिनेट, नॉर्मलाइज़ किए गए टेक्सचर कोऑर्डिनेट (U और V वैल्यू), और RBGA हेक्स वैल्यू भी दिखेगी.
ऑपरेशंस
इन बटन का इस्तेमाल करके, इमेज पर कार्रवाइयां की जा सकती हैं:
| BUTTON | Description | Example Result |
|:-------------:|:-------------:| :-----:|
|![]() | इससे इमेज को इस तरह से अडजस्ट किया जाता है कि वह पूरी तरह से पैन में फ़िट हो जाए. ज़ूम लेवल को इमेज के हिसाब से सेट करने के लिए, इमेज पर राइट क्लिक भी किया जा सकता है.|
| इससे इमेज को इस तरह से अडजस्ट किया जाता है कि वह पूरी तरह से पैन में फ़िट हो जाए. ज़ूम लेवल को इमेज के हिसाब से सेट करने के लिए, इमेज पर राइट क्लिक भी किया जा सकता है.|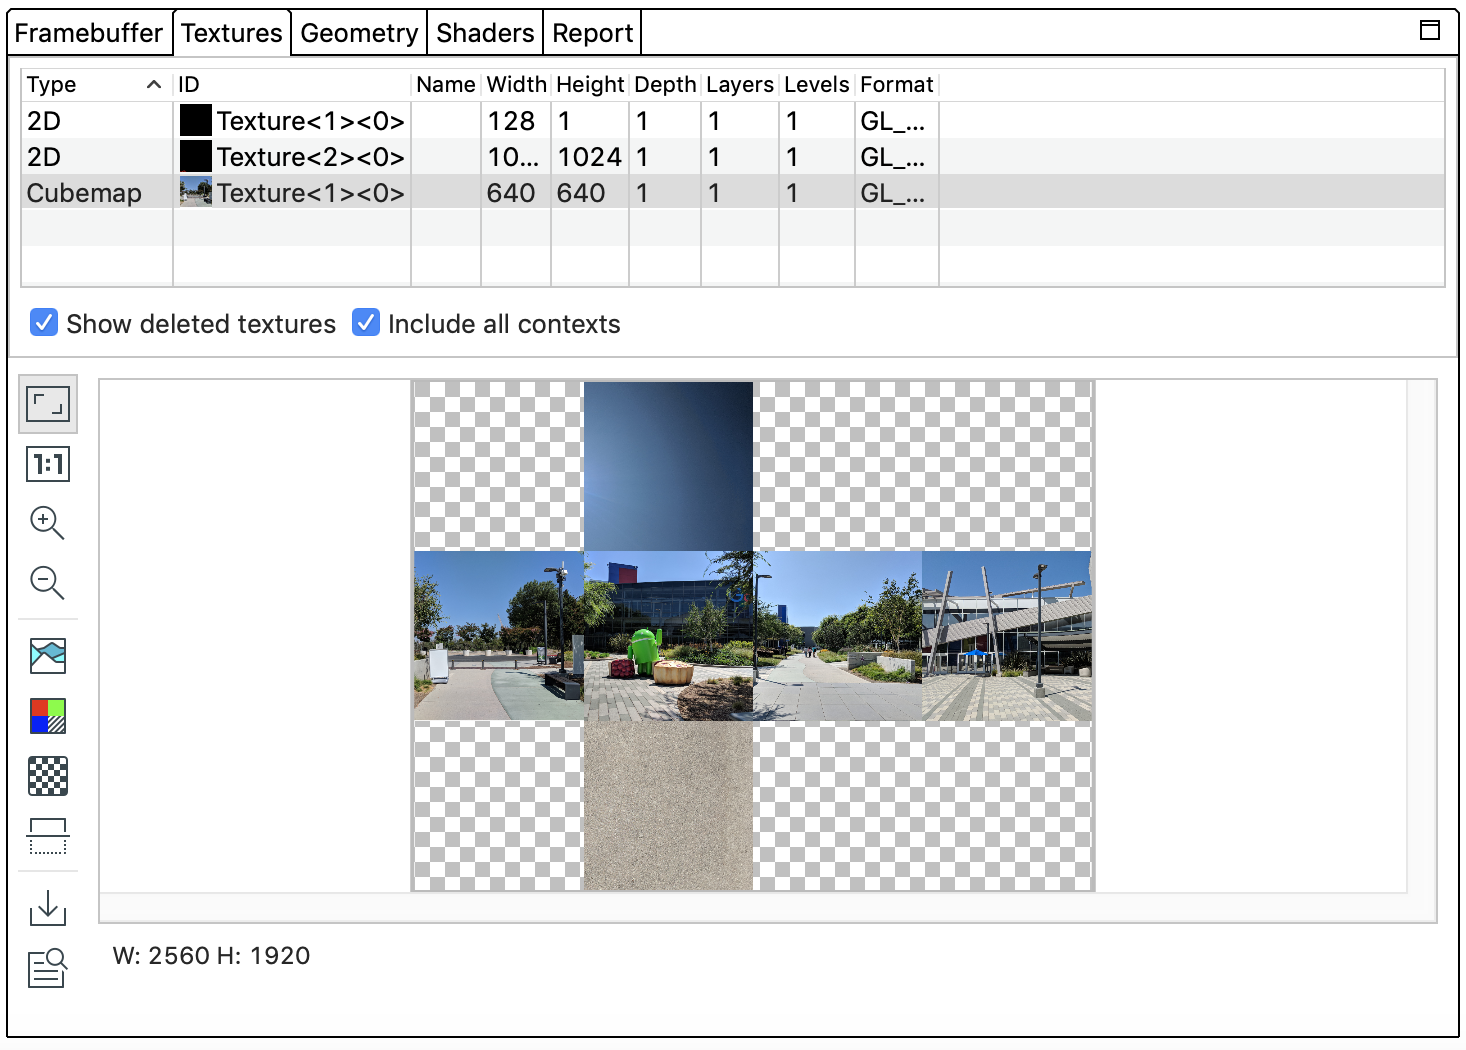 |
|
|
|![]() | इमेज को बिना किसी स्केल के दिखाता है. इसमें एक डिवाइस पिक्सल, एक स्क्रीन पिक्सल के बराबर होता है.|
| इमेज को बिना किसी स्केल के दिखाता है. इसमें एक डिवाइस पिक्सल, एक स्क्रीन पिक्सल के बराबर होता है.|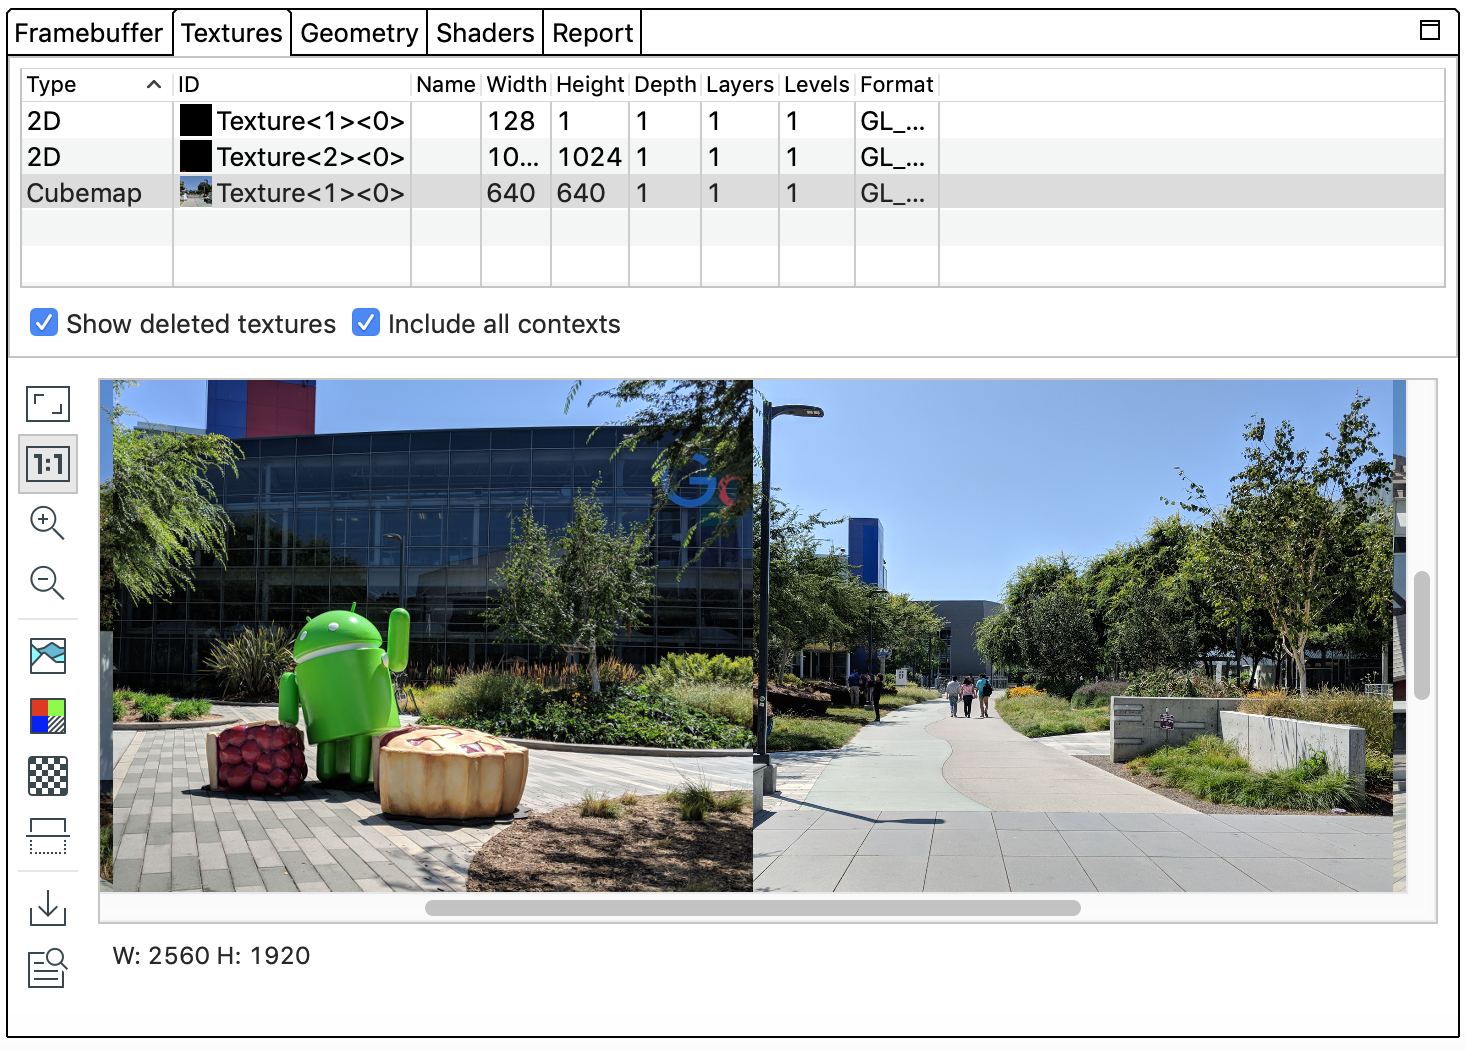 |
|
|
|![]() | इमेज को ज़ूम इन करता है. ज़ूम इन और ज़ूम आउट करने के लिए, माउस व्हील का इस्तेमाल किया जा सकता है. इसके अलावा, टचपैड पर दो उंगलियों से स्वाइप करके भी ऐसा किया जा सकता है. इमेज को कर्सर से खींचकर छोड़ा जा सकता है.|
| इमेज को ज़ूम इन करता है. ज़ूम इन और ज़ूम आउट करने के लिए, माउस व्हील का इस्तेमाल किया जा सकता है. इसके अलावा, टचपैड पर दो उंगलियों से स्वाइप करके भी ऐसा किया जा सकता है. इमेज को कर्सर से खींचकर छोड़ा जा सकता है.|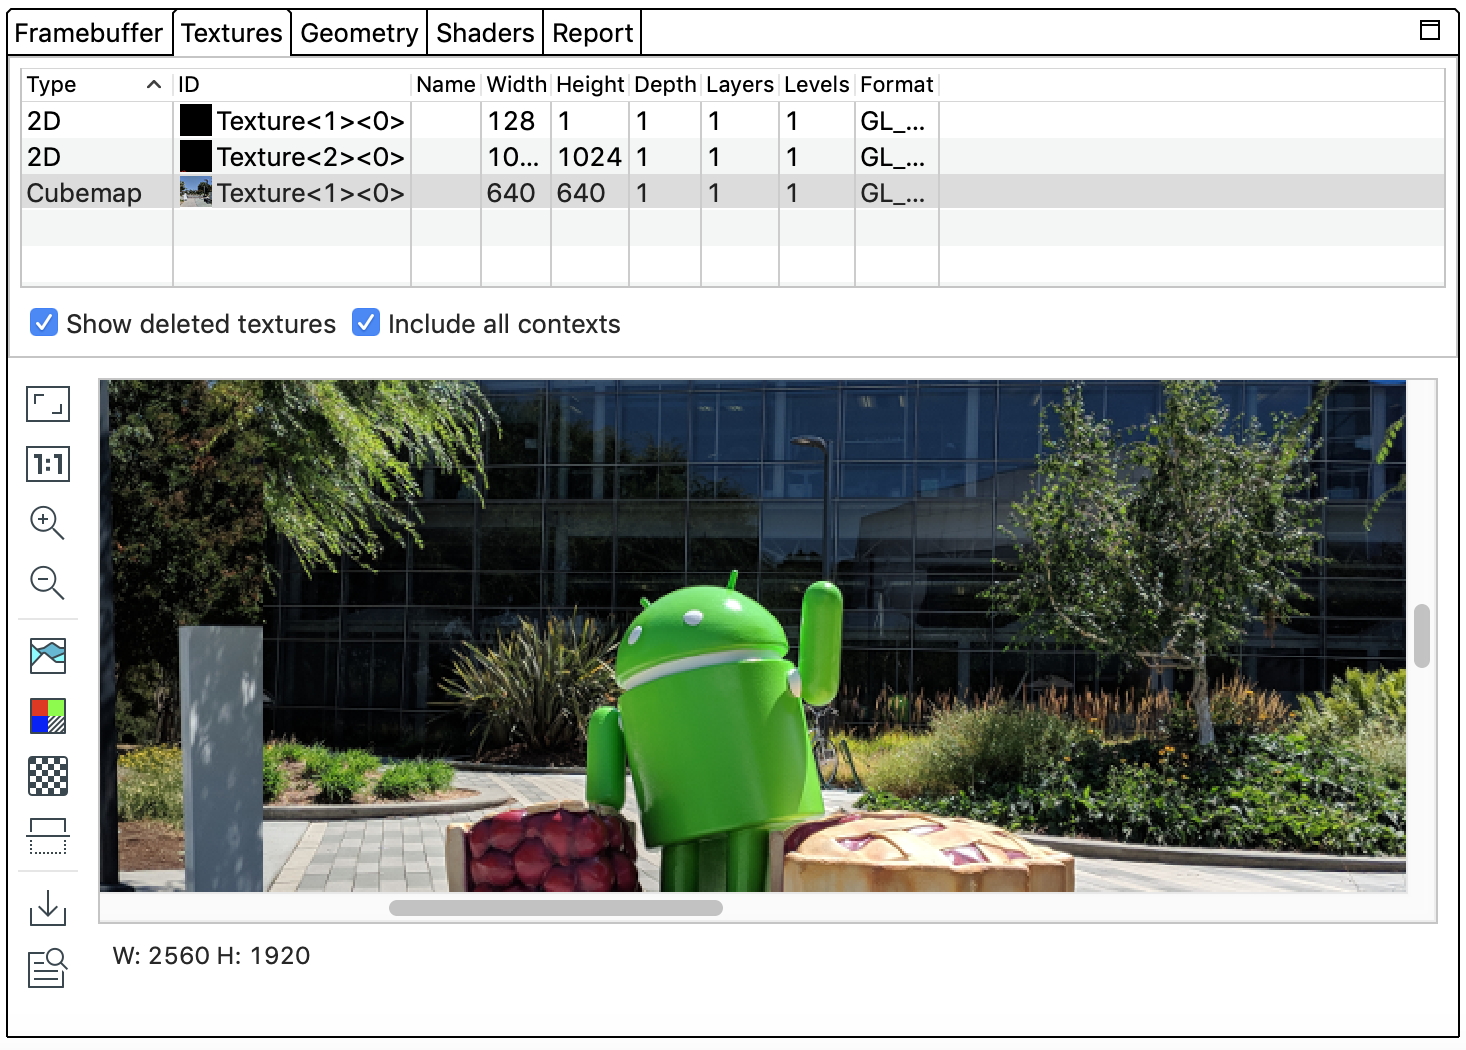 |
|
|
|![]() | इससे इमेज ज़ूम आउट होती है. ज़ूम इन और ज़ूम आउट करने के लिए, माउस व्हील का इस्तेमाल किया जा सकता है. इसके अलावा, टचपैड पर दो उंगलियों से स्वाइप करके भी ऐसा किया जा सकता है.|
| इससे इमेज ज़ूम आउट होती है. ज़ूम इन और ज़ूम आउट करने के लिए, माउस व्हील का इस्तेमाल किया जा सकता है. इसके अलावा, टचपैड पर दो उंगलियों से स्वाइप करके भी ऐसा किया जा सकता है.|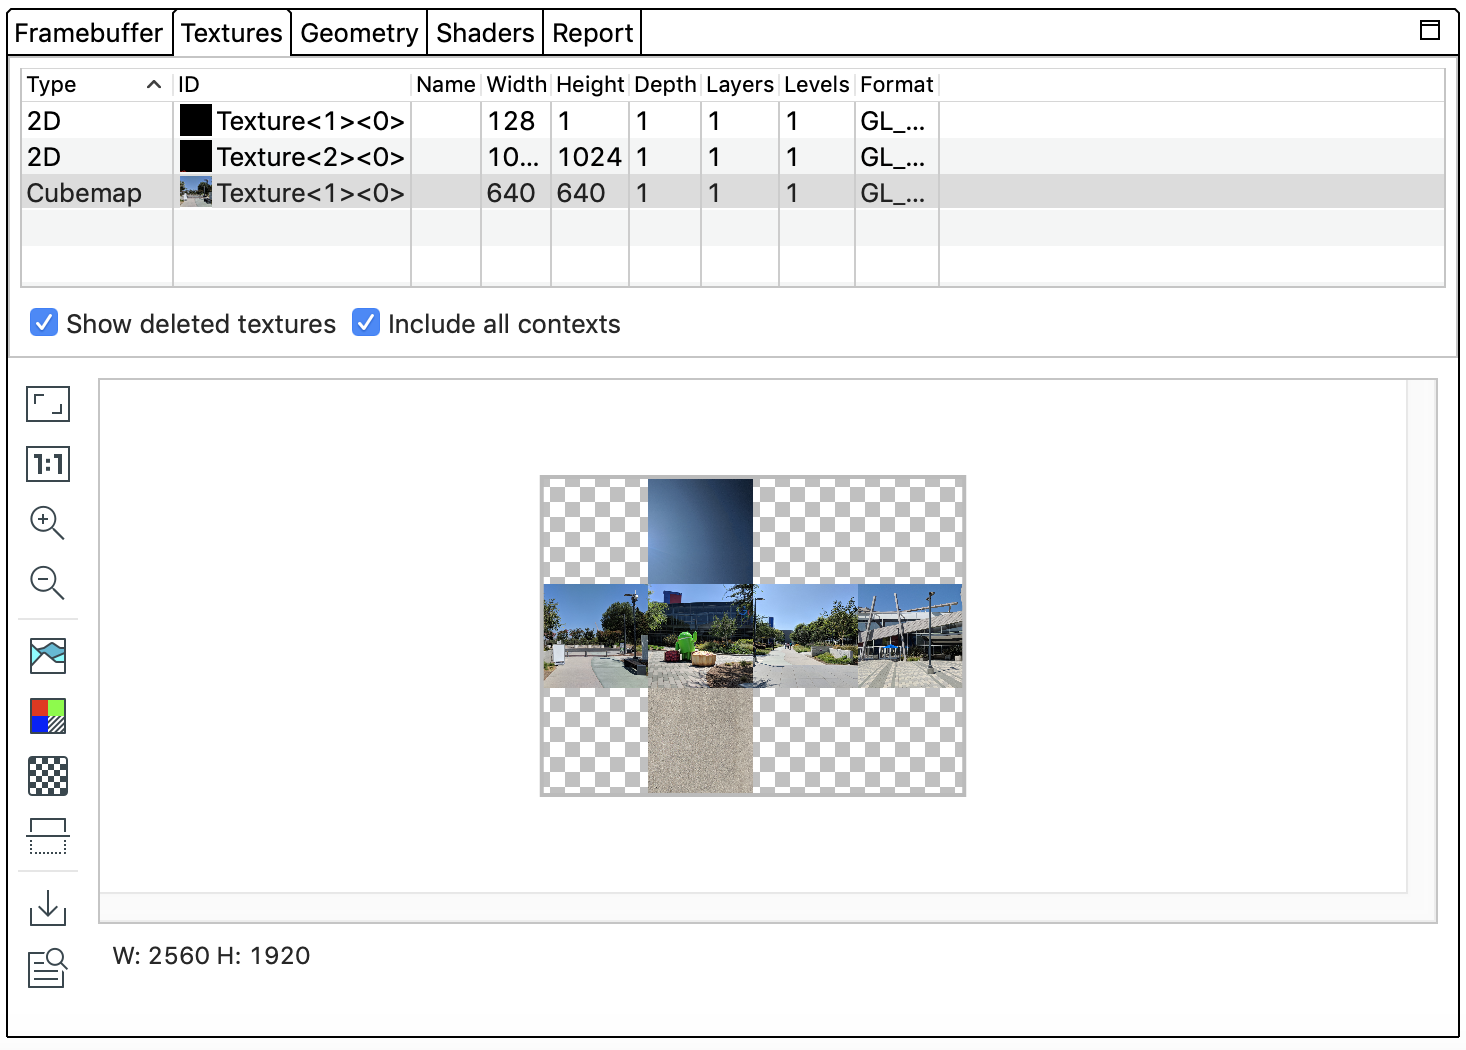 |
|
|
|![]() |इससे इमेज के लिए कलर हिस्टोग्राम दिखता है. दिखाई जाने वाली रंग की वैल्यू को सीमित करने के लिए, दोनों में से किसी भी तरफ़ मौजूद कंट्रोल हैंडल चुनें.|
|इससे इमेज के लिए कलर हिस्टोग्राम दिखता है. दिखाई जाने वाली रंग की वैल्यू को सीमित करने के लिए, दोनों में से किसी भी तरफ़ मौजूद कंट्रोल हैंडल चुनें.| |
|
|
|![]() |रेंडर करने के लिए रंग के चैनल चुनें. ये विकल्प उपलब्ध हैं: लाल, हरा, नीला, और ऐल्फ़ा (पारदर्शिता).|
|रेंडर करने के लिए रंग के चैनल चुनें. ये विकल्प उपलब्ध हैं: लाल, हरा, नीला, और ऐल्फ़ा (पारदर्शिता).|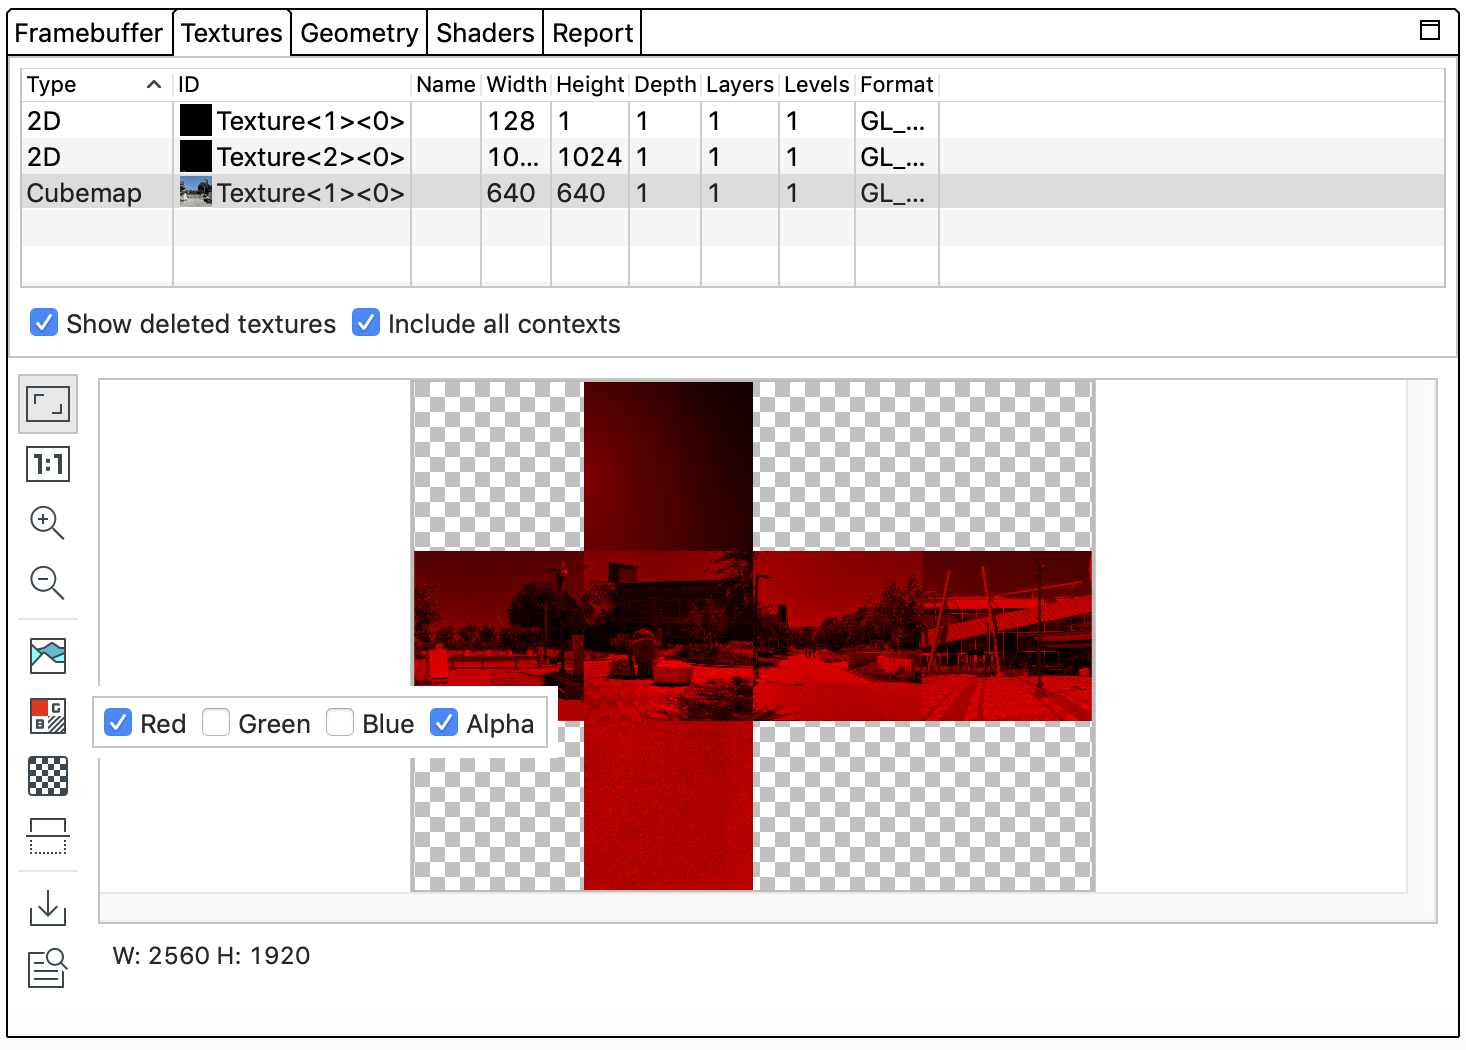 |
|
|
|![]() |इमेज के बैकग्राउंड के लिए, चेकरबोर्ड पैटर्न या कोई सॉलिड रंग चुनें.|
|इमेज के बैकग्राउंड के लिए, चेकरबोर्ड पैटर्न या कोई सॉलिड रंग चुनें.|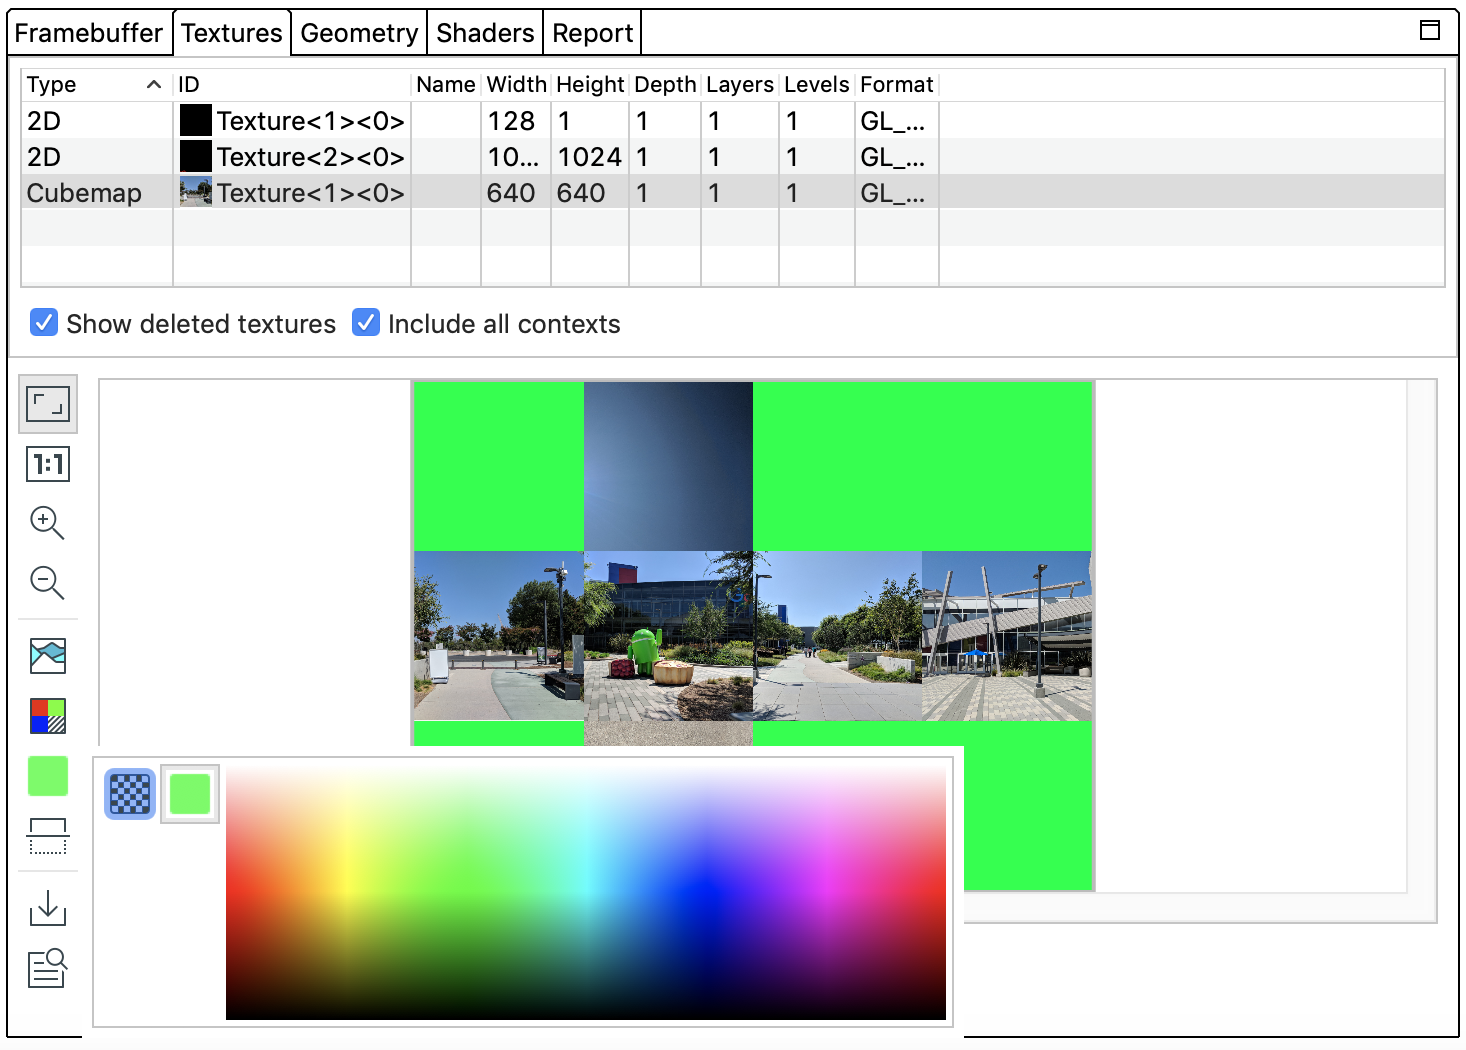 |
|
|
|![]() |इमेज को वर्टिकल तौर पर फ़्लिप करता है.|
|इमेज को वर्टिकल तौर पर फ़्लिप करता है.|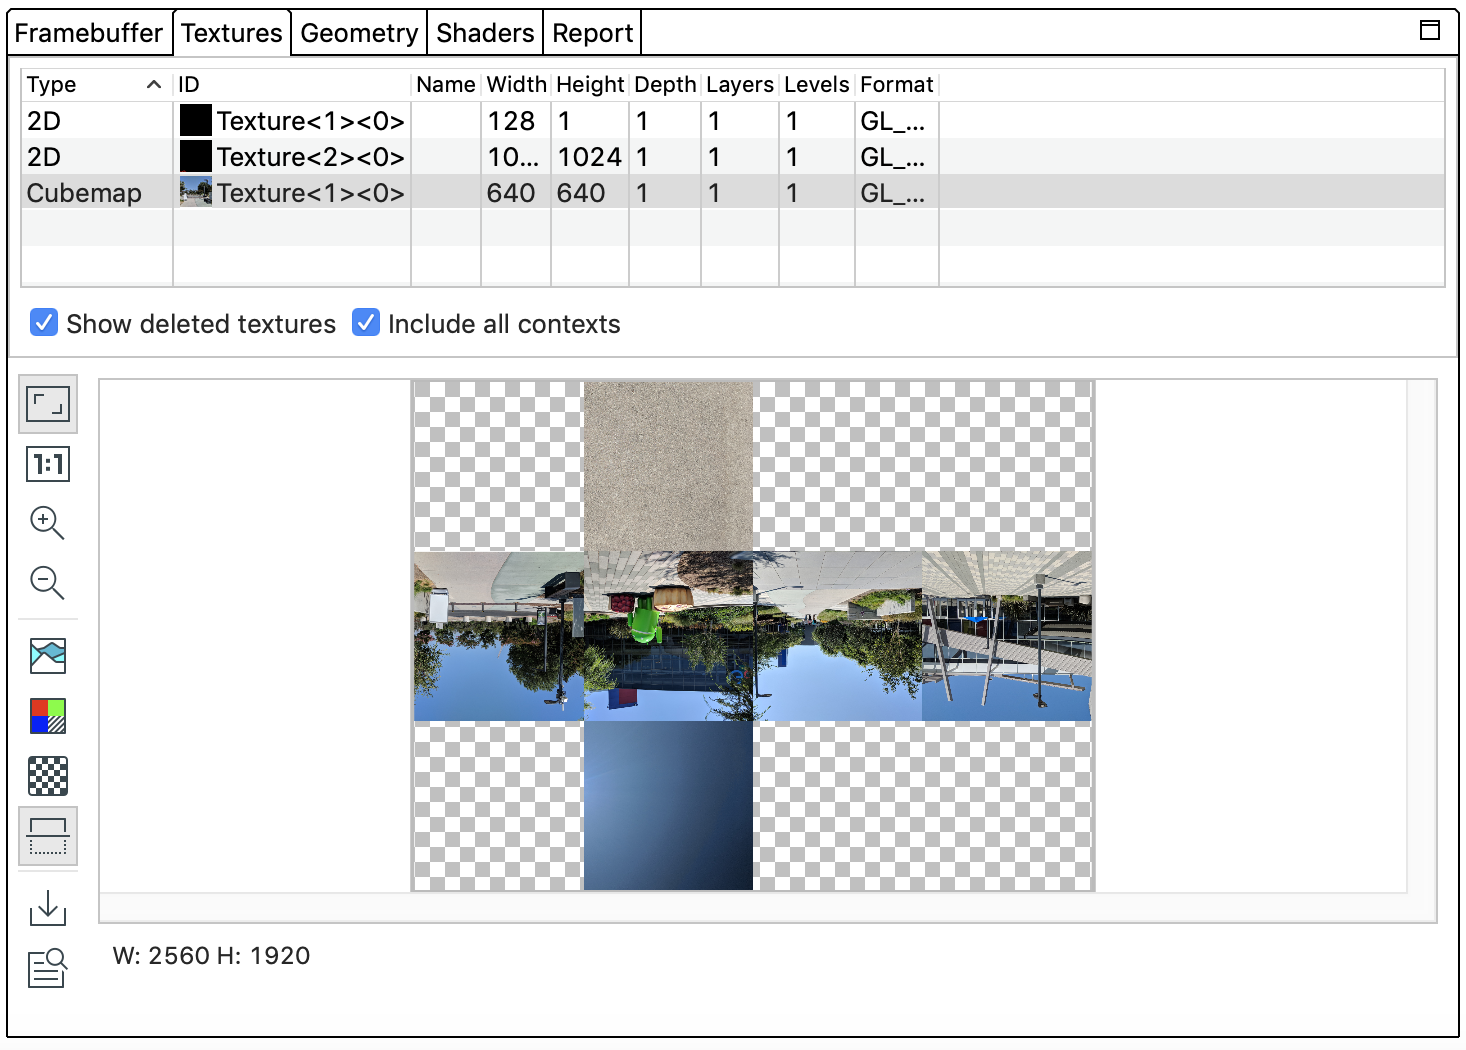 |
|
|
|![]() |इमेज को किसी फ़ाइल में सेव करता है.|
|इमेज को किसी फ़ाइल में सेव करता है.| |
|
|
|![]() |उन सभी कॉल की सूची दिखाता है जिन्होंने इस पॉइंट तक टेक्सचर को अपडेट किया है. कॉल पूरा होने के बाद इमेज देखने के लिए, कोई कॉल चुनें. इसके बाद, चुने गए फ़्रेम का थंबनेल और पैन अपडेट हो जाएगा. |
|उन सभी कॉल की सूची दिखाता है जिन्होंने इस पॉइंट तक टेक्सचर को अपडेट किया है. कॉल पूरा होने के बाद इमेज देखने के लिए, कोई कॉल चुनें. इसके बाद, चुने गए फ़्रेम का थंबनेल और पैन अपडेट हो जाएगा. |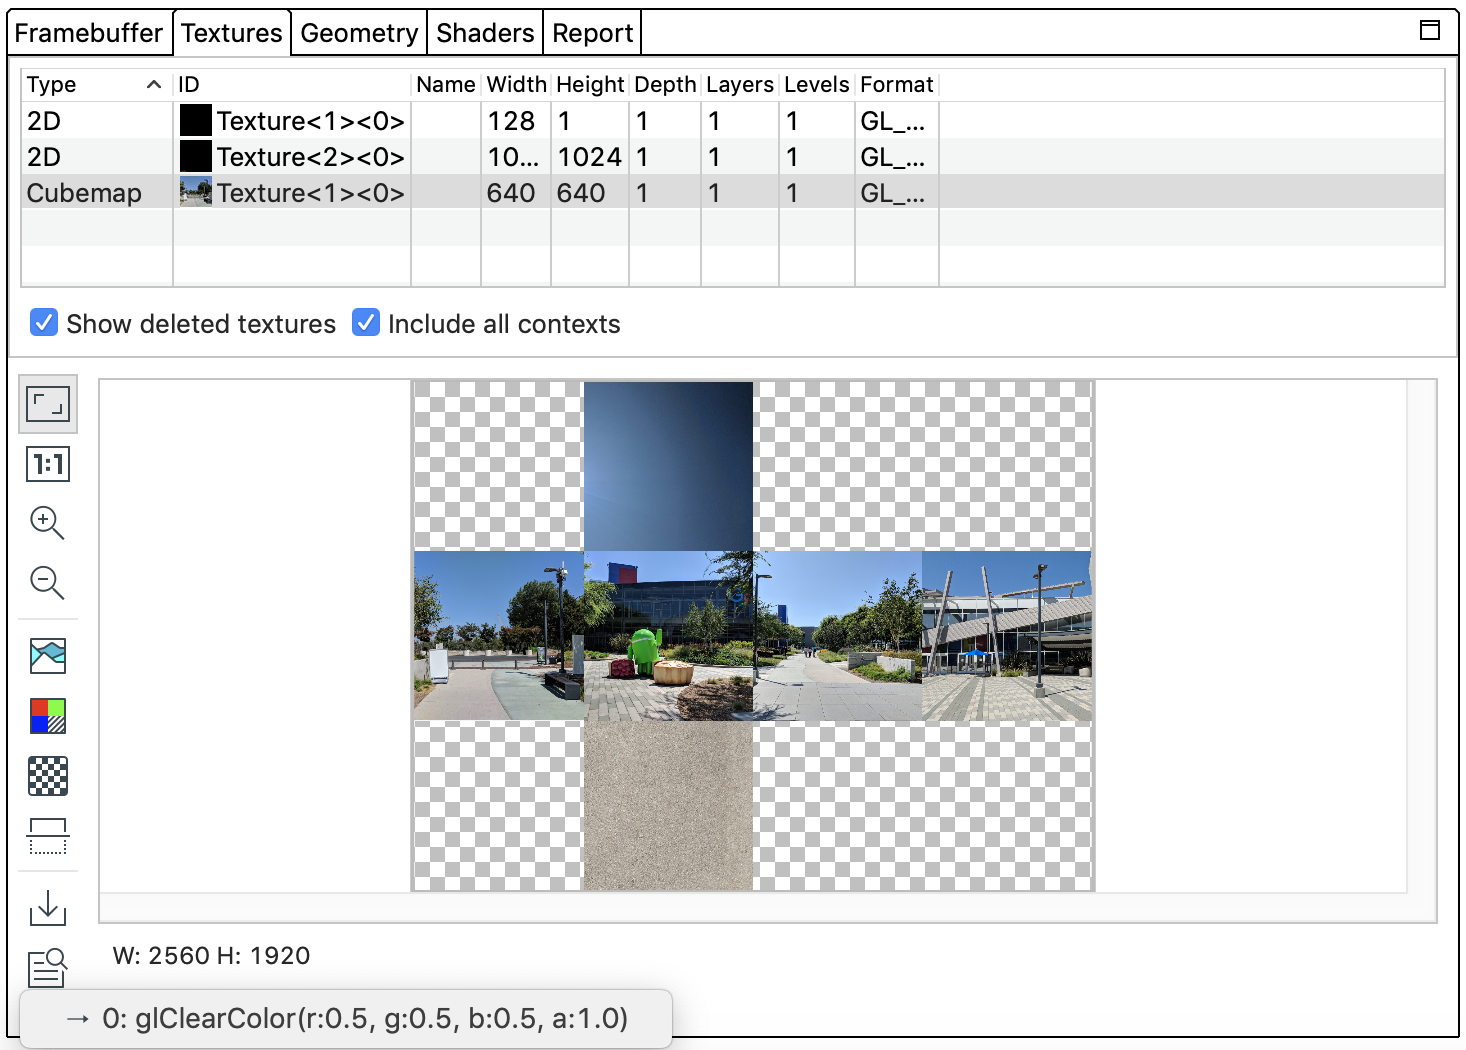 |
|

