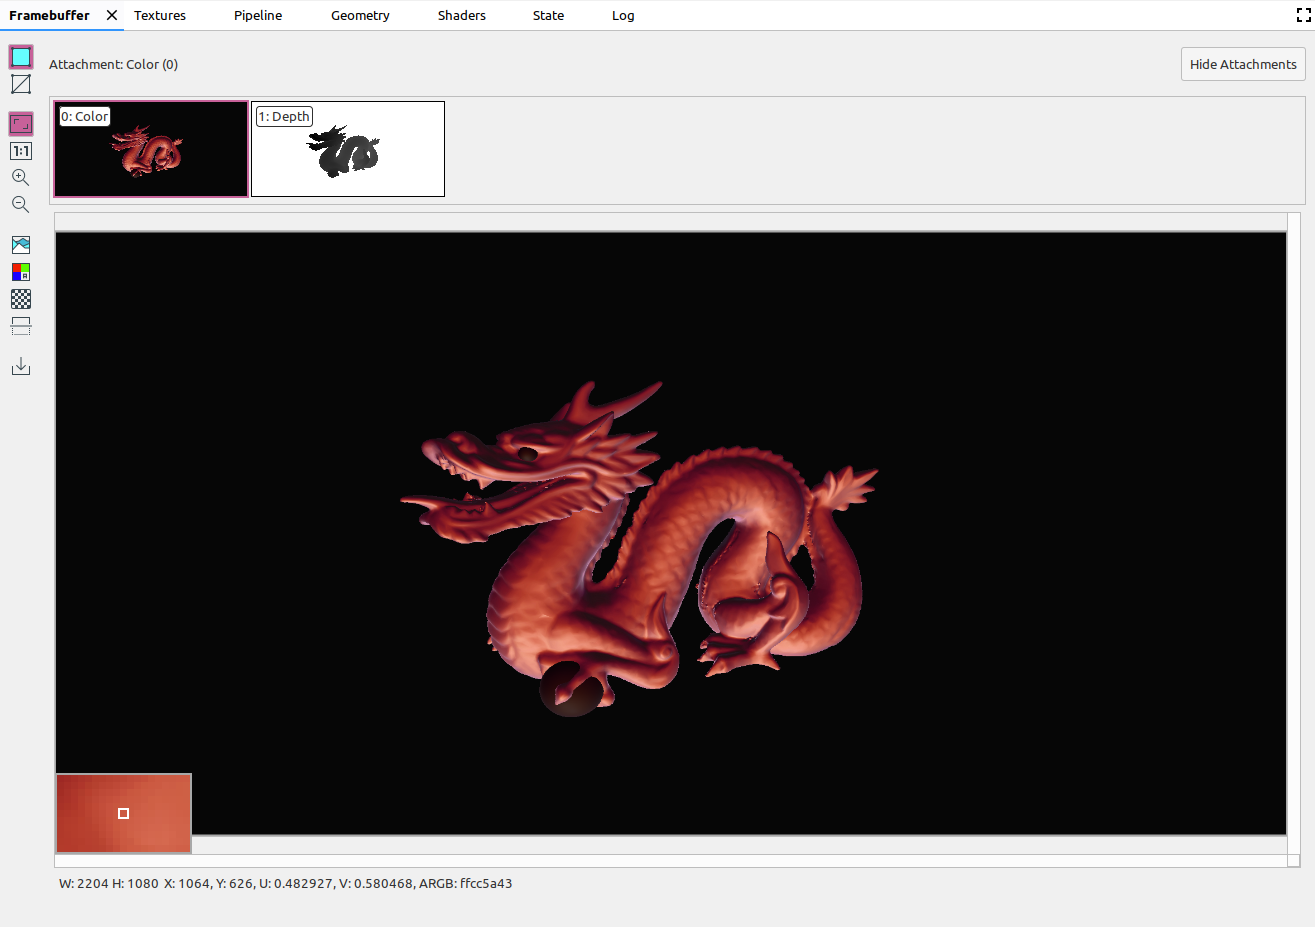
Framebuffer 창
컬렉션을 사용해 정리하기
내 환경설정을 기준으로 콘텐츠를 저장하고 분류하세요.
이 페이지에 나와 있는 콘텐츠와 코드 샘플에는 콘텐츠 라이선스에서 설명하는 라이선스가 적용됩니다. 자바 및 OpenJDK는 Oracle 및 Oracle 계열사의 상표 또는 등록 상표입니다.
최종 업데이트: 2025-07-27(UTC)
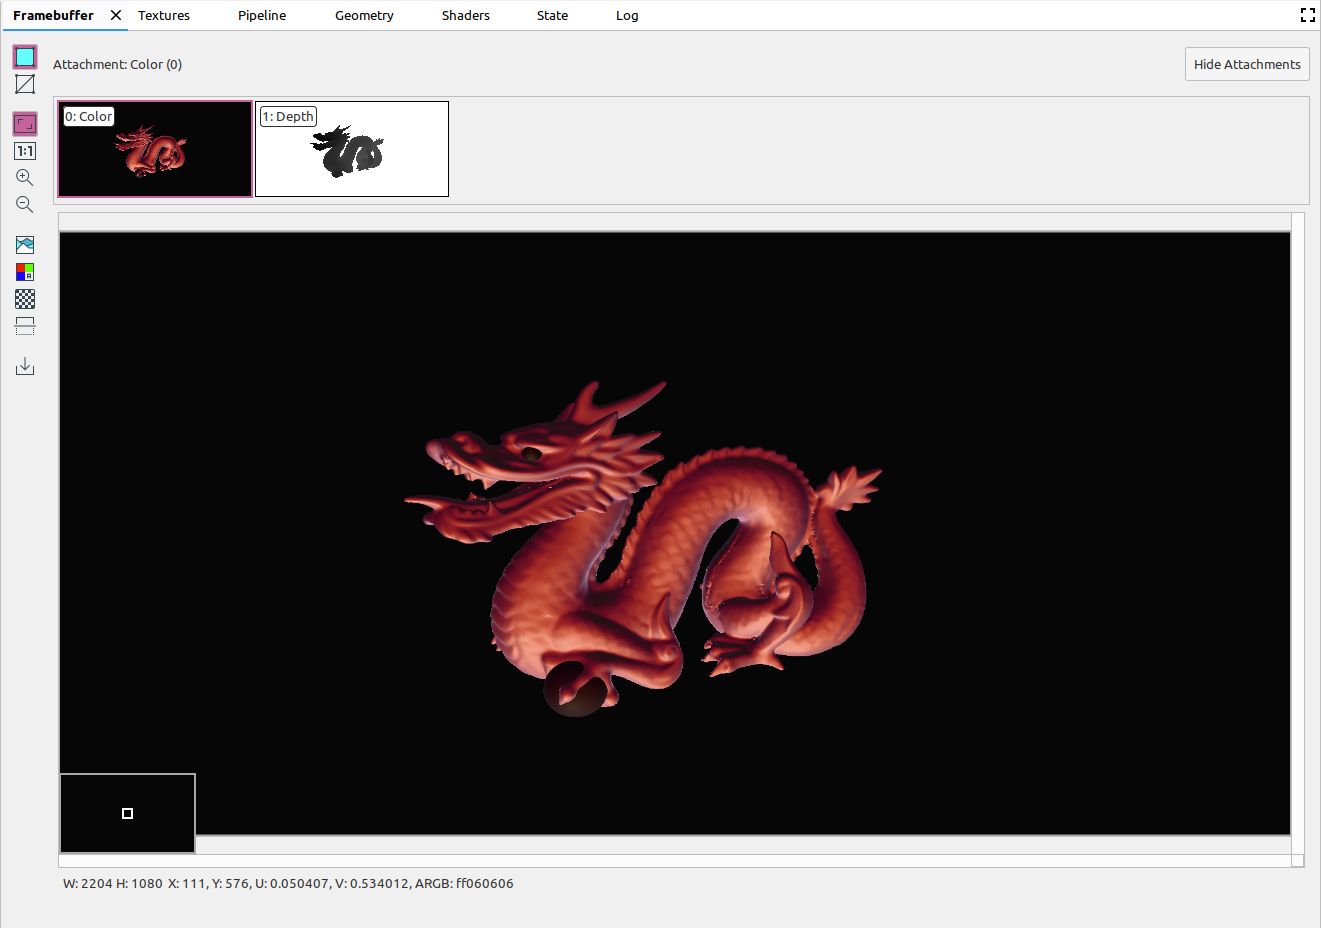
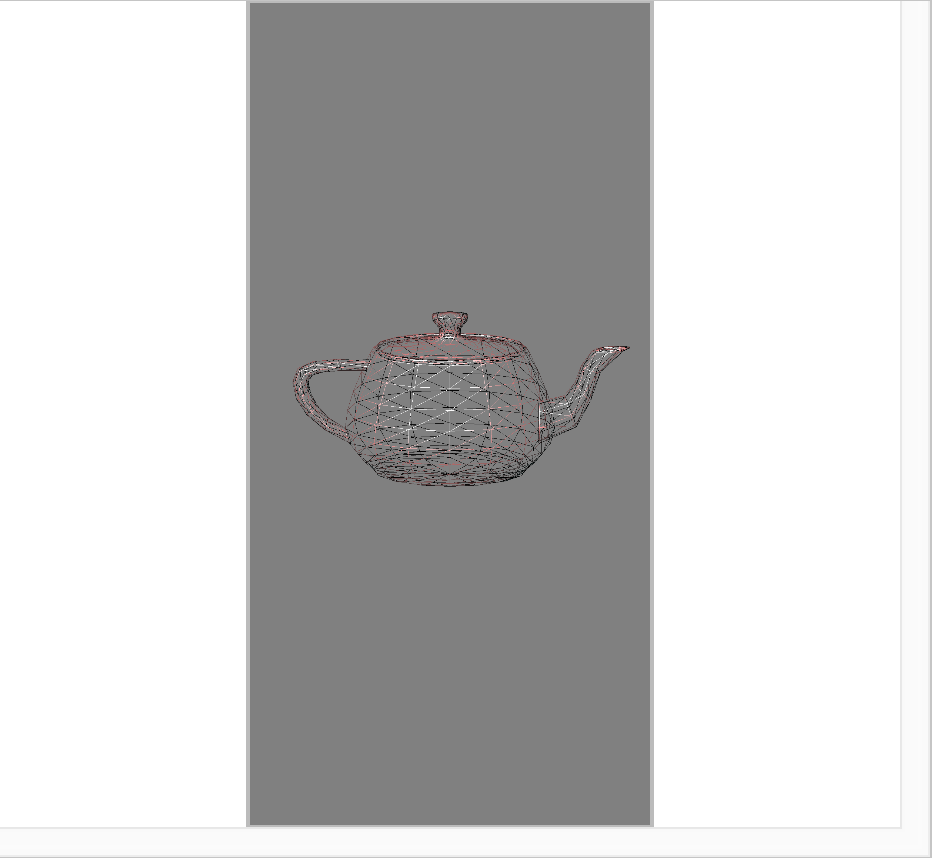
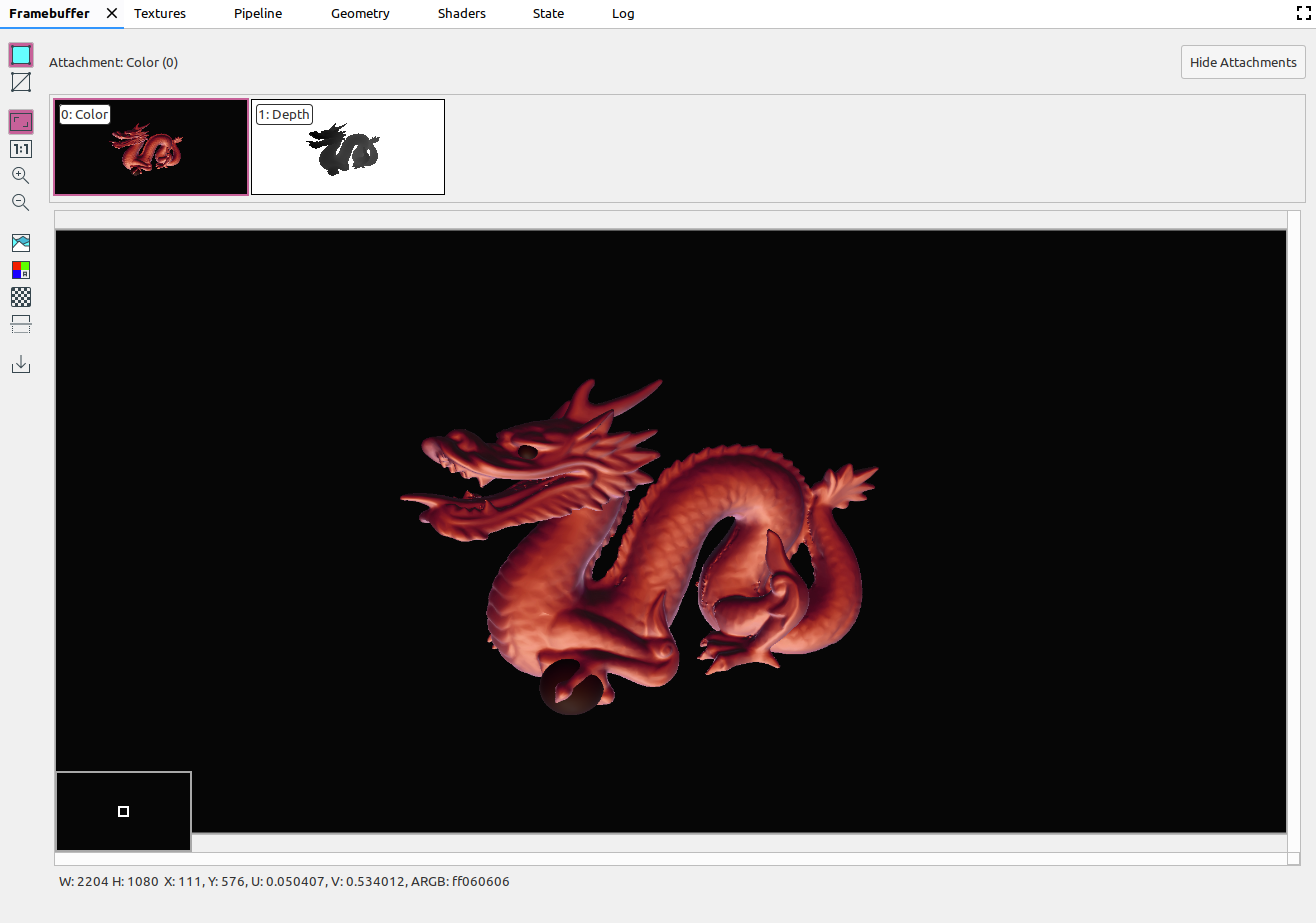
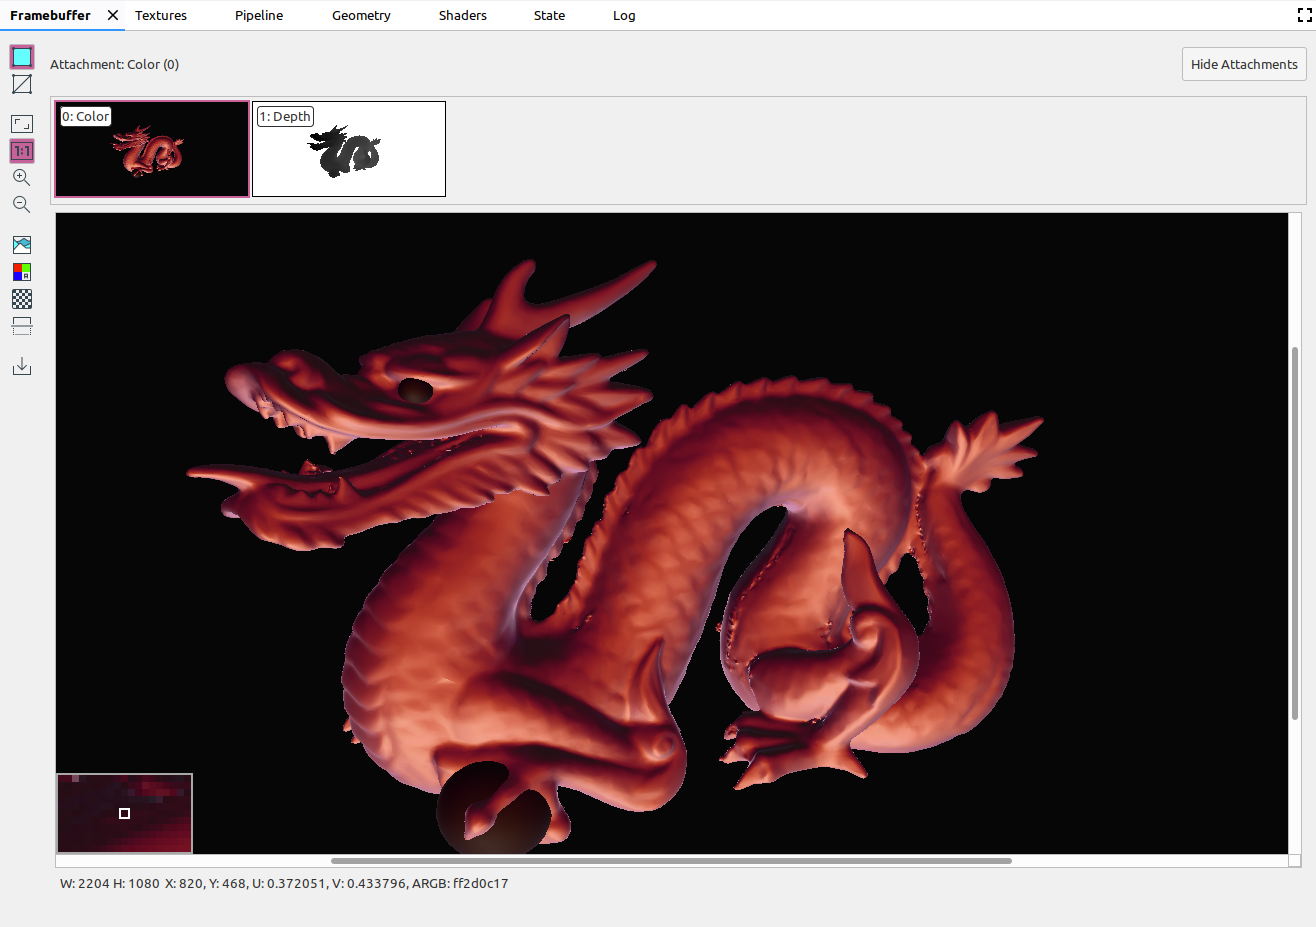
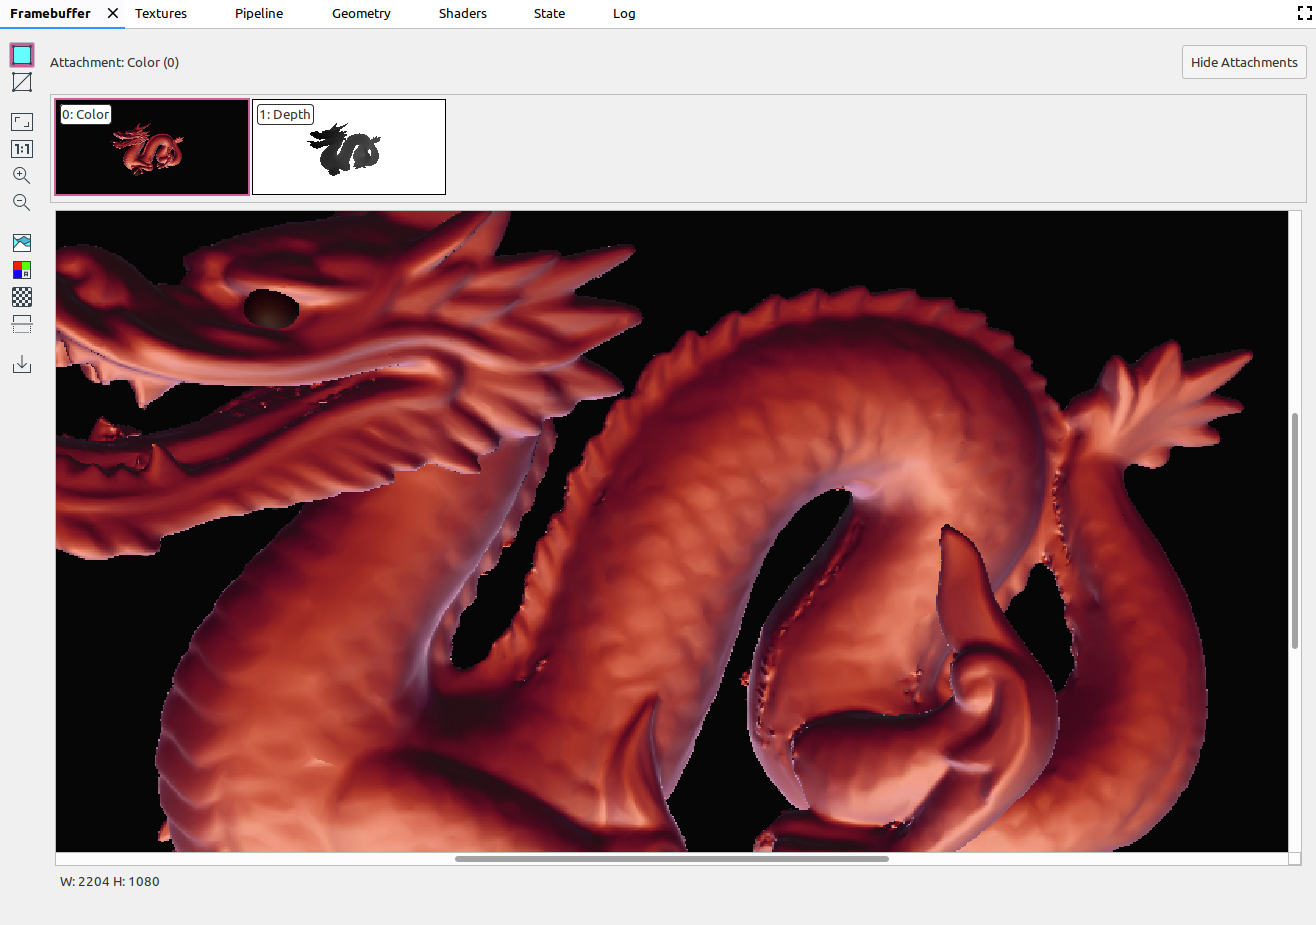
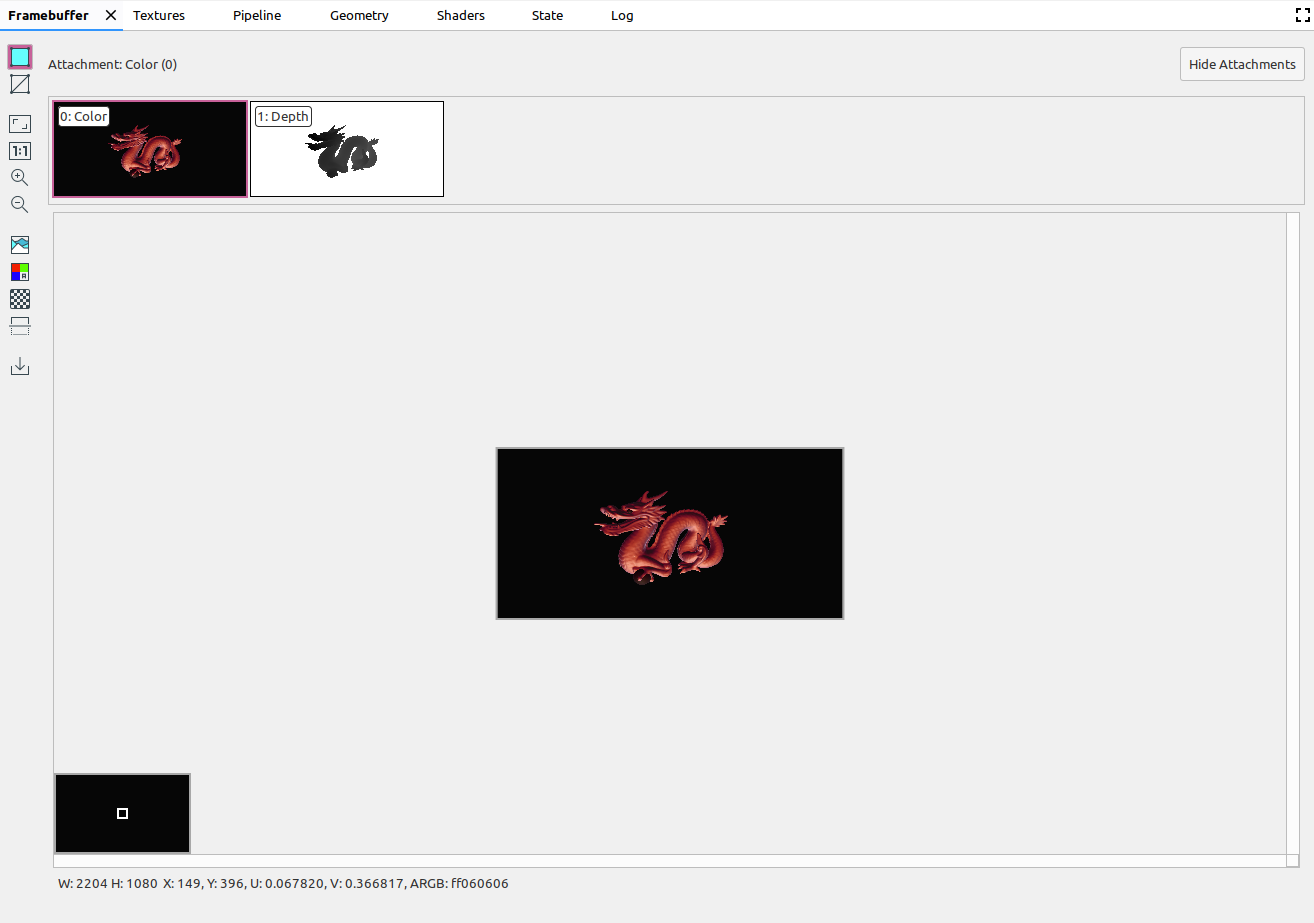
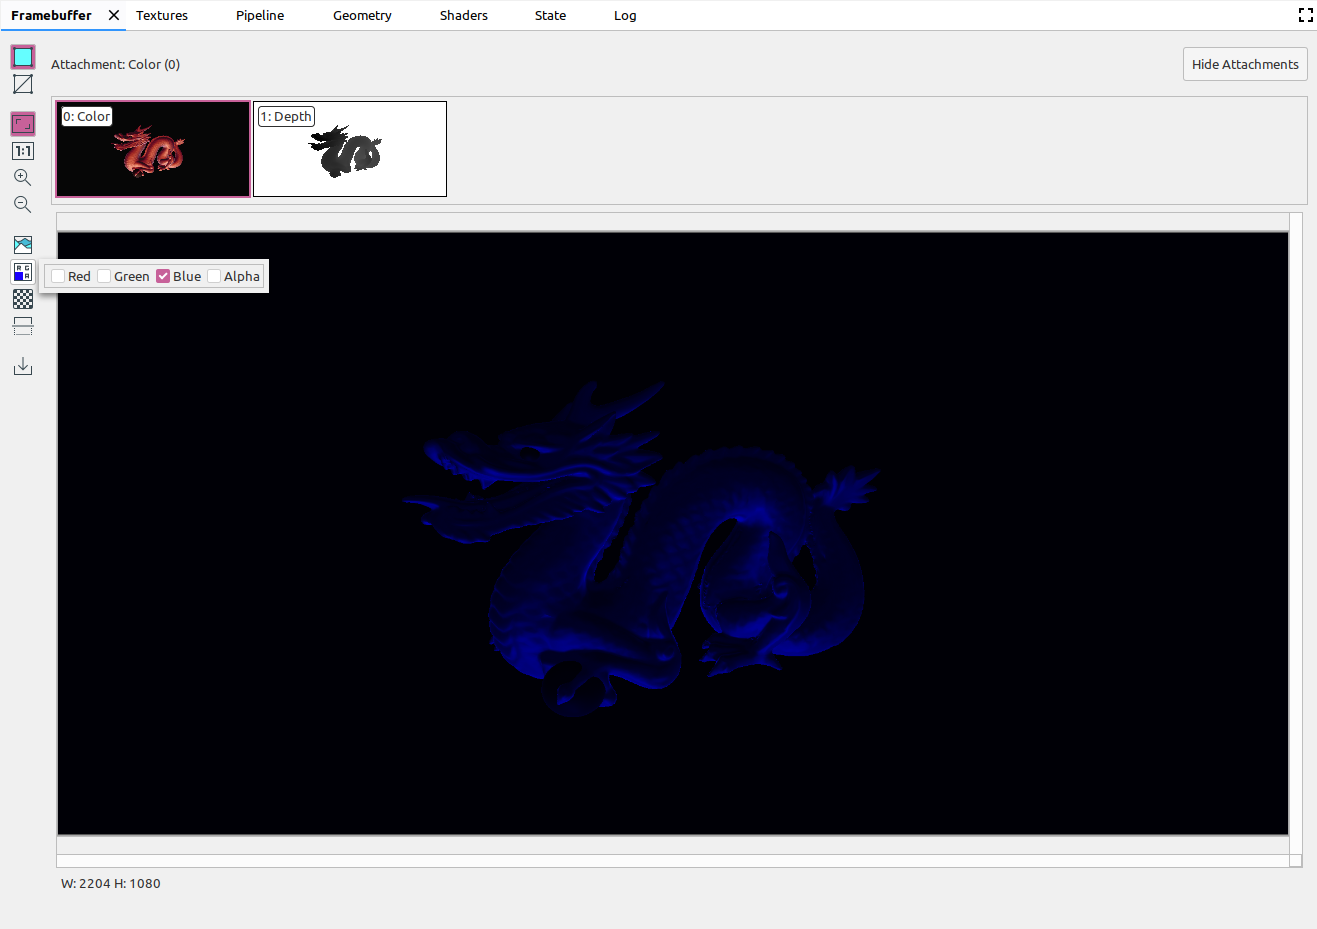
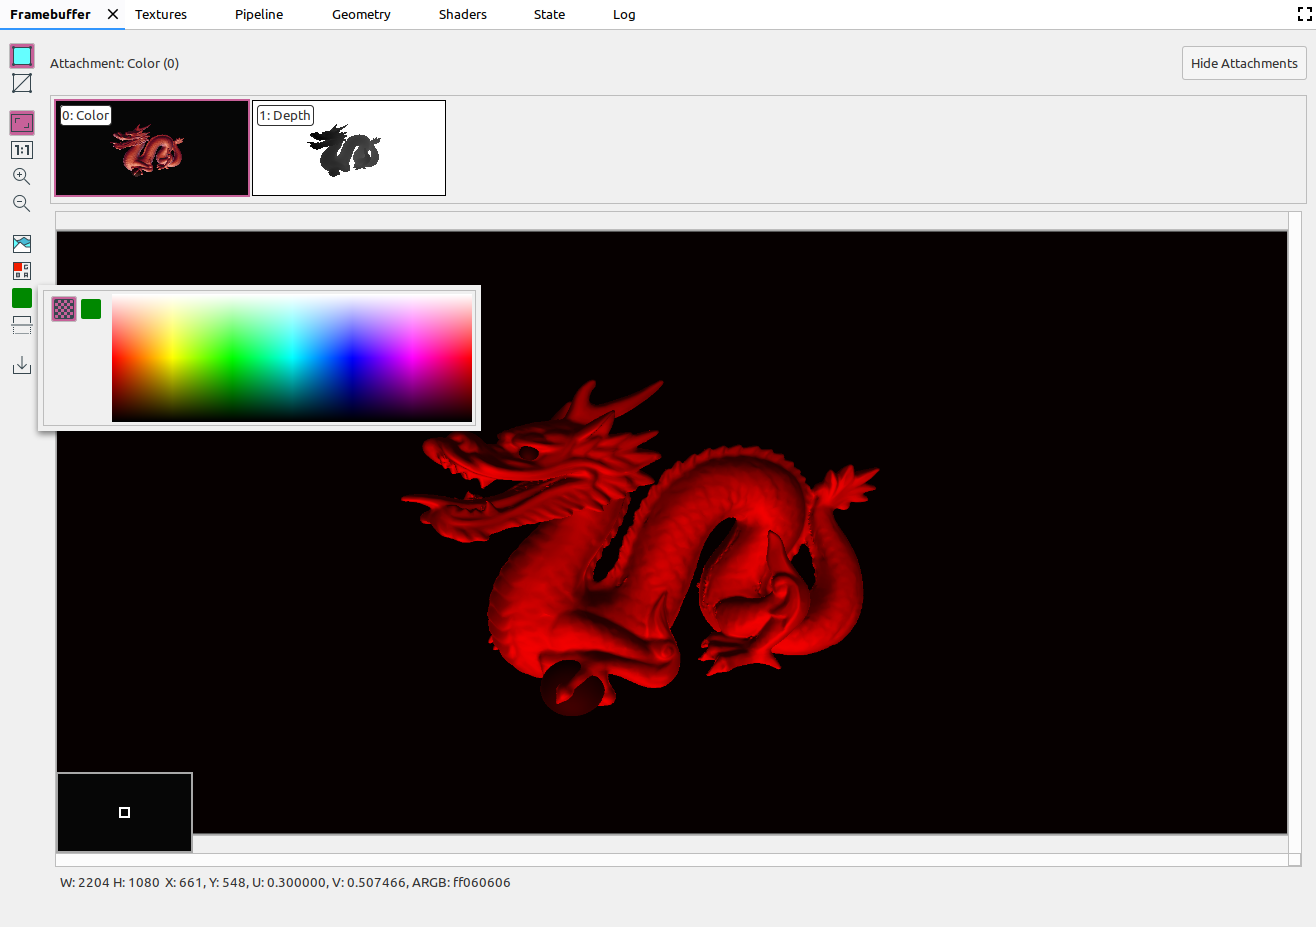
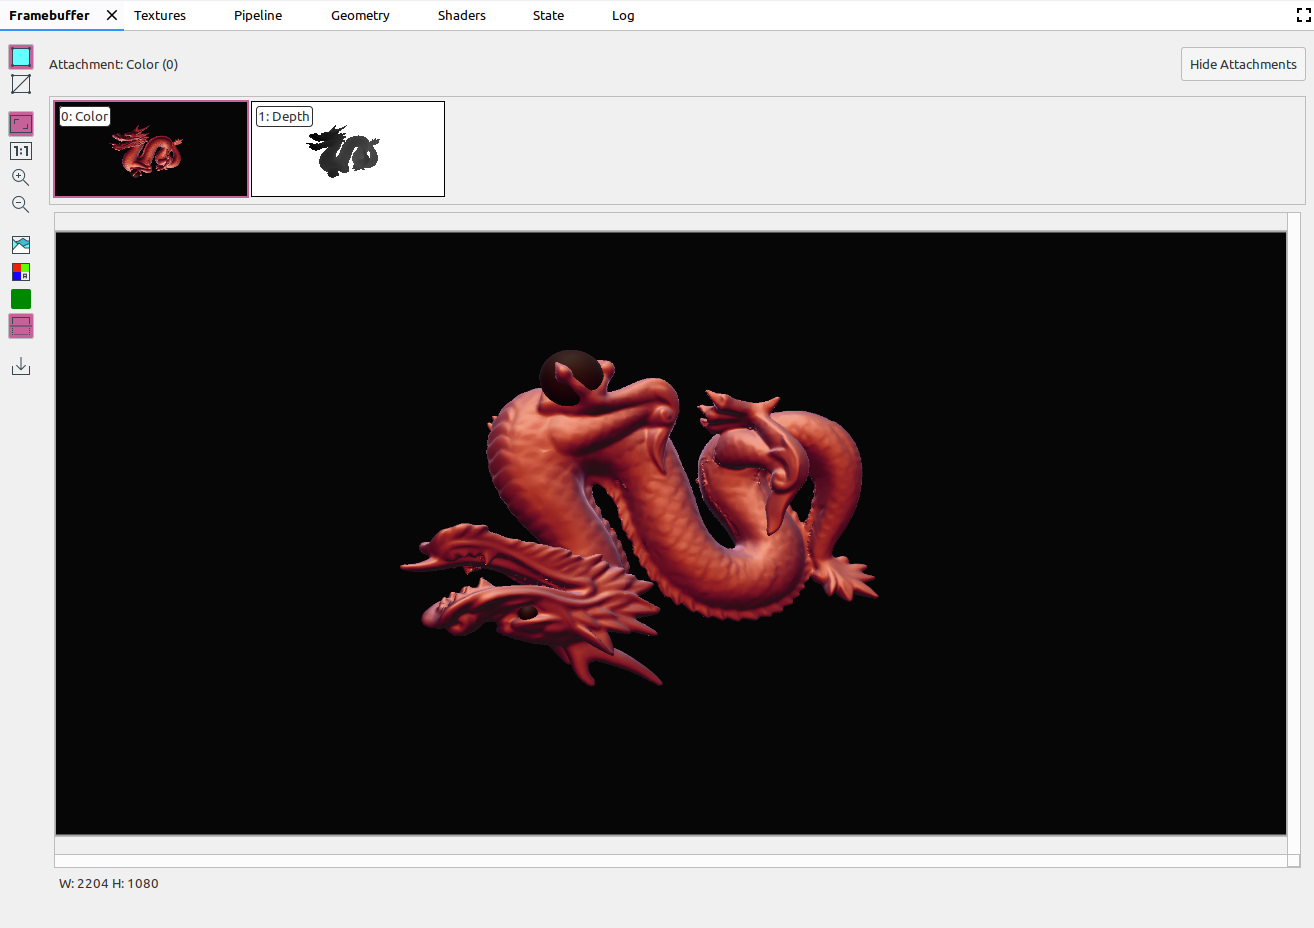
[[["이해하기 쉬움","easyToUnderstand","thumb-up"],["문제가 해결됨","solvedMyProblem","thumb-up"],["기타","otherUp","thumb-up"]],[["필요한 정보가 없음","missingTheInformationINeed","thumb-down"],["너무 복잡함/단계 수가 너무 많음","tooComplicatedTooManySteps","thumb-down"],["오래됨","outOfDate","thumb-down"],["번역 문제","translationIssue","thumb-down"],["샘플/코드 문제","samplesCodeIssue","thumb-down"],["기타","otherDown","thumb-down"]],["최종 업데이트: 2025-07-27(UTC)"],[],[],null,["# Framebuffer pane\n\nThe **Framebuffer** pane shows the contents of the currently-bound framebuffer.\nDepending on the item you select in the **Commands** pane, the **Framebuffer**\npane can show onscreen or offscreen framebuffers.\n\nWhen you select a command in the **Commands** pane, the **Framebuffer** pane displays the contents of the framebuffer after that call finishes. If you select a command group, it displays the framebuffer that best represents the group. Typically, this is the framebuffer after the last call in the group finishes.\n\nStart by selecting the first call within a frame, then click each successive\ncall to watch the framebuffer components draw one-by-one until the end of the\nframe. These framebuffer displays, for both onscreen and offscreen graphics, help you to locate the source of any rendering errors.\n\nMove the cursor over the image to display a zoomed-in preview of the surrounding pixels in the bottom-left hand corner of the view as in the image above. The pane also shows the image width and height\nas well as the *x* and *y* coordinates, normalized image coordinates (U and V\nvalues), and RBGA hex value for that point on the image.\n\nSelect different attachments\n----------------------------\n\nA framebuffer can contain multiple attachments. You can select which\nattachment to display and click **Show Attachments** or **Hide Attachments** as\nneeded. Attachment thumbnails are labeled with the type of the attachment\n(for example, COLOR, DEPTH, and INPUT) as well as its index.\n\nOnce you select an attachment, the main view displays in the upper left corner.\n\nOperations\n----------\n\nYou can perform operations on the framebuffer image using the following buttons:\n\n| Button | Description | Example Result |\n|--------|------------------------------------------------------------------------------------------------------------------------------------------------------------|----------------|\n| | Renders the shaded geometry of the image. | |\n| | Shows the wireframe of the image. | |\n| | Adjusts the image to fit completely within the pane. You can also right-click the image to adjust the zoom to fit the image. | |\n| | Displays the image at no scale, where one device pixel is equivalent to one screen pixel. | |\n| | Zooms in on the image. You can also use your mouse wheel, or two-finger swipes on a touchpad, to zoom in and out. You can drag the image with your cursor. | |\n| | Zooms out on the image. You can also use your mouse wheel, or two-finger swipes on a touchpad, to zoom in and out. | |\n| | Displays the color histogram for the image. You can select the control handles on either side to limit the color values displayed. | |\n| | Select the color channels to render. The options are **Red** , **Green** , **Blue** , and **Alpha** (transparency). | |\n| | Select a checkerboard pattern or a solid color for the image background. | |\n| | Flips the image vertically. | |\n| | Saves the image to a file. | |"]]