
應用程式中的每個畫面都必須是回應式內容,且應配合可用空間進行調整。您可以使用 ConstraintLayout建構回應式 UI,讓單一窗格方法縮放至多種大小,但在大型裝置上,將版面配置分割成多個窗格或許會更為方便。舉例來說,您可能希望螢幕並排顯示項目清單和所選項目的詳細資料清單。
SlidingPaneLayout 元件支援在大型裝置和折疊式裝置上並排顯示兩個窗格,而在如手機這類小型裝置上時,則會自動調整為一次只顯示一個窗格。
如要查詢適用於特定裝置的說明指南,請參閱「螢幕相容性總覽」一文。
設定
如要使用 SlidingPaneLayout,請在應用程式的 build.gradle 檔案中納入以下依附元件:
Groovy
dependencies {
    implementation "androidx.slidingpanelayout:slidingpanelayout:1.2.0"
}
Kotlin
dependencies {
    implementation("androidx.slidingpanelayout:slidingpanelayout:1.2.0")
}
XML 版面配置設定
SlidingPaneLayout 提供水平的雙窗格版面配置,可在使用者介面的頂層使用。這個版面配置使用第一個窗格做為內容清單或瀏覽器,隸屬於另一個窗格中用於顯示內容的主要詳細資料檢視畫面。
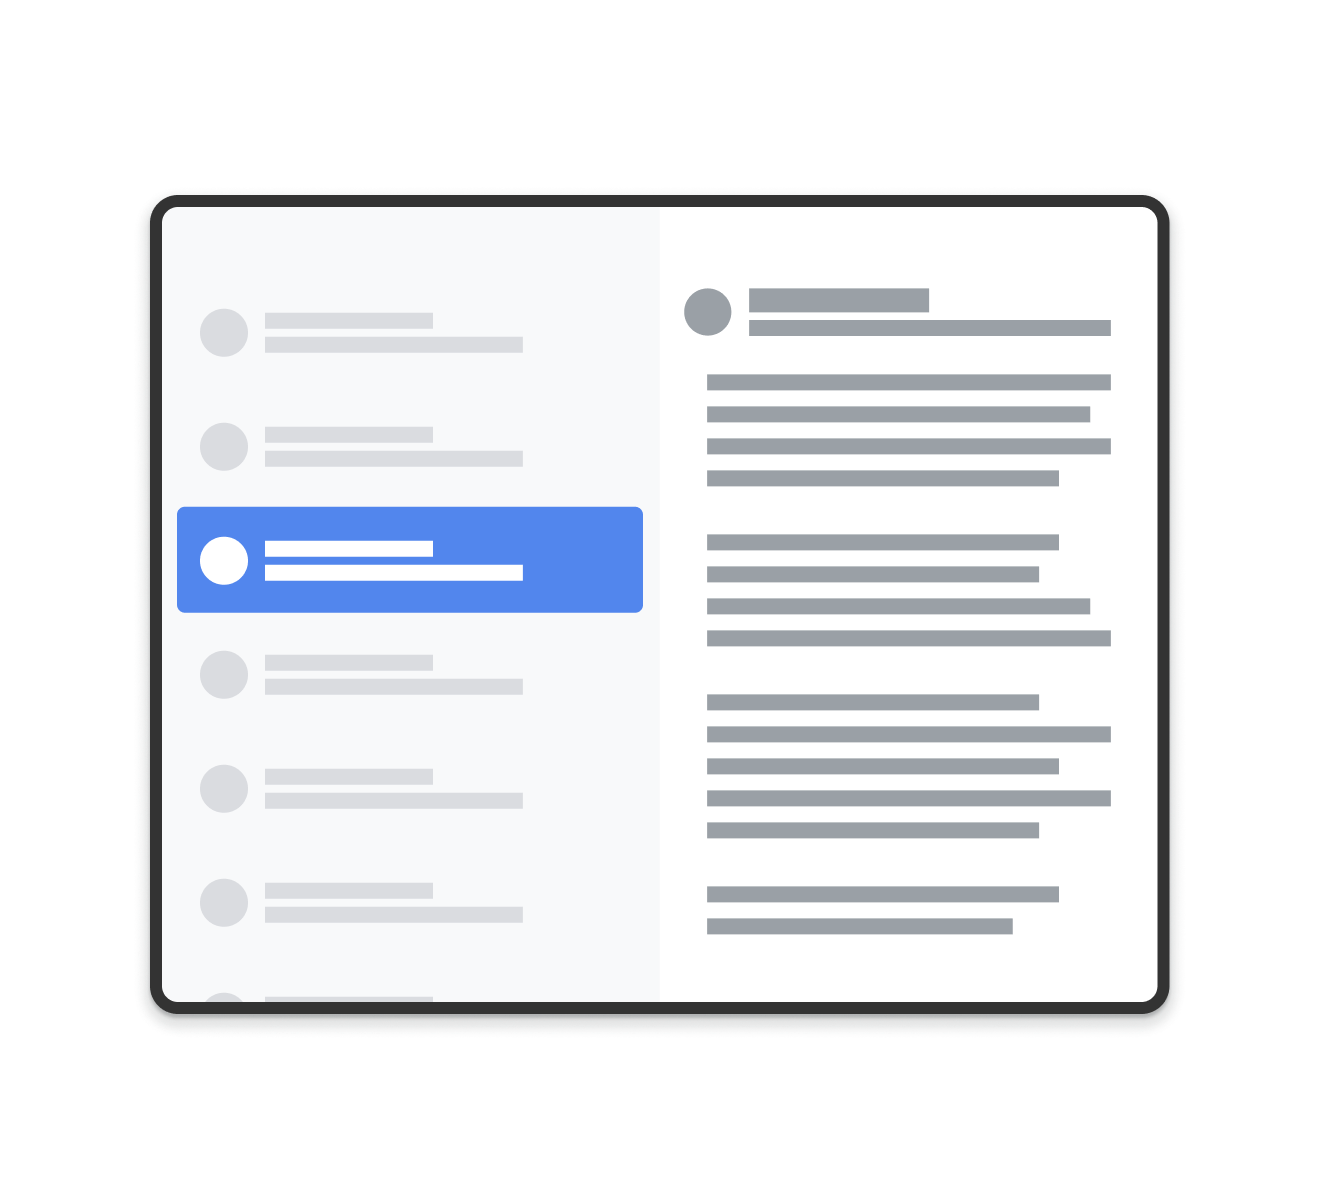
SlidingPaneLayout 建立的版面配置範例。SlidingPaneLayout 會依據兩個窗格的寬度,判斷是否要並排顯示窗格。舉例來說,假如清單窗格測得的最小尺寸為 200 dp,且詳細資料窗格需要 400 dp,那麼只要具有至少 600 dp 的可用寬度,SlidingPaneLayout 就會自動並排顯示這兩個窗格。
如果子項檢視畫面的組合寬度超過 SlidingPaneLayout 中的可用寬度,子項檢視畫面就會重疊。在本範例中,子項檢視畫面會展開來填滿 SlidingPaneLayout 中的可用寬度。使用者只要從螢幕邊緣往回拖曳,即可將最頂端的檢視畫面向外滑出。
如果檢視畫面不會重疊,SlidingPaneLayout 支援在子檢視畫面上使用版面配置參數 layout_weight,以定義在測量作業完成後如何劃分剩餘空間。這個參數僅適用於寬度。
在折疊式裝置上,如果螢幕上的空間足夠並排顯示兩個檢視畫面,SlidingPaneLayout 會自動調整兩個窗格的大小,將它們放置在重疊折線或轉軸的兩側。在這種情況下,這兩個寬度被視為折疊功能每一側所需的最小寬度。如果沒有足夠的空間來維持該最小尺寸,SlidingPaneLayout 會切換回重疊的檢視畫面。
以下範例使用 SlidingPaneLayout,其中的 RecyclerView 當做左側窗格,而 FragmentContainerView 則當做主要詳細資料檢視畫面,顯示來自左側窗格的內容:
<!-- two_pane.xml -->
<androidx.slidingpanelayout.widget.SlidingPaneLayout
   xmlns:android="http://schemas.android.com/apk/res/android"
   android:id="@+id/sliding_pane_layout"
   android:layout_width="match_parent"
   android:layout_height="match_parent">

   <!-- The first child view becomes the left pane. When the combined needed
        width, expressed using android:layout_width, doesn't fit on-screen at
        once, the right pane is permitted to overlap the left. -->

   <androidx.recyclerview.widget.RecyclerView
             android:id="@+id/list_pane"
             android:layout_width="280dp"
             android:layout_height="match_parent"
             android:layout_gravity="start"/>

   <!-- The second child becomes the right (content) pane. In this example,
        android:layout_weight is used to expand this detail pane to consume
        leftover available space when the entire window is wide enough to fit
        the left and right pane.-->
   <androidx.fragment.app.FragmentContainerView
       android:id="@+id/detail_container"
       android:layout_width="300dp"
       android:layout_weight="1"
       android:layout_height="match_parent"
       android:background="#ff333333"
       android:name="com.example.SelectAnItemFragment" />
</androidx.slidingpanelayout.widget.SlidingPaneLayout>
在本範例中,FragmentContainerView 的 android:name 屬性會將初始片段新增至詳細資料窗格,確保大型螢幕裝置的使用者首次啟動應用程式時,不會看到空白的右側窗格。
透過程式化方式替換詳細資料窗格
在上述 XML 範例中,輕觸 RecyclerView 中的特定元素會觸發詳細資料窗格中的變更。使用片段時,這需要使用 FragmentTransaction 來替換右側窗格,同時呼叫 SlidingPaneLayout 上的 open() 以切換至新的可見片段:
Kotlin
// A method on the Fragment that owns the SlidingPaneLayout,called by the
// adapter when an item is selected.
fun openDetails(itemId: Int) {
    childFragmentManager.commit {
        setReorderingAllowed(true)
        replace<ItemFragment>(R.id.detail_container,
            bundleOf("itemId" to itemId))
        // If it's already open and the detail pane is visible, crossfade
        // between the fragments.
        if (binding.slidingPaneLayout.isOpen) {
            setTransition(FragmentTransaction.TRANSIT_FRAGMENT_FADE)
        }
    }
    binding.slidingPaneLayout.open()
}
Java
// A method on the Fragment that owns the SlidingPaneLayout, called by the
// adapter when an item is selected.
void openDetails(int itemId) {
    Bundle arguments = new Bundle();
    arguments.putInt("itemId", itemId);
    FragmentTransaction ft = getChildFragmentManager().beginTransaction()
            .setReorderingAllowed(true)
            .replace(R.id.detail_container, ItemFragment.class, arguments);
    // If it's already open and the detail pane is visible, crossfade
    // between the fragments.
    if (binding.getSlidingPaneLayout().isOpen()) {
        ft.setTransition(FragmentTransaction.TRANSIT_FRAGMENT_FADE);
    }
    ft.commit();
    binding.getSlidingPaneLayout().open();
}
這個程式碼「不會」呼叫 FragmentTransaction 上的 addToBackStack()。這樣就能避免在詳細資料窗格中建立返回堆疊。
導覽元件實作
本頁面的範例直接使用 SlidingPaneLayout,並需要您手動管理片段交易。不過,導覽元件會透過 AbstractListDetailFragment 這個 API 類別提供預先建構的雙窗格版面配置,該類別實際上會使用 SlidingPaneLayout 來管理清單窗格和詳細資料窗格。
這種做法能讓您簡化 XML 版面配置設定。您的版面配置只需要使用 FragmentContainerView 來保存 AbstractListDetailFragment 實作,而不需明確宣告 SlidingPaneLayout 和兩個窗格:
<FrameLayout xmlns:android="http://schemas.android.com/apk/res/android"
    xmlns:app="http://schemas.android.com/apk/res-auto"
    android:layout_width="match_parent"
    android:layout_height="match_parent">
    <androidx.fragment.app.FragmentContainerView
        android:id="@+id/two_pane_container"
        <!-- The name of your AbstractListDetailFragment implementation.-->
        android:name="com.example.testapp.TwoPaneFragment"
        android:layout_width="match_parent"
        android:layout_height="match_parent"
        <!-- The navigation graph for your detail pane.-->
        app:navGraph="@navigation/two_pane_navigation" />
</FrameLayout>
實作 onCreateListPaneView() 和 onListPaneViewCreated(),為清單窗格提供自訂檢視畫面。詳細資料窗格會使用 AbstractListDetailFragment NavHostFragment。這表示您可以定義導覽圖,其中僅包含要顯示在詳細資料窗格中的目的地。這樣一來,您就可以使用 NavController,在獨立導覽圖內的目的地之間切換詳細資料窗格:
Kotlin
fun openDetails(itemId: Int) {
    val navController = navHostFragment.navController
    navController.navigate(
        // Assume the itemId is the android:id of a destination in the graph.
        itemId,
        null,
        NavOptions.Builder()
            // Pop all destinations off the back stack.
            .setPopUpTo(navController.graph.startDestination, true)
            .apply {
                // If it's already open and the detail pane is visible,
                // crossfade between the destinations.
                if (binding.slidingPaneLayout.isOpen) {
                    setEnterAnim(R.animator.nav_default_enter_anim)
                    setExitAnim(R.animator.nav_default_exit_anim)
                }
            }
            .build()
    )
    binding.slidingPaneLayout.open()
}
Java
void openDetails(int itemId) {
    NavController navController = navHostFragment.getNavController();
    NavOptions.Builder builder = new NavOptions.Builder()
            // Pop all destinations off the back stack.
            .setPopUpTo(navController.getGraph().getStartDestination(), true);
    // If it's already open and the detail pane is visible, crossfade between
    // the destinations.
    if (binding.getSlidingPaneLayout().isOpen()) {
        builder.setEnterAnim(R.animator.nav_default_enter_anim)
                .setExitAnim(R.animator.nav_default_exit_anim);
    }
    navController.navigate(
        // Assume the itemId is the android:id of a destination in the graph.
        itemId,
        null,
        builder.build()
    );
    binding.getSlidingPaneLayout().open();
}
詳細資料窗格導覽圖表中的目的地「不得」顯示在應用程式內通用的外部導覽圖表中。不過,詳細資料窗格導覽圖表中的所有深層連結均應附加至代管 SlidingPaneLayout 的目的地。這可確保外部深層連結先前往 SlidingPaneLayout 目的地,然後再前往正確的詳細資料窗格目的地。
如要瞭解如何使用導覽元件完整實作雙窗格版面配置,請參閱 TwoPaneFragment 範例。
與系統返回按鈕整合
在小型裝置上,清單和詳細資料窗格會重疊,因此請確保系統返回按鈕會將使用者從詳細資料窗格移回清單窗格。為此,請提供自訂返回導覽,並將 OnBackPressedCallback 連線至 SlidingPaneLayout 目前的狀態:
Kotlin
class TwoPaneOnBackPressedCallback(
    private val slidingPaneLayout: SlidingPaneLayout
) : OnBackPressedCallback(
    // Set the default 'enabled' state to true only if it is slidable, such as
    // when the panes overlap, and open, such as when the detail pane is
    // visible.
    slidingPaneLayout.isSlideable && slidingPaneLayout.isOpen
), SlidingPaneLayout.PanelSlideListener {

    init {
        slidingPaneLayout.addPanelSlideListener(this)
    }

    override fun handleOnBackPressed() {
        // Return to the list pane when the system back button is tapped.
        slidingPaneLayout.closePane()
    }

    override fun onPanelSlide(panel: View, slideOffset: Float) { }

    override fun onPanelOpened(panel: View) {
        // Intercept the system back button when the detail pane becomes
        // visible.
        isEnabled = true
    }

    override fun onPanelClosed(panel: View) {
        // Disable intercepting the system back button when the user returns to
        // the list pane.
        isEnabled = false
    }
}
Java
class TwoPaneOnBackPressedCallback extends OnBackPressedCallback
        implements SlidingPaneLayout.PanelSlideListener {

    private final SlidingPaneLayout mSlidingPaneLayout;

    TwoPaneOnBackPressedCallback(@NonNull SlidingPaneLayout slidingPaneLayout) {
        // Set the default 'enabled' state to true only if it is slideable, such
        // as when the panes overlap, and open, such as when the detail pane is
        // visible.
        super(slidingPaneLayout.isSlideable() && slidingPaneLayout.isOpen());
        mSlidingPaneLayout = slidingPaneLayout;
        slidingPaneLayout.addPanelSlideListener(this);
    }

    @Override
    public void handleOnBackPressed() {
        // Return to the list pane when the system back button is tapped.
        mSlidingPaneLayout.closePane();
    }

    @Override
    public void onPanelSlide(@NonNull View panel, float slideOffset) { }

    @Override
    public void onPanelOpened(@NonNull View panel) {
        // Intercept the system back button when the detail pane becomes
        // visible.
        setEnabled(true);
    }

    @Override
    public void onPanelClosed(@NonNull View panel) {
        // Disable intercepting the system back button when the user returns to
        // the list pane.
        setEnabled(false);
    }
}
您可以使用 addCallback() 新增對 OnBackPressedDispatcher 的回呼:
Kotlin
class TwoPaneFragment : Fragment(R.layout.two_pane) {

    override fun onViewCreated(view: View, savedInstanceState: Bundle?) {
        val binding = TwoPaneBinding.bind(view)

        // Connect the SlidingPaneLayout to the system back button.
        requireActivity().onBackPressedDispatcher.addCallback(viewLifecycleOwner,
            TwoPaneOnBackPressedCallback(binding.slidingPaneLayout))

        // Set up the RecyclerView adapter.
    }
}
Java
class TwoPaneFragment extends Fragment {

    public TwoPaneFragment() {
        super(R.layout.two_pane);
    }

    @Override
    public void onViewCreated(@NonNull View view,
             @Nullable Bundle savedInstanceState) {
        TwoPaneBinding binding = TwoPaneBinding.bind(view);

        // Connect the SlidingPaneLayout to the system back button.
        requireActivity().getOnBackPressedDispatcher().addCallback(
            getViewLifecycleOwner(),
            new TwoPaneOnBackPressedCallback(binding.getSlidingPaneLayout()));

        // Set up the RecyclerView adapter.
    }
}
鎖定模式
SlidingPaneLayout 讓您隨時可以手動呼叫 open() 和 close(),以便透過手機在清單窗格與詳細資料窗格之間進行切換。如果兩個窗格都顯示且未重疊,這些方法就不會生效。
根據預設,當清單和詳細資料窗格重疊時,使用者可以左右滑動,不必使用手勢操作即可在兩個窗格之間切換。您可以設定 SlidingPaneLayout 的鎖定模式,藉此控制滑動方向:
Kotlin
binding.slidingPaneLayout.lockMode = SlidingPaneLayout.LOCK_MODE_LOCKED
Java
binding.getSlidingPaneLayout().setLockMode(SlidingPaneLayout.LOCK_MODE_LOCKED);
瞭解詳情
如要進一步瞭解如何為不同的板型規格設計版面配置,請參閱下列說明文件:
其他資源
- 自動調整式版面配置程式碼研究室
- GitHub 上的 SlidingPaneLayout 範例。