
Android Studio provides code templates that follow the Android design and development best practices to get you on the right track to creating beautiful, functional apps. You can use templates to create new app modules, individual activities, or other specific Android project components.
Some templates provide starter code for common usage contexts, such as navigation drawers or login screens. You can choose from these app module and activity templates when you first create your project, when you add a new app module within an existing project, or when you add a new activity within an app module.
In addition to activities, you can also add other Android project components to an existing app using templates. These templates include both code components, such as services and composables, and non-code components, such as folders and XML files.
This page discusses how to add Android project components like activities to your project and describes the commonly used activity templates available in Android Studio. Note that most Android Studio templates depend on AndroidX and use Material Design 3 principles to help you quickly build responsive UIs.
Add a project component
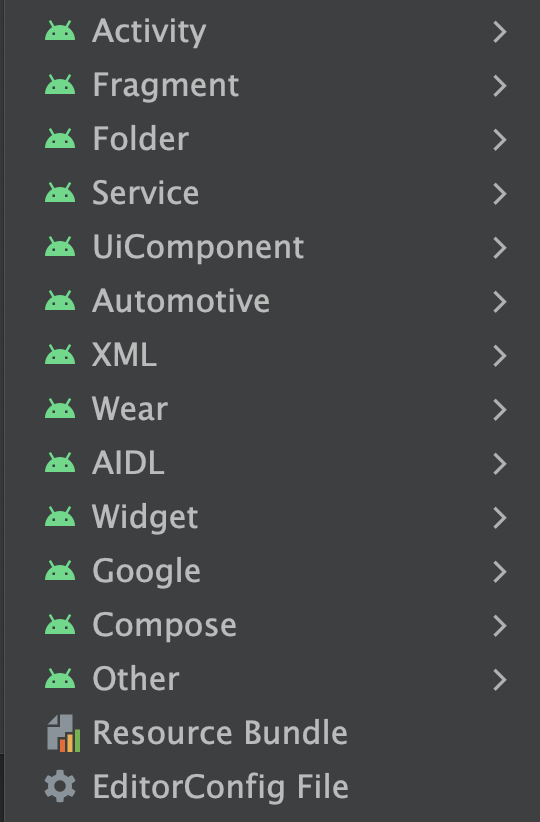
Android Studio groups templates by the type of component that they add, such as an Activity or a Compose component, as shown in figure 1.
To add an Android project component using a template, use the Project window. Right-click on the folder in which you want to add the new component, and select New. Based on what components can be added to the folder you clicked on, you then see a list of template types like those shown in figure 1.
When you select the template you want to add, a corresponding wizard window appears and asks for the component's configuration information, such as its name. After you enter the configuration information, Android Studio creates and opens the files for your new component. It also runs a Gradle build to sync your project.
Select an activity template
One of the most common uses of templates is adding new activities to an existing app module. There are templates for creating screens for logging into an account, presenting a list of items with details, or scrolling through a long block of text.
Android Studio also provides templates for a variety of different app module types, including Wear OS, Android TV, and Cloud App Engine. You can view templates for these different module types when adding a project component. Templates also exist for more API-specific modules and activities, such as Google AdMobs Ads and Google Maps.
One of the most commonly used templates is the Empty Compose Activity template, which creates an empty activity with a sample composable and a preview of the composable. It lets you start from scratch when building your app module or activity.
For more information on building Compose apps in Android Studio, see Get started with Jetpack Compose.