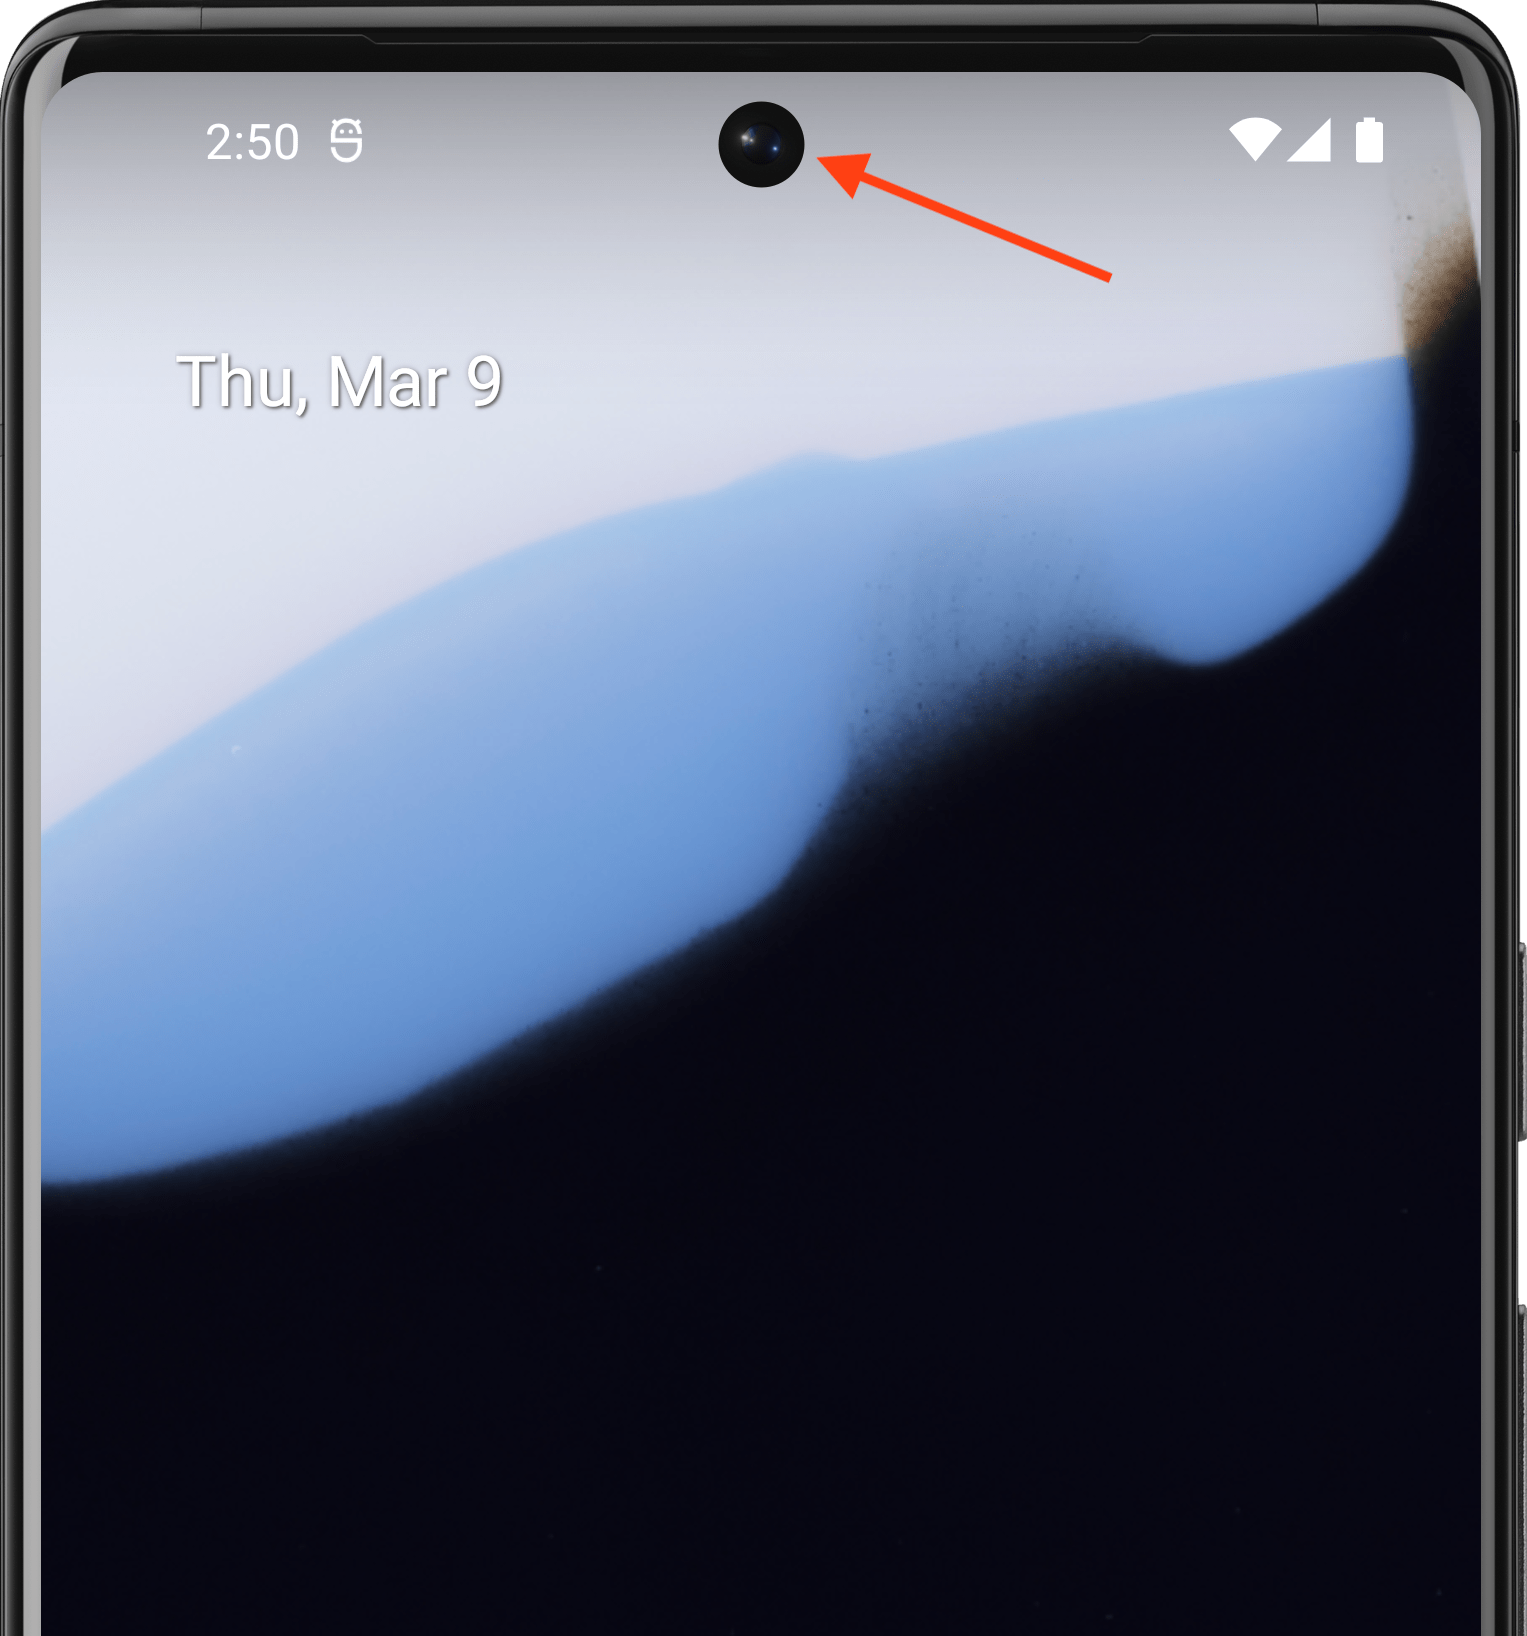
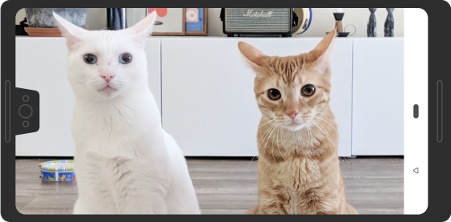
A display cutout is an area on some devices that extends into the display surface. It allows for an edge-to-edge experience while providing space for important sensors on the front of the device.


Android supports display cutouts on devices running Android 9 (API level 28) and higher. However, device manufacturers can also support display cutouts on devices running Android 8.1 or lower.
This page describes how to implement support for devices with cutouts in Compose, including how to work with the cutout area— that is, the edge-to-edge rectangle on the display surface that contains the cutout.
Default case
Apps targeting API level 34 or lower, or Activities that don't call
enableEdgeToEdge, won't draw into the cutout region by default unless the app
draws into a system bar containing the display cutout.
Apps targeting API level 35 or higher on devices running Android 15 or
higher, or Activities that call enableEdgeToEdge, draw into the cutout region.
In other words, LAYOUT_IN_DISPLAY_CUTOUT_MODE_DEFAULT,
LAYOUT_IN_DISPLAY_CUTOUT_MODE_SHORT_EDGES, and
LAYOUT_IN_DISPLAY_CUTOUT_MODE_NEVER are interpreted as
LAYOUT_IN_DISPLAY_CUTOUT_MODE_ALWAYS for non-floating windows in apps
targeting API level 35 or higher on devices running Android 15 or
higher.
Handle cutout information manually
You must handle cutout information to prevent the cutout area from obscuring important text, controls, or interactive elements requiring fine-touch recognition (touch sensitivity may be lower in the cutout area). While handling cutouts, don't hardcode the status bar height, as this can lead to overlapping or cut-off content. Instead, handle cutouts in any of the following ways:
Using
WindowInsets.displayCutout,WindowInsets.safeContent, orWindowInsets.safeDrawingAccessing the cutout
Pathobject withLocalView.current.rootWindowInsets.displayCutout
For Compose, we recommend that you use displayCutout, safeContent, or
safeDrawing to handle cutout insets in your composables. This approach lets
you respect the display cutout padding where required, or ignore it where it is
not required.
Canvas(modifier = Modifier.fillMaxSize().windowInsetsPadding(WindowInsets.displayCutout)) { drawRect(Color.Red, style = Stroke(2.dp.toPx())) }
Recommended for you
- Note: link text is displayed when JavaScript is off
- Window insets in Compose
- Graphics Modifiers
- Style paragraph
