このページでは、さまざまなハプティクス API を使用して、Android アプリで標準のバイブレーション波形を超えるカスタム効果を作成する方法の例を紹介します。
このページでは、次の例を紹介します。
- カスタム バイブレーション パターン
- ランプアップ パターン: スムーズに開始するパターン。
- 繰り返しパターン: 終わりがないパターン。
- フォールバック付きのパターン: フォールバックのデモ。
- バイブレーションの構成
- エンベロープ付きのバイブレーション波形
- バウンスするスプリング: 基本的なエンベロープ効果を使用した、バウンスするスプリング効果。
- ロケットの打ち上げ: 波形エンベロープ効果を使用したロケットの打ち上げ効果。
その他の例については、イベントに触覚フィードバックを追加するを参照してください。また、常にハプティクス設計の原則に従ってください。
フォールバックを使用してデバイスの互換性を処理する
カスタム効果を実装する場合は、次の点を考慮してください。
- エフェクトに必要なデバイスの機能
- デバイスがエフェクトを再生できない場合の対応
Android ハプティクス API リファレンスでは、ハプティクスに関わるコンポーネントのサポートを確認する方法について詳しく説明しています。これにより、アプリで一貫した全体的なエクスペリエンスを提供できます。
ユースケースによっては、カスタム効果を無効にしたり、さまざまな潜在的な機能に基づいて代替のカスタム効果を提供したりすることが必要になる場合があります。
デバイス機能の次の大まかなクラスを計画します。
ハプティクス プリミティブを使用している場合: カスタム効果に必要なプリミティブをサポートするデバイス。(プリミティブの詳細については、次のセクションをご覧ください)。
振幅制御を備えたデバイス。
基本的なバイブレーション サポート(オン/オフ)を備えたデバイス。つまり、振幅制御を備えていないデバイス。
アプリの触覚効果の選択でこれらのカテゴリが考慮されている場合、触覚ユーザー エクスペリエンスは個々のデバイスで予測可能な状態を維持します。
ハプティクス プリミティブの使用
Android には、振幅と周波数の両方が異なる複数のハプティクス プリミティブが含まれています。1 つのプリミティブを単独で使用することも、複数のプリミティブを組み合わせて使用することもできます。
- 2 つのプリミティブ間の認識可能なギャップには、50 ミリ秒以上の遅延を使用します。可能な場合は、プリミティブの継続時間も考慮します。
- 強度の違いが認識しやすくなるように、1.4 以上の比率で異なるスケールを使用します。
0.5、0.7、1.0 のスケールを使用して、プリミティブの低、中、高の強度のバージョンを作成します。
カスタムのバイブレーション パターンを作成する
バイブレーション パターンは、通知や着信音などの注意を促すハプティクスでよく使用されます。Vibrator サービスは、振動の振幅が時間とともに変化する長いバイブレーション パターンを再生できます。このような効果を波形と呼びます。
通常、波形効果は認識できますが、静かな環境で再生されると、突然の長いバイブレーションでユーザーが驚くことがあります。目標振幅へのランプアップが速すぎると、耳障りな可聴ノイズが発生することもあります。振幅の移行をスムーズにして、ランプアップ効果とランプダウン効果を生み出すように波形パターンを設計します。
バイブレーション パターンの例
以降のセクションでは、バイブレーション パターンの例をいくつか紹介します。
拡大パターン
波形は VibrationEffect として表され、3 つのパラメータがあります。
- Timings: 各波形セグメントの継続時間(ミリ秒単位)の配列。
- 振幅: 最初の引数で指定された各期間の振動振幅。0 ~ 255 の整数値で表されます。0 はバイブレータの「オフ状態」、255 はデバイスの最大振幅を表します。
- 繰り返しインデックス: 波形の繰り返しを開始する最初の引数で指定された配列のインデックス。パターンを 1 回だけ再生する場合は -1。
以下は、2 回パルスし、パルス間に 350 ミリ秒のポーズがある波形の例です。最初のパルスは最大振幅までスムーズに上昇し、2 番目のパルスは最大振幅まで急速に上昇して維持されます。終了時に停止することは、負の繰り返しインデックス値で定義されます。
Kotlin
val timings: LongArray = longArrayOf(
    50, 50, 50, 50, 50, 100, 350, 25, 25, 25, 25, 200)
val amplitudes: IntArray = intArrayOf(
    33, 51, 75, 113, 170, 255, 0, 38, 62, 100, 160, 255)
val repeatIndex = -1 // Don't repeat.

vibrator.vibrate(VibrationEffect.createWaveform(
    timings, amplitudes, repeatIndex))
Java
long[] timings = new long[] {
    50, 50, 50, 50, 50, 100, 350, 25, 25, 25, 25, 200 };
int[] amplitudes = new int[] {
    33, 51, 75, 113, 170, 255, 0, 38, 62, 100, 160, 255 };
int repeatIndex = -1; // Don't repeat.

vibrator.vibrate(VibrationEffect.createWaveform(
    timings, amplitudes, repeatIndex));
繰り返しパターン
波形は、キャンセルされるまで繰り返し再生することもできます。繰り返し波形を作成するには、非負の repeat パラメータを設定します。繰り返し波形を再生する場合、サービスで明示的にキャンセルされるまでバイブレーションが継続します。
Kotlin
void startVibrating() {
val timings: LongArray = longArrayOf(50, 50, 100, 50, 50)
val amplitudes: IntArray = intArrayOf(64, 128, 255, 128, 64)
val repeat = 1 // Repeat from the second entry, index = 1.
VibrationEffect repeatingEffect = VibrationEffect.createWaveform(
    timings, amplitudes, repeat)
// repeatingEffect can be used in multiple places.

vibrator.vibrate(repeatingEffect)
}

void stopVibrating() {
vibrator.cancel()
}
Java
void startVibrating() {
long[] timings = new long[] { 50, 50, 100, 50, 50 };
int[] amplitudes = new int[] { 64, 128, 255, 128, 64 };
int repeat = 1; // Repeat from the second entry, index = 1.
VibrationEffect repeatingEffect = VibrationEffect.createWaveform(
    timings, amplitudes, repeat);
// repeatingEffect can be used in multiple places.

vibrator.vibrate(repeatingEffect);
}

void stopVibrating() {
vibrator.cancel();
}
これは、ユーザーの操作を必要とする断続的なイベントを認識するのに非常に便利です。このようなイベントの例としては、着信やアラームのトリガーなどがあります。
フォールバックを含むパターン
バイブレーションの振幅を制御することは、ハードウェアに依存する機能です。この機能がないローエンド デバイスで波形を再生すると、振幅配列の正のエントリごとにデバイスが最大振幅で振動します。アプリでそのようなデバイスに対応する必要がある場合は、その条件で再生してもブザー音が鳴らないパターンを使用するか、代わりにフォールバックとして再生できるシンプルなオン/オフ パターンを設計します。
Kotlin
if (vibrator.hasAmplitudeControl()) {
  vibrator.vibrate(VibrationEffect.createWaveform(
    smoothTimings, amplitudes, smoothRepeatIdx))
} else {
  vibrator.vibrate(VibrationEffect.createWaveform(
    onOffTimings, onOffRepeatIdx))
}
Java
if (vibrator.hasAmplitudeControl()) {
  vibrator.vibrate(VibrationEffect.createWaveform(
    smoothTimings, amplitudes, smoothRepeatIdx));
} else {
  vibrator.vibrate(VibrationEffect.createWaveform(
    onOffTimings, onOffRepeatIdx));
}
バイブレーションのコンポジションを作成する
このセクションでは、バイブレーションを組み合わせてより長く複雑なカスタム効果を作成する方法を紹介します。さらに、より高度なハードウェア機能を使用してリッチなハプティクスを体験する方法も説明します。振幅と周波数を変化させる効果を組み合わせることで、周波数帯域幅が広いハプティクス アクチュエータを備えたデバイスで、より複雑なハプティクス効果を作成できます。
このページの冒頭で説明したカスタム バイブレーション パターンを作成するプロセスでは、バイブレーションの振幅を制御して、スムーズな増減効果を作成する方法について説明しています。リッチ ハプティクスは、デバイスのバイブレータの周波数範囲を広げて、効果をさらにスムーズにすることで、このコンセプトを改善しています。これらの波形は、クレッシェンドやディミヌエンドの効果を生み出すのに特に効果的です。
このページの冒頭で説明したコンポジションのプリミティブは、デバイス メーカーによって実装されます。クリア ハプティクスのハプティクス原則に沿った、鮮明で短く、心地よいバイブレーションを提供します。これらの機能とその仕組みについて詳しくは、バイブレーション アクチュエータの概要をご覧ください。
Android では、サポートされていないプリミティブを含むコンポジションのフォールバックは提供されません。そのため、次の手順を行います。
高度なハプティクスを有効にする前に、使用するすべてのプリミティブが特定のデバイスでサポートされていることを確認してください。
プリミティブが欠落しているエフェクトだけでなく、サポートされていない一貫性のあるエクスペリエンスのセットを無効にします。
デバイスのサポートを確認する方法の詳細については、以下のセクションをご覧ください。
合成バイブレーション効果を作成する
VibrationEffect.Composition を使用して、合成バイブレーション効果を作成できます。ゆっくりと上昇する効果の後に急激なクリック効果が続く例を次に示します。
Kotlin
vibrator.vibrate(
    VibrationEffect.startComposition().addPrimitive(
    VibrationEffect.Composition.PRIMITIVE_SLOW_RISE
    ).addPrimitive(
    VibrationEffect.Composition.PRIMITIVE_CLICK
    ).compose()
)
Java
vibrator.vibrate(
    VibrationEffect.startComposition()
        .addPrimitive(VibrationEffect.Composition.PRIMITIVE_SLOW_RISE)
        .addPrimitive(VibrationEffect.Composition.PRIMITIVE_CLICK)
        .compose());
コンポジションは、順番に再生するプリミティブを追加して作成します。各プリミティブはスケーラブルでもあるため、各プリミティブによって生成されるバイブレーションの振幅を制御できます。スケールは 0 ~ 1 の値として定義されます。0 は、このプリミティブをユーザーが(かろうじて)感じられる最小振幅にマッピングされます。
バイブレーション プリミティブでバリエーションを作成する
同じプリミティブの弱いバージョンと強いバージョンを作成する場合は、強度の比率を 1.4 以上にして、強度の違いを認識できるようにします。同じプリミティブの強度レベルを 3 つ以上作成しないでください。知覚的に区別できません。たとえば、スケール 0.5、0.7、1.0 を使用して、プリミティブの低強度、中強度、高強度のバージョンを作成します。
バイブレーション プリミティブ間にギャップを追加
コンポジションでは、連続するプリミティブ間に挿入する遅延を指定することもできます。この遅延は、前のプリミティブの終了からのミリ秒単位で表されます。一般に、2 つのプリミティブ間の 5 ~ 10 ミリ秒のギャップは短すぎて検出できません。2 つのプリミティブ間に認識可能なギャップを作成する場合は、50 ミリ秒以上のギャップを使用します。遅延を含むコンポジションの例を次に示します。
Kotlin
val delayMs = 100
vibrator.vibrate(
    VibrationEffect.startComposition().addPrimitive(
    VibrationEffect.Composition.PRIMITIVE_SPIN, 0.8f
    ).addPrimitive(
    VibrationEffect.Composition.PRIMITIVE_SPIN, 0.6f
    ).addPrimitive(
    VibrationEffect.Composition.PRIMITIVE_THUD, 1.0f, delayMs
    ).compose()
)
Java
int delayMs = 100;
vibrator.vibrate(
    VibrationEffect.startComposition()
        .addPrimitive(VibrationEffect.Composition.PRIMITIVE_SPIN, 0.8f)
        .addPrimitive(VibrationEffect.Composition.PRIMITIVE_SPIN, 0.6f)
        .addPrimitive(
            VibrationEffect.Composition.PRIMITIVE_THUD, 1.0f, delayMs)
        .compose());
サポートされているプリミティブを確認する
次の API を使用して、特定のプリミティブに対するデバイスのサポートを検証できます。
Kotlin
val primitive = VibrationEffect.Composition.PRIMITIVE_LOW_TICK

if (vibrator.areAllPrimitivesSupported(primitive)) {
  vibrator.vibrate(VibrationEffect.startComposition()
        .addPrimitive(primitive).compose())
} else {
  // Play a predefined effect or custom pattern as a fallback.
}
Java
int primitive = VibrationEffect.Composition.PRIMITIVE_LOW_TICK;

if (vibrator.areAllPrimitivesSupported(primitive)) {
  vibrator.vibrate(VibrationEffect.startComposition()
        .addPrimitive(primitive).compose());
} else {
  // Play a predefined effect or custom pattern as a fallback.
}
複数のプリミティブをチェックし、デバイスのサポートレベルに基づいてコンポーズするプリミティブを決定することもできます。
Kotlin
val effects: IntArray = intArrayOf(
VibrationEffect.Composition.PRIMITIVE_LOW_TICK,
VibrationEffect.Composition.PRIMITIVE_TICK,
VibrationEffect.Composition.PRIMITIVE_CLICK
)
val supported: BooleanArray = vibrator.arePrimitivesSupported(primitives)
Java
int[] primitives = new int[] {
VibrationEffect.Composition.PRIMITIVE_LOW_TICK,
VibrationEffect.Composition.PRIMITIVE_TICK,
VibrationEffect.Composition.PRIMITIVE_CLICK
};
boolean[] supported = vibrator.arePrimitivesSupported(effects);
バイブレーション コンポジションの例
以降のセクションでは、GitHub の haptics サンプルアプリから抜粋した、バイブレーション コンポジションの例をいくつか紹介します。
抵抗(低ティック)
プリミティブ バイブレーションの振幅を制御して、進行中のアクションに役立つフィードバックを伝えることができます。スケール値を密に配置すると、プリミティブの滑らかなクレッシェンド効果を作成できます。連続するプリミティブ間の遅延も、ユーザー操作に基づいて動的に設定できます。次の例は、ドラッグ ジェスチャーで制御され、ハプティクスで拡張されたビュー アニメーションを示しています。

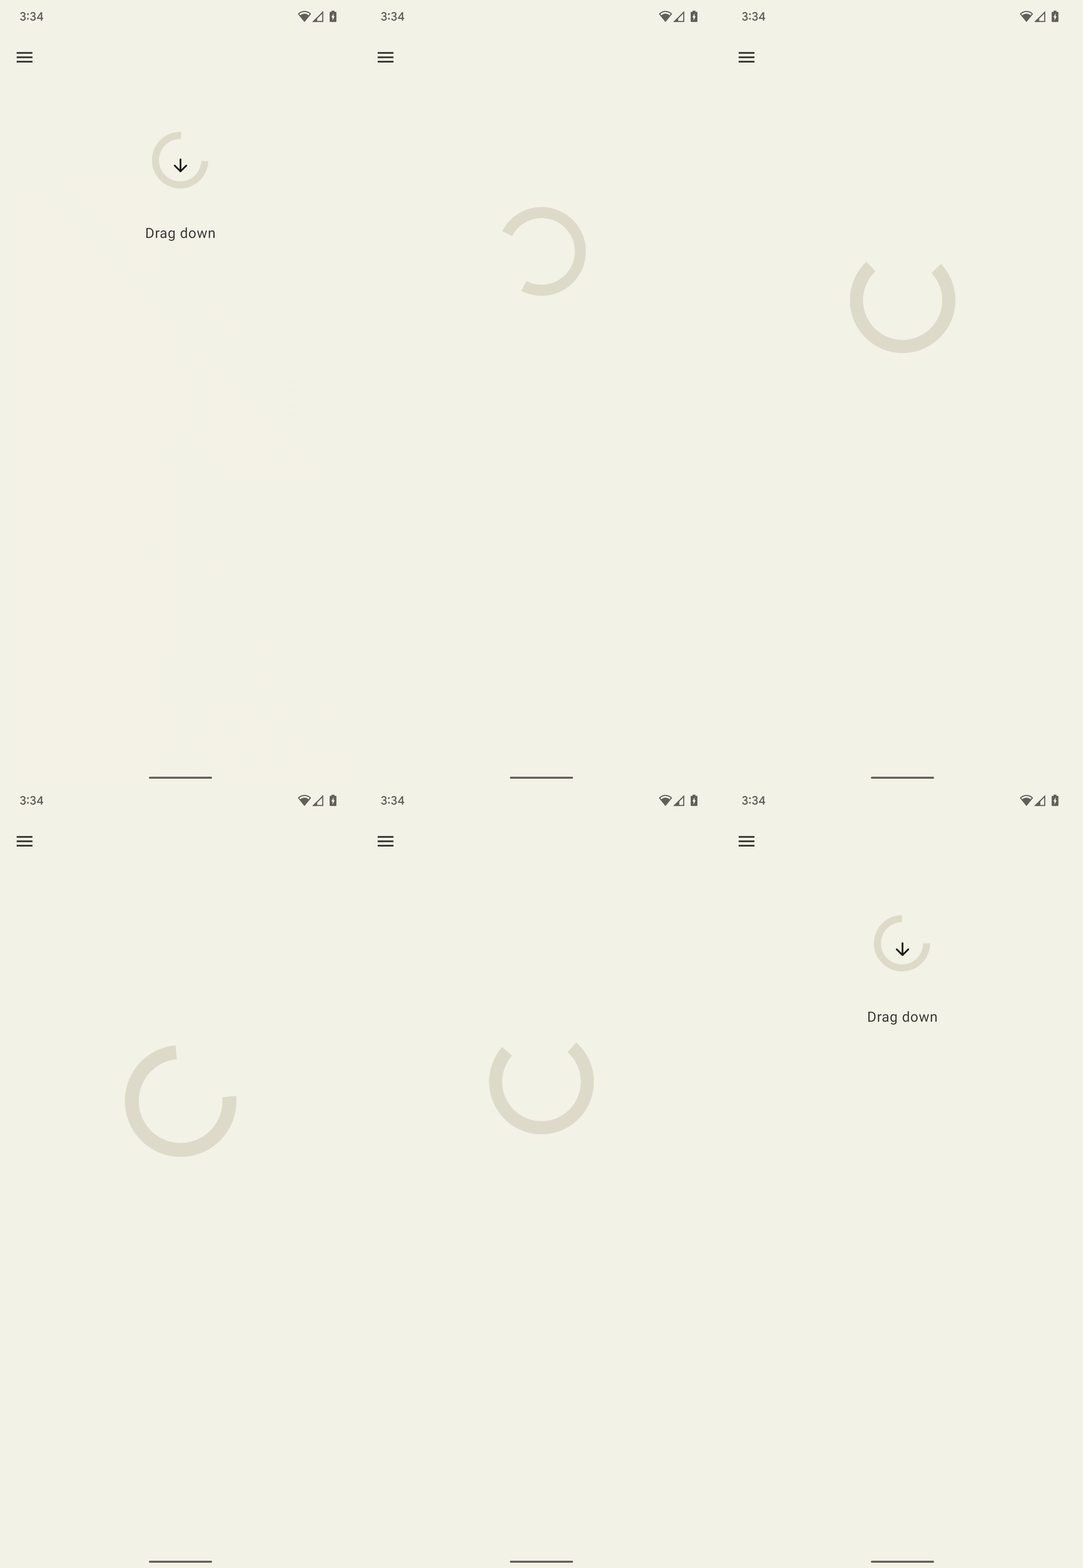

図 1. この波形は、デバイスのバイブレーションの出力加速度を表します。
Kotlin
@Composable
fun ResistScreen() {
    // Control variables for the dragging of the indicator.
    var isDragging by remember { mutableStateOf(false) }
    var dragOffset by remember { mutableStateOf(0f) }

    // Only vibrates while the user is dragging
    if (isDragging) {
        LaunchedEffect(Unit) {
        // Continuously run the effect for vibration to occur even when the view
        // is not being drawn, when user stops dragging midway through gesture.
        while (true) {
            // Calculate the interval inversely proportional to the drag offset.
            val vibrationInterval = calculateVibrationInterval(dragOffset)
            // Calculate the scale directly proportional to the drag offset.
            val vibrationScale = calculateVibrationScale(dragOffset)

            delay(vibrationInterval)
            vibrator.vibrate(
            VibrationEffect.startComposition().addPrimitive(
                VibrationEffect.Composition.PRIMITIVE_LOW_TICK,
                vibrationScale
            ).compose()
            )
        }
        }
    }

    Screen() {
        Column(
        Modifier
            .draggable(
            orientation = Orientation.Vertical,
            onDragStarted = {
                isDragging = true
            },
            onDragStopped = {
                isDragging = false
            },
            state = rememberDraggableState { delta ->
                dragOffset += delta
            }
            )
        ) {
        // Build the indicator UI based on how much the user has dragged it.
        ResistIndicator(dragOffset)
        }
    }
}
Java
class DragListener implements View.OnTouchListener {
    // Control variables for the dragging of the indicator.
    private int startY;
    private int vibrationInterval;
    private float vibrationScale;

    @Override
    public boolean onTouch(View view, MotionEvent event) {
        switch (event.getAction()) {
        case MotionEvent.ACTION_DOWN:
            startY = event.getRawY();
            vibrationInterval = calculateVibrationInterval(0);
            vibrationScale = calculateVibrationScale(0);
            startVibration();
            break;
        case MotionEvent.ACTION_MOVE:
            float dragOffset = event.getRawY() - startY;
            // Calculate the interval inversely proportional to the drag offset.
            vibrationInterval = calculateVibrationInterval(dragOffset);
            // Calculate the scale directly proportional to the drag offset.
            vibrationScale = calculateVibrationScale(dragOffset);
            // Build the indicator UI based on how much the user has dragged it.
            updateIndicator(dragOffset);
            break;
        case MotionEvent.ACTION_CANCEL:
        case MotionEvent.ACTION_UP:
            // Only vibrates while the user is dragging
            cancelVibration();
            break;
        }
        return true;
    }

    private void startVibration() {
        vibrator.vibrate(
            VibrationEffect.startComposition()
                .addPrimitive(VibrationEffect.Composition.PRIMITIVE_LOW_TICK,
                        vibrationScale)
                .compose());

        // Continuously run the effect for vibration to occur even when the view
        // is not being drawn, when user stops dragging midway through gesture.
        handler.postDelayed(this::startVibration, vibrationInterval);
    }

    private void cancelVibration() {
        handler.removeCallbacksAndMessages(null);
    }
}
拡大(上昇と下降あり)
知覚されるバイブレーションの強度を上げるためのプリミティブは、PRIMITIVE_QUICK_RISE と PRIMITIVE_SLOW_RISE の 2 つです。どちらも同じターゲットに到達しますが、期間が異なります。ランプダウン用のプリミティブは PRIMITIVE_QUICK_FALL のみです。これらのプリミティブを組み合わせることで、強度が徐々に増して消えていく波形セグメントを作成できます。スケーリングされたプリミティブを揃えることで、プリミティブ間の振幅の急激な変化を防ぐことができます。これは、全体的な効果の持続時間を延長するのにも有効です。知覚的には、人は常に下降部分よりも上昇部分に気づきやすいため、上昇部分を下降部分よりも短くすることで、下降部分に重点を置くことができます。
このコンポジションを円の拡大と縮小に適用した例を次に示します。ライズ効果は、アニメーション中の拡大感を高めることができます。上昇効果と下降効果を組み合わせることで、アニメーションの最後に折りたたまれることを強調できます。

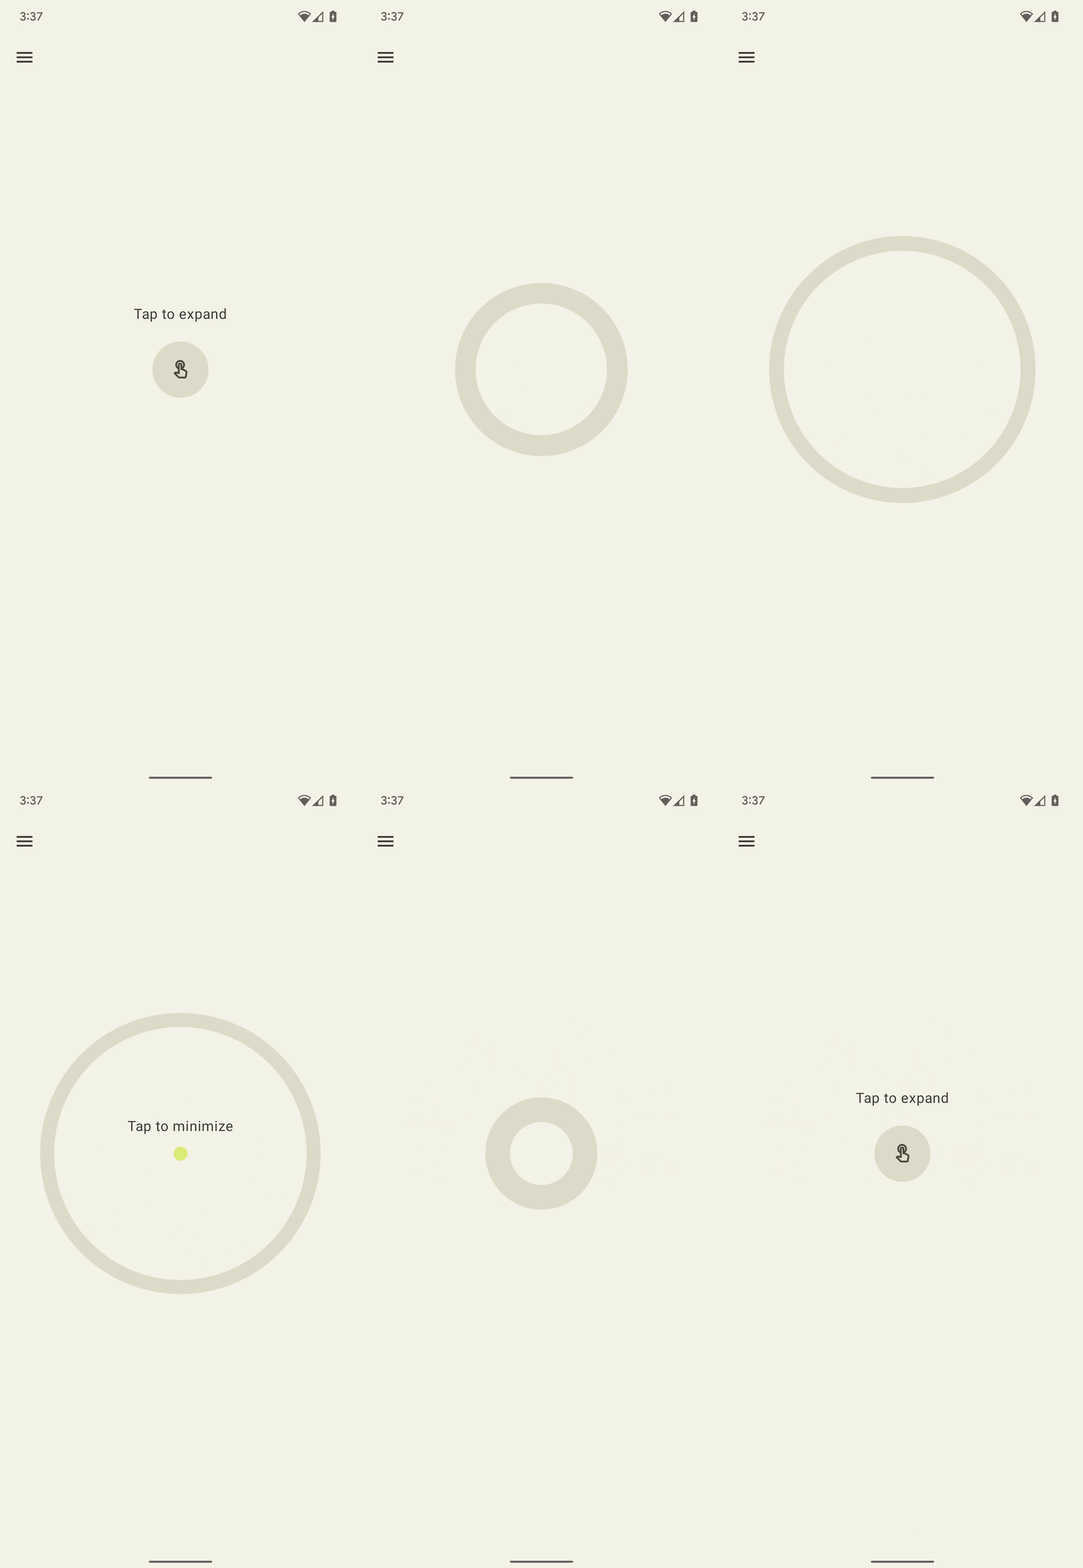

図 2. この波形は、デバイスの振動の出力加速度を表しています。
Kotlin
enum class ExpandShapeState {
    Collapsed,
    Expanded
}

@Composable
fun ExpandScreen() {
    // Control variable for the state of the indicator.
    var currentState by remember { mutableStateOf(ExpandShapeState.Collapsed) }

    // Animation between expanded and collapsed states.
    val transitionData = updateTransitionData(currentState)

    Screen() {
        Column(
        Modifier
            .clickable(
            {
                if (currentState == ExpandShapeState.Collapsed) {
                currentState = ExpandShapeState.Expanded
                vibrator.vibrate(
                    VibrationEffect.startComposition().addPrimitive(
                    VibrationEffect.Composition.PRIMITIVE_SLOW_RISE,
                    0.3f
                    ).addPrimitive(
                    VibrationEffect.Composition.PRIMITIVE_QUICK_FALL,
                    0.3f
                    ).compose()
                )
                } else {
                currentState = ExpandShapeState.Collapsed
                vibrator.vibrate(
                    VibrationEffect.startComposition().addPrimitive(
                    VibrationEffect.Composition.PRIMITIVE_SLOW_RISE
                    ).compose()
                )
            }
            )
        ) {
        // Build the indicator UI based on the current state.
        ExpandIndicator(transitionData)
        }
    }
}
Java
class ClickListener implements View.OnClickListener {
    private final Animation expandAnimation;
    private final Animation collapseAnimation;
    private boolean isExpanded;

    ClickListener(Context context) {
        expandAnimation = AnimationUtils.loadAnimation(context, R.anim.expand);
        expandAnimation.setAnimationListener(new Animation.AnimationListener() {

        @Override
        public void onAnimationStart(Animation animation) {
            vibrator.vibrate(
            VibrationEffect.startComposition()
                .addPrimitive(
                    VibrationEffect.Composition.PRIMITIVE_SLOW_RISE, 0.3f)
                .addPrimitive(
                    VibrationEffect.Composition.PRIMITIVE_QUICK_FALL, 0.3f)
                .compose());
        }
        });

        collapseAnimation = AnimationUtils
                .loadAnimation(context, R.anim.collapse);
        collapseAnimation.setAnimationListener(new Animation.AnimationListener() {

            @Override
            public void onAnimationStart(Animation animation) {
                vibrator.vibrate(
                VibrationEffect.startComposition()
                    .addPrimitive(
                        VibrationEffect.Composition.PRIMITIVE_SLOW_RISE)
                    .compose());
            }
        });
    }

    @Override
    public void onClick(View view) {
        view.startAnimation(isExpanded ? collapseAnimation : expandAnimation);
        isExpanded = !isExpanded;
    }
}
ゆらゆら(回転あり)
ハプティクスに関する重要な原則の 1 つは、ユーザーを喜ばせることです。PRIMITIVE_SPIN を使用すると、予期しない心地よいバイブレーション効果を楽しく導入できます。このプリミティブは、複数回呼び出された場合に最も効果を発揮します。複数のスピンを連結すると、ぐらぐらして不安定な効果が生まれます。この効果は、各プリミティブにややランダムなスケーリングを適用することでさらに強化できます。連続するスピン プリミティブ間のギャップを試すこともできます。2 回の回転を間隔なし(間隔 0 ミリ秒)で行うと、きつい回転感覚が生じます。スピン間のギャップを 10 ミリ秒から 50 ミリ秒に増やすと、スピンの感覚が緩くなり、動画やアニメーションの長さに合わせることができます。
100 ミリ秒を超えるギャップは使用しないでください。連続するスピンがうまく統合されなくなり、個別の効果のように感じられるようになります。
下にドラッグして離すと跳ね返る弾性シェイプの例を次に示します。アニメーションは、バウンスの変位に比例して強度が変化する 2 つのスピン効果で強化されます。

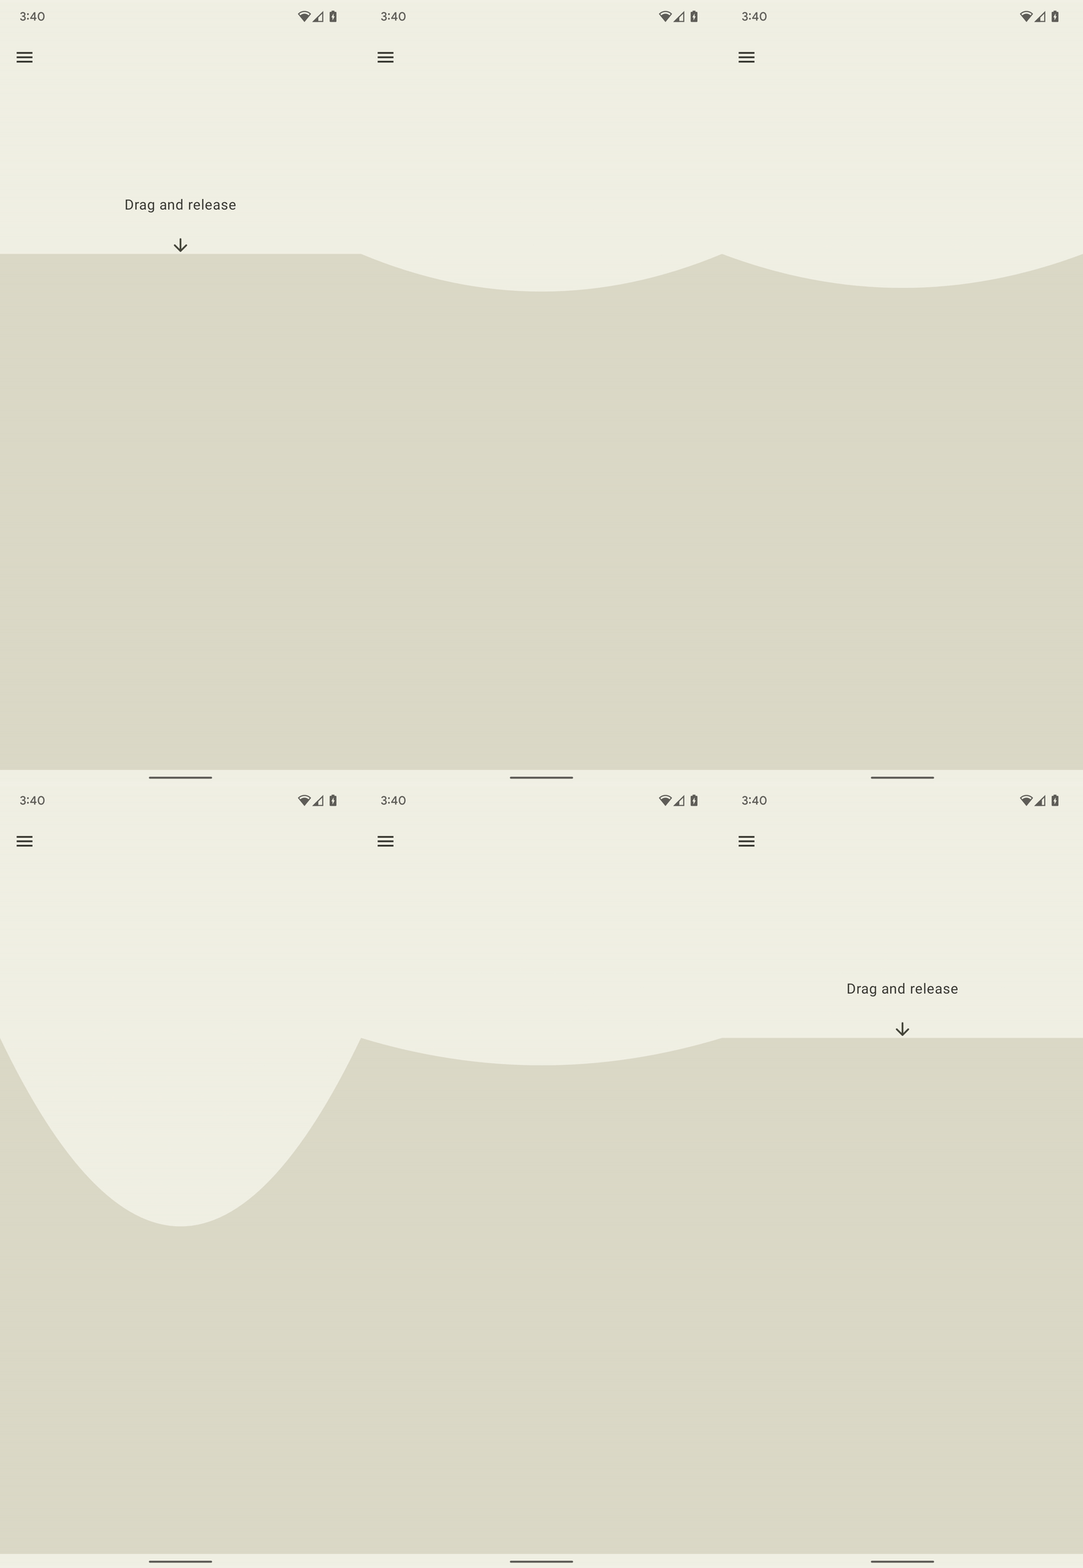

図 3. この波形は、デバイスのバイブレーションの出力加速度を表します。
Kotlin
@Composable
fun WobbleScreen() {
    // Control variables for the dragging and animating state of the elastic.
    var dragDistance by remember { mutableStateOf(0f) }
    var isWobbling by remember { mutableStateOf(false) }

    // Use drag distance to create an animated float value behaving like a spring.
    val dragDistanceAnimated by animateFloatAsState(
        targetValue = if (dragDistance > 0f) dragDistance else 0f,
        animationSpec = spring(
            dampingRatio = Spring.DampingRatioHighBouncy,
            stiffness = Spring.StiffnessMedium
        ),
    )

    if (isWobbling) {
        LaunchedEffect(Unit) {
            while (true) {
                val displacement = dragDistanceAnimated / MAX_DRAG_DISTANCE
                // Use some sort of minimum displacement so the final few frames
                // of animation don't generate a vibration.
                if (displacement > SPIN_MIN_DISPLACEMENT) {
                    vibrator.vibrate(
                        VibrationEffect.startComposition().addPrimitive(
                            VibrationEffect.Composition.PRIMITIVE_SPIN,
                            nextSpinScale(displacement)
                        ).addPrimitive(
                        VibrationEffect.Composition.PRIMITIVE_SPIN,
                        nextSpinScale(displacement)
                        ).compose()
                    )
                }
                // Delay the next check for a sufficient duration until the
                // current composition finishes. Note that you can use
                // Vibrator.getPrimitiveDurations API to calculcate the delay.
                delay(VIBRATION_DURATION)
            }
        }
    }

    Box(
        Modifier
            .fillMaxSize()
            .draggable(
                onDragStopped = {
                    isWobbling = true
                    dragDistance = 0f
                },
                orientation = Orientation.Vertical,
                state = rememberDraggableState { delta ->
                    isWobbling = false
                    dragDistance += delta
                }
            )
    ) {
        // Draw the wobbling shape using the animated spring-like value.
        WobbleShape(dragDistanceAnimated)
    }
}

// Calculate a random scale for each spin to vary the full effect.
fun nextSpinScale(displacement: Float): Float {
    // Generate a random offset in the range [-0.1, +0.1] to be added to the
    // vibration scale so the spin effects have slightly different values.
    val randomOffset: Float = Random.Default.nextFloat() * 0.2f - 0.1f
    return (displacement + randomOffset).absoluteValue.coerceIn(0f, 1f)
}
Java
class AnimationListener implements DynamicAnimation.OnAnimationUpdateListener {
    private final Random vibrationRandom = new Random(seed);
    private final long lastVibrationUptime;

    @Override
    public void onAnimationUpdate(
        DynamicAnimation animation, float value, float velocity) {
        // Delay the next check for a sufficient duration until the current
        // composition finishes. Note that you can use
        // Vibrator.getPrimitiveDurations API to calculcate the delay.
        if (SystemClock.uptimeMillis() - lastVibrationUptime < VIBRATION_DURATION) {
            return;
        }

        float displacement = calculateRelativeDisplacement(value);

        // Use some sort of minimum displacement so the final few frames
        // of animation don't generate a vibration.
        if (displacement < SPIN_MIN_DISPLACEMENT) {
            return;
        }

        lastVibrationUptime = SystemClock.uptimeMillis();
        vibrator.vibrate(
        VibrationEffect.startComposition()
            .addPrimitive(VibrationEffect.Composition.PRIMITIVE_SPIN,
            nextSpinScale(displacement))
            .addPrimitive(VibrationEffect.Composition.PRIMITIVE_SPIN,
            nextSpinScale(displacement))
            .compose());
    }

    // Calculate a random scale for each spin to vary the full effect.
    float nextSpinScale(float displacement) {
        // Generate a random offset in the range [-0.1,+0.1] to be added to
        // the vibration scale so the spin effects have slightly different
        // values.
        float randomOffset = vibrationRandom.nextFloat() * 0.2f - 0.1f
        return MathUtils.clamp(displacement + randomOffset, 0f, 1f)
    }
}
バウンス(ドスンという音)
バイブレーション効果のもう 1 つの高度な応用は、物理的なインタラクションをシミュレートすることです。PRIMITIVE_THUD は、強力で反響する効果を生み出すことができます。たとえば、動画やアニメーションで衝撃の視覚化と組み合わせることで、全体的な体験を向上させることができます。
ボールが画面の下部で跳ね返るたびに、ドスンという効果音が再生されるボール落下アニメーションの例を次に示します。


図 4. この波形は、デバイスのバイブレーションの出力加速度を表します。
Kotlin
enum class BallPosition {
    Start,
    End
}

@Composable
fun BounceScreen() {
    // Control variable for the state of the ball.
    var ballPosition by remember { mutableStateOf(BallPosition.Start) }
    var bounceCount by remember { mutableStateOf(0) }

    // Animation for the bouncing ball.
    var transitionData = updateTransitionData(ballPosition)
    val collisionData = updateCollisionData(transitionData)

    // Ball is about to contact floor, only vibrating once per collision.
    var hasVibratedForBallContact by remember { mutableStateOf(false) }
    if (collisionData.collisionWithFloor) {
        if (!hasVibratedForBallContact) {
        val vibrationScale = 0.7.pow(bounceCount++).toFloat()
        vibrator.vibrate(
            VibrationEffect.startComposition().addPrimitive(
            VibrationEffect.Composition.PRIMITIVE_THUD,
            vibrationScale
            ).compose()
        )
        hasVibratedForBallContact = true
        }
    } else {
        // Reset for next contact with floor.
        hasVibratedForBallContact = false
    }

    Screen() {
        Box(
        Modifier
            .fillMaxSize()
            .clickable {
            if (transitionData.isAtStart) {
                ballPosition = BallPosition.End
            } else {
                ballPosition = BallPosition.Start
                bounceCount = 0
            }
            },
        ) {
        // Build the ball UI based on the current state.
        BouncingBall(transitionData)
        }
    }
}
Java
class ClickListener implements View.OnClickListener {
    @Override
    public void onClick(View view) {
        view.animate()
        .translationY(targetY)
        .setDuration(3000)
        .setInterpolator(new BounceInterpolator())
        .setUpdateListener(new AnimatorUpdateListener() {

            boolean hasVibratedForBallContact = false;
            int bounceCount = 0;

            @Override
            public void onAnimationUpdate(ValueAnimator animator) {
            boolean valueBeyondThreshold = (float) animator.getAnimatedValue() > 0.98;
            if (valueBeyondThreshold) {
                if (!hasVibratedForBallContact) {
                float vibrationScale = (float) Math.pow(0.7, bounceCount++);
                vibrator.vibrate(
                    VibrationEffect.startComposition()
                    .addPrimitive(
                        VibrationEffect.Composition.PRIMITIVE_THUD,
                        vibrationScale)
                    .compose());
                hasVibratedForBallContact = true;
                }
            } else {
                // Reset for next contact with floor.
                hasVibratedForBallContact = false;
            }
            }
        });
    }
}
エンベロープ付きのバイブレーション波形
カスタム バイブレーション パターンを作成するプロセスでは、バイブレーションの振幅を制御して、スムーズな増減効果を作成できます。このセクションでは、波形エンベロープを使用してダイナミックな触覚効果を作成する方法について説明します。波形エンベロープを使用すると、振動の振幅と周波数を時間経過とともに正確に制御できます。これにより、より豊かでニュアンスのある触覚エクスペリエンスを作成できます。
Android 16(API レベル 36)以降、システムは、一連のコントロール ポイントを定義してバイブレーション波形エンベロープを作成するための次の API を提供します。
BasicEnvelopeBuilder: ハードウェアに依存しない触覚効果を作成するためのアクセス可能なアプローチ。WaveformEnvelopeBuilder: ハプティクス効果を作成するためのより高度なアプローチ。ハプティクス ハードウェアに精通している必要があります。
Android では、エンベロープ効果のフォールバックは提供されていません。このサポートが必要な場合は、次の手順を行います。
Vibrator.areEnvelopeEffectsSupported()を使用して、特定のデバイスがエンベロープ効果をサポートしているかどうかを確認します。- サポートされていない一貫したエクスペリエンスのセットを無効にするか、フォールバックの代替手段としてカスタム バイブレーション パターンまたはコンポジションを使用します。
より基本的なエンベロープ効果を作成するには、次のパラメータを指定して BasicEnvelopeBuilder を使用します。
- \( [0, 1] \)の範囲の強度値。振動の知覚強度を表します。たとえば、値 \( 0.5 \)は、デバイスで達成可能なグローバル最大強度の半分と認識されます。
\( [0, 1] \)の範囲の鮮明度の値。振動の鮮明度を表します。値が小さいほど振動が滑らかになり、値が大きいほど振動が鋭くなります。
duration 値。最後のコントロール ポイント(強度とシャープネスのペア)から新しいコントロール ポイントに移行するのにかかる時間をミリ秒単位で表します。
次の波形の例では、500 ミリ秒かけて低ピッチから高ピッチの最大強度のバイブレーションまで強度を上げ、100 ミリ秒かけて\( 0 \) (オフ)まで強度を下げています。
vibrator.vibrate(VibrationEffect.BasicEnvelopeBuilder()
    .setInitialSharpness(0.0f)
    .addControlPoint(1.0f, 1.0f, 500)
    .addControlPoint(0.0f, 1.0f, 100)
    .build()
)
ハプティクスに関する高度な知識がある場合は、WaveformEnvelopeBuilder を使用してエンベロープ効果を定義できます。このオブジェクトを使用すると、VibratorFrequencyProfile を介して周波数と出力の加速度のマッピング(FOAM)にアクセスできます。
- デバイスの FOAM によって決定される、特定の周波数で達成可能な振動の強さを表す、 \( [0, 1] \)の範囲の振幅値。たとえば、値が \( 0.5 \) の場合、指定された周波数で達成可能な最大出力加速度の半分が生成されます。
ヘルツ単位で指定された周波数の値。
duration 値。最後のコントロール ポイントから新しいコントロール ポイントに移行するのにかかる時間をミリ秒単位で表します。
次のコードは、400 ミリ秒のバイブレーション効果を定義する波形の例を示しています。まず、50 ミリ秒の振幅ランプで、オフからフルまで 60 Hz の一定の周波数で上昇します。次に、周波数が次の 100 ミリ秒で 120 Hz まで上昇し、200 ミリ秒間そのレベルを維持します。最後に、振幅が \( 0 \)まで下降し、周波数が最後の 50 ミリ秒で 60 Hz に戻ります。
vibrator.vibrate(VibrationEffect.WaveformEnvelopeBuilder()
    .addControlPoint(1.0f, 60f, 50)
    .addControlPoint(1.0f, 120f, 100)
    .addControlPoint(1.0f, 120f, 200)
    .addControlPoint(0.0f, 60f, 50)
    .build()
)
以降のセクションでは、エンベロープ付きのバイブレーション波形の例をいくつか示します。
跳ねるバネ
前のサンプルでは、PRIMITIVE_THUD を使用して物理的なバウンスのインタラクションをシミュレートしています。基本的なエンベロープ API を使用すると、より細かく制御できるようになり、バイブレーションの強さとシャープさを正確に調整できます。これにより、アニメーション イベントをより正確に追跡する触覚フィードバックが得られます。
画面の下部でバウンドするたびに基本的なエンベロープ効果でアニメーションが強化される、自由落下のばねの例を次に示します。

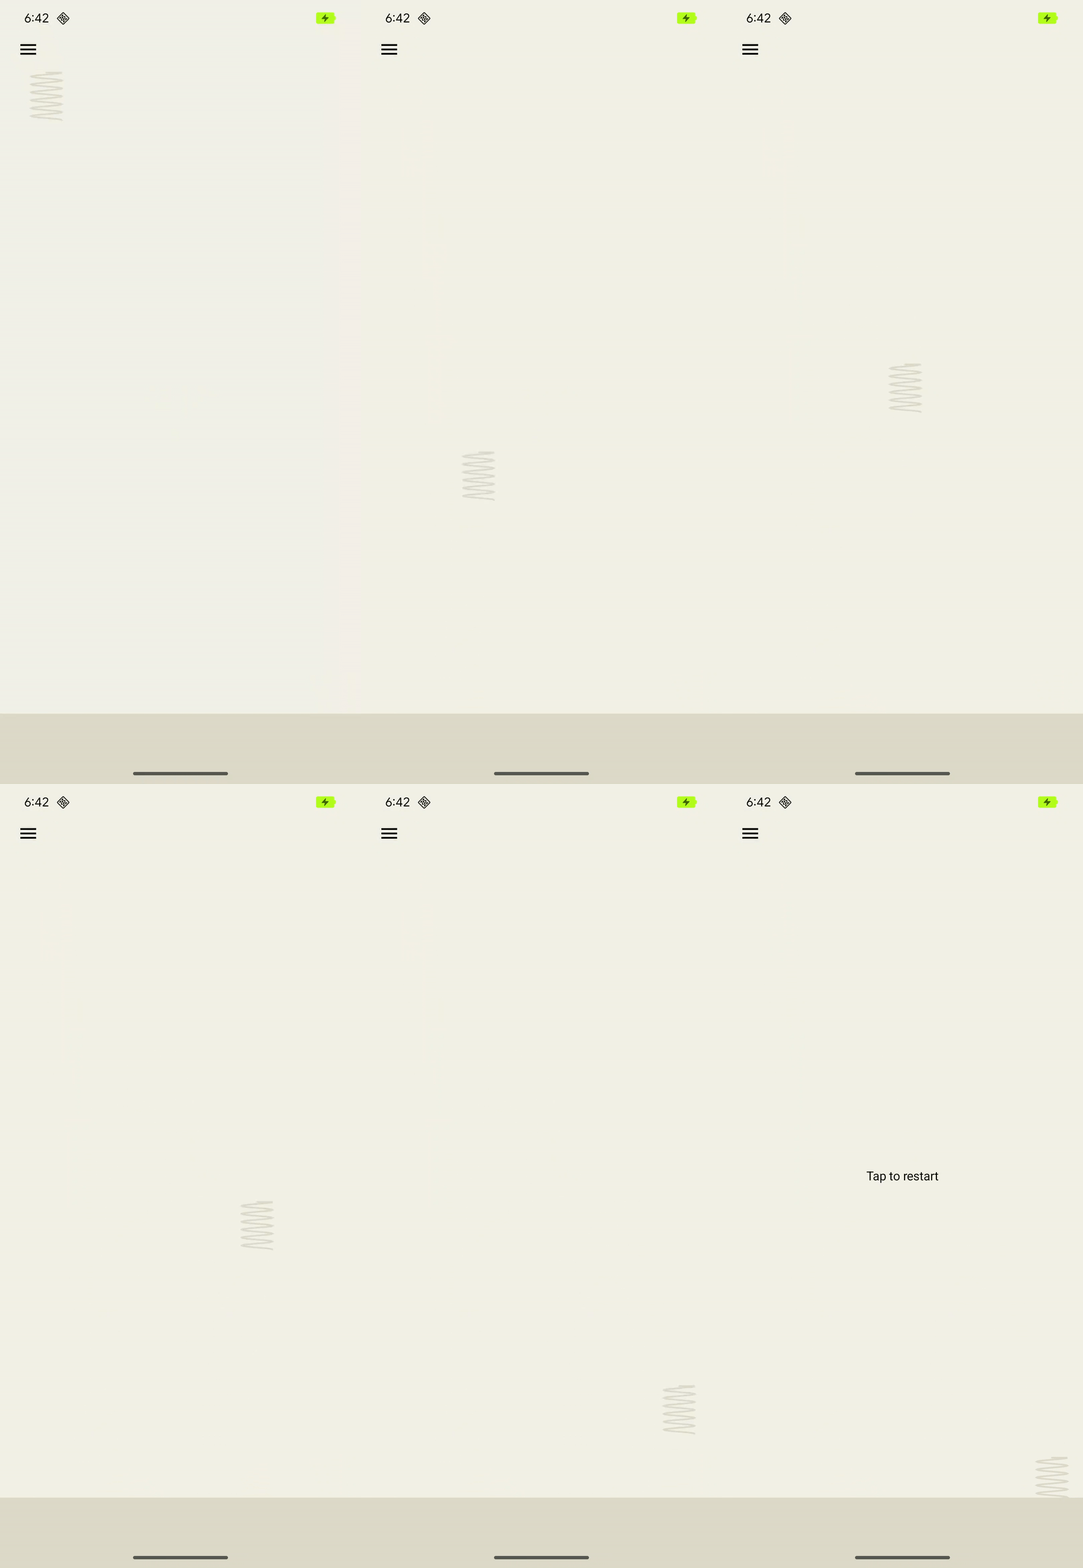

図 5. 跳ねるバネをシミュレートする振動の出力加速度波形グラフ。
@Composable
fun BouncingSpringAnimation() {
  var springX by remember { mutableStateOf(SPRING_WIDTH) }
  var springY by remember { mutableStateOf(SPRING_HEIGHT) }
  var velocityX by remember { mutableFloatStateOf(INITIAL_VELOCITY) }
  var velocityY by remember { mutableFloatStateOf(INITIAL_VELOCITY) }
  var sharpness by remember { mutableFloatStateOf(INITIAL_SHARPNESS) }
  var intensity by remember { mutableFloatStateOf(INITIAL_INTENSITY) }
  var multiplier by remember { mutableFloatStateOf(INITIAL_MULTIPLIER) }
  var bottomBounceCount by remember { mutableIntStateOf(0) }
  var animationStartTime by remember { mutableLongStateOf(0L) }
  var isAnimating by remember { mutableStateOf(false) }

  val (screenHeight, screenWidth) = getScreenDimensions(context)

  LaunchedEffect(isAnimating) {
    animationStartTime = System.currentTimeMillis()
    isAnimating = true

    while (isAnimating) {
      velocityY += GRAVITY
      springX += velocityX.dp
      springY += velocityY.dp

      // Handle bottom collision
      if (springY > screenHeight - FLOOR_HEIGHT - SPRING_HEIGHT / 2) {
        // Set the spring's y-position to the bottom bounce point, to keep it
        // above the floor.
        springY = screenHeight - FLOOR_HEIGHT - SPRING_HEIGHT / 2

        // Reverse the vertical velocity and apply damping to simulate a bounce.
        velocityY *= -BOUNCE_DAMPING
        bottomBounceCount++

        // Calculate the fade-out duration of the vibration based on the
        // vertical velocity.
        val fadeOutDuration =
            ((abs(velocityY) / GRAVITY) * FRAME_DELAY_MS).toLong()

        // Create a "boing" envelope vibration effect that fades out.
        vibrator.vibrate(
            VibrationEffect.BasicEnvelopeBuilder()
                // Starting from zero sharpness here, will simulate a smoother
                // "boing" effect.
                .setInitialSharpness(0f)

                // Add a control point to reach the desired intensity and
                // sharpness very quickly.
                .addControlPoint(intensity, sharpness, 20L)

                // Add a control point to fade out the vibration intensity while
                // maintaining sharpness.
                .addControlPoint(0f, sharpness, fadeOutDuration)
                .build()
        )

        // Decrease the intensity and sharpness of the vibration for subsequent
        // bounces, and reduce the multiplier to create a fading effect.
        intensity *= multiplier
        sharpness *= multiplier
        multiplier -= 0.1f
      }

      if (springX > screenWidth - SPRING_WIDTH / 2) {
        // Prevent the spring from moving beyond the right edge of the screen.
        springX = screenWidth - SPRING_WIDTH / 2
      }

      // Check for 3 bottom bounces and then slow down.
      if (bottomBounceCount >= MAX_BOTTOM_BOUNCE &&
            System.currentTimeMillis() - animationStartTime > 1000) {
        velocityX *= 0.9f
        velocityY *= 0.9f
      }

      delay(FRAME_DELAY_MS) // Control animation speed.

      // Determine if the animation should continue based on the spring's
      // position and velocity.
      isAnimating = (springY < screenHeight + SPRING_HEIGHT ||
            springX < screenWidth + SPRING_WIDTH)
        && (velocityX >= 0.1f || velocityY >= 0.1f)
    }
  }

  Box(
    modifier = Modifier
      .fillMaxSize()
      .noRippleClickable {
        if (!isAnimating) {
          resetAnimation()
        }
      }
      .width(screenWidth)
      .height(screenHeight)
  ) {
    DrawSpring(mutableStateOf(springX), mutableStateOf(springY))
    DrawFloor()
    if (!isAnimating) {
      DrawText("Tap to restart")
    }
  }
}
ロケットの打ち上げ
前のサンプルでは、基本的なエンベロープ API を使用して、弾むバネの反応をシミュレートする方法を示しました。WaveformEnvelopeBuilder は、デバイスの全周波数範囲を正確に制御し、高度にカスタマイズされたハプティクス効果を実現します。これを FOAM データと組み合わせることで、特定の周波数機能に合わせて振動を調整できます。
動的振動パターンを使用したロケット発射シミュレーションの例を次に示します。この効果は、サポートされている最小周波数加速度出力(0.1 G)から共振周波数まで、常に 10% の振幅入力を維持します。これにより、駆動振幅が同じでも、効果が適度に強い出力で始まり、知覚される強度とシャープネスが増加します。共振に達すると、効果の周波数は最小値に戻り、強さと鮮明さが低下したように感じられます。これにより、宇宙への打ち上げを模倣した、最初の抵抗感の後に解放される感覚が生み出されます。
この効果は、共振周波数と出力加速度曲線に関するデバイス固有の情報を抽象化する基本的なエンベロープ API では実現できません。シャープネスを上げると、等価周波数が共振を超え、意図しない加速度の低下を引き起こす可能性があります。

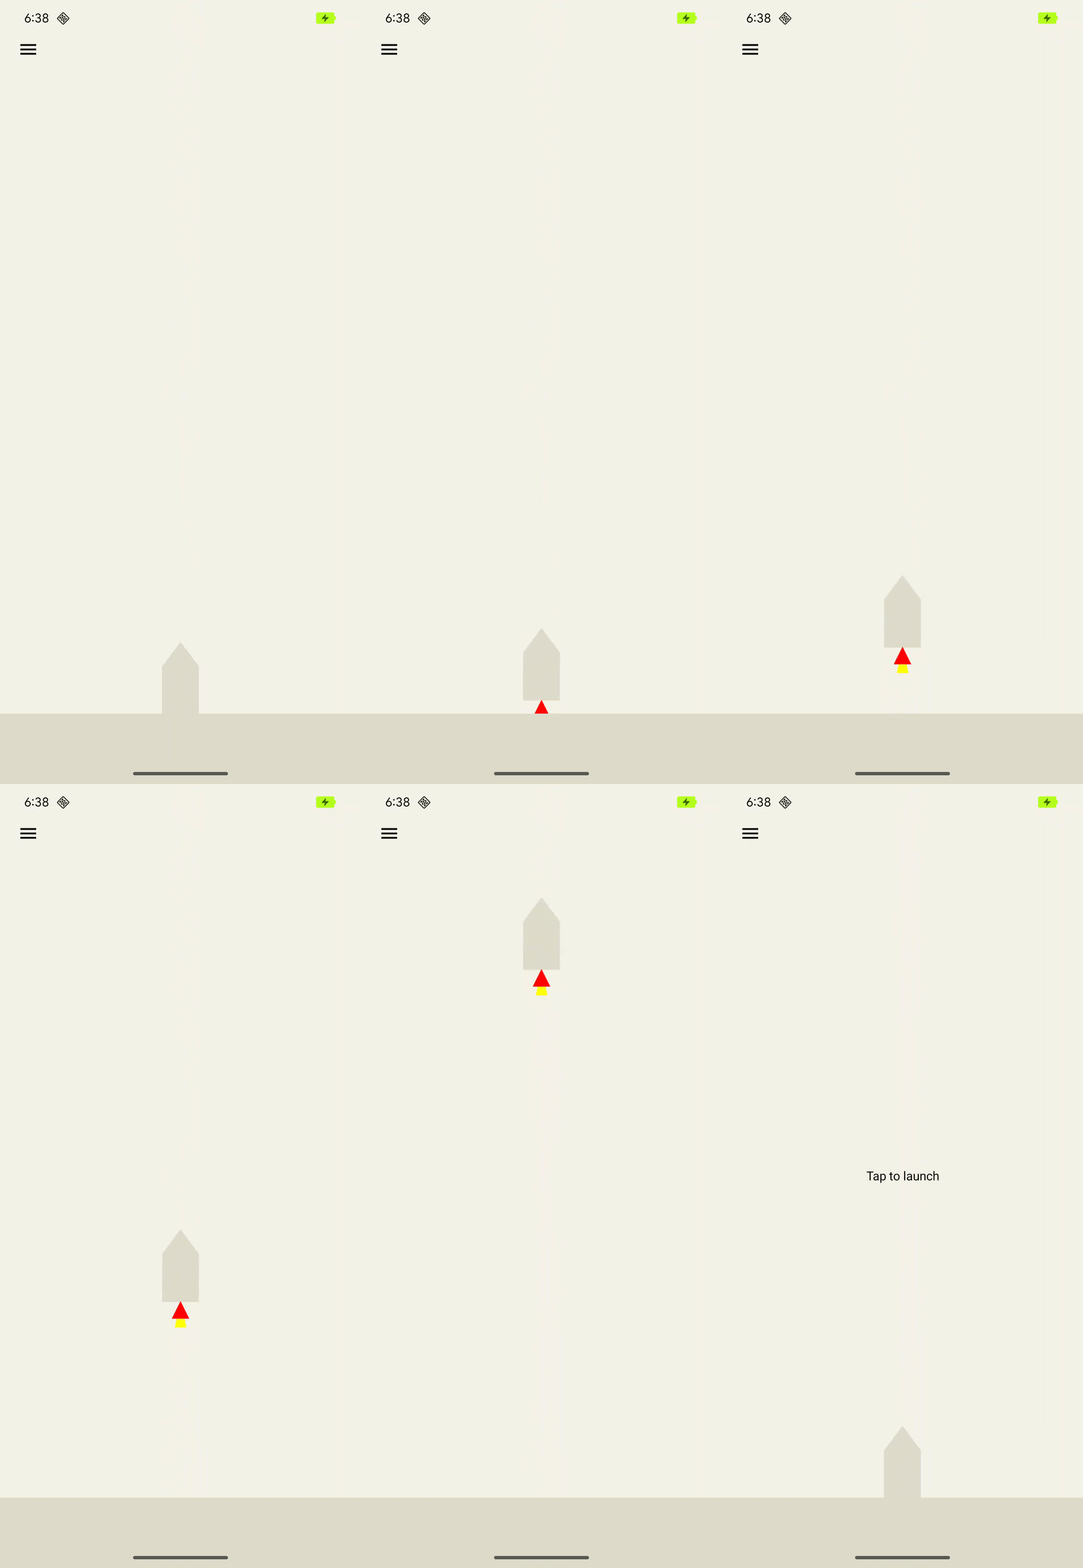

図 6. ロケットの打ち上げをシミュレートする振動の出力加速度波形グラフ。
@Composable
fun RocketLaunchAnimation() {
  val context = LocalContext.current
  val screenHeight = remember { mutableFloatStateOf(0f) }
  var rocketPositionY by remember { mutableFloatStateOf(0f) }
  var isLaunched by remember { mutableStateOf(false) }
  val animation = remember { Animatable(0f) }

  val animationDuration = 3000
  LaunchedEffect(isLaunched) {
    if (isLaunched) {
      animation.animateTo(
        1.2f, // Overshoot so that the rocket goes off the screen.
        animationSpec = tween(
          durationMillis = animationDuration,
          // Applies an easing curve with a slow start and rapid acceleration
          // towards the end.
          easing = CubicBezierEasing(1f, 0f, 0.75f, 1f)
        )
      ) {
        rocketPositionY = screenHeight.floatValue * value
      }
      animation.snapTo(0f)
      rocketPositionY = 0f;
      isLaunched = false;
    }
  }

  Box(
    modifier = Modifier
      .fillMaxSize()
      .noRippleClickable {
        if (!isLaunched) {
          // Play vibration with same duration as the animation, using 70% of
          // the time for the rise of the vibration, to match the easing curve
          // defined previously.
          playVibration(vibrator, animationDuration, 0.7f)
          isLaunched = true
        }
      }
      .background(Color(context.getColor(R.color.background)))
      .onSizeChanged { screenHeight.floatValue = it.height.toFloat() }
  ) {
    drawRocket(rocketPositionY)
  }
}

private fun playVibration(
  vibrator: Vibrator,
  totalDurationMs: Long,
  riseBias: Float,
  minOutputAccelerationGs: Float = 0.1f,
) {
  require(riseBias in 0f..1f) { "Rise bias must be between 0 and 1." }

  if (!vibrator.areEnvelopeEffectsSupported()) {
    return
  }

  val resonantFrequency = vibrator.resonantFrequency
  if (resonantFrequency.isNaN()) {
    // Device doesn't have or expose a resonant frequency.
    return
  }

  val startFrequency = vibrator.frequencyProfile?.getFrequencyRange(minOutputAccelerationGs)?.lower ?: return

  if (startFrequency >= resonantFrequency) {
    // Vibrator can't generate the minimum required output at lower frequencies.
    return
  }

  val minDurationMs = vibrator.envelopeEffectInfo.minControlPointDurationMillis
  val rampUpDurationMs = (riseBias * totalDurationMs).toLong() - minDurationMs
  val rampDownDurationMs = totalDurationMs - rampUpDuration - minDurationMs

  vibrator.vibrate(
    VibrationEffect.WaveformEnvelopeBuilder()
      // Quickly reach the desired output at the start frequency
      .addControlPoint(0.1f, startFrequency, minDurationMs)
      .addControlPoint(0.1f, resonantFrequency, rampUpDurationMs)
      .addControlPoint(0.1f, startFrequency, rampDownDurationMs)

      // Controlled ramp down to zero to avoid ringing after the vibration.
      .addControlPoint(0.0f, startFrequency, minDurationMs)
      .build()
  )
}
