Ở dạng cơ bản nhất, thanh thao tác hiển thị tiêu đề của hoạt động ở một bên và trình đơn mục bổ sung ở bên kia. Ngay cả ở dạng cơ bản này, thanh ứng dụng vẫn cung cấp thông tin hữu ích cho người dùng và mang lại giao diện nhất quán cho các ứng dụng Android.
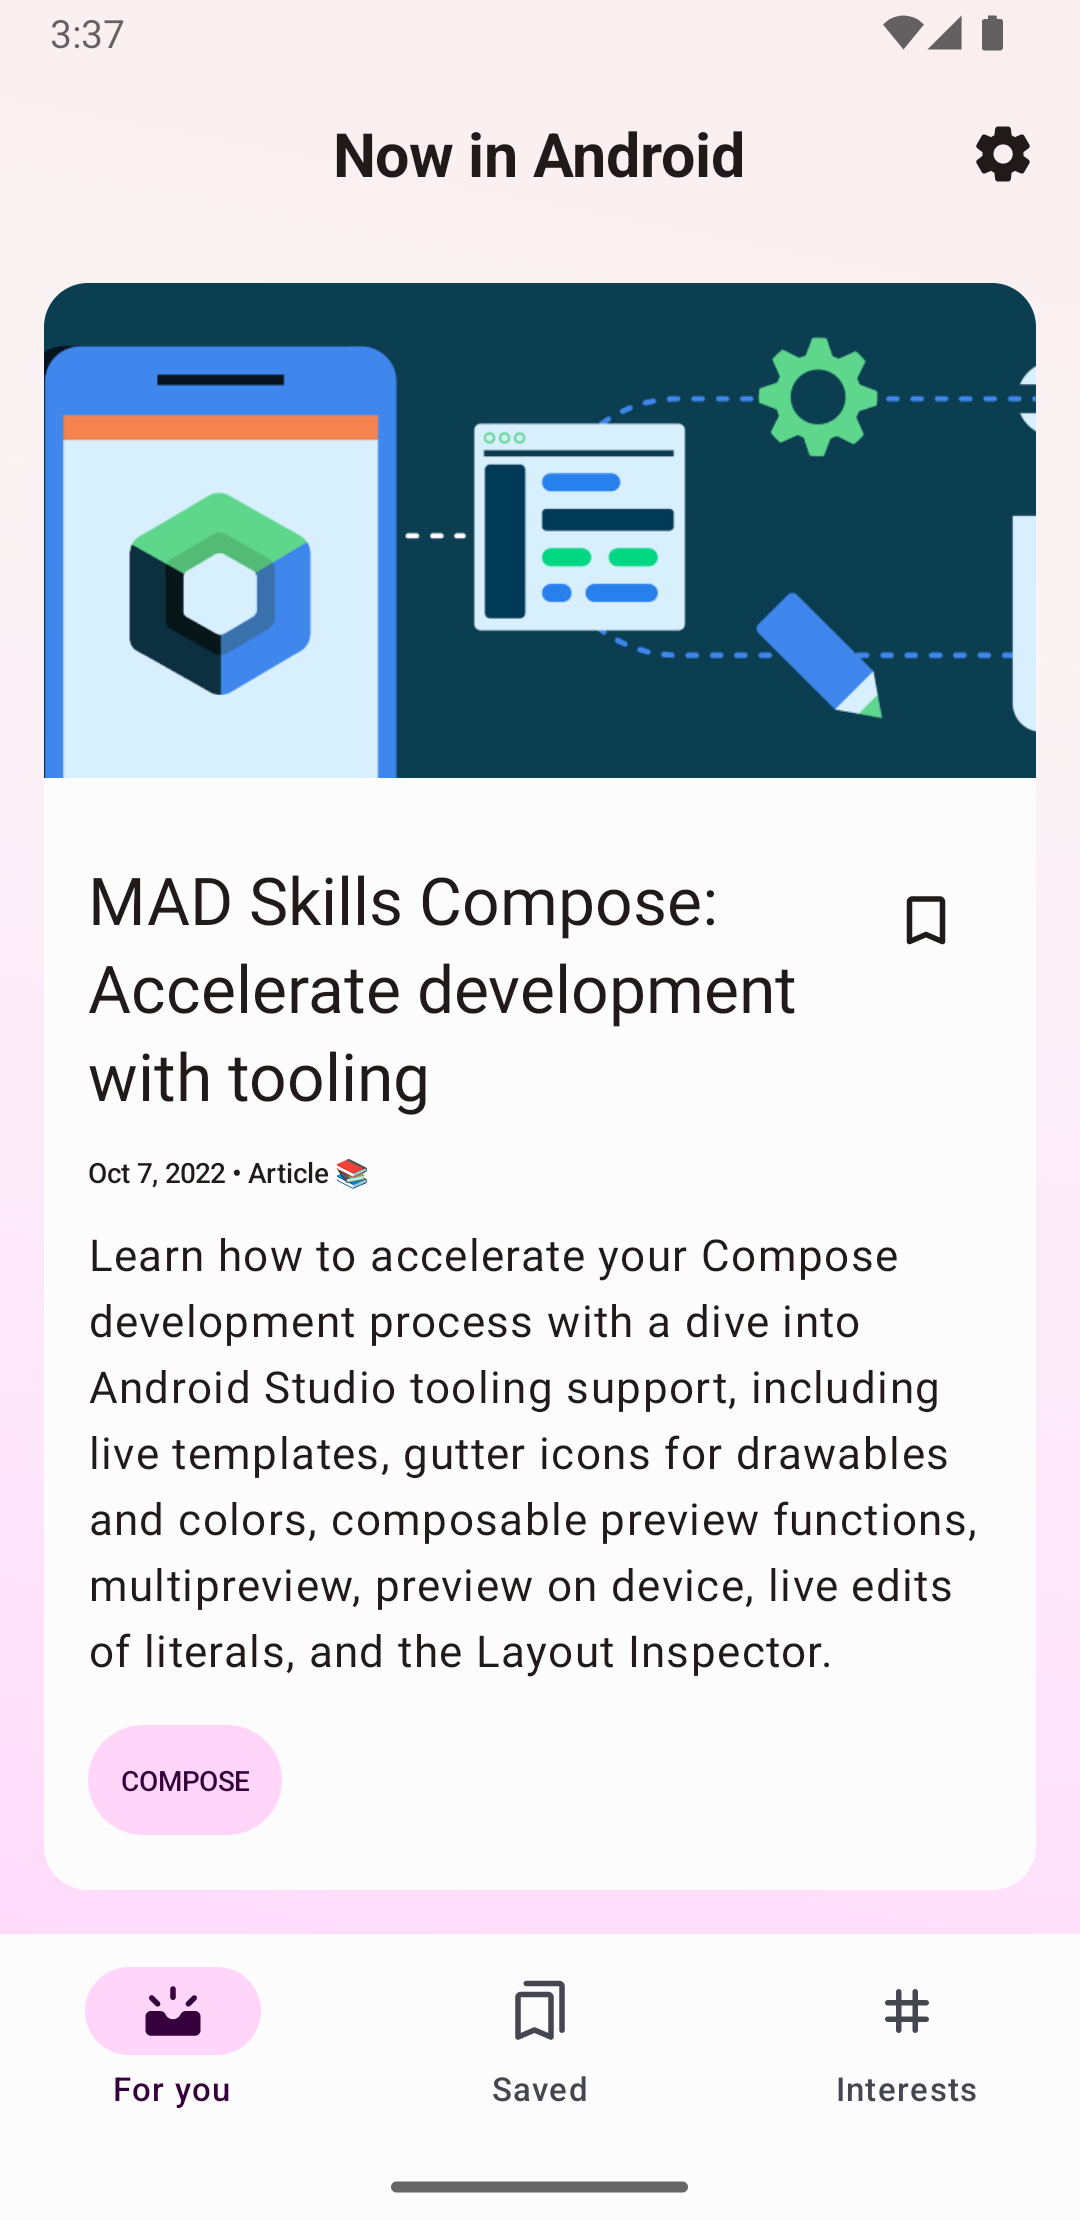
Hình 1. Thanh ứng dụng có biểu tượng hành động trong ứng dụng "Now in Android".
Tất cả hoạt động sử dụng giao diện mặc định đều có ActionBar làm thanh ứng dụng. Các tính năng của thanh ứng dụng được thêm vào ActionBar gốc trên nhiều bản phát hành Android. Do đó, ActionBar gốc sẽ hoạt động theo cách khác nhau tuỳ thuộc vào phiên bản Android mà thiết bị đang sử dụng.
Mặt khác, các tính năng được thêm vào phiên bản Toolbar của thư viện AndroidX AppCompat, nghĩa là các tính năng đó có trên các thiết bị sử dụng thư viện AndroidX.
Vì lý do này, hãy sử dụng lớp Toolbar của thư viện AndroidX để triển khai thanh ứng dụng của các hoạt động. Việc sử dụng thanh công cụ của thư viện AndroidX giúp hành vi của ứng dụng nhất quán trên nhiều thiết bị nhất.
Thêm Thanh công cụ vào một Hoạt động
Các bước sau đây mô tả cách thiết lập Toolbar làm thanh ứng dụng của hoạt động:
Thêm thư viện AndroidX vào dự án của bạn như mô tả trong bài viết Tổng quan về AndroidX.
Trong tệp kê khai ứng dụng, hãy đặt phần tử <application> để sử dụng một trong các giao diện NoActionBar của AppCompat, như minh hoạ trong ví dụ sau. Việc sử dụng một trong các giao diện này sẽ ngăn ứng dụng sử dụng lớp ActionBar gốc để cung cấp thanh ứng dụng.
Đặt thanh công cụ ở đầu bố cục của hoạt động vì bạn đang sử dụng thanh công cụ này làm thanh ứng dụng.
Trong phương thức onCreate() của hoạt động, hãy gọi phương thức setSupportActionBar() của hoạt động và chuyển thanh công cụ của hoạt động như minh hoạ trong ví dụ sau. Phương thức này đặt thanh công cụ làm thanh ứng dụng cho hoạt động.
Kotlin
overridefunonCreate(savedInstanceState:Bundle?){super.onCreate(savedInstanceState)setContentView(R.layout.activity_my)// The Toolbar defined in the layout has the id "my_toolbar".setSupportActionBar(findViewById(R.id.my_toolbar))}
Ứng dụng của bạn hiện có một thanh thao tác cơ bản. Theo mặc định, thanh thao tác chứa tên của ứng dụng và một trình đơn mục bổ sung, ban đầu chứa mục Cài đặt.
Bạn có thể thêm các thao tác khác vào thanh thao tác và trình đơn mục bổ sung, như mô tả trong phần Thêm và xử lý thao tác.
Sử dụng các phương thức tiện ích của thanh ứng dụng
Sau khi đặt thanh công cụ làm thanh ứng dụng của một hoạt động, bạn sẽ có quyền truy cập vào các phương thức tiện ích do lớp ActionBar của thư viện AndroidX cung cấp. Phương pháp này cho phép bạn thực hiện những việc hữu ích, chẳng hạn như ẩn và hiện thanh ứng dụng.
Để sử dụng các phương thức tiện ích ActionBar, hãy gọi phương thức getSupportActionBar() của hoạt động. Phương thức này trả về một tệp tham chiếu đến đối tượng ActionBar AppCompat.
Sau khi có tham chiếu đó, bạn có thể gọi bất kỳ phương thức ActionBar nào để điều chỉnh thanh ứng dụng. Ví dụ: để ẩn thanh ứng dụng, hãy gọi ActionBar.hide().
Nội dung và mã mẫu trên trang này phải tuân thủ các giấy phép như mô tả trong phần Giấy phép nội dung. Java và OpenJDK là nhãn hiệu hoặc nhãn hiệu đã đăng ký của Oracle và/hoặc đơn vị liên kết của Oracle.
Cập nhật lần gần đây nhất: 2025-07-27 UTC.
[[["Dễ hiểu","easyToUnderstand","thumb-up"],["Giúp tôi giải quyết được vấn đề","solvedMyProblem","thumb-up"],["Khác","otherUp","thumb-up"]],[["Thiếu thông tin tôi cần","missingTheInformationINeed","thumb-down"],["Quá phức tạp/quá nhiều bước","tooComplicatedTooManySteps","thumb-down"],["Đã lỗi thời","outOfDate","thumb-down"],["Vấn đề về bản dịch","translationIssue","thumb-down"],["Vấn đề về mẫu/mã","samplesCodeIssue","thumb-down"],["Khác","otherDown","thumb-down"]],["Cập nhật lần gần đây nhất: 2025-07-27 UTC."],[],[],null,["# Set up the app bar\n\nTry the Compose way \nJetpack Compose is the recommended UI toolkit for Android. Learn how to add components in Compose. \n[App Bar →](/develop/ui/compose/components/app-bars) \n\nIn its most basic form, the action bar displays the title for the activity on one\nside and an overflow menu on the other. Even in this basic form, the app bar provides\nuseful information to users and gives Android apps a consistent look and feel.\n**Figure 1.** An app bar with an action icon in the \"Now in Android\" app.\n\nAll activities that use the default theme have an\n[ActionBar](/reference/android/app/ActionBar) as an app\nbar. App bar features are added to the native `ActionBar` over various\nAndroid releases. As a result, the native `ActionBar` behaves differently\ndepending on what version of Android a device is using.\n\nOn the other hand, features are added to the AndroidX AppCompat library's version of\n[Toolbar](/reference/androidx/appcompat/widget/Toolbar),\nwhich means those features are available on devices that use the AndroidX libraries.\n\nUse the AndroidX library's `Toolbar` class to implement your activities'\napp bars for this reason. Using the AndroidX library's toolbar makes your app's\nbehavior consistent across the widest range of devices.\n\nAdd a Toolbar to an Activity\n----------------------------\n\nThese steps describe how to set up a `Toolbar` as your activity's app bar:\n\n1. Add the AndroidX library to your project, as described in [AndroidX overview](/jetpack/androidx).\n2. Make sure the activity extends [AppCompatActivity](/reference/androidx/appcompat/app/AppCompatActivity): \n\n ### Kotlin\n\n ```kotlin\n class MyActivity : AppCompatActivity() {\n // ...\n }\n ```\n\n ### Java\n\n ```java\n public class MyActivity extends AppCompatActivity {\n // ...\n }\n ```\n | **Note:** Make this change for every activity in your app that uses a `Toolbar` as an app bar.\n3. In the app manifest, set the [`\u003capplication\u003e`](/guide/topics/manifest/application-element) element to use one of AppCompat's [NoActionBar](/reference/android/R.style#Theme_DeviceDefault_Light_NoActionBar) themes, as shown in the following example. Using one of these themes prevents the app from using the native `ActionBar` class to provide the app bar. \n\n ```xml\n \u003capplication\n android:theme=\"@style/Theme.AppCompat.Light.NoActionBar\"\n /\u003e\n ```\n4. Add a `Toolbar` to the activity's layout. For example, the following layout code adds a `Toolbar` and gives it the appearance of floating above the activity: \n\n ```xml\n \u003candroidx.appcompat.widget.Toolbar\n android:id=\"@+id/my_toolbar\"\n android:layout_width=\"match_parent\"\n android:layout_height=\"?attr/actionBarSize\"\n android:background=\"?attr/colorPrimary\"\n android:elevation=\"4dp\"\n android:theme=\"@style/ThemeOverlay.AppCompat.ActionBar\"\n app:popupTheme=\"@style/ThemeOverlay.AppCompat.Light\"/\u003e\n ```\n\n See the\n [Material Design specification](https://material.io/design/components/app-bars-bottom.html)\n for recommendations regarding app bar elevation.\n\n Position the toolbar at the top of the activity's\n [layout](/guide/topics/ui/declaring-layout), since you are using\n it as an app bar.\n5. In the activity's [onCreate()](/reference/android/app/Activity#onCreate(android.os.Bundle)) method, call the activity's [setSupportActionBar()](/reference/androidx/appcompat/app/AppCompatActivity#setSupportActionBar(androidx.appcompat.widget.Toolbar)) method and pass the activity's toolbar, as shown in the following example. This method sets the toolbar as the app bar for the activity. \n\n ### Kotlin\n\n ```kotlin\n override fun onCreate(savedInstanceState: Bundle?) {\n super.onCreate(savedInstanceState)\n setContentView(R.layout.activity_my)\n // The Toolbar defined in the layout has the id \"my_toolbar\".\n setSupportActionBar(findViewById(R.id.my_toolbar))\n }\n ```\n\n ### Java\n\n ```java\n @Override\n protected void onCreate(Bundle savedInstanceState) {\n super.onCreate(savedInstanceState);\n setContentView(R.layout.activity_my);\n Toolbar myToolbar = (Toolbar) findViewById(R.id.my_toolbar);\n setSupportActionBar(myToolbar);\n }\n ```\n\nYour app now has a basic action bar. By default, the action bar contains the name\nof the app and an overflow menu, which initially contains the **Settings** item.\nYou can add more actions to the action bar and the overflow menu, as described in\n[Add and handle actions](/develop/ui/views/components/appbar/actions).\n\nUse app bar utility methods\n---------------------------\n\nOnce you set the toolbar as an activity's app bar, you have access to the utility\nmethods provided by the AndroidX library's\n[ActionBar](/reference/androidx/appcompat/app/ActionBar)\nclass. This approach lets you do useful things, like hide and show the app bar.\n\nTo use the `ActionBar` utility methods, call the activity's\n[getSupportActionBar()](/reference/androidx/appcompat/app/AppCompatActivity#getSupportActionBar())\nmethod. This method returns a reference to an AppCompat `ActionBar` object.\nOnce you have that reference, you can call any of the `ActionBar` methods\nto adjust the app bar. For example, to hide the app bar, call\n[ActionBar.hide()](/reference/androidx/appcompat/app/ActionBar#hide())."]]