
Bildirimlerinizin Android'in farklı sürümlerinde en iyi şekilde görünmesini sağlamak için standart bildirim bildirimini kullanarak şablonu kullanarak bildirimleri etkinleştirebilirsiniz. Bildiriminizde daha fazla içerik sağlamak isterseniz Google Etiket Yöneticisi'ndeki genişletilebilir bildirimlerden şablonları ekleyin.
Ancak, sistem şablonları ihtiyaçlarınızı karşılamıyorsa kendi şablonunuzu kullanabilirsiniz. bildirim düzenini seçin.
İçerik alanı için özel düzen oluşturun
Özel bir düzene ihtiyacınız varsa
NotificationCompat.DecoratedCustomViewStyle
bildiriminize ekleyin. Bu API, içerik için özel bir düzen sağlamanıza olanak tanır
Normalde başlık ve metin içeriğinin işlendiği, hâlâ sistem kullanılırken
bildirim simgesi, zaman damgası, alt metin ve işlem düğmeleri için süslemeler.
Bu API, temel bildirimi temel alarak genişletilebilir bildirim şablonlarına benzer şekilde çalışır düzeni aşağıdaki gibi değiştirin:
- Temel bildirim oluşturma
şununla:
NotificationCompat.Builder. - Telefonla arama
setStyle()bunun bir örneğiniNotificationCompat.DecoratedCustomViewStyle. - Özel düzeninizi
RemoteViews. - Telefonla arama
setCustomContentView()tıklayın. - İsterseniz
setCustomBigContentView()simgesini tıklayın.
Düzenleri hazırlayın
small ve large düzenine ihtiyacınız var. Bu örnekte, small düzeni
aşağıdaki gibi görünebilir:
<?xml version="1.0" encoding="utf-8"?>
<LinearLayout xmlns:android="http://schemas.android.com/apk/res/android"
    android:layout_width="match_parent"
    android:layout_height="wrap_content"
    android:orientation="vertical">

    <TextView
        android:id="@+id/notification_title"
        style="@style/TextAppearance.Compat.Notification.Title"
        android:layout_width="wrap_content"
        android:layout_height="0dp"
        android:layout_weight="1"
        android:text="Small notification, showing only a title" />
</LinearLayout>
large düzeni de şöyle görünebilir:
<?xml version="1.0" encoding="utf-8"?>
<LinearLayout xmlns:android="http://schemas.android.com/apk/res/android"
    android:layout_width="match_parent"
    android:layout_height="300dp"
    android:orientation="vertical">

    <TextView
        android:id="@+id/notification_title"
        style="@style/TextAppearance.Compat.Notification.Title"
        android:layout_width="wrap_content"
        android:layout_height="wrap_content"
        android:layout_weight="1"
        android:text="Large notification, showing a title and a body." />

    <TextView
        android:id="@+id/notification_body"
        style="@style/TextAppearance.Compat.Notification.Line2"
        android:layout_width="wrap_content"
        android:layout_height="wrap_content"
        android:layout_weight="1"
        android:text="This is the body. The height is manually forced to 300dp." />
</LinearLayout>
Bildirimi oluşturma ve gösterme
Düzenler hazır olduktan sonra, bunları aşağıdaki örnekte gösterildiği gibi kullanabilirsiniz:
Kotlin
val notificationManager = getSystemService(Context.NOTIFICATION_SERVICE) as NotificationManager

// Get the layouts to use in the custom notification.
val notificationLayout = RemoteViews(packageName, R.layout.notification_small)
val notificationLayoutExpanded = RemoteViews(packageName, R.layout.notification_large)

// Apply the layouts to the notification.
val customNotification = NotificationCompat.Builder(context, CHANNEL_ID)
        .setSmallIcon(R.drawable.notification_icon)
        .setStyle(NotificationCompat.DecoratedCustomViewStyle())
        .setCustomContentView(notificationLayout)
        .setCustomBigContentView(notificationLayoutExpanded)
        .build()

notificationManager.notify(666, customNotification)
Java
NotificationManager notificationManager = (NotificationManager) getSystemService(Context.NOTIFICATION_SERVICE);

// Get the layouts to use in the custom notification
RemoteViews notificationLayout = new RemoteViews(getPackageName(), R.layout.notification_small);
RemoteViews notificationLayoutExpanded = new RemoteViews(getPackageName(), R.layout.notification_large);

// Apply the layouts to the notification.
Notification customNotification = new NotificationCompat.Builder(context, CHANNEL_ID)
        .setSmallIcon(R.drawable.notification_icon)
        .setStyle(new NotificationCompat.DecoratedCustomViewStyle())
        .setCustomContentView(notificationLayout)
        .setCustomBigContentView(notificationLayoutExpanded)
        .build();

notificationManager.notify(666, customNotification);
Bildirimin arka plan renginin cihaza göre değişebileceğini unutmayın.
ve sürümler. Şunlar gibi Destek Kitaplığı stillerini uygula:
Metin için TextAppearance_Compat_Notification ve
Özel düzeninizde başlık için TextAppearance_Compat_Notification_Title,
aşağıda gösterildiği gibidir. Bu stiller renk varyantlarına uyum sağlar, böylece
siyah üzerine siyah veya beyaz beyaz metinle karşılaşmazsınız.
<TextView
    android:layout_width="wrap_content"
    android:layout_height="match_parent"
    android:layout_weight="1"
    android:text="@string/notification_title"
    android:id="@+id/notification_title"
    style="@style/TextAppearance.Compat.Notification.Title" />
RemoteViews nesnenizde bir arka plan resmi ayarlamaktan kaçının çünkü
okunamaz hale gelebilir.
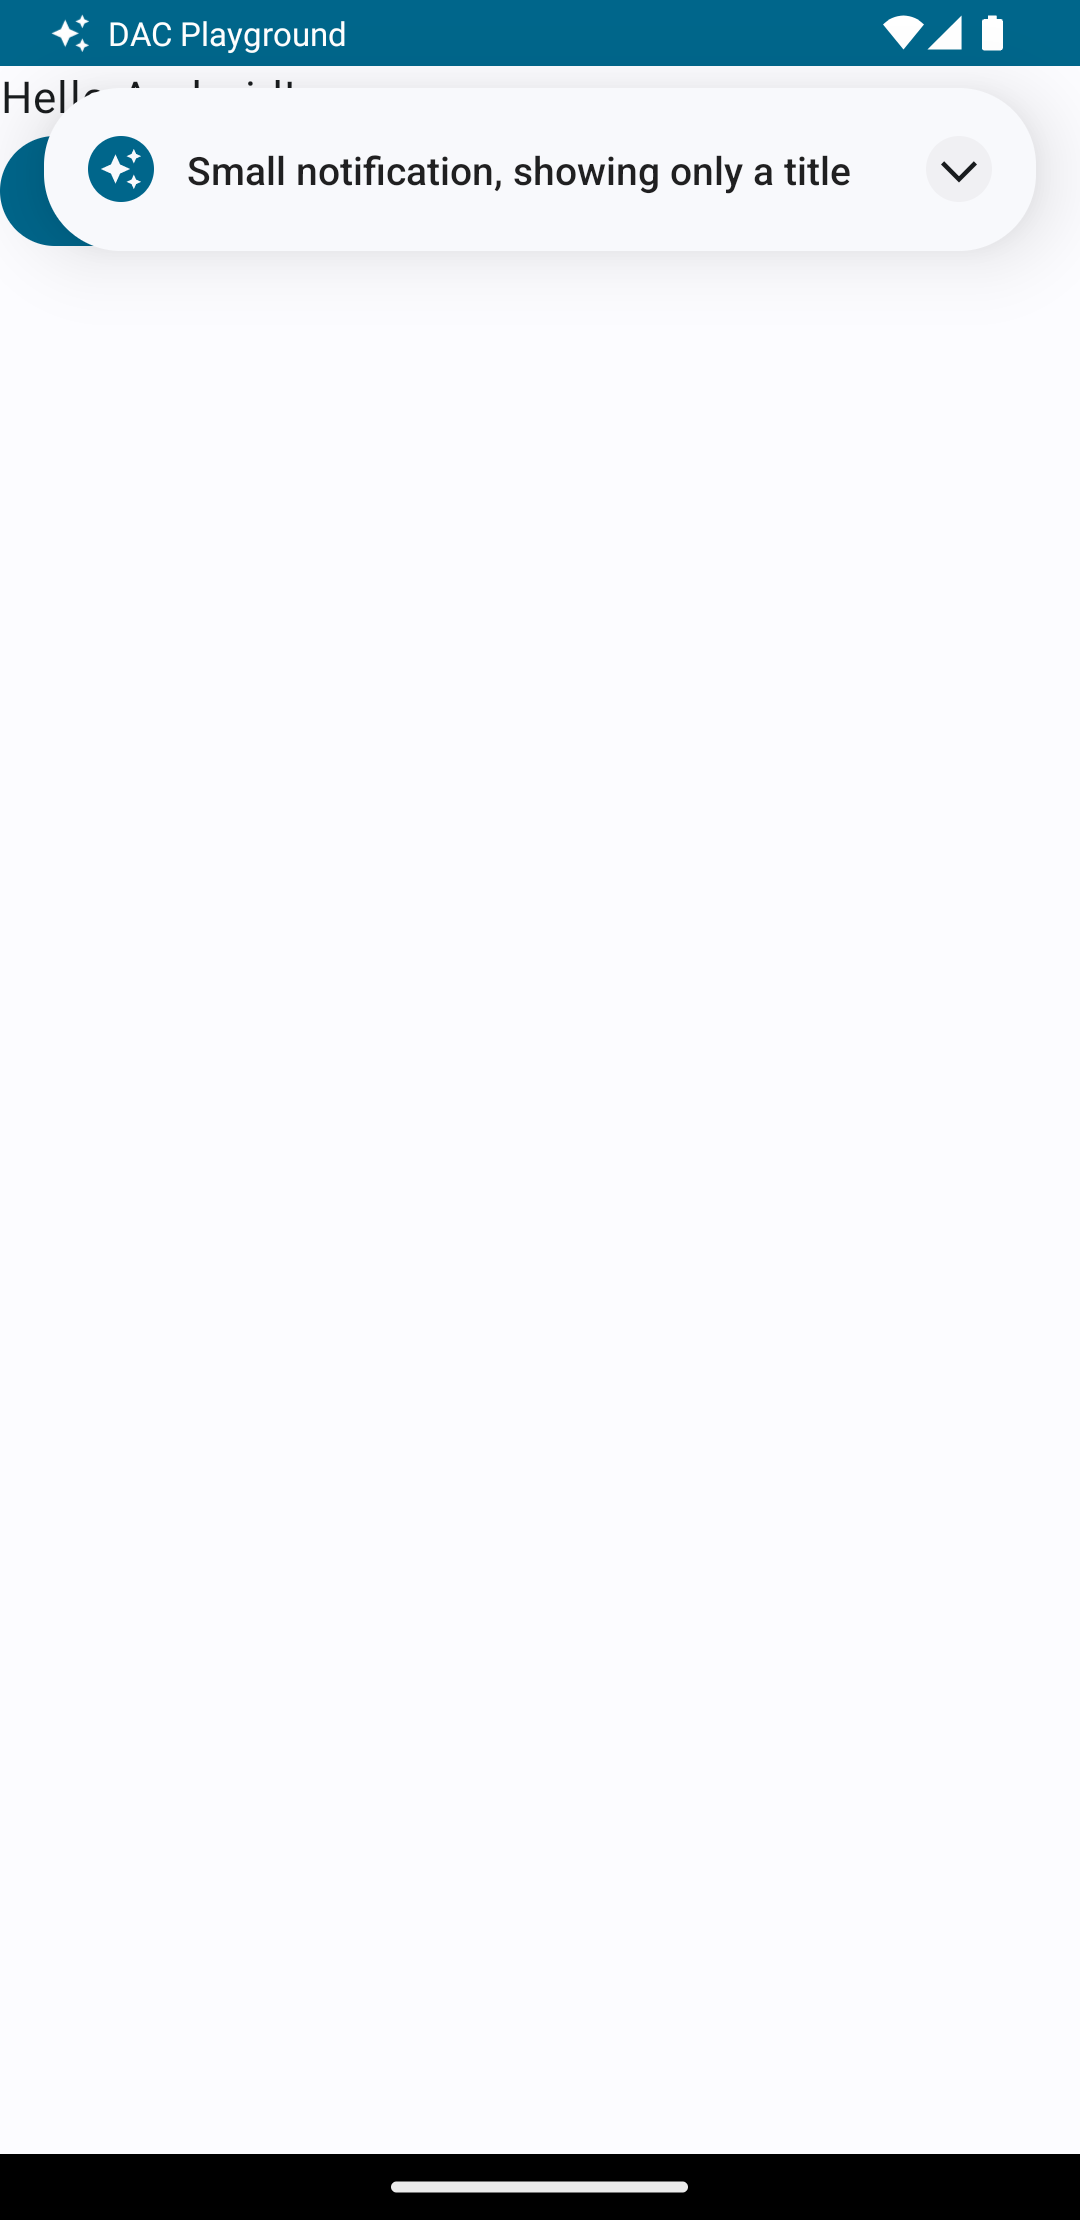
Kullanıcı bir uygulama kullanırken bir bildirimi tetiklediğinizde sonuç aşağıdaki şekil 1'e benzer:
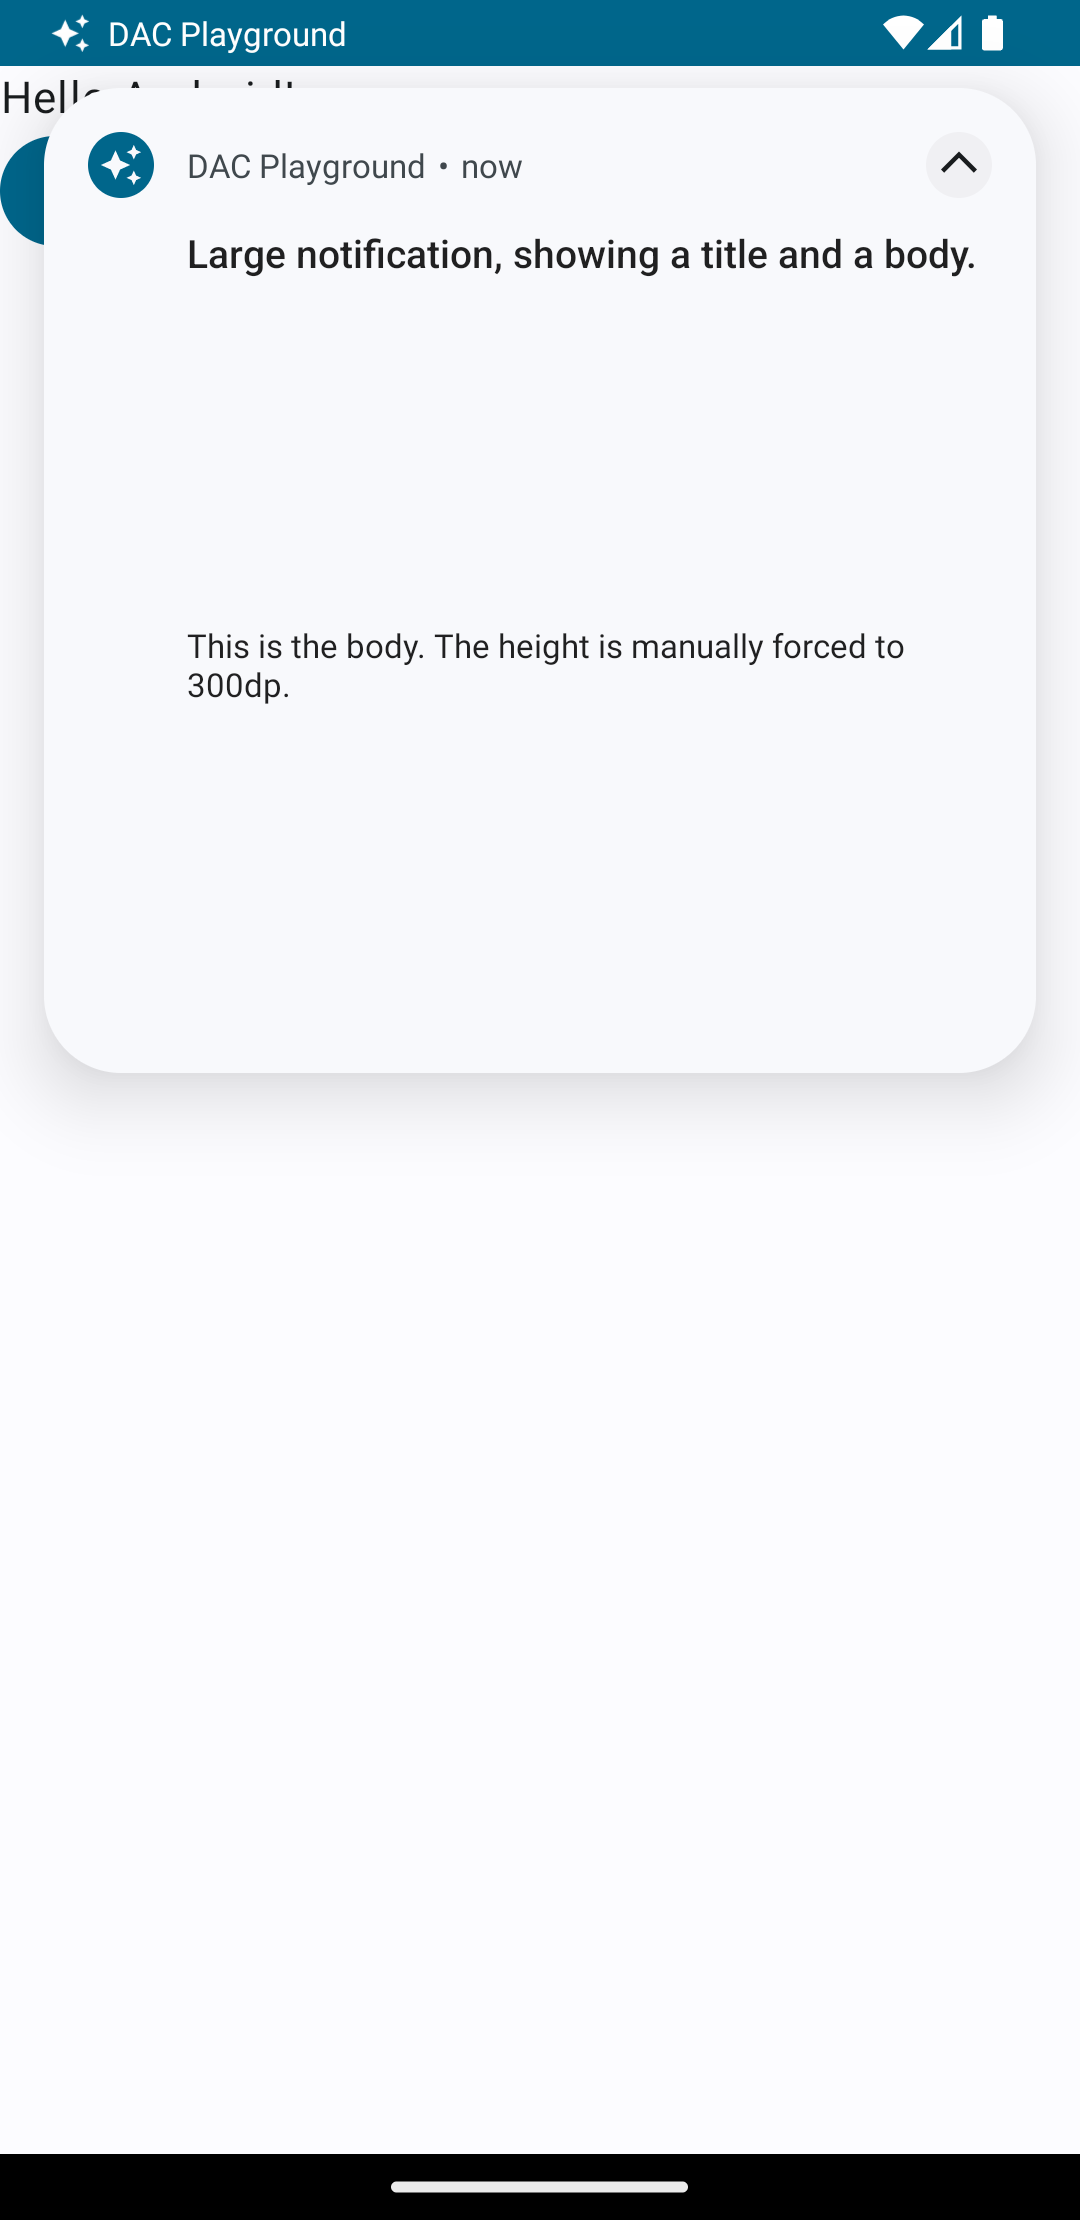
Genişletici okuna dokunduğunuzda bildirim Şekil 2'de gösterildiği gibi genişletilir:
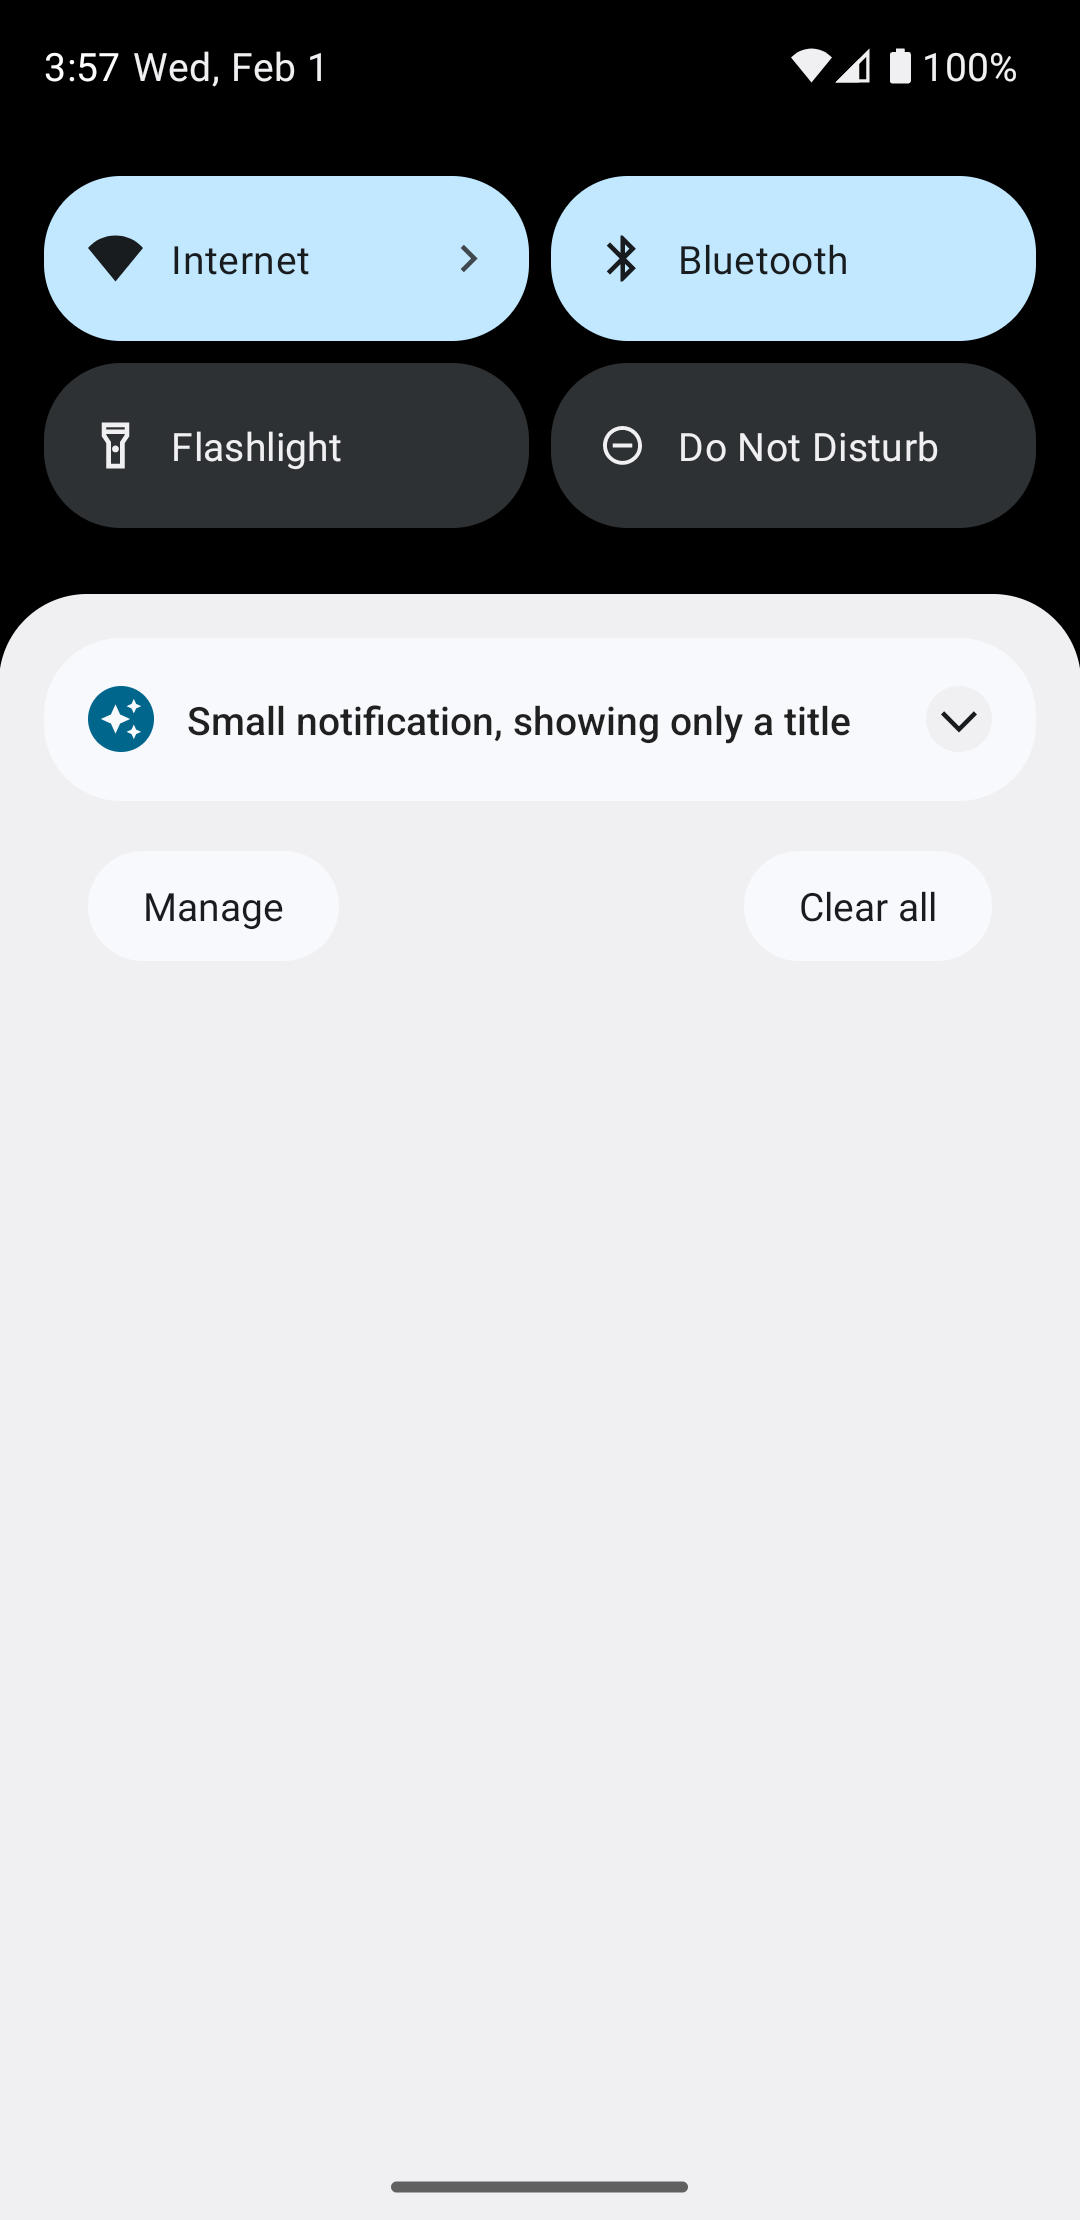
Bildirim zaman aşımı süresi dolduktan sonra, bildirim yalnızca (Şekil 3'teki gibi görünür):
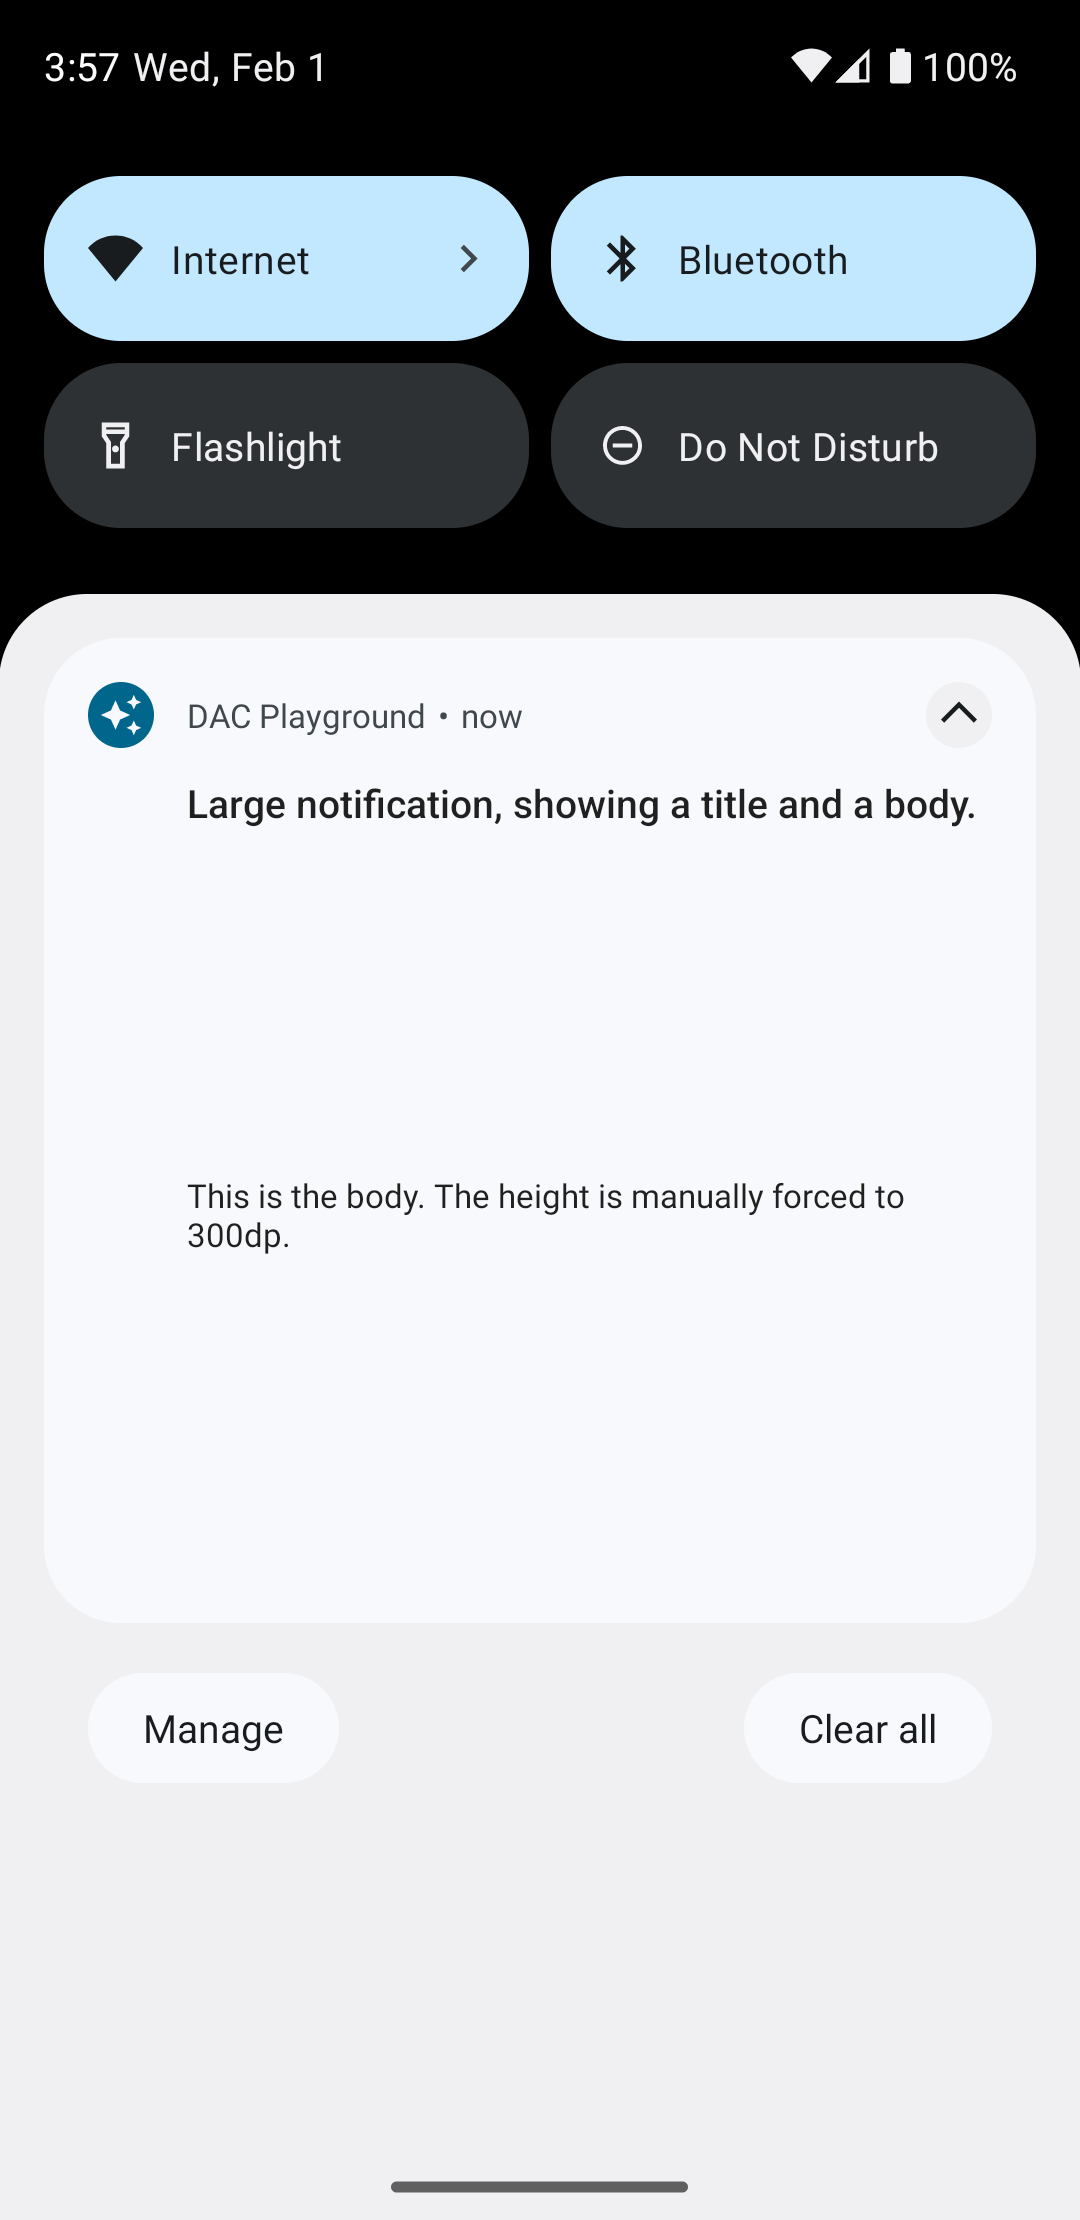
Genişletici okuna dokunduğunuzda bildirim Şekil 4'te gösterildiği gibi genişletilir:
Tamamen özel bir bildirim düzeni oluşturun
Bildiriminizin standart bildirimle dekore edilmesini istemiyorsanız
simgesi ve başlığı yoksa önceki adımları uygulayın ancak setStyle() öğesini çağrıyın.