On many Android devices, you can capture a screenshot by pressing the Power and Volume-down buttons on the device simultaneously. To save a screenshot directly to your workstation, you can capture the screenshot using Android Studio.
To capture a screenshot with Android Studio, follow these steps:
- Run your app on a connected device or emulator. If using a connected device, be sure you have enabled USB debugging.
- In Android Studio, select View > Tool Windows > Logcat to open Logcat.
- Select the device and a process from the menus at the top of the window.
- Click Screen Capture
 on the left side of the window.
The screenshot appears in a Screenshot Editor window.
Tip: On Android 7.0 and higher, you can reset the status bar to temporarily remove notifications and set the signal and battery levels to full. To do so, open Settings and select Developer options > Demo mode. Enable Show demo mode. For more information, see Configure on-device developer options.
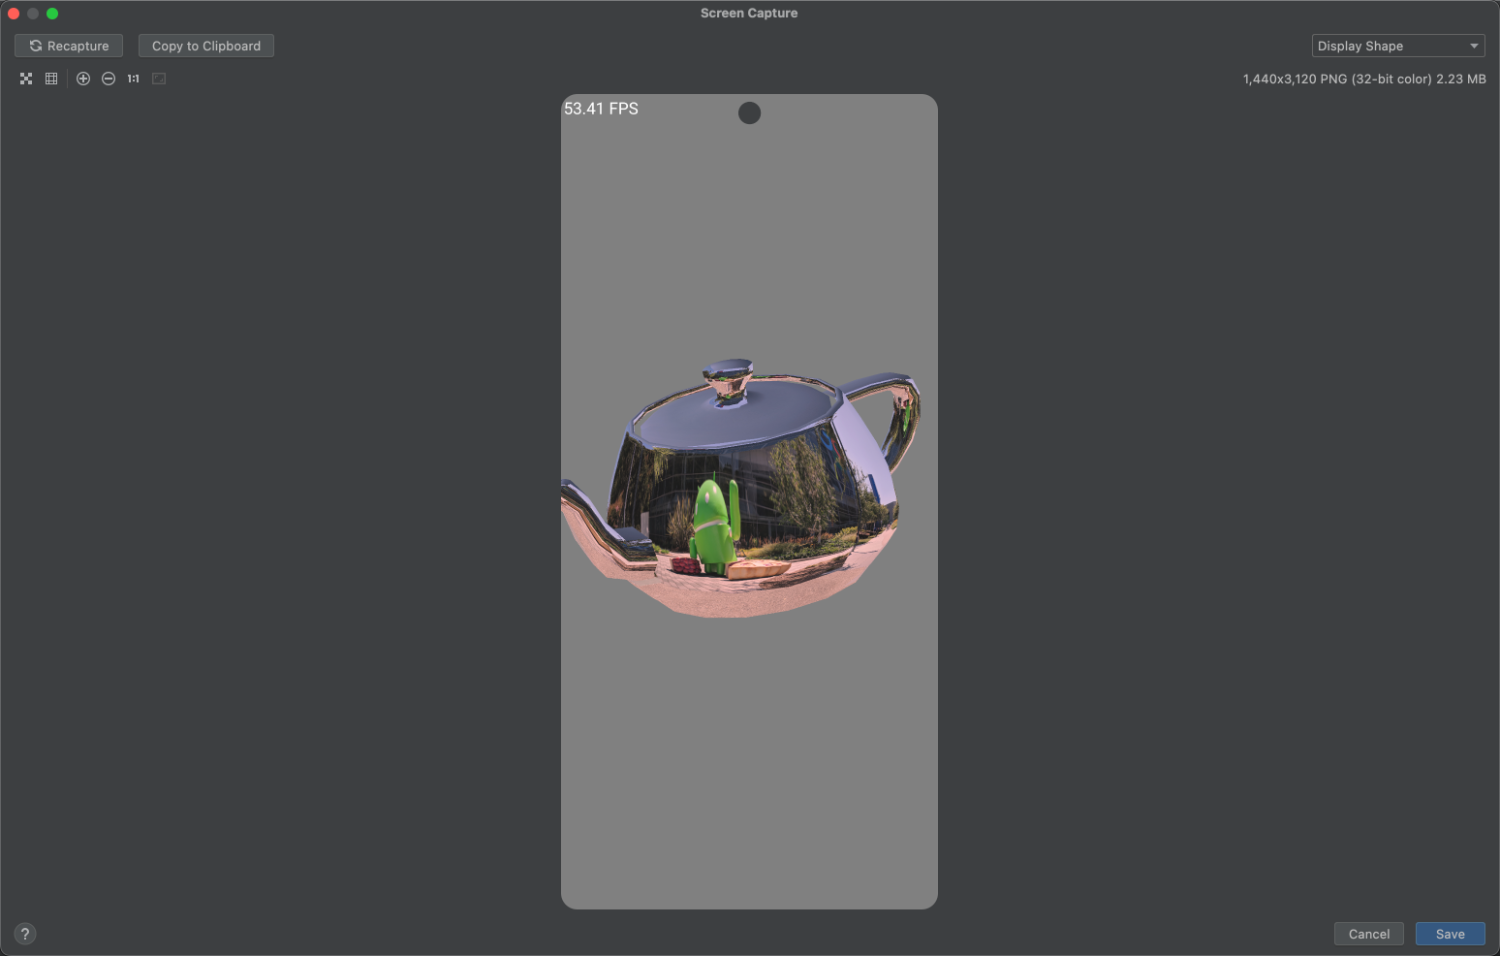
Figure 1. Screenshot editor in Android Studio. - (Optional) Change the image with the following options:
- Recapture: Take a new screenshot.
- Rotate Left: Rotate the image 90 degrees counter-clockwise.
- Rotate Right: Rotate the image 90 degrees clockwise.
- Frame Screenshot: Choose a
device to wrap your screenshot with real device artwork.
Note: If you select a device for the screenshot frame that differs from the actual device you captured, the editor stretches your image to match the dimensions of the device frame. You instead might want to use the online Device art generator that offers device frames for popular devices.
- Click Save.
- Specify the location and filename, and then click OK.
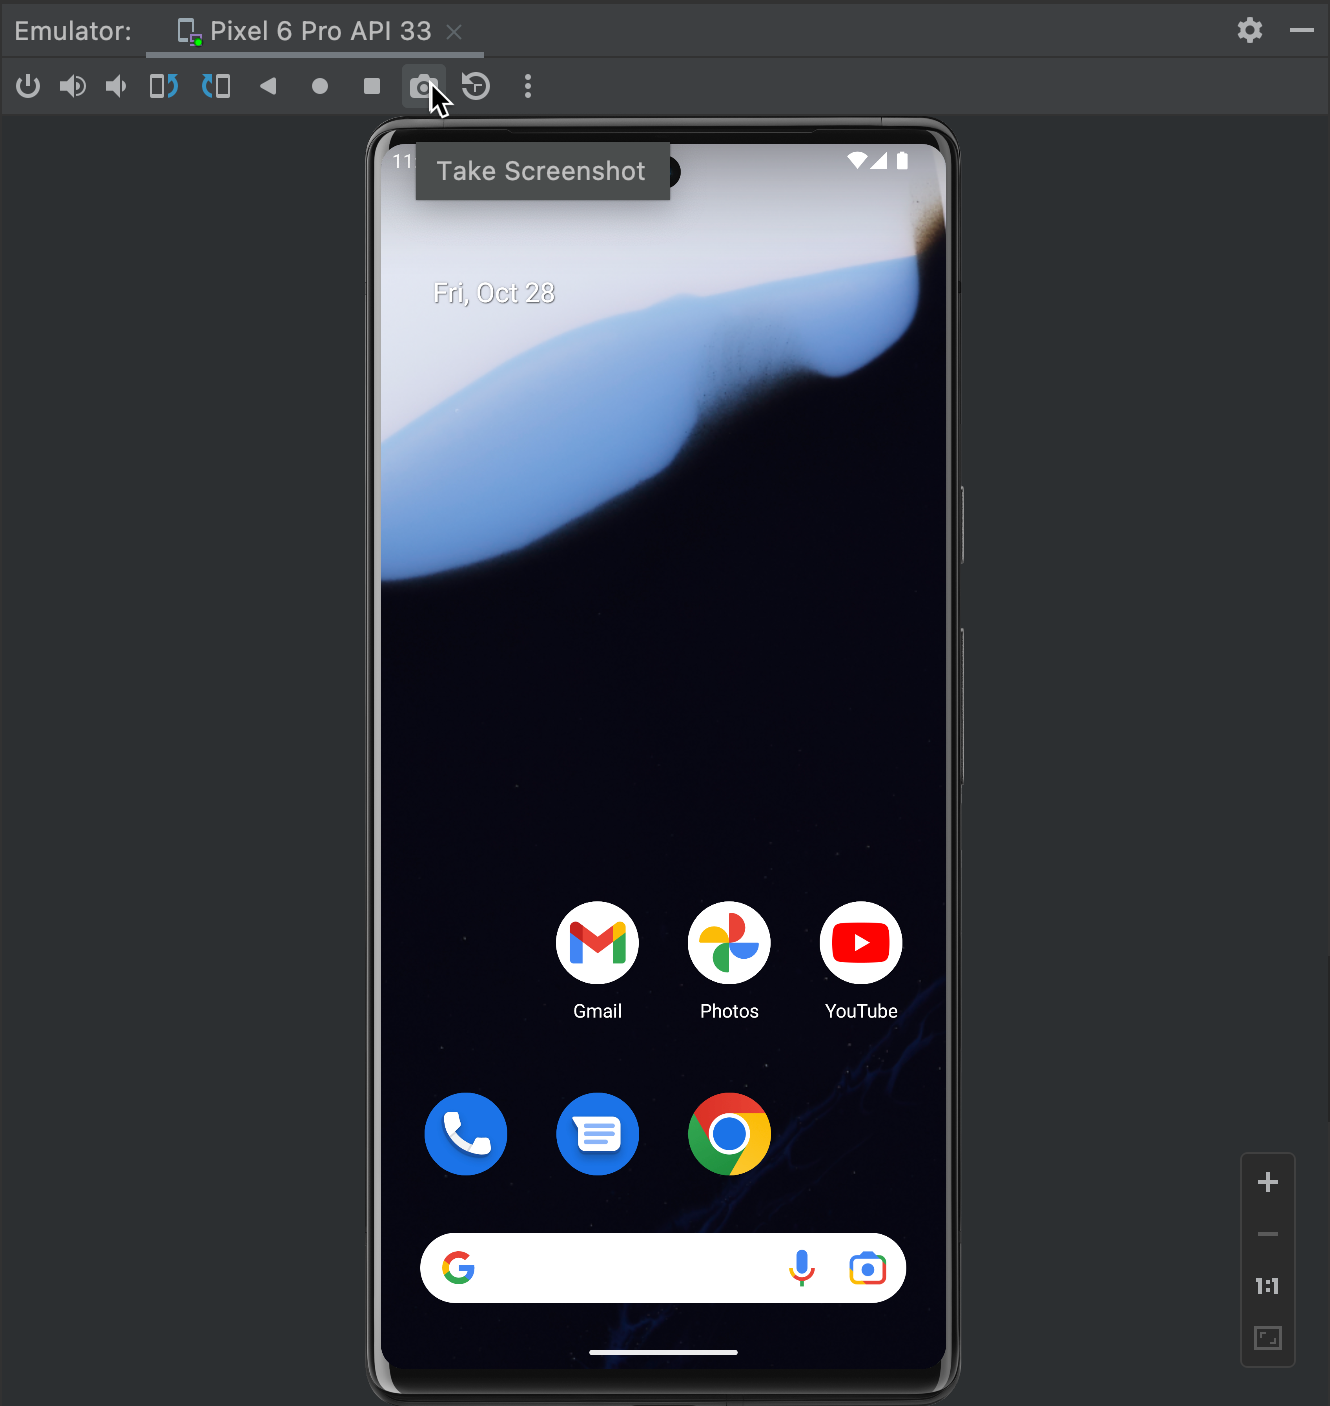
Take a screenshot from the emulator
If you are using the emulator, you can take a screenshot from the emulator window by clicking the Take Screenshot button, as shown in figure 2: