
TextField allows users to enter and modify text. There are two types
of text fields you can use: state-based text fields and
value-based text fields. Select the type you want to display content
for:
We recommend using state-based text fields, as they provide a more complete and
reliable approach to managing the state of a TextField. The following table
outlines differences between these types of text fields, and includes the key
advantages state-based text fields offer:
Feature |
Value-based text fields |
State-based text fields |
State-based benefit |
|---|---|---|---|
State management |
Updates text field state with the |
Explicitly uses a |
|
Visual transformation |
Uses |
Uses |
|
Line limits |
Accepts |
Uses |
|
Secure text field |
N/A |
|
|
This page describes how
you can implement TextField, style TextField input, and configure
other TextField options, like keyboard options and visually transforming
user input.
Choose TextField implementation
There are two levels of TextField implementation:
TextFieldis the Material Design implementation. We recommend you choose this implementation as it follows Material Design guidelines:BasicTextFieldenables users to edit text using the hardware or software keyboard, but provides no decorations like hint or placeholder.
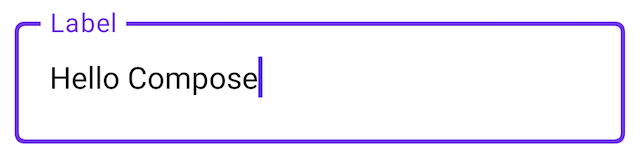
TextField( state = rememberTextFieldState(initialText = "Hello"), label = { Text("Label") } )

OutlinedTextField( state = rememberTextFieldState(), label = { Text("Label") } )
Style TextField
TextField and BasicTextField share many common parameters for customization.
The complete list for TextField is available in the
TextField source code. This is a non-exhaustive list of some of the
useful parameters:
textStylelineLimits
TextField( state = rememberTextFieldState("Hello\nWorld\nInvisible"), lineLimits = TextFieldLineLimits.MultiLine(maxHeightInLines = 2), placeholder = { Text("") }, textStyle = TextStyle(color = Color.Blue, fontWeight = FontWeight.Bold), label = { Text("Enter text") }, modifier = Modifier.padding(20.dp) )

We recommend TextField over BasicTextField when your design calls for a
Material TextField or OutlinedTextField. However, BasicTextField should be
used when building designs that don't need the decorations from the Material
spec.
Style input with Brush API
You can use the Brush API for more advanced styling in your TextField.
The following section describes how you can use a Brush to add a colored
gradient to TextField input.
For more information about using the Brush API to style text, see Enable advanced styling with Brush API.
Implement colored gradients using TextStyle
To implement a colored gradient as you type within a TextField, set your brush
of choice as a TextStyle for your TextField. In this example, we use a
built-in brush with a linearGradient to view the rainbow gradient effect as
text is typed into the TextField.
val brush = remember { Brush.linearGradient( colors = listOf(Color.Red, Color.Yellow, Color.Green, Color.Blue, Color.Magenta) ) } TextField( state = rememberTextFieldState(), textStyle = TextStyle(brush = brush) )

TextField content.Manage text field state
TextField uses a dedicated state holder class called TextFieldState for its
content and selection. TextFieldState is designed to be hoisted
wherever it fits in your architecture. There are 2 main properties that are
provided by TextFieldState:
initialText: Contents of theTextField.initialSelection: Indicates where the cursor or the selection is.
What differentiates TextFieldState from other approaches, like the
onValueChange callback, is that TextFieldState fully encapsulates the entire
input flow. This includes using the correct backing data structures, inlining
filters and formatters, and also synchronizing all edits coming from different
sources.
You can use TextFieldState() to hoist state in TextField. For this, we
recommend using the rememberTextFieldState() function.
rememberTextFieldState() creates the TextFieldState instance in your
composable, makes sure the state object is remembered, and provides
built-in save and restore functionality:
val usernameState = rememberTextFieldState() TextField( state = usernameState, lineLimits = TextFieldLineLimits.SingleLine, placeholder = { Text("Enter Username") } )
rememberTextFieldState can have a blank parameter or have an initial value
passed in to represent the text's value on initialization. If a different value
is passed in a subsequent recomposition, the value of the state is not updated.
To update the state after it's initialized, call edit methods on
TextFieldState.
TextField( state = rememberTextFieldState(initialText = "Username"), lineLimits = TextFieldLineLimits.SingleLine, )
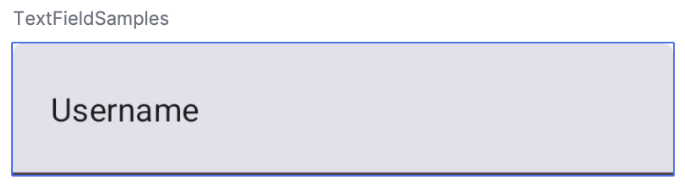
TextField with "Username" as the initial text.Modify text with TextFieldBuffer
A TextFieldBuffer serves as an editable text container, similar in function to
a StringBuilder. It holds both the text content and information about the
selection.
You often encounter TextFieldBuffer as a receiver scope on functions like
TextFieldState.edit, InputTransformation.transformInput, or
OutputTransformation.transformOutput. In these functions, you can read or
update the TextFieldBuffer as needed. Afterwards, these changes are either
committed to TextFieldState, or passed down to the rendering pipeline in the
case of OutputTransformation.
You can use standard editing functions like append, insert, replace, or
delete to modify the buffer's contents. To change the selection state, either
directly set its selection: TextRange variable, or use utility functions such
as placeCursorAtEnd or selectAll. The selection itself is represented by a
TextRange, where the start index is inclusive and the end index is exclusive.
A TextRange with identical start and end values, like (3, 3), signifies a
cursor position with no characters selected.
val phoneNumberState = rememberTextFieldState("1234567890") TextField( state = phoneNumberState, keyboardOptions = KeyboardOptions( keyboardType = KeyboardType.Phone ), inputTransformation = InputTransformation.maxLength(10).then { if (!asCharSequence().isDigitsOnly()) { revertAllChanges() } }, outputTransformation = OutputTransformation { if (length > 0) insert(0, "(") if (length > 4) insert(4, ")") if (length > 8) insert(8, "-") } )
Edit text in TextFieldState
There are several methods that allow you to edit the state directly through your state variable:
edit: Lets you edit the state contents and gives youTextFieldBufferfunctions so you can use methods likeinsert,replace,append, and more.// Initial textFieldState text passed in is "I love Android" // textFieldState.text : I love Android // textFieldState.selection: TextRange(14, 14) textFieldState.edit { insert(14, "!") } // textFieldState.text : I love Android! // textFieldState.selection: TextRange(15, 15) textFieldState.edit { replace(7, 14, "Compose") } // textFieldState.text : I love Compose! // textFieldState.selection: TextRange(15, 15) textFieldState.edit { append("!!!") } // textFieldState.text : I love Compose!!!! // textFieldState.selection: TextRange(18, 18) textFieldState.edit { selectAll() } // textFieldState.text : I love Compose!!!! // textFieldState.selection: TextRange(0, 18)
setTextAndPlaceCursorAtEnd: Clears the current text, replaces it with the given text, and sets the cursor at the end.textFieldState.setTextAndPlaceCursorAtEnd("I really love Android") // textFieldState.text : I really love Android // textFieldState.selection : TextRange(21, 21)
clearText: Clears all text.textFieldState.clearText() // textFieldState.text : // textFieldState.selection : TextRange(0, 0)
For other TextFieldState functions, see the TextFieldState reference.
Modify user input
The following sections describe how to modify user input.
Input transformation
lets you filter TextField input while the user is typing, while output
transformation formats user input before it's displayed
on-screen.
Filter user input with input transformations
An input transformation lets you filter input from the user. For example, if
your TextField takes in an American phone number, you only want to accept 10
digits. The results of the InputTransformation are saved in the
TextFieldState.
There are built-in filters for common InputTransformation use cases. To limit
length, call InputTransformation.maxLength():
TextField( state = rememberTextFieldState(), lineLimits = TextFieldLineLimits.SingleLine, inputTransformation = InputTransformation.maxLength(10) )
Custom input transformations
InputTransformation is a single function interface. When implementing your
custom InputTransformation, you need to override
TextFieldBuffer.transformInput:
class CustomInputTransformation : InputTransformation { override fun TextFieldBuffer.transformInput() { } }
For a phone number, add a custom input transformation that only allows digits
to be typed into the TextField:
class DigitOnlyInputTransformation : InputTransformation { override fun TextFieldBuffer.transformInput() { if (!asCharSequence().isDigitsOnly()) { revertAllChanges() } } }
Chain input transformations
To add multiple filters on your text input, chain InputTransformations using
the then extension function. Filters are executed sequentially. As a
best practice, apply the most selective filters first to avoid unnecessary
transformations on data that would ultimately be filtered out.
TextField( state = rememberTextFieldState(), inputTransformation = InputTransformation.maxLength(6) .then(CustomInputTransformation()), )
After adding input transformations, the TextField input accepts 10 digits
maximum.
Format input before it's displayed
OutputTransformations let you format user input before it is rendered on the
screen. Unlike InputTransformation, the formatting done through the
OutputTransformation is not saved in the TextFieldState. Building on the
previous phone number example, you need to add parentheses and dashes in
the appropriate places:

This is the updated way of handling VisualTransformations in value-based
TextFields, with a key difference being that you don't have to calculate
their offset mappings.
OutputTransformation is a single abstract method interface. In order to
implement a custom OutputTransformation, you need to override the
transformOutput method:
class CustomOutputTransformation : OutputTransformation { override fun TextFieldBuffer.transformOutput() { } }
To format a phone number, add an opening parentheses at index 0, a closing
parentheses at index 4, and a dash at index 8 to your OutputTransformation:
class PhoneNumberOutputTransformation : OutputTransformation { override fun TextFieldBuffer.transformOutput() { if (length > 0) insert(0, "(") if (length > 4) insert(4, ")") if (length > 8) insert(8, "-") } }
Next, add your OutputTransformation to TextField:
TextField( state = rememberTextFieldState(), outputTransformation = PhoneNumberOutputTransformation() )
How transformations work together
The following diagram shows the flow from text input to transformation to output:
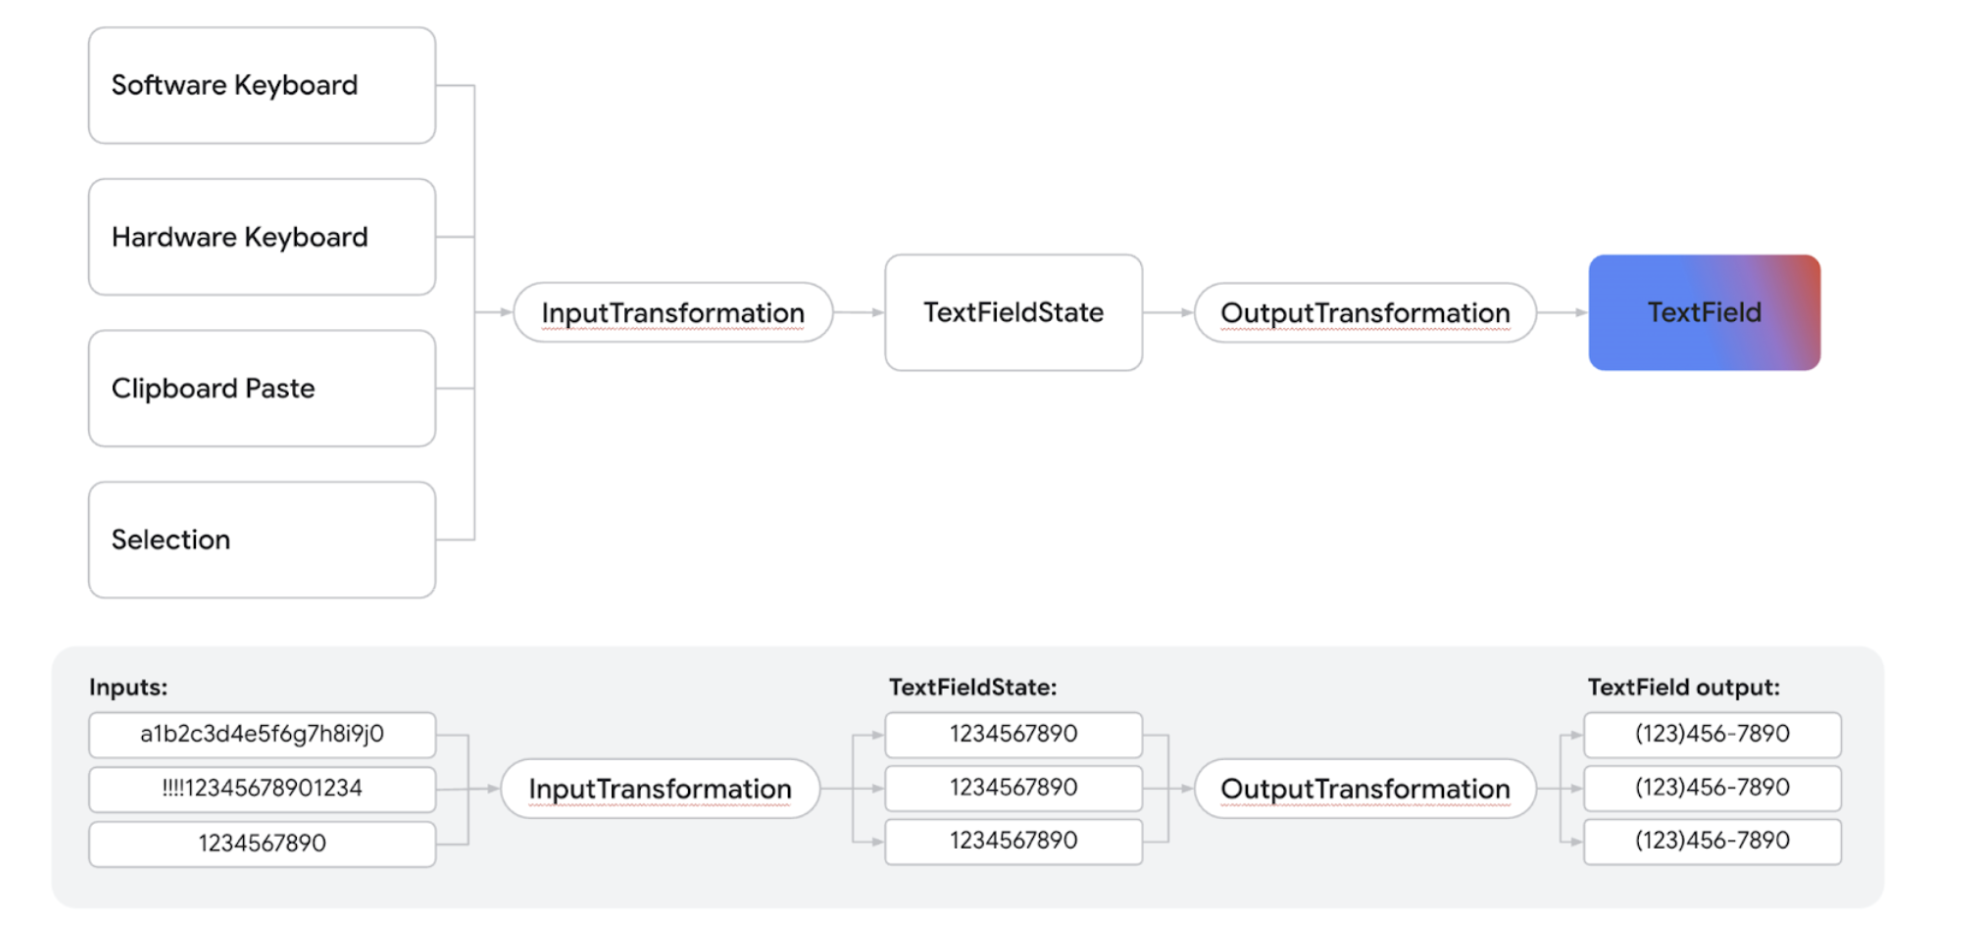
- Input is received from the input source.
- The input is filtered through an
InputTransformation, which gets saved in the TextFieldState. - The input is passed through an
OutputTransformationfor formatting. - The input is presented in the
TextField.
Set keyboard options
TextField lets you set keyboard configurations options, such as the keyboard
layout, or enable the autocorrect if it's supported by the keyboard. Some
options may not be guaranteed if the software keyboard doesn't comply with the
options provided here. Here is the list of the supported keyboard
options:
capitalizationautoCorrectkeyboardTypeimeAction
Additional resources
- Auto-format a phone number in a text field
- Show or hide password based on a user toggle
- Validate input as the user types