व्यू-आधारित डिज़ाइन का इस्तेमाल करने वाले किसी मौजूदा ऐप्लिकेशन में, Compose-आधारित यूज़र इंटरफ़ेस (यूआई) जोड़ा जा सकता है.
Compose-आधारित नई स्क्रीन बनाने के लिए, अपनी ऐक्टिविटी से setContent() तरीके को कॉल करें. इसके बाद, अपनी पसंद के कंपोज़ेबल फ़ंक्शन पास करें.
class ExampleActivity : ComponentActivity() { override fun onCreate(savedInstanceState: Bundle?) { super.onCreate(savedInstanceState) setContent { // In here, we can call composables! MaterialTheme { Greeting(name = "compose") } } } } @Composable fun Greeting(name: String) { Text(text = "Hello $name!") }
यह कोड, सिर्फ़ Compose में बने ऐप्लिकेशन में मौजूद कोड जैसा दिखता है.
ComposeView के लिए ViewCompositionStrategy
ViewCompositionStrategy
से यह तय होता है कि कंपोज़िशन को कब डिस्पोज़ किया जाना चाहिए. डिफ़ॉल्ट रूप से,
ViewCompositionStrategy.Default,
कंपोज़िशन को तब डिस्पोज़ करता है, जब
ComposeView
विंडो से अलग हो जाता है. हालांकि, ऐसा तब नहीं होता, जब वह
RecyclerViewजैसे पूलिंग कंटेनर का हिस्सा हो. सिर्फ़ Compose में बने ऐप्लिकेशन में, डिफ़ॉल्ट तौर पर यह तरीका काम करता है. हालांकि, अगर अपने कोडबेस में Compose को धीरे-धीरे जोड़ा जा रहा है, तो कुछ मामलों में इस तरीके की वजह से, स्टेट का डेटा खो सकता है.
ViewCompositionStrategy को बदलने के लिए, setViewCompositionStrategy()
तरीके को कॉल करें और कोई दूसरा तरीका चुनें.
यहां दी गई टेबल में, उन अलग-अलग स्थितियों के बारे में बताया गया है जिनमें ViewCompositionStrategy का इस्तेमाल किया जा सकता है:
ViewCompositionStrategy |
जानकारी और इंटरऑप की स्थिति |
|---|---|
DisposeOnDetachedFromWindow |
जब ComposeView विंडो से अलग हो जाएगा, तब कंपोज़िशन डिस्पोज़ हो जाएगा. अब इसकी जगह DisposeOnDetachedFromWindowOrReleasedFromPool का इस्तेमाल किया जाता है.इंटरऑप की स्थिति: * ComposeView चाहे वह व्यू हैरारकी में मौजूद एकमात्र एलिमेंट हो या व्यू/Compose वाली मिली-जुली स्क्रीन के संदर्भ में हो (फ़्रैगमेंट में नहीं). |
DisposeOnDetachedFromWindowOrReleasedFromPool (डिफ़ॉल्ट) |
DisposeOnDetachedFromWindow की तरह ही, जब कंपोज़िशन किसी पूलिंग कंटेनर में न हो, जैसे कि RecyclerView. अगर यह किसी पूलिंग कंटेनर में है, तो यह तब डिस्पोज़ होगा, जब या तो पूलिंग कंटेनर खुद विंडो से अलग हो जाएगा या जब आइटम को हटाया जा रहा होगा. जैसे, जब पूल भर जाता है.इंटरऑप की स्थिति: * ComposeView चाहे वह व्यू हैरारकी में मौजूद एकमात्र एलिमेंट हो या व्यू/Compose वाली मिली-जुली स्क्रीन के संदर्भ में हो (फ़्रैगमेंट में नहीं).* ComposeView, RecyclerView जैसे पूलिंग कंटेनर में एक आइटम के तौर पर. |
DisposeOnLifecycleDestroyed |
जब दिया गया Lifecycle डिस्ट्रॉय हो जाएगा, तब कंपोज़िशन डिस्पोज़ हो जाएगा.इंटरऑप की स्थिति * ComposeView किसी फ़्रैगमेंट के व्यू में. |
DisposeOnViewTreeLifecycleDestroyed |
जब Lifecycle डिस्ट्रॉय हो जाएगा, तब कंपोज़िशन डिस्पोज़ हो जाएगा. यह LifecycleOwner, ViewTreeLifecycleOwner.get से उस अगली विंडो के लिए मिलता है जिससे व्यू अटैच है.इंटरऑप की स्थिति: * किसी फ़्रैगमेंट के व्यू में ComposeView.* किसी ऐसे व्यू में ComposeView जिसका लाइफ़साइकल अब तक पता नहीं है. |
फ़्रैगमेंट में ComposeView (ट्रांज़िशनरी चरण)
अगर आपको किसी फ़्रैगमेंट या मौजूदा व्यू
लेआउट में Compose यूज़र इंटरफ़ेस (यूआई) का कॉन्टेंट शामिल करना है, तो ComposeView
का इस्तेमाल करें और उसके
setContent()
तरीके को कॉल करें. ComposeView Android का एक View है.
आप अपने एक्सएमएल लेआउट में ComposeView को किसी अन्य View की तरह ही रख सकते हैं:
<LinearLayout xmlns:android="http://schemas.android.com/apk/res/android" android:orientation="vertical" android:layout_width="match_parent" android:layout_height="match_parent"> <TextView android:id="@+id/text" android:layout_width="wrap_content" android:layout_height="wrap_content" /> <androidx.compose.ui.platform.ComposeView android:id="@+id/compose_view" android:layout_width="match_parent" android:layout_height="match_parent" /> </LinearLayout>
Kotlin के सोर्स कोड में, एक्सएमएल में तय किए गए लेआउट
रिसॉर्स से लेआउट को इन्फ़्लेट करें. इसके बाद, एक्सएमएल आईडी का इस्तेमाल करके
ComposeView पाएं. साथ ही, ऐसा कंपोज़िशन तरीका सेट करें जो
होस्ट View के लिए सबसे सही हो. इसके बाद, setContent() का इस्तेमाल करने के लिए Compose को कॉल करें.
class ExampleFragmentXml : Fragment() { override fun onCreateView( inflater: LayoutInflater, container: ViewGroup?, savedInstanceState: Bundle? ): View { val view = inflater.inflate(R.layout.fragment_example, container, false) val composeView = view.findViewById<ComposeView>(R.id.compose_view) composeView.apply { // Dispose of the Composition when the view's LifecycleOwner // is destroyed setViewCompositionStrategy(ViewCompositionStrategy.DisposeOnViewTreeLifecycleDestroyed) setContent { // In Compose world MaterialTheme { Text("Hello Compose!") } } } return view } }
इसके अलावा, अपने एक्सएमएल लेआउट फ़ाइल के लिए जनरेट की गई बाइंडिंग क्लास को रेफ़र करके, ComposeView के रेफ़रंस पाने के लिए व्यू बाइंडिंग का भी इस्तेमाल किया जा सकता है:
class ExampleFragment : Fragment() { private var _binding: FragmentExampleBinding? = null // This property is only valid between onCreateView and onDestroyView. private val binding get() = _binding!! override fun onCreateView( inflater: LayoutInflater, container: ViewGroup?, savedInstanceState: Bundle? ): View { _binding = FragmentExampleBinding.inflate(inflater, container, false) val view = binding.root binding.composeView.apply { // Dispose of the Composition when the view's LifecycleOwner // is destroyed setViewCompositionStrategy(ViewCompositionStrategy.DisposeOnViewTreeLifecycleDestroyed) setContent { // In Compose world MaterialTheme { Text("Hello Compose!") } } } return view } override fun onDestroyView() { super.onDestroyView() _binding = null } }

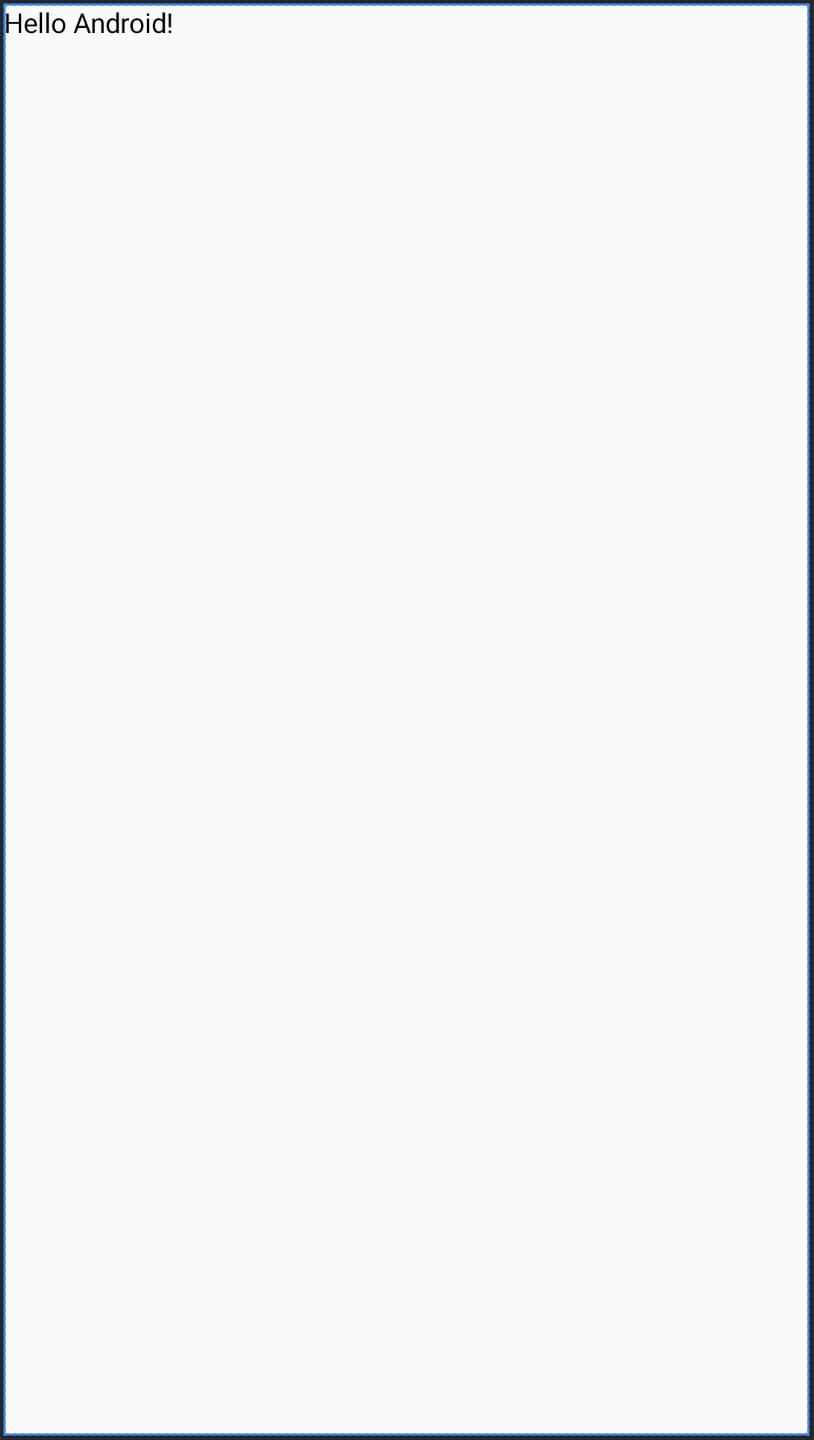
पहली इमेज. इसमें, उस कोड का आउटपुट दिखाया गया है जो व्यू यूज़र इंटरफ़ेस (यूआई) हैरारकी में Compose एलिमेंट जोड़ता है. "Hello Android!" टेक्स्ट, TextView विजेट से दिखता है. "Hello Compose!" टेक्स्ट, Compose के टेक्स्ट एलिमेंट से दिखता है.
अगर आपकी फ़ुल स्क्रीन Compose से बनी है, तो किसी फ़्रैगमेंट में सीधे तौर पर ComposeView भी शामिल किया जा सकता है. इससे आपको एक्सएमएल लेआउट फ़ाइल का इस्तेमाल करने की ज़रूरत नहीं पड़ती.
class ExampleFragmentNoXml : Fragment() { override fun onCreateView( inflater: LayoutInflater, container: ViewGroup?, savedInstanceState: Bundle? ): View { return ComposeView(requireContext()).apply { // Dispose of the Composition when the view's LifecycleOwner // is destroyed setViewCompositionStrategy(ViewCompositionStrategy.DisposeOnViewTreeLifecycleDestroyed) setContent { MaterialTheme { // In Compose world Text("Hello Compose!") } } } } }
एक ही लेआउट में ComposeView के कई इंस्टेंस
अगर एक ही लेआउट में ComposeView के कई एलिमेंट हैं, तो savedInstanceState के काम करने के लिए, हर एलिमेंट का यूनीक आईडी होना चाहिए.
class ExampleFragmentMultipleComposeView : Fragment() { override fun onCreateView( inflater: LayoutInflater, container: ViewGroup?, savedInstanceState: Bundle? ): View = LinearLayout(requireContext()).apply { addView( ComposeView(requireContext()).apply { setViewCompositionStrategy( ViewCompositionStrategy.DisposeOnViewTreeLifecycleDestroyed ) id = R.id.compose_view_x // ... } ) addView(TextView(requireContext())) addView( ComposeView(requireContext()).apply { setViewCompositionStrategy( ViewCompositionStrategy.DisposeOnViewTreeLifecycleDestroyed ) id = R.id.compose_view_y // ... } ) } }
ComposeView के आईडी, res/values/ids.xml फ़ाइल में तय किए जाते हैं:
<resources> <item name="compose_view_x" type="id" /> <item name="compose_view_y" type="id" /> </resources>
लेआउट एडिटर में कंपोज़ेबल की झलक देखना
ComposeView वाले अपने एक्सएमएल लेआउट के लिए, लेआउट एडिटर में कंपोज़ेबल की झलक भी देखी जा सकती है. ऐसा करने से, आपको यह देखने में मदद मिलती है कि व्यू और Compose वाले मिली-जुले लेआउट में आपके कंपोज़ेबल कैसे दिखते हैं.
मान लीजिए कि आपको लेआउट एडिटर में यह कंपोज़ेबल दिखाना है. ध्यान दें कि @Preview एनोटेशन वाले कंपोज़ेबल, लेआउट एडिटर में झलक देखने के लिए सही होते हैं.
@Preview @Composable fun GreetingPreview() { Greeting(name = "Android") }
इस कंपोज़ेबल को दिखाने के लिए, tools:composableName टूल एट्रिब्यूट का इस्तेमाल करें. साथ ही, लेआउट में झलक देखने के लिए, इसकी वैल्यू को कंपोज़ेबल के पूरी तरह से क्वालिफ़ाइड नाम पर सेट करें.
<LinearLayout xmlns:android="http://schemas.android.com/apk/res/android" xmlns:tools="http://schemas.android.com/tools" android:orientation="vertical" android:layout_width="match_parent" android:layout_height="match_parent"> <androidx.compose.ui.platform.ComposeView android:id="@+id/my_compose_view" tools:composableName="com.example.compose.snippets.interop.InteroperabilityAPIsSnippetsKt.GreetingPreview" android:layout_height="match_parent" android:layout_width="match_parent"/> </LinearLayout>