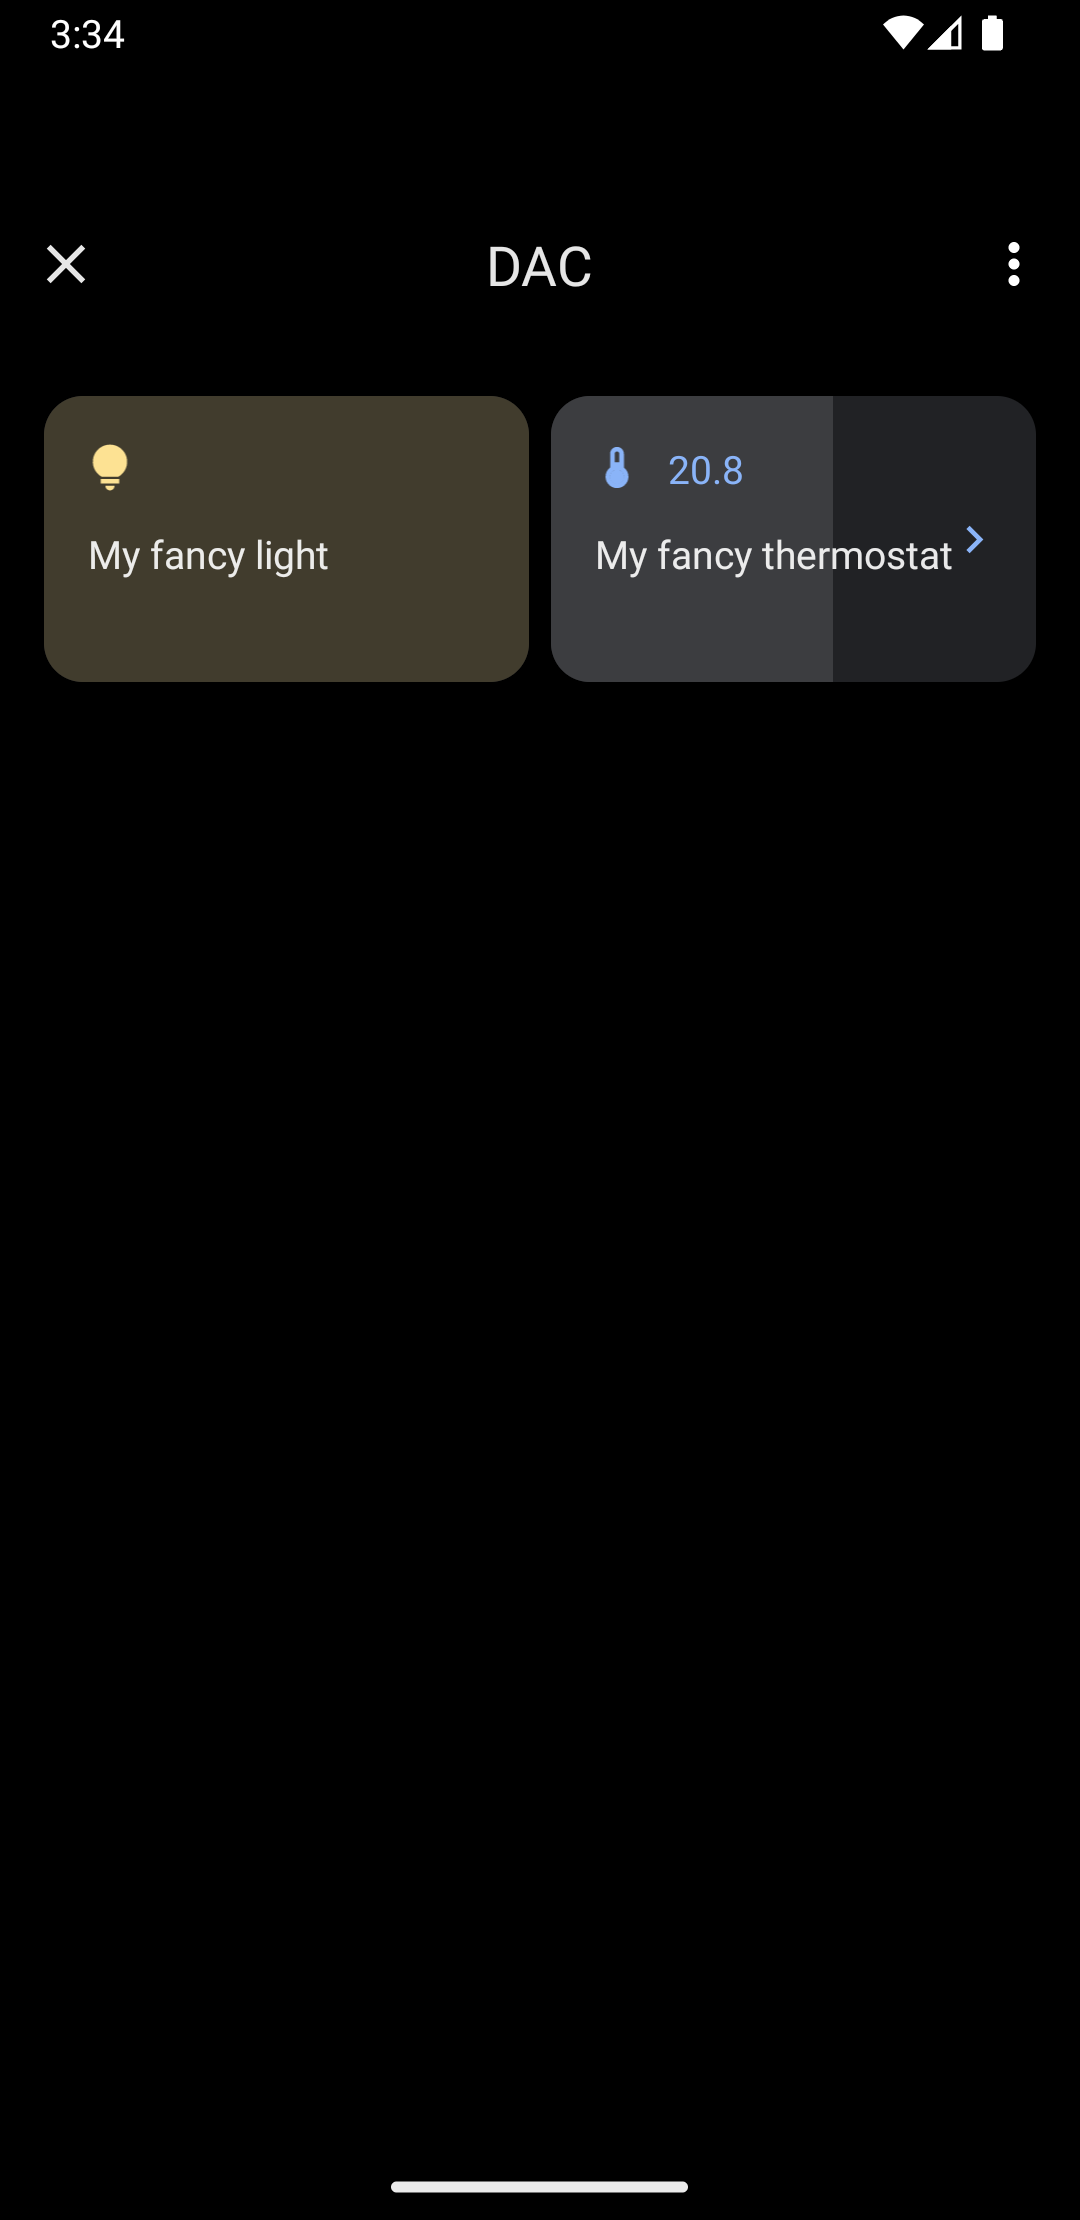
In Android 11 and higher, the Quick Access Device Controls feature lets users quickly view and control external devices such as lights, thermostats, and cameras from a user affordance within three interactions from a default launcher. The device OEM chooses which launcher to use. Device aggregators—for example, Google Home—and third-party vendor apps can provide devices for display in this space. This page shows you how to display device controls in this space and link them to your control app.
To add this support, create and declare a ControlsProviderService. Create the
controls your app supports based on predefined control types, and then create
publishers for these controls.
User interface
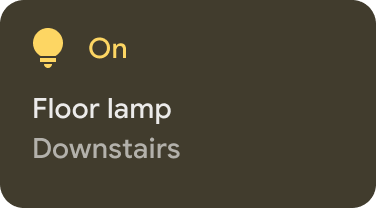
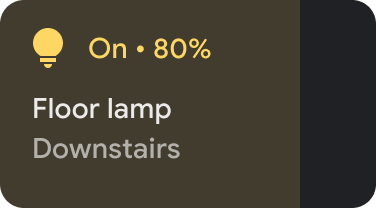
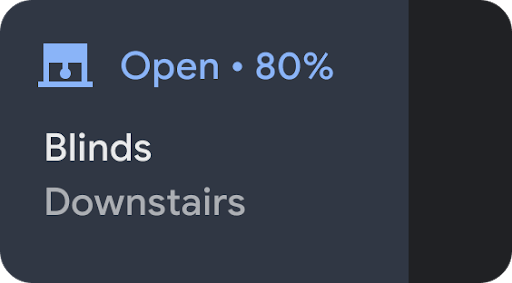
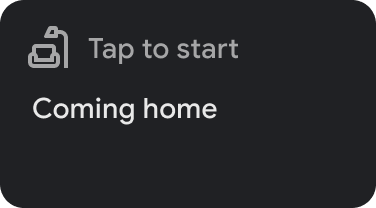
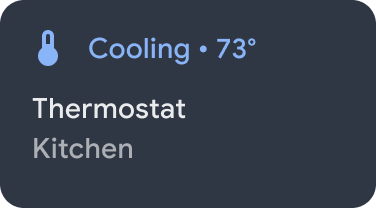
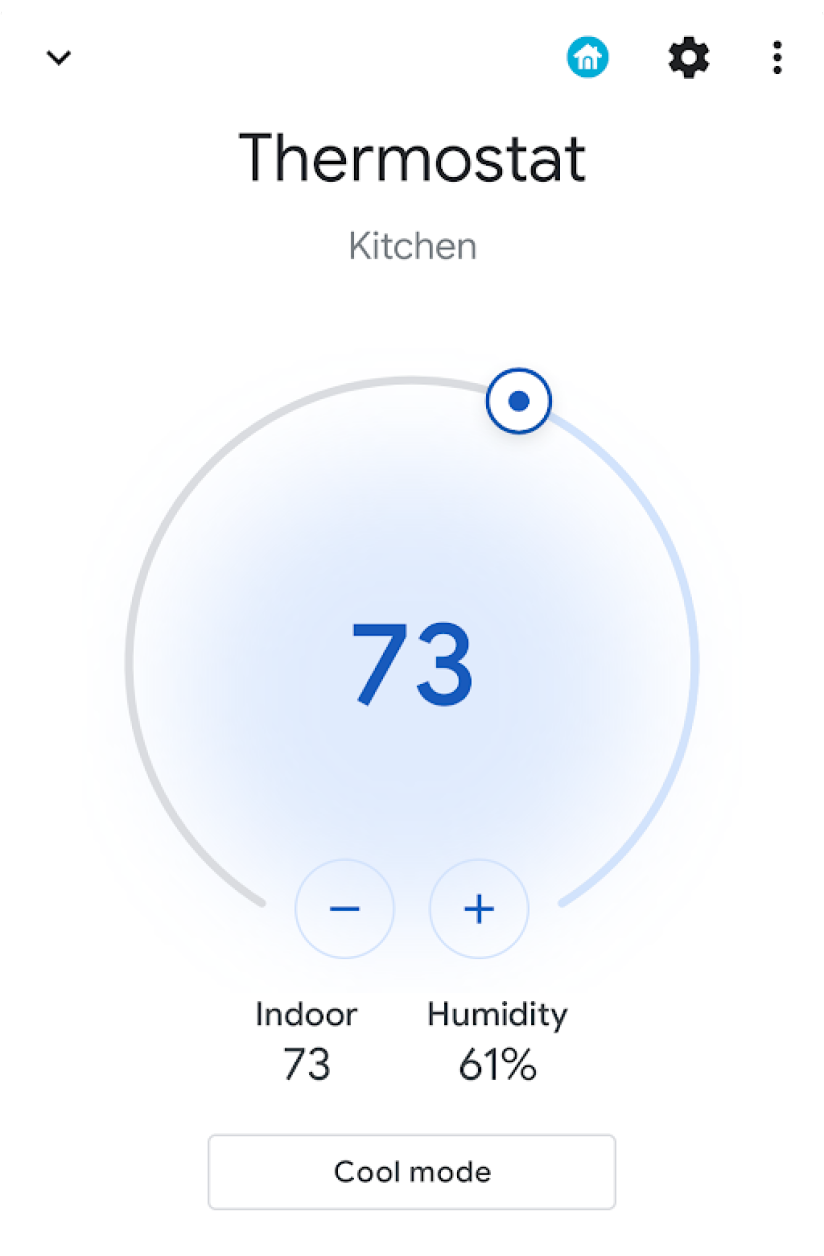
Devices are displayed under Device controls as templated widgets. Five device control widgets are available, as shown in the following figure:
|
|
|
|
|
Touching and holding a widget takes you to the app for deeper control. You can customize the icon and color on each widget, but for the best user experience, use the default icon and color if the default set matches the device.
Create the service
This section shows how to create the
ControlsProviderService. This service tells the
Android system UI that your app contains device controls that must be displayed
in the Device controls area of the Android UI.
The ControlsProviderService API assumes familiarity with reactive streams, as
defined in the Reactive Streams GitHub project
and implemented in the Java 9 Flow interfaces.
The API builds on the following concepts:
- Publisher: your application is the publisher.
- Subscriber: the system UI is the subscriber and it can request a number of controls from the publisher.
- Subscription: the timeframe during which the publisher can send updates to the System UI. Either the publisher or the subscriber can close this window.
Declare the service
Your app must declare a service—such as MyCustomControlService—in
its app manifest.
The service must include an intent filter for ControlsProviderService. This
filter lets applications contribute controls to the system UI.
You also need a label that is displayed in the controls in the system UI.
The following example shows how to declare a service:
<service
    android:name="MyCustomControlService"
    android:label="My Custom Controls"
    android:permission="android.permission.BIND_CONTROLS"
    android:exported="true"
    >
    <intent-filter>
      <action android:name="android.service.controls.ControlsProviderService" />
    </intent-filter>
</service>
Next, create a new Kotlin file named MyCustomControlService.kt and make it
extend ControlsProviderService:
class MyCustomControlService : ControlsProviderService() { // ... }
Select the correct control type
The API provides builder methods to create the controls. To populate the builder, determine the device you want to control and how the user interacts with it. Perform the following steps:
- Pick the type of device the control represents. The
DeviceTypesclass is an enumeration of all supported devices. The type is used to determine the icons and colors for the device in the UI. - Determine the user-facing name, device location—for example, kitchen—and other UI textual elements associated with the control.
- Pick the best template to support user interaction. Controls are assigned a
ControlTemplatefrom the application. This template directly shows the control state to the user as well as the available input methods—that is, theControlAction. The following table outlines some of the available templates and the actions they support:
| Template | Action | Description |
ControlTemplate.getNoTemplateObject()
|
None
|
The application might use this to convey information about the control, but the user can't interact with it. |
ToggleTemplate
|
BooleanAction
|
Represents a control that can be switched between enabled and disabled
states. The BooleanAction object contains a field that changes
to represent the requested new state when the user taps the control.
|
RangeTemplate
|
FloatAction
|
Represents a slider widget with specified min, max, and step values. When
the user interacts with the slider, send a new FloatAction
object back to the application with the updated value.
|
ToggleRangeTemplate
|
BooleanAction, FloatAction
|
This template is a combination of the ToggleTemplate and
RangeTemplate. It supports touch events as well as a slider,
such as to control dimmable lights.
|
TemperatureControlTemplate
|
ModeAction, BooleanAction, FloatAction
|
In addition to encapsulating the preceding actions, this template lets the user set a mode, such as heat, cool, heat/cool, eco, or off. |
StatelessTemplate
|
CommandAction
|
Used to indicate a control that provides touch capability but whose state can't be determined, such as an IR television remote. You can use this template to define a routine or macro, which is an aggregation of control and state changes. |
With this information, you can create the control:
- Use the
Control.StatelessBuilderbuilder class when the state of the control is unknown. - Use the
Control.StatefulBuilderbuilder class when the state of the control is known.
For example, to control a smart light bulb and a thermostat, add the following
constants to your MyCustomControlService:
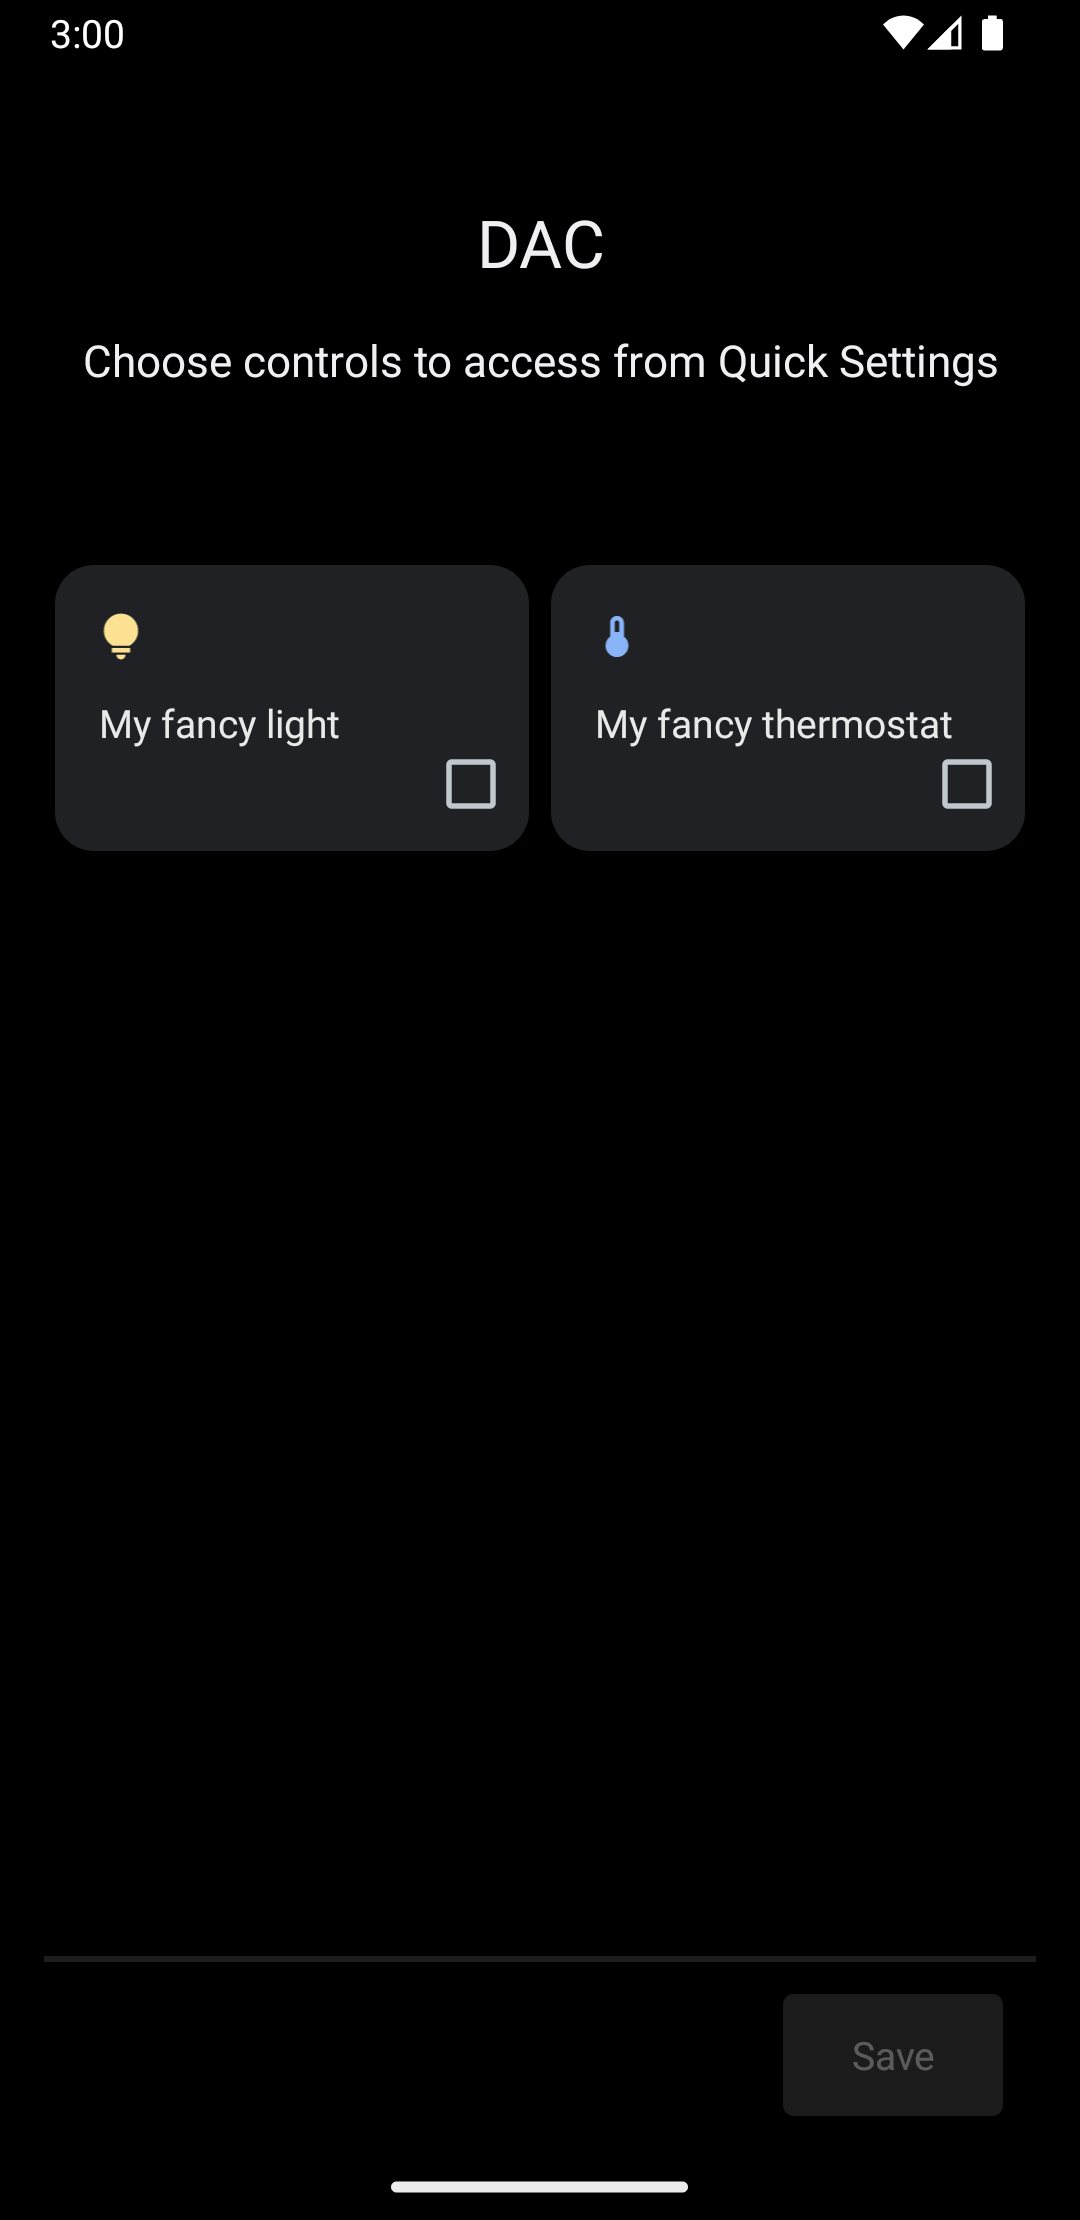
private const val LIGHT_ID = 1234 private const val LIGHT_TITLE = "My fancy light" private const val LIGHT_TYPE = DeviceTypes.TYPE_LIGHT private const val THERMOSTAT_ID = 5678 private const val THERMOSTAT_TITLE = "My fancy thermostat" private const val THERMOSTAT_TYPE = DeviceTypes.TYPE_THERMOSTAT class MyCustomControlService : ControlsProviderService() { // ... }
Create publishers for the controls
After you create the control, it needs a publisher. The publisher informs the
system UI of the existence of the control. The ControlsProviderService class
has two publisher methods that you must override in your application code:
createPublisherForAllAvailable: creates aPublisherfor all the controls available in your app. UseControl.StatelessBuilderto buildControlobjects for this publisher.createPublisherFor: creates aPublisherfor a list of given controls, as identified by their string identifiers. UseControl.StatefulBuilderto build theseControlobjects, because the publisher must assign a state to each control.
Create the publisher
When your app first publishes controls to the system UI, the app doesn't know
the state of each control. Getting the state can be a time-consuming operation
involving many hops in the device-provider's network. Use the
createPublisherForAllAvailable method to
advertise the available controls to the system. This method uses the
Control.StatelessBuilder builder class, because the state of each control is
unknown.
Once the controls appear in the Android UI, users can select favorite controls.
To use Kotlin coroutines to create a ControlsProviderService, add a new
dependency to your build.gradle:
Groovy
dependencies {
    implementation "org.jetbrains.kotlinx:kotlinx-coroutines-jdk9:1.6.4"
}
Kotlin
dependencies {
    implementation("org.jetbrains.kotlinx:kotlinx-coroutines-jdk9:1.6.4")
}
After you sync your Gradle files, add the following snippet to your Service to
implement createPublisherForAllAvailable:
class MyCustomControlService : ControlsProviderService() { override fun createPublisherForAllAvailable(): Flow.Publisher<Control> = flowPublish { send(createStatelessControl(LIGHT_ID, LIGHT_TITLE, LIGHT_TYPE)) send(createStatelessControl(THERMOSTAT_ID, THERMOSTAT_TITLE, THERMOSTAT_TYPE)) } private fun createStatelessControl(id: Int, title: String, type: Int): Control { val intent = Intent(this, MainActivity::class.java) .putExtra(EXTRA_MESSAGE, title) .addFlags(Intent.FLAG_ACTIVITY_NEW_TASK) val action = PendingIntent.getActivity( this, id, intent, PendingIntent.FLAG_UPDATE_CURRENT or PendingIntent.FLAG_IMMUTABLE, ) return Control.StatelessBuilder(id.toString(), action) .setTitle(title) .setDeviceType(type) .build() } override fun createPublisherFor(controlIds: List<String>): Flow.Publisher<Control> { TODO() } override fun performControlAction( controlId: String, action: ControlAction, consumer: Consumer<Int>, ) { TODO() } }
Swipe down the system menu and locate the Device controls button, shown in figure 4:
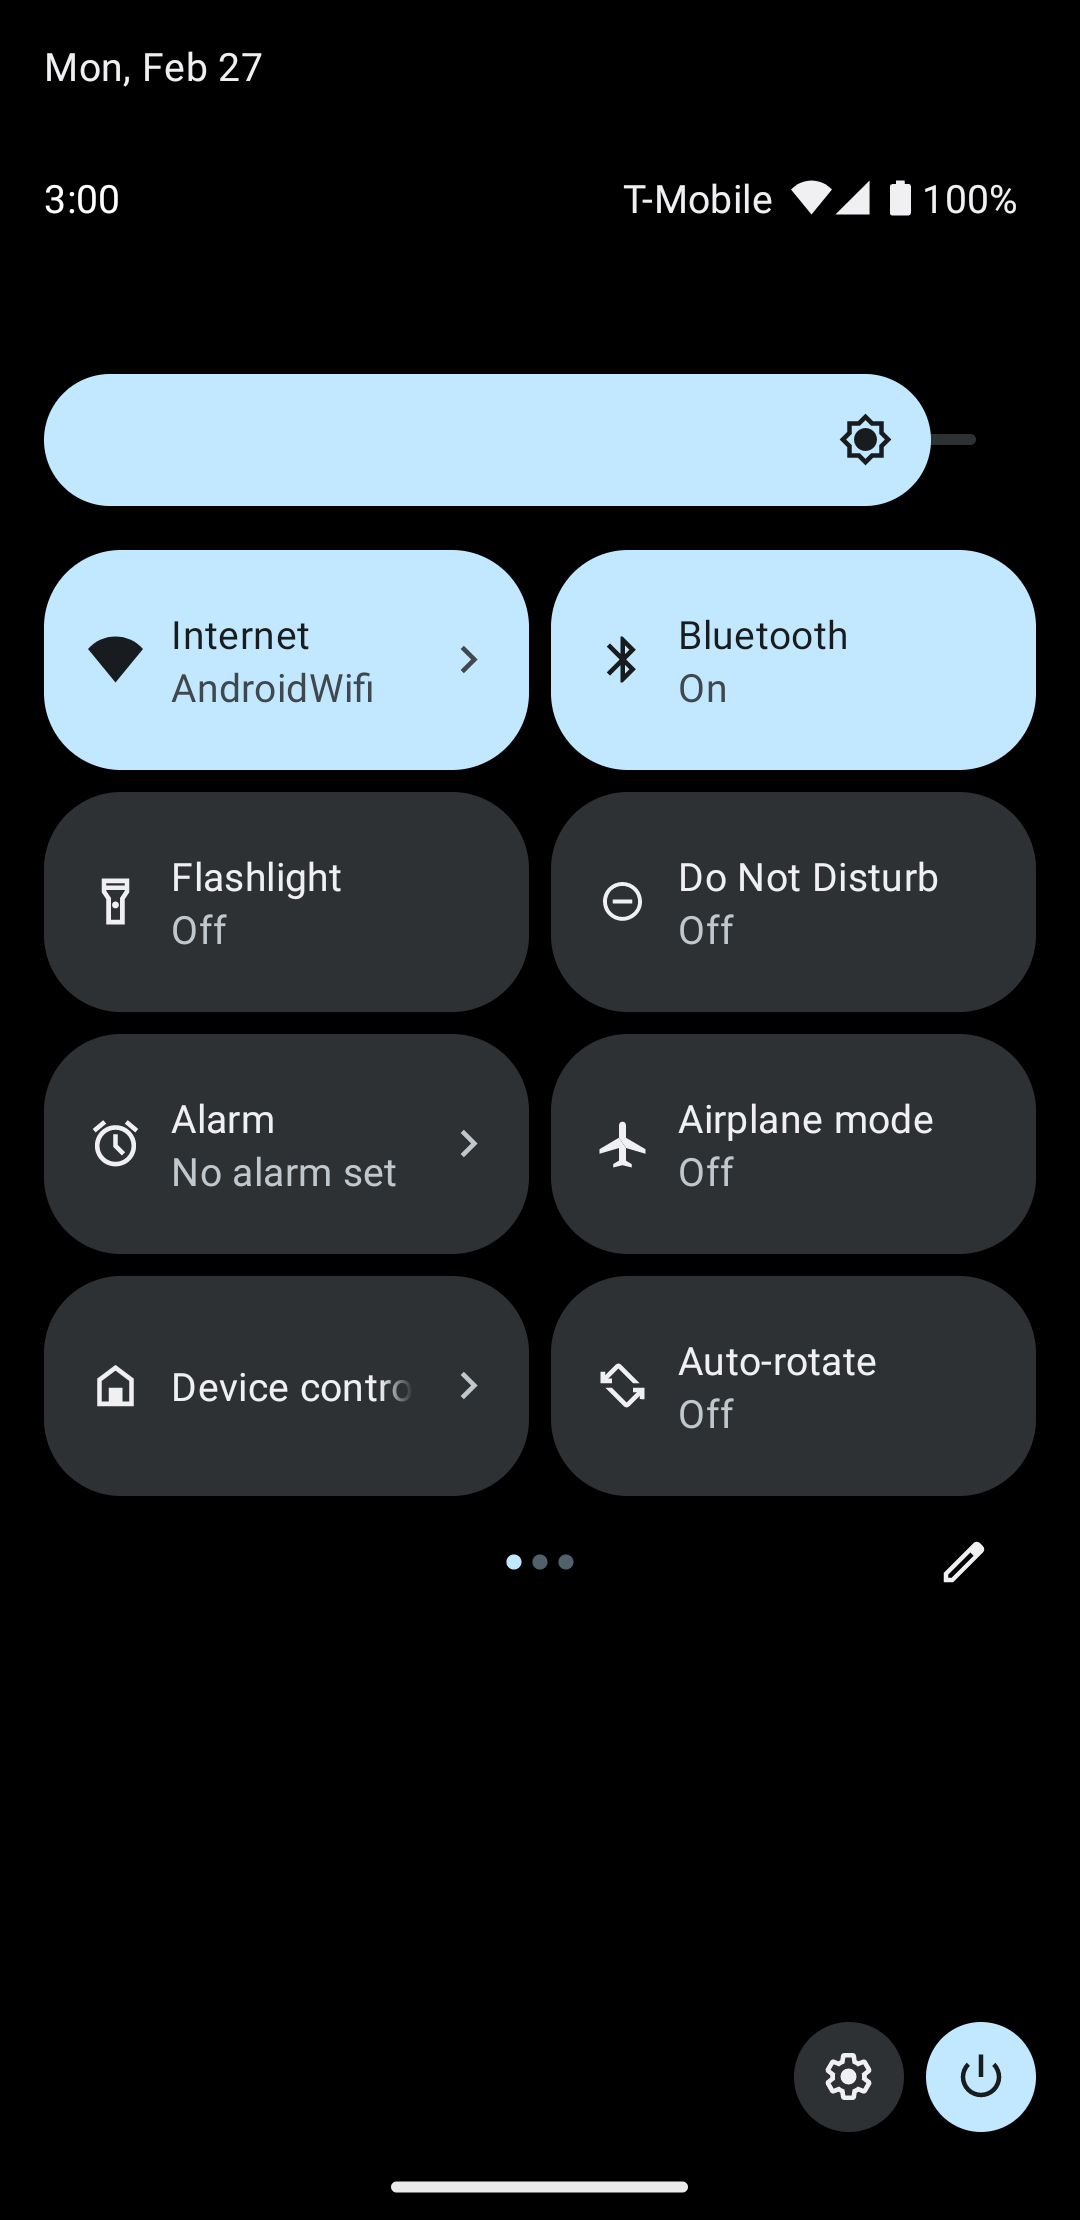
Tapping Device controls navigates to a second screen where you can select your app. Once you select your app, you see how the previous snippet creates a custom system menu showing your new controls, as shown in figure 5:
Now, implement the createPublisherFor method, adding the following to your
Service:
private val job = SupervisorJob() private val scope = CoroutineScope(Dispatchers.IO + job) private val controlFlows = mutableMapOf<String, MutableSharedFlow<Control>>() private var toggleState = false private var rangeState = 18f override fun createPublisherFor(controlIds: List<String>): Flow.Publisher<Control> { val flow = MutableSharedFlow<Control>(replay = 2, extraBufferCapacity = 2) controlIds.forEach { controlFlows[it] = flow } scope.launch { delay(1000) // Retrieving the toggle state. flow.tryEmit(createLight()) delay(1000) // Retrieving the range state. flow.tryEmit(createThermostat()) } return flow.asPublisher() } private fun createLight() = createStatefulControl( LIGHT_ID, LIGHT_TITLE, LIGHT_TYPE, toggleState, ToggleTemplate( LIGHT_ID.toString(), ControlButton( toggleState, toggleState.toString().uppercase(Locale.getDefault()), ), ), ) private fun createThermostat() = createStatefulControl( THERMOSTAT_ID, THERMOSTAT_TITLE, THERMOSTAT_TYPE, rangeState, RangeTemplate( THERMOSTAT_ID.toString(), 15f, 25f, rangeState, 0.1f, "%1.1f", ), ) private fun <T> createStatefulControl( id: Int, title: String, type: Int, state: T, template: ControlTemplate, ): Control { val intent = Intent(this, MainActivity::class.java) .putExtra(EXTRA_MESSAGE, "$title $state") .addFlags(Intent.FLAG_ACTIVITY_NEW_TASK) val action = PendingIntent.getActivity( this, id, intent, PendingIntent.FLAG_UPDATE_CURRENT or PendingIntent.FLAG_IMMUTABLE, ) return Control.StatefulBuilder(id.toString(), action) .setTitle(title) .setDeviceType(type) .setStatus(Control.STATUS_OK) .setControlTemplate(template) .build() } override fun onDestroy() { super.onDestroy() job.cancel() }
In this example, the createPublisherFor method contains a fake
implementation of what your app must do: communicate with your device to
retrieve its status, and emit that status to the system.
The createPublisherFor method uses Kotlin coroutines and flows to satisfy
the required Reactive Streams API by doing the following:
- Creates a
Flow. - Waits for one second.
- Creates and emits the state of the smart light.
- Waits for another second.
- Creates and emits the state of the thermostat.
Handle actions
The performControlAction method signals when the user interacts with a
published control. The type of ControlAction sent determines the action.
Perform the appropriate action for the given control and then update the state
of the device in the Android UI.
To complete the example, add the following to your Service:
override fun performControlAction( controlId: String, action: ControlAction, consumer: Consumer<Int>, ) { controlFlows[controlId]?.let { flow -> when (controlId) { LIGHT_ID.toString() -> { consumer.accept(ControlAction.RESPONSE_OK) if (action is BooleanAction) toggleState = action.newState flow.tryEmit(createLight()) } THERMOSTAT_ID.toString() -> { consumer.accept(ControlAction.RESPONSE_OK) if (action is FloatAction) rangeState = action.newValue flow.tryEmit(createThermostat()) } else -> consumer.accept(ControlAction.RESPONSE_FAIL) } } ?: consumer.accept(ControlAction.RESPONSE_FAIL) }
Run the app, access the Device controls menu, and see your light and thermostat controls.