
Android Studio では、Android の設計と開発に関するおすすめの方法に基づいたコード テンプレートが用意されているため、適切な道筋に沿って美しく機能的なアプリを作成することが可能です。テンプレートを使用して、新しいアプリ モジュールや個別のアクティビティなど、特定の Android プロジェクト コンポーネントを作成できます。
一部のテンプレートには、ナビゲーション ドロワーやログイン画面など、一般的な用途向けのスターター コードが含まれています。初めてプロジェクトを作成する、既存のプロジェクトに新しいアプリ モジュールを追加する、アプリ モジュールに新しいアクティビティを追加するときに、このようなアプリ モジュールやアクティビティ テンプレートから選ぶことができます。
テンプレートを使用して、アクティビティだけでなくその他の Android プロジェクト コンポーネントも既存のアプリに追加することができます。テンプレートには、サービスやコンポーザブルなどのコード コンポーネントと、フォルダや XML ファイルなどの非コード コンポーネントの両方が含まれています。
このページでは、アクティビティなどの Android プロジェクト コンポーネントをプロジェクトに追加する方法を説明します。また、Android Studio で使用できる一般的なアクティビティ テンプレートも紹介します。ほとんどの Android Studio テンプレートは AndroidX に依存しており、マテリアル デザイン 3 の原則を使用して、レスポンシブ UI をすばやく構築できるようにしています。
プロジェクト コンポーネントの追加
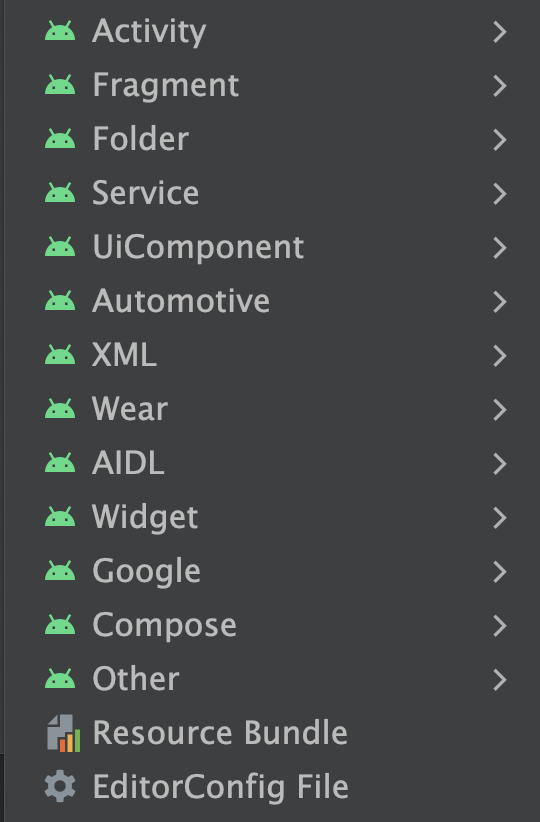
Android Studio では、図 1 に示す Activity や Compose コンポーネントのように、追加するコンポーネントのタイプごとにテンプレートをグループ化しています。
テンプレートを使用して Android プロジェクト コンポーネントを追加するには、[Project] ウィンドウを使用します。新しいコンポーネントの追加先となるフォルダを右クリックして、[New] を選択します。クリックしたフォルダに追加できるコンポーネントに応じて、図 1 のようにテンプレート タイプのリストが表示されます。
追加するテンプレートを選択すると、対応するウィザード ウィンドウが表示され、名前などコンポーネントの設定情報の入力を求められます。設定情報を入力すると、Android Studio で新しいコンポーネントのファイルが作成され、開きます。さらに、Gradle ビルドが実行され、プロジェクトが同期されます。
アクティビティ テンプレートの選択
テンプレートの最も一般的な用途の 1 つに、既存のアプリ モジュールに新しいアクティビティを追加することがあります。アカウントのログイン画面、アイテムの一覧と詳細を表示する画面、長いテキストをスクロールできる画面など、さまざまな画面を作成するためのテンプレートが用意されています。
Android Studio では、Wear OS、Android TV、Cloud App Engine など、さまざまなタイプのアプリ モジュールに合わせたテンプレートも提供しています。プロジェクト コンポーネントを追加するときには、こうしたさまざまなタイプのモジュール向けのテンプレートを参照できます。Google AdMob 広告や Google マップなど、API 固有のモジュールやアクティビティに特化したテンプレートもあります。
最もよく使用するテンプレートの 1 つが Empty Compose Activity テンプレートです。このテンプレートを使用して、サンプル コンポーザブルとコンポーザブルのプレビューを含む空の Activity を作成できます。アプリ モジュールやアクティビティを一から構築する際のベースになります。
Android Studio で Compose アプリをビルドする方法について詳しくは、Jetpack Compose を使ってみるをご覧ください。