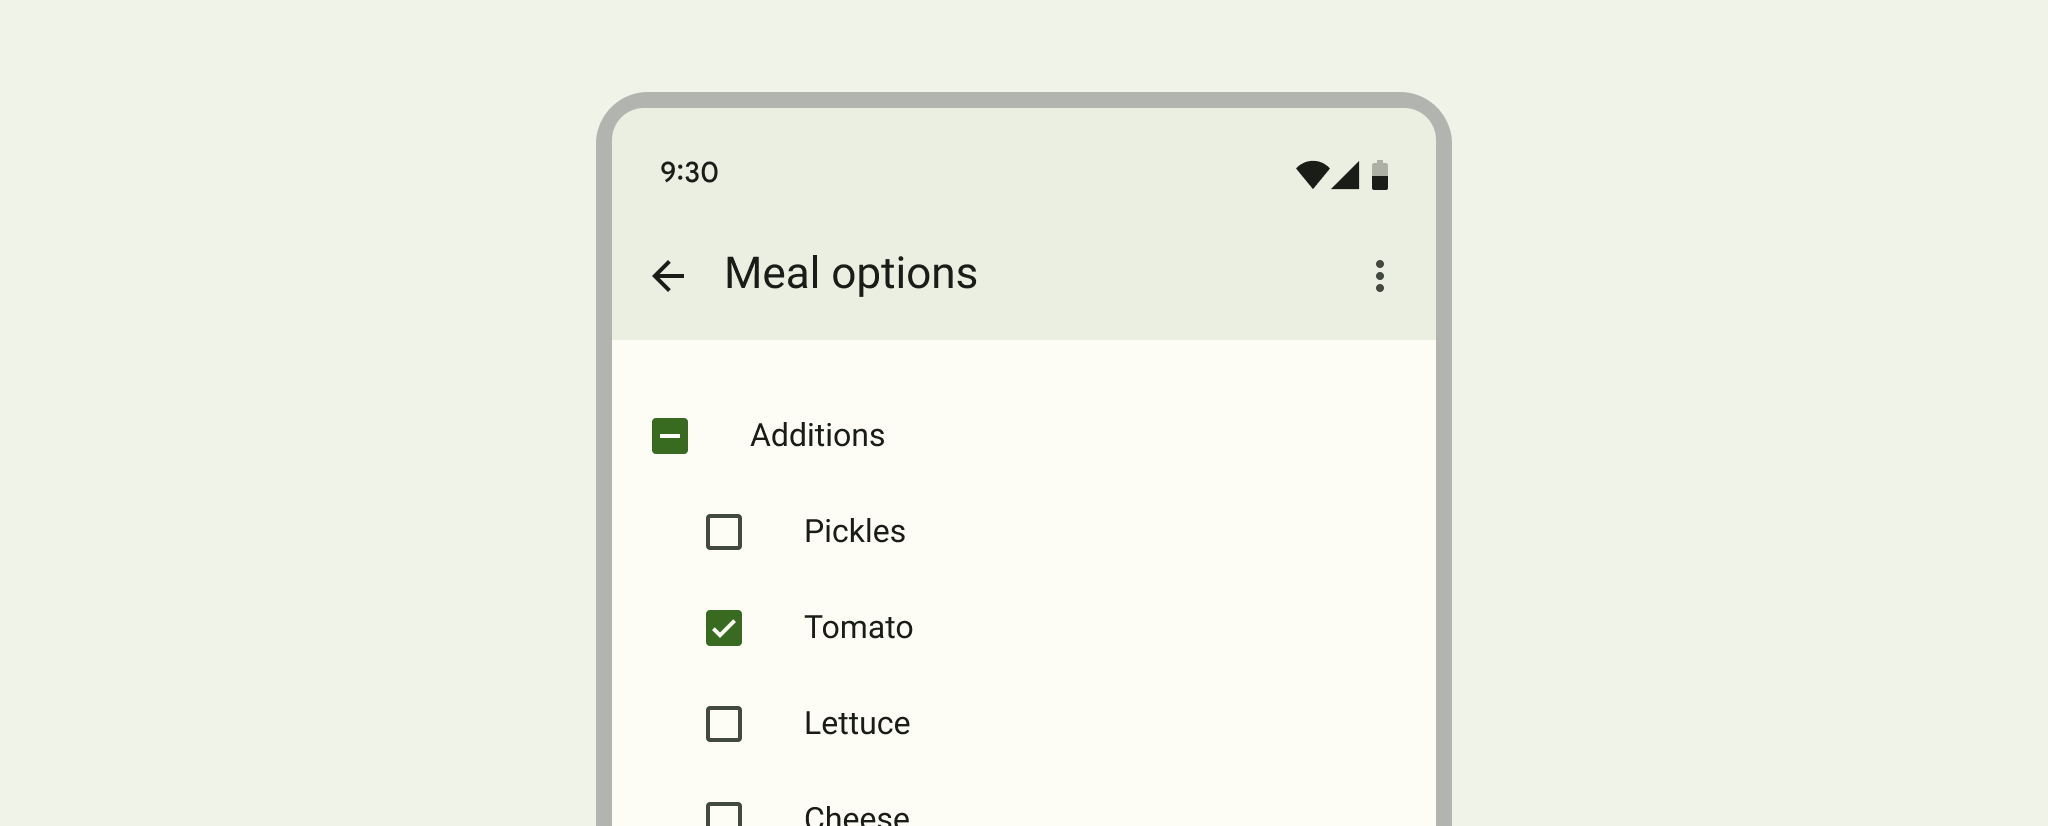
Le caselle di controllo consentono all'utente di selezionare una o più opzioni da un insieme. In genere le opzioni delle caselle di controllo
vengono presentate in un elenco verticale.
Per creare ogni opzione della casella di controllo, crea un CheckBox nel layout. Poiché un insieme di opzioni di caselle di controllo consente all'utente di selezionare più elementi, ogni casella di controllo viene gestita separatamente e devi registrare un ascoltatore di clic per ciascuna.
Rispondere agli eventi di clic
Per iniziare, crea un layout con oggetti CheckBox in un elenco:
Una volta che il layout è pronto, vai a Activity o Fragment, individua le visualizzazioni
CheckBox e imposta un ascoltatore di modifiche, come nell'esempio seguente:
Kotlin
findViewById<CheckBox>(R.id.checkbox_meat).setOnCheckedChangeListener{buttonView,isChecked->
Log.d("CHECKBOXES","Meat is checked: $isChecked")}findViewById<CheckBox>(R.id.checkbox_cheese).setOnCheckedChangeListener{buttonView,isChecked->
Log.d("CHECKBOXES","Cheese is checked: $isChecked")}
Java
findViewById<CheckBox>(R.id.checkbox_meat).setOnCheckedChangeListener{buttonView,isChecked->
Log.d("CHECKBOXES","Meat is checked: $isChecked");}findViewById<CheckBox>(R.id.checkbox_cheese).setOnCheckedChangeListener{buttonView,isChecked->
Log.d("CHECKBOXES","Cheese is checked: $isChecked");}
Il codice precedente stampa un messaggio in Logcat ogni volta che le caselle di controllo cambiano stato.
I campioni di contenuti e codice in questa pagina sono soggetti alle licenze descritte nella Licenza per i contenuti. Java e OpenJDK sono marchi o marchi registrati di Oracle e/o delle sue società consociate.
Ultimo aggiornamento 2025-07-27 UTC.
[[["Facile da capire","easyToUnderstand","thumb-up"],["Il problema è stato risolto","solvedMyProblem","thumb-up"],["Altra","otherUp","thumb-up"]],[["Mancano le informazioni di cui ho bisogno","missingTheInformationINeed","thumb-down"],["Troppo complicato/troppi passaggi","tooComplicatedTooManySteps","thumb-down"],["Obsoleti","outOfDate","thumb-down"],["Problema di traduzione","translationIssue","thumb-down"],["Problema relativo a esempi/codice","samplesCodeIssue","thumb-down"],["Altra","otherDown","thumb-down"]],["Ultimo aggiornamento 2025-07-27 UTC."],[],[],null,["# Add checkboxes to your app\n\nTry the Compose way \nJetpack Compose is the recommended UI toolkit for Android. Learn how to add components in Compose. \n[Checkbox →](/develop/ui/compose/components/checkbox) \n| **Note:** For a better user experience, see the [Material Design Checkbox](https://m3.material.io/components/checkbox/overview) documentation.\n\nCheckboxes let the user select one or more options from a set. Typically, you present checkbox\noptions in a vertical list.\n**Figure 1.** An example of checkboxes from [Material Design Checkbox](https://m3.material.io/components/checkbox/guidelines).\n\nTo create each checkbox option, create a\n[CheckBox](/reference/android/widget/CheckBox) in your layout. Because\na set of checkbox options lets the user select multiple items, each checkbox is managed separately,\nand you must register a click listener for each one.\n\nRespond to click events\n-----------------------\n\nBegin by creating a layout with `CheckBox` objects in a list: \n\n```xml\n\u003c?xml version=\"1.0\" encoding=\"utf-8\"?\u003e\n\u003cLinearLayout xmlns:android=\"http://schemas.android.com/apk/res/android\"\n android:orientation=\"vertical\"\n android:layout_width=\"match_parent\"\n android:layout_height=\"match_parent\"\u003e\n \u003cCheckBox android:id=\"@+id/checkbox_meat\"\n android:layout_width=\"wrap_content\"\n android:layout_height=\"wrap_content\"\n android:text=\"Meat\" /\u003e\n \u003cCheckBox android:id=\"@+id/checkbox_cheese\"\n android:layout_width=\"wrap_content\"\n android:layout_height=\"wrap_content\"\n android:text=\"Cheese\"/\u003e\n\u003c/LinearLayout\u003e\n```\n\nOnce your layout is ready, head to your `Activity` or `Fragment`, find your\n`CheckBox` views, and set a change listener, as in the following example: \n\n### Kotlin\n\n```kotlin\nfindViewById\u003cCheckBox\u003e(R.id.checkbox_meat)\n .setOnCheckedChangeListener { buttonView, isChecked -\u003e\n Log.d(\"CHECKBOXES\", \"Meat is checked: $isChecked\")\n }\n\nfindViewById\u003cCheckBox\u003e(R.id.checkbox_cheese)\n .setOnCheckedChangeListener { buttonView, isChecked -\u003e\n Log.d(\"CHECKBOXES\", \"Cheese is checked: $isChecked\")\n }\n```\n\n### Java\n\n```java\nfindViewById\u003cCheckBox\u003e(R.id.checkbox_meat)\n .setOnCheckedChangeListener { buttonView, isChecked -\u003e\n Log.d(\"CHECKBOXES\", \"Meat is checked: $isChecked\");\n }\n\nfindViewById\u003cCheckBox\u003e(R.id.checkbox_cheese)\n .setOnCheckedChangeListener { buttonView, isChecked -\u003e\n Log.d(\"CHECKBOXES\", \"Cheese is checked: $isChecked\");\n }\n```\n\nThe previous code prints a message in Logcat every time the checkboxes change status.\n| **Tip:** If you need to change the checkbox state yourself, use the [setChecked(boolean)](/reference/android/widget/CompoundButton#setChecked(boolean)) or [toggle()](/reference/android/widget/CompoundButton#toggle()) method."]]