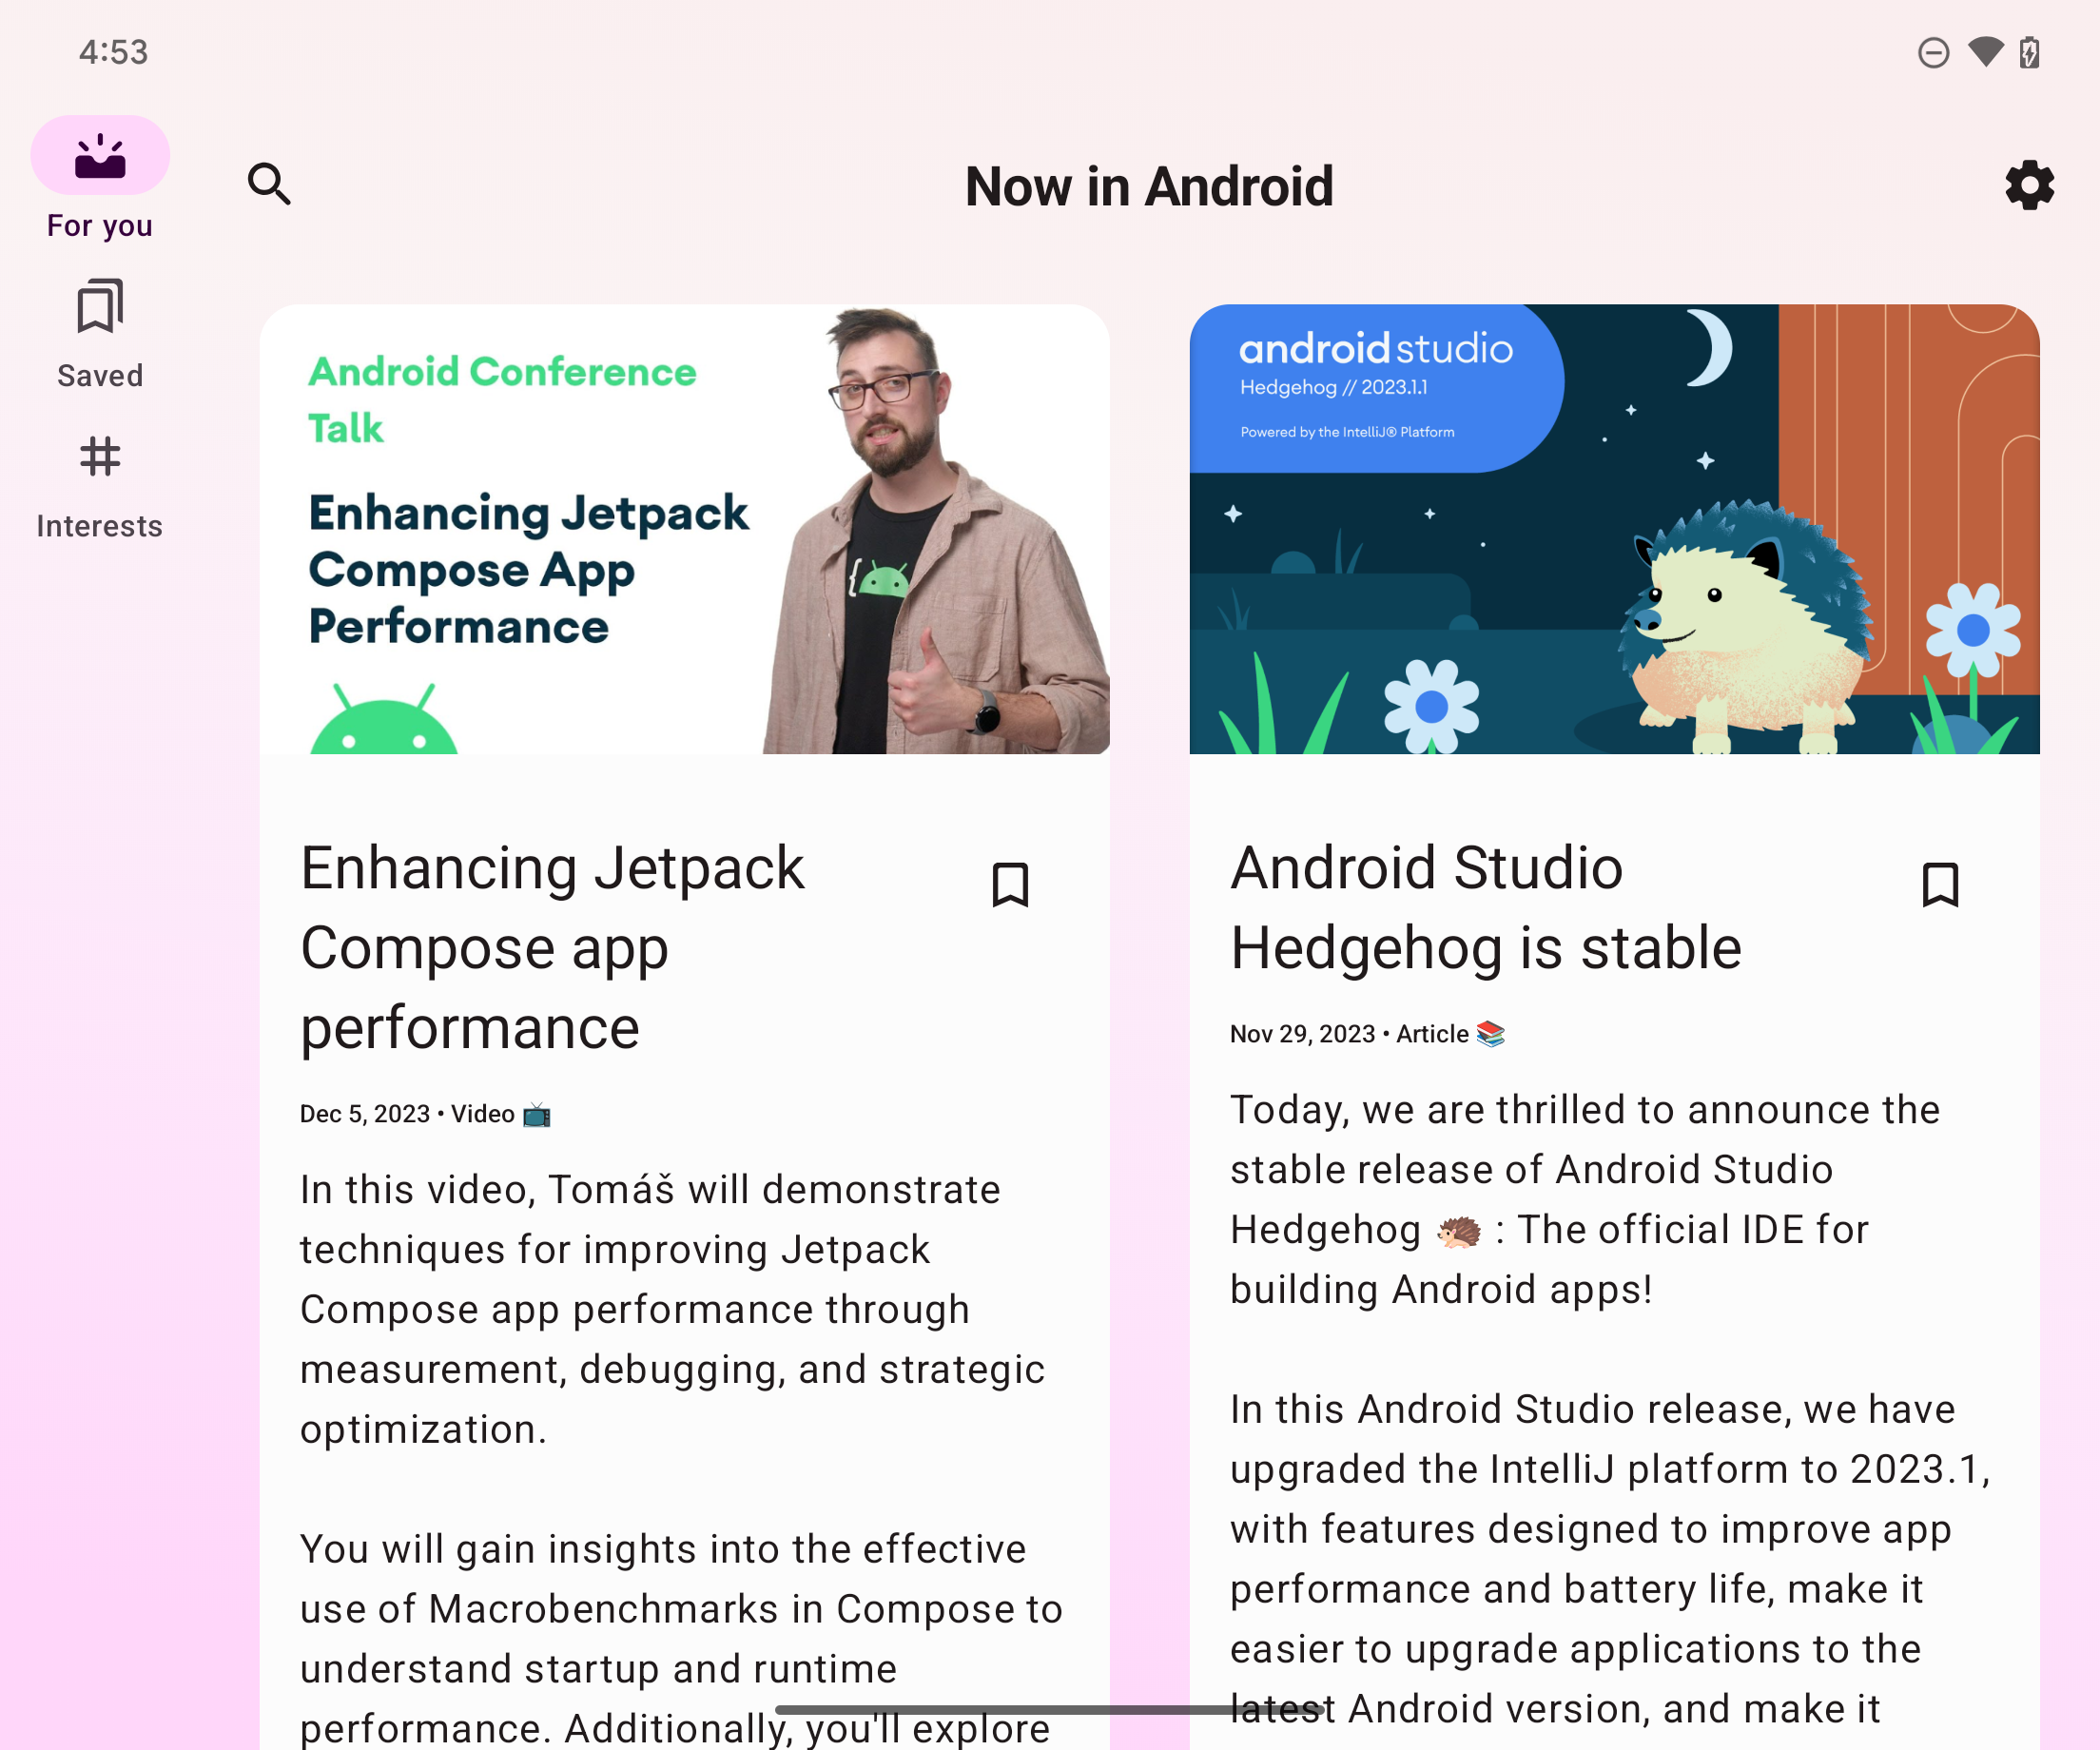
大多數應用程式都有幾個頂層目的地,可透過應用程式的主要導覽 UI 存取。在精簡視窗 (例如標準手機螢幕) 中,目的地通常會顯示在視窗底部的導覽列。在展開的視窗中 (例如平板電腦上的全螢幕應用程式),應用程式旁的導覽邊欄通常是較好的選擇,因為在握住裝置左右兩側時,更容易觸及導覽控制項。
NavigationSuiteScaffold 會根據 WindowSizeClass 顯示適當的導覽 UI 可組合函式,簡化導覽 UI 之間的切換作業。包括在執行階段視窗大小變更期間,動態變更 UI。預設行為是顯示下列任一 UI 元件:
- 導覽列 (如果寬度或高度為精簡,或裝置處於桌面模式)
- 其他所有內容的導覽邊欄

NavigationSuiteScaffold 會在精簡視窗中顯示導覽列。

NavigationSuiteScaffold 在展開的視窗中顯示導覽邊欄。
新增依附元件
NavigationSuiteScaffold 是 Material3 自適應導覽套件程式庫的一部分。在應用程式或模組的 build.gradle 檔案中,新增程式庫的依附元件:
Kotlin
implementation("androidx.compose.material3:material3-adaptive-navigation-suite")
Groovy
implementation 'androidx.compose.material3:material3-adaptive-navigation-suite'
建立支架
NavigationSuiteScaffold 主要由兩部分組成:導覽套件項目和所選目的地的內容。您可以在可組合函式中直接定義導覽套件項目,但通常會在其他位置定義這些項目,例如列舉:
enum class AppDestinations( @StringRes val label: Int, val icon: ImageVector, @StringRes val contentDescription: Int ) { HOME(R.string.home, Icons.Default.Home, R.string.home), FAVORITES(R.string.favorites, Icons.Default.Favorite, R.string.favorites), SHOPPING(R.string.shopping, Icons.Default.ShoppingCart, R.string.shopping), PROFILE(R.string.profile, Icons.Default.AccountBox, R.string.profile), }
如要使用 NavigationSuiteScaffold,您必須追蹤目前目的地,方法是使用 rememberSaveable:
var currentDestination by rememberSaveable { mutableStateOf(AppDestinations.HOME) }
在下列範例中,navigationSuiteItems 參數 (類型為 NavigationSuiteScope) 會使用 item 函式,為個別目的地定義導覽 UI。目的地 UI 可用於導覽列、邊欄和導覽匣。如要建立導覽項目,請在 AppDestinations 上疊代 (定義於前一個程式碼片段):
NavigationSuiteScaffold( navigationSuiteItems = { AppDestinations.entries.forEach { item( icon = { Icon( it.icon, contentDescription = stringResource(it.contentDescription) ) }, label = { Text(stringResource(it.label)) }, selected = it == currentDestination, onClick = { currentDestination = it } ) } } ) { // TODO: Destination content. }
在目的地內容 lambda 中,使用 currentDestination 值決定要顯示的 UI。如果您在應用程式中使用 Navigation 程式庫,請在此處使用該程式庫顯示適當目的地。when 陳述式就足夠:
NavigationSuiteScaffold( navigationSuiteItems = { /*...*/ } ) { // Destination content. when (currentDestination) { AppDestinations.HOME -> HomeDestination() AppDestinations.FAVORITES -> FavoritesDestination() AppDestinations.SHOPPING -> ShoppingDestination() AppDestinations.PROFILE -> ProfileDestination() } }
變更色彩
NavigationSuiteScaffold 會在整個支架佔用的區域 (通常是整個視窗) 建立 Surface。此外,支架會繪製特定的導覽 UI,例如 NavigationBar。介面和導覽 UI 都會使用應用程式主題中指定的值,但您可以覆寫主題值。
containerColor 參數會指定介面的顏色。預設值是色彩配置的背景顏色。contentColor 參數會指定該表面上的內容顏色。預設值為您為 containerColor 指定的「開啟」顏色。舉例來說,如果 containerColor 使用 background 顏色,則 contentColor 會使用 onBackground 顏色。如要進一步瞭解色彩系統的運作方式,請參閱「Compose 中的 Material Design 3 主題設定」。覆寫這些值時,請使用主題中定義的值,確保應用程式支援深色和淺色顯示模式:
NavigationSuiteScaffold( navigationSuiteItems = { /* ... */ }, containerColor = MaterialTheme.colorScheme.primary, contentColor = MaterialTheme.colorScheme.onPrimary, ) { // Content... }
導覽 UI 會繪製在 NavigationSuiteScaffold 介面前方。
UI 顏色的預設值由 NavigationSuiteDefaults.colors() 提供,但您也可以覆寫這些值。舉例來說,如要將導覽列的背景設為透明,但其他值維持預設值,請覆寫 navigationBarContainerColor:
NavigationSuiteScaffold( navigationSuiteItems = { /* ... */ }, navigationSuiteColors = NavigationSuiteDefaults.colors( navigationBarContainerColor = Color.Transparent, ) ) { // Content... }
最後,您可以自訂導覽 UI 中的每個項目。呼叫 item 函式時,可以傳入 NavigationSuiteItemColors 的例項。這個類別會指定導覽列、導覽邊欄和導覽匣中項目的顏色。也就是說,您可以為每個導覽 UI 類型使用相同的顏色,也可以視需要變更顏色。在 NavigationSuiteScaffold 層級定義顏色,即可為所有項目使用相同的物件執行個體,並呼叫 NavigationSuiteDefaults.itemColors() 函式,只覆寫要變更的項目:
val myNavigationSuiteItemColors = NavigationSuiteDefaults.itemColors( navigationBarItemColors = NavigationBarItemDefaults.colors( indicatorColor = MaterialTheme.colorScheme.primaryContainer, selectedIconColor = MaterialTheme.colorScheme.onPrimaryContainer ), ) NavigationSuiteScaffold( navigationSuiteItems = { AppDestinations.entries.forEach { item( icon = { Icon( it.icon, contentDescription = stringResource(it.contentDescription) ) }, label = { Text(stringResource(it.label)) }, selected = it == currentDestination, onClick = { currentDestination = it }, colors = myNavigationSuiteItemColors, ) } }, ) { // Content... }
自訂操作機制
NavigationSuiteScaffold 的預設行為會根據視窗大小類別變更導覽 UI。不過,您可能會想覆寫這項行為。舉例來說,如果應用程式顯示單一大型內容窗格做為動態消息,應用程式可能會針對展開的視窗使用永久導覽匣,但仍會針對精簡和中型視窗大小類別,回復為預設行為:
val adaptiveInfo = currentWindowAdaptiveInfo() val customNavSuiteType = with(adaptiveInfo) { if (windowSizeClass.isWidthAtLeastBreakpoint(WIDTH_DP_EXPANDED_LOWER_BOUND)) { NavigationSuiteType.NavigationDrawer } else { NavigationSuiteScaffoldDefaults.calculateFromAdaptiveInfo(adaptiveInfo) } } NavigationSuiteScaffold( navigationSuiteItems = { /* ... */ }, layoutType = customNavSuiteType, ) { // Content... }
其他資源
Material Design 指引:
androidx.compose.material3程式庫元件:
