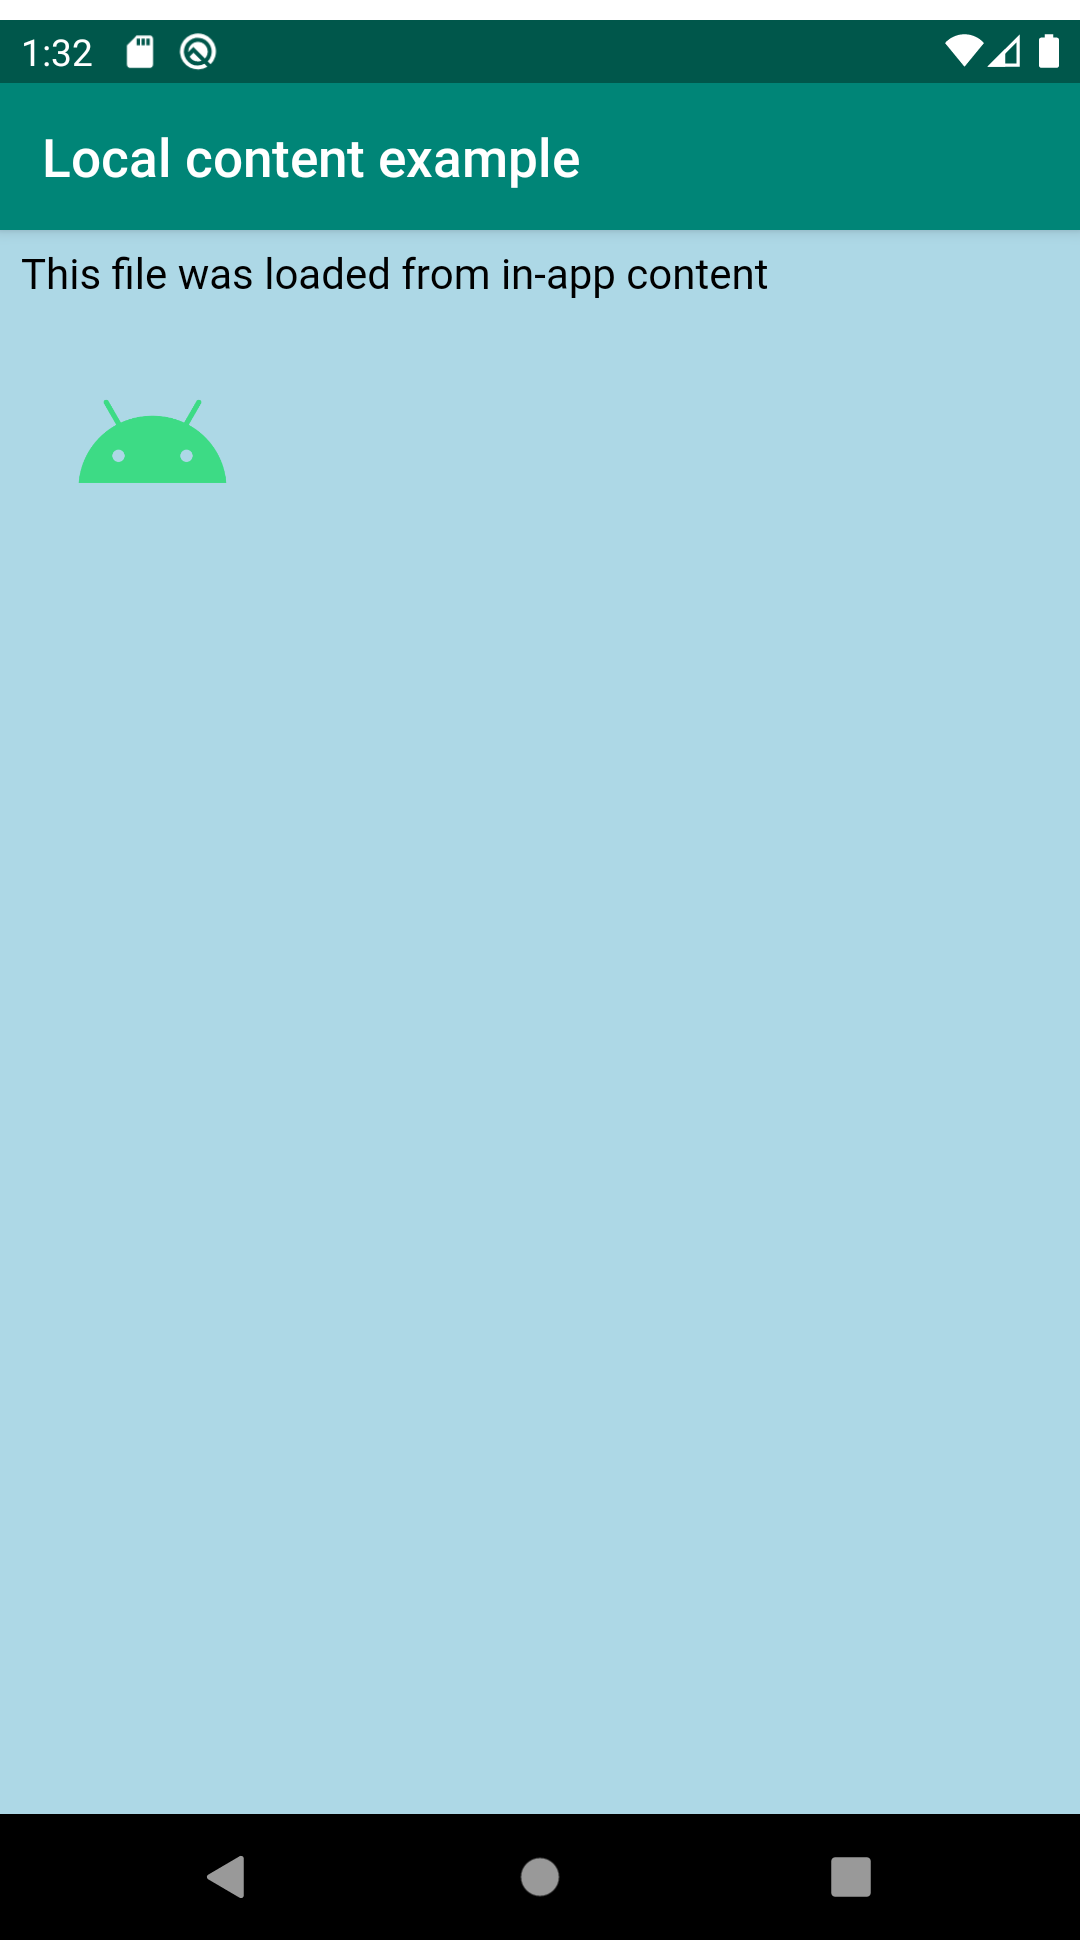
기본 활동 파일에 WebViewAssetLoader를 포함합니다. 다음은
애셋 폴더에서 간단한 웹 콘텐츠를 로드하는 예:
Kotlin
privateclassLocalContentWebViewClient(privatevalassetLoader:WebViewAssetLoader):WebViewClientCompat(){@RequiresApi(21)overridefunshouldInterceptRequest(view:WebView,request:WebResourceRequest):WebResourceResponse? {returnassetLoader.shouldInterceptRequest(request.url)}// To support API < 21.overridefunshouldInterceptRequest(view:WebView,url:String):WebResourceResponse? {returnassetLoader.shouldInterceptRequest(Uri.parse(url))}}
자바
privatestaticclassLocalContentWebViewClientextendsWebViewClientCompat{privatefinalWebViewAssetLoadermAssetLoader;LocalContentWebViewClient(WebViewAssetLoaderassetLoader){mAssetLoader=assetLoader;}@Override@RequiresApi(21)publicWebResourceResponseshouldInterceptRequest(WebViewview,WebResourceRequestrequest){returnmAssetLoader.shouldInterceptRequest(request.getUrl());}@Override@SuppressWarnings("deprecation")// To support API < 21.publicWebResourceResponseshouldInterceptRequest(WebViewview,Stringurl){returnmAssetLoader.shouldInterceptRequest(Uri.parse(url));}}
앱에서는 WebViewAssetLoader 인스턴스를 필요에 맞게 구성해야 합니다. 이
다음 섹션에 예시가 있습니다
인앱 애셋 및 리소스 만들기
WebViewAssetLoader가
PathHandler
인스턴스를 사용하여 지정된 리소스 경로에 해당하는 리소스를 로드합니다. 비록
앱에서 필요에 따라 리소스를 검색하기 위해 이 인터페이스를 구현할 수 있지만,
Webkit 라이브러리 번들
AssetsPathHandler 드림
및
ResourcesPathHandler
각각 Android 애셋과 리소스를 로드하는 데 사용됩니다.
시작하려면 앱의 애셋과 리소스를 만드세요. 일반적으로
다음 사항이 적용됩니다.
HTML, JavaScript, CSS와 같은 텍스트 파일은 애셋에 속합니다.
이미지 및 기타 바이너리 파일은 리소스에 속합니다.
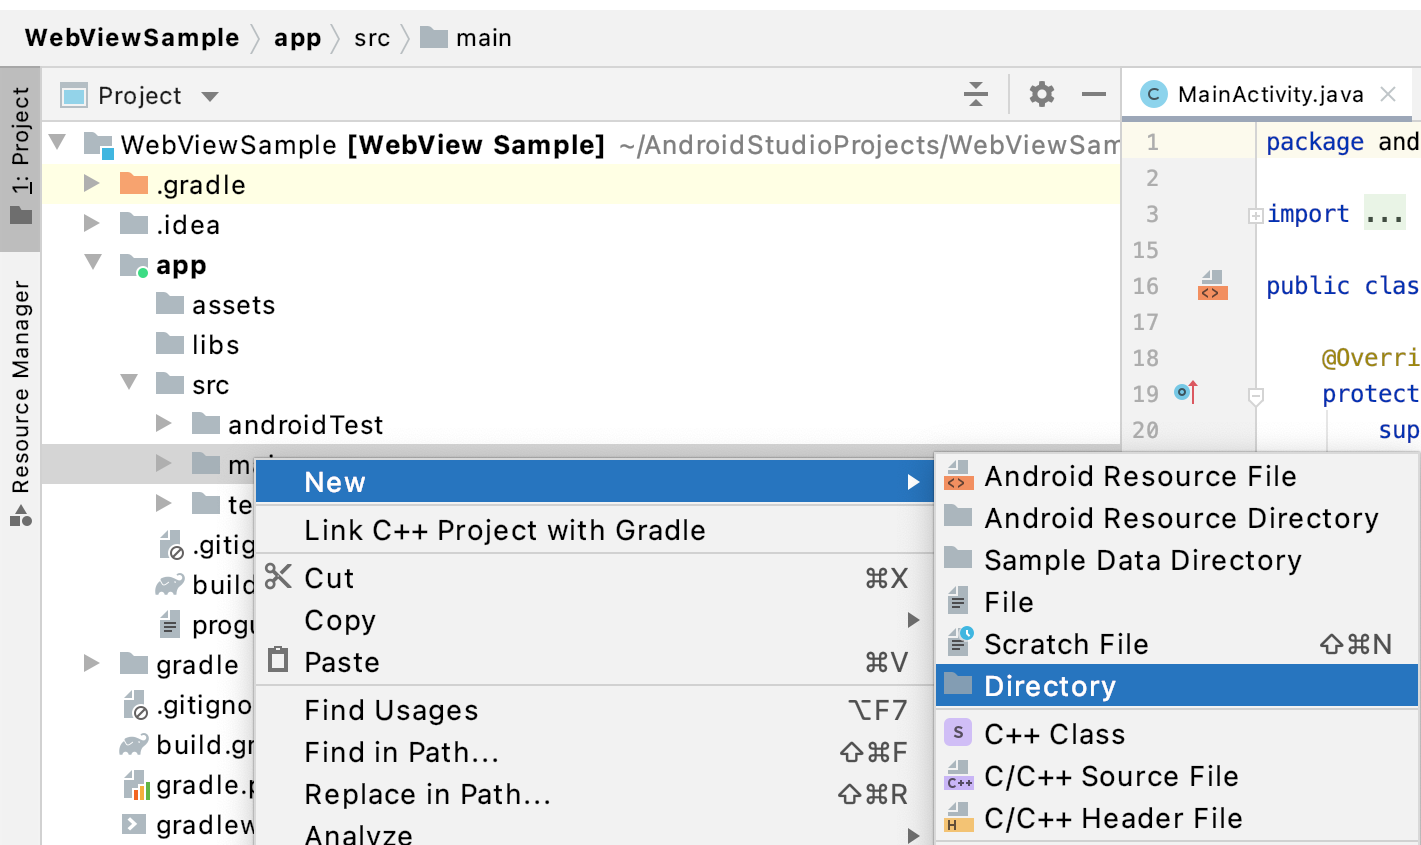
프로젝트에 텍스트 기반 웹 파일을 추가하려면 다음 단계를 따르세요.
Android 스튜디오에서 app > src > 기본 폴더
새로 만들기 > 디렉터리로 이동합니다.
<ph type="x-smartling-placeholder"></ph>
<ph type="x-smartling-placeholder"></ph>
그림 1. 다음에 대한 애셋 폴더 만들기
살펴보겠습니다
폴더 이름을 'assets'로 지정합니다.
그림 2. 애셋 폴더의 이름을 지정합니다.
assets 폴더를 마우스 오른쪽 버튼으로 클릭한 다음 새로 만들기 > File을 참고하세요.
index.html를 입력하고 Return 키를 누르거나
Enter 키.
<ph type="x-smartling-placeholder"></ph>
<ph type="x-smartling-placeholder"></ph>
그림 3.index.html 만들기
파일에서 참조됩니다.
앱에서 인앱 콘텐츠와
인터넷(예: 웹사이트의 CSS에 의해 스타일이 지정된 인앱 HTML 페이지)
WebViewAssetLoader는 이 사용 사례를 지원합니다. 등록된 기기 중 아무 것도 등록하지 않은 경우
인스턴스 PathHandler개가 지정된 경로의 리소스를 찾을 수 있습니다. WebView에 해당합니다.
다시 인터넷에서 콘텐츠를 로드하는 것으로 여겨집니다. 인앱 콘텐츠와
/assets/ 또는
/resources/: 인앱 리소스의 경우 Cloud Shell의 리소스를
확인할 수 있습니다.
Kotlin
valassetLoader=WebViewAssetLoader.Builder().setDomain("example.com")// Replace this with your website's domain..addPathHandler("/assets/",AssetsPathHandler(this)).build()webView.webViewClient=LocalContentWebViewClient(assetLoader)valinAppHtmlUrl="https://example.com/assets/index.html"webView.loadUrl(inAppHtmlUrl)valwebsiteUrl="https://example.com/website/data.json"// JavaScript code to fetch() content from the same origin.valjsCode="fetch('$websiteUrl')"+".then(resp => resp.json())"+".then(data => console.log(data));"webView.evaluateJavascript(jsCode,null)
자바
finalWebViewAssetLoaderassetLoader=newWebViewAssetLoader.Builder().setDomain("example.com")// Replace this with your website's domain.
.addPathHandler("/assets/",newAssetsPathHandler(this)).build();mWebView.setWebViewClient(newLocalContentWebViewClient(assetLoader));StringinAppHtmlUrl="https://example.com/assets/index.html";mWebView.loadUrl(inAppHtmlUrl);StringwebsiteUrl="https://example.com/website/data.json";// JavaScript code to fetch() content from the same origin.StringjsCode="fetch('"+websiteUrl+"')"+".then(resp => resp.json())"+".then(data => console.log(data));";mWebView.evaluateJavascript(jsCode,null);
baseUrl: HTML 콘텐츠가 로드되는 URL입니다. 이 이름은
HTTP(S) URL입니다.
data: 표시하려는 HTML 콘텐츠입니다(문자열).
mimeType: 일반적으로 text/html로 설정해야 합니다.
encoding: baseUrl이 HTTP(S) URL인 경우에는 사용되지 않으므로 다음과 같을 수 있습니다.
null로 설정합니다.
historyUrl: baseUrl와 동일한 값으로 설정됩니다.
HTTP(S) URL을 baseUrl로 사용하는 것이 좋습니다. 이렇게 하면
앱이 동일 출처 정책을 준수하도록 해야 합니다.
콘텐츠에 적합한 baseUrl을(를) 찾을 수 없어 이를 사용하려는 경우
loadData(),
콘텐츠를 인코딩해야 하며백분율 인코딩
또는
Base64
인코딩을 사용합니다.
Base64 인코딩을 선택하고 Android API를 사용하여
다음 코드 샘플에서와 같이 프로그래매틱 방식으로 사용합니다.
file:// URL과 data: URL은 불투명한 출처로 간주됩니다.
즉, 웹 서버와 같은 강력한 웹 API를 사용할 수 없으며
fetch()
또는
XMLHttpRequestloadData()는 내부적으로 data: URL을 사용하므로
대신 WebViewAssetLoader 또는 loadDataWithBaseURL()를 사용하세요.
이 페이지에 나와 있는 콘텐츠와 코드 샘플에는 콘텐츠 라이선스에서 설명하는 라이선스가 적용됩니다. 자바 및 OpenJDK는 Oracle 및 Oracle 계열사의 상표 또는 등록 상표입니다.
최종 업데이트: 2026-06-18(UTC)
[[["이해하기 쉬움","easyToUnderstand","thumb-up"],["문제가 해결됨","solvedMyProblem","thumb-up"],["기타","otherUp","thumb-up"]],[["필요한 정보가 없음","missingTheInformationINeed","thumb-down"],["너무 복잡함/단계 수가 너무 많음","tooComplicatedTooManySteps","thumb-down"],["오래됨","outOfDate","thumb-down"],["번역 문제","translationIssue","thumb-down"],["샘플/코드 문제","samplesCodeIssue","thumb-down"],["기타","otherDown","thumb-down"]],["최종 업데이트: 2026-06-18(UTC)"],[],[]]

 <ph type="x-smartling-placeholder">
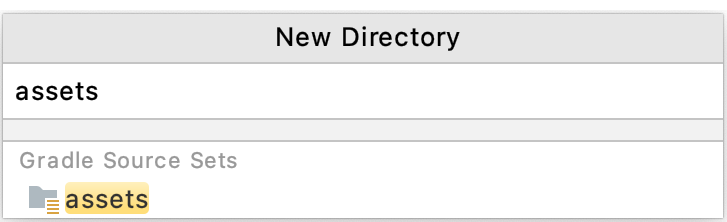
 <ph type="x-smartling-placeholder">