
Your app might need to get the user's attention urgently in certain situations, such as an ongoing alarm or an incoming call. In apps targeting devices that run Android 9 (API level 28) or earlier, you might handle this by launching an activity while the app is in the background. This document shows how to achieve this behavior on devices running Android 10 (API level 29) to Android 13 (API level 33).
Add the POST_NOTIFICATIONS permission
Starting in Android 13, add the following line to your
AndroidManifest.xml file:
<manifest ...>
    <uses-permission android:name="android.permission.POST_NOTIFICATIONS"/>
    <application ...>
        ...
    </application>
</manifest>
Once you have this, you can create a notification channel.
Create a notification channel
Create a notification channel to properly display your notifications and let the user manage notifications in the app settings. For more information about notification channels, see Create and manage notification channels.
Create your notification channels in your Application class's
onCreate method:
Kotlin
class DACapp : Application() {
    override fun onCreate() {
        super.onCreate()
        val channel = NotificationChannel(
            CHANNEL_ID,
            "High priority notifications",
            NotificationManager.IMPORTANCE_HIGH
        )

        val notificationManager = getSystemService(Context.NOTIFICATION_SERVICE) as NotificationManager
        notificationManager.createNotificationChannel(channel)
    }
}
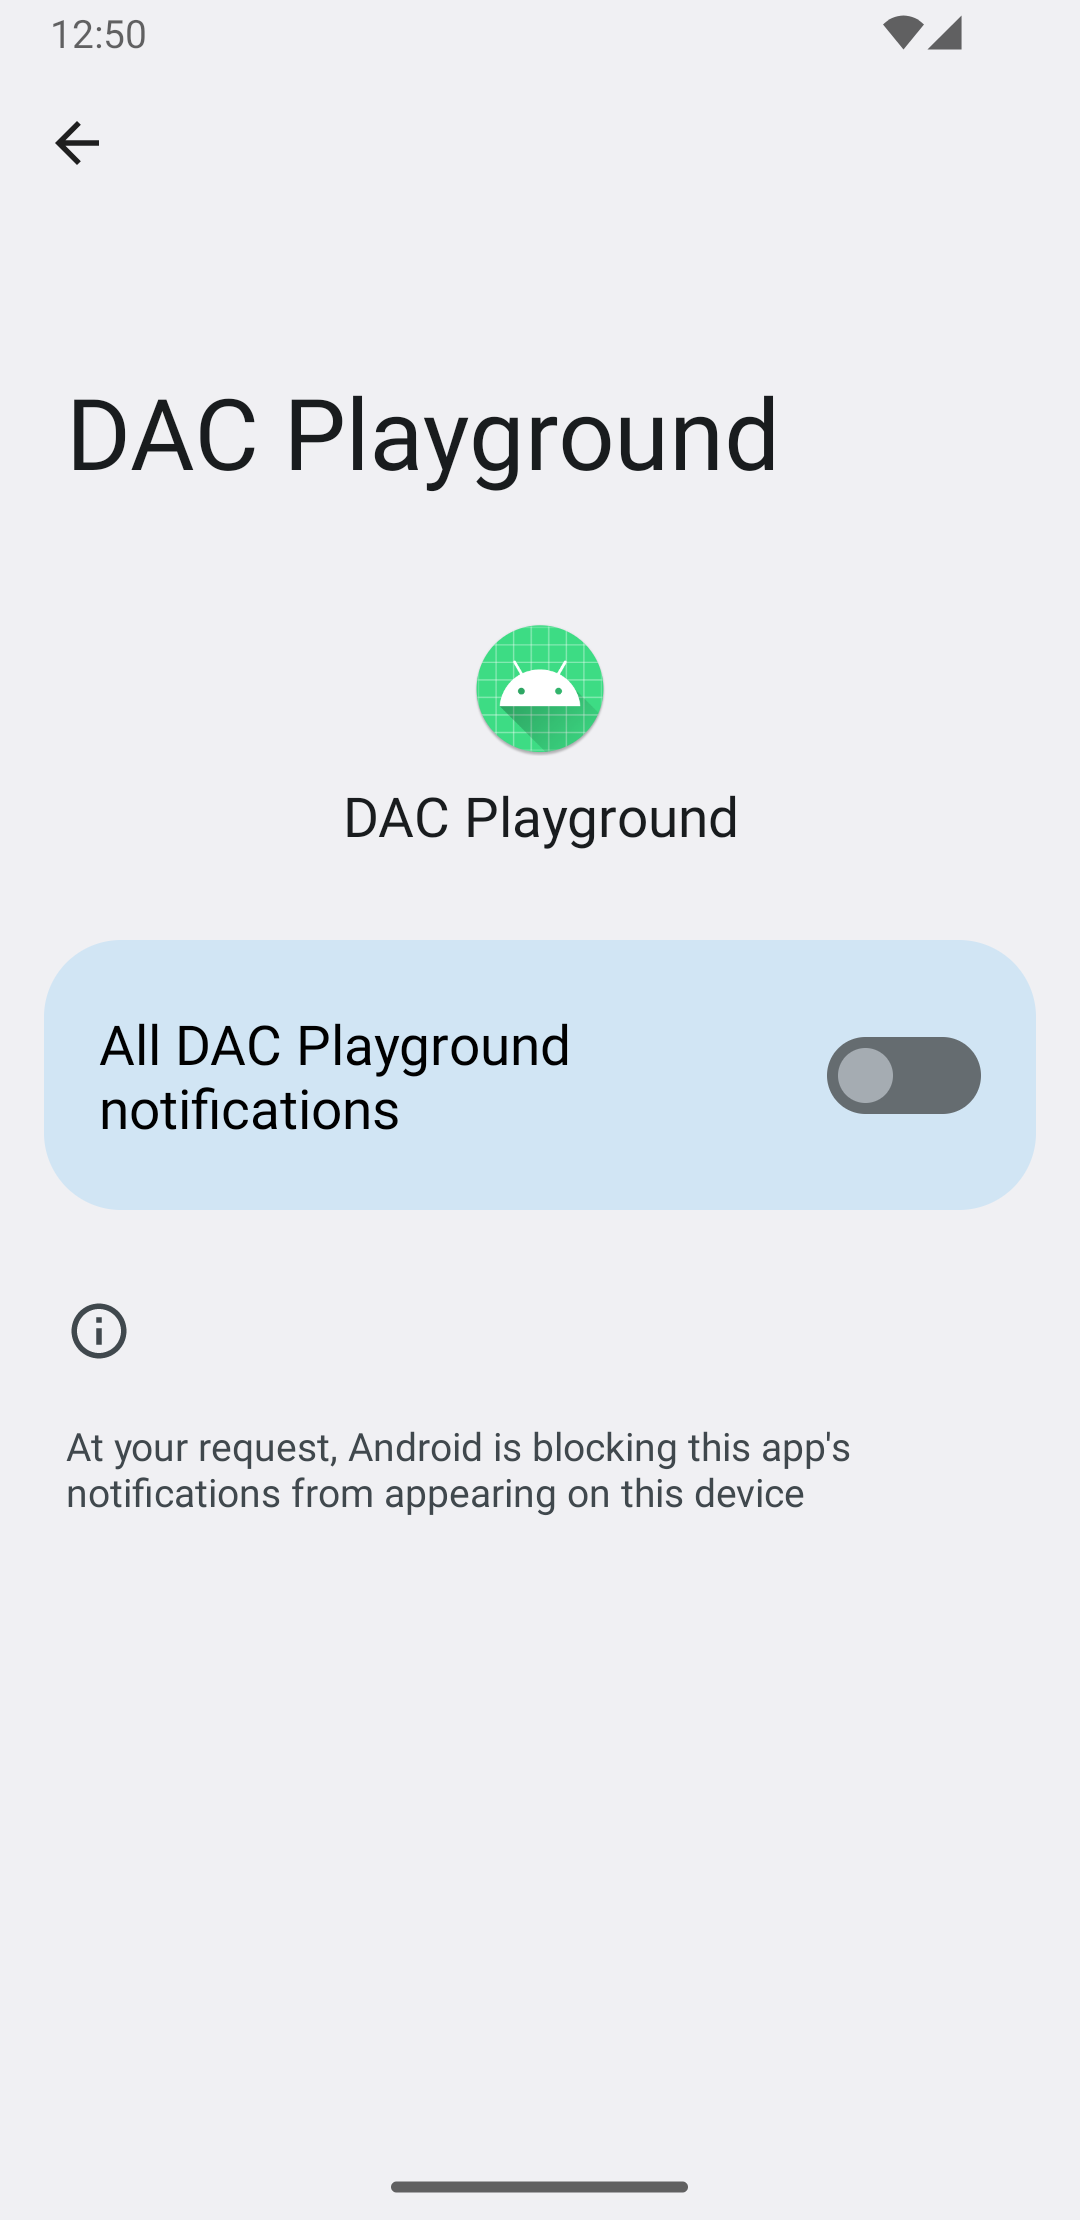
When the user runs your app for the first time, they see something like figure 1 in your app's App info system screen:
Manage notifications permissions
Starting in Android 13, request notification permissions before you show notifications to users.
The minimum implementation looks like this:
Kotlin
val permissionLauncher = rememberLauncherForActivityResult(
    contract = ActivityResultContracts.RequestPermission(),
    onResult = { hasNotificationPermission = it }
)
...
Button(
    onClick = {
        if (!hasNotificationPermission) {
            if (Build.VERSION.SDK_INT >= Build.VERSION_CODES.TIRAMISU) {
                permissionLauncher.launch(Manifest.permission.POST_NOTIFICATIONS)
            }
        }
    },
) {
    Text(text = "Request permission")
}
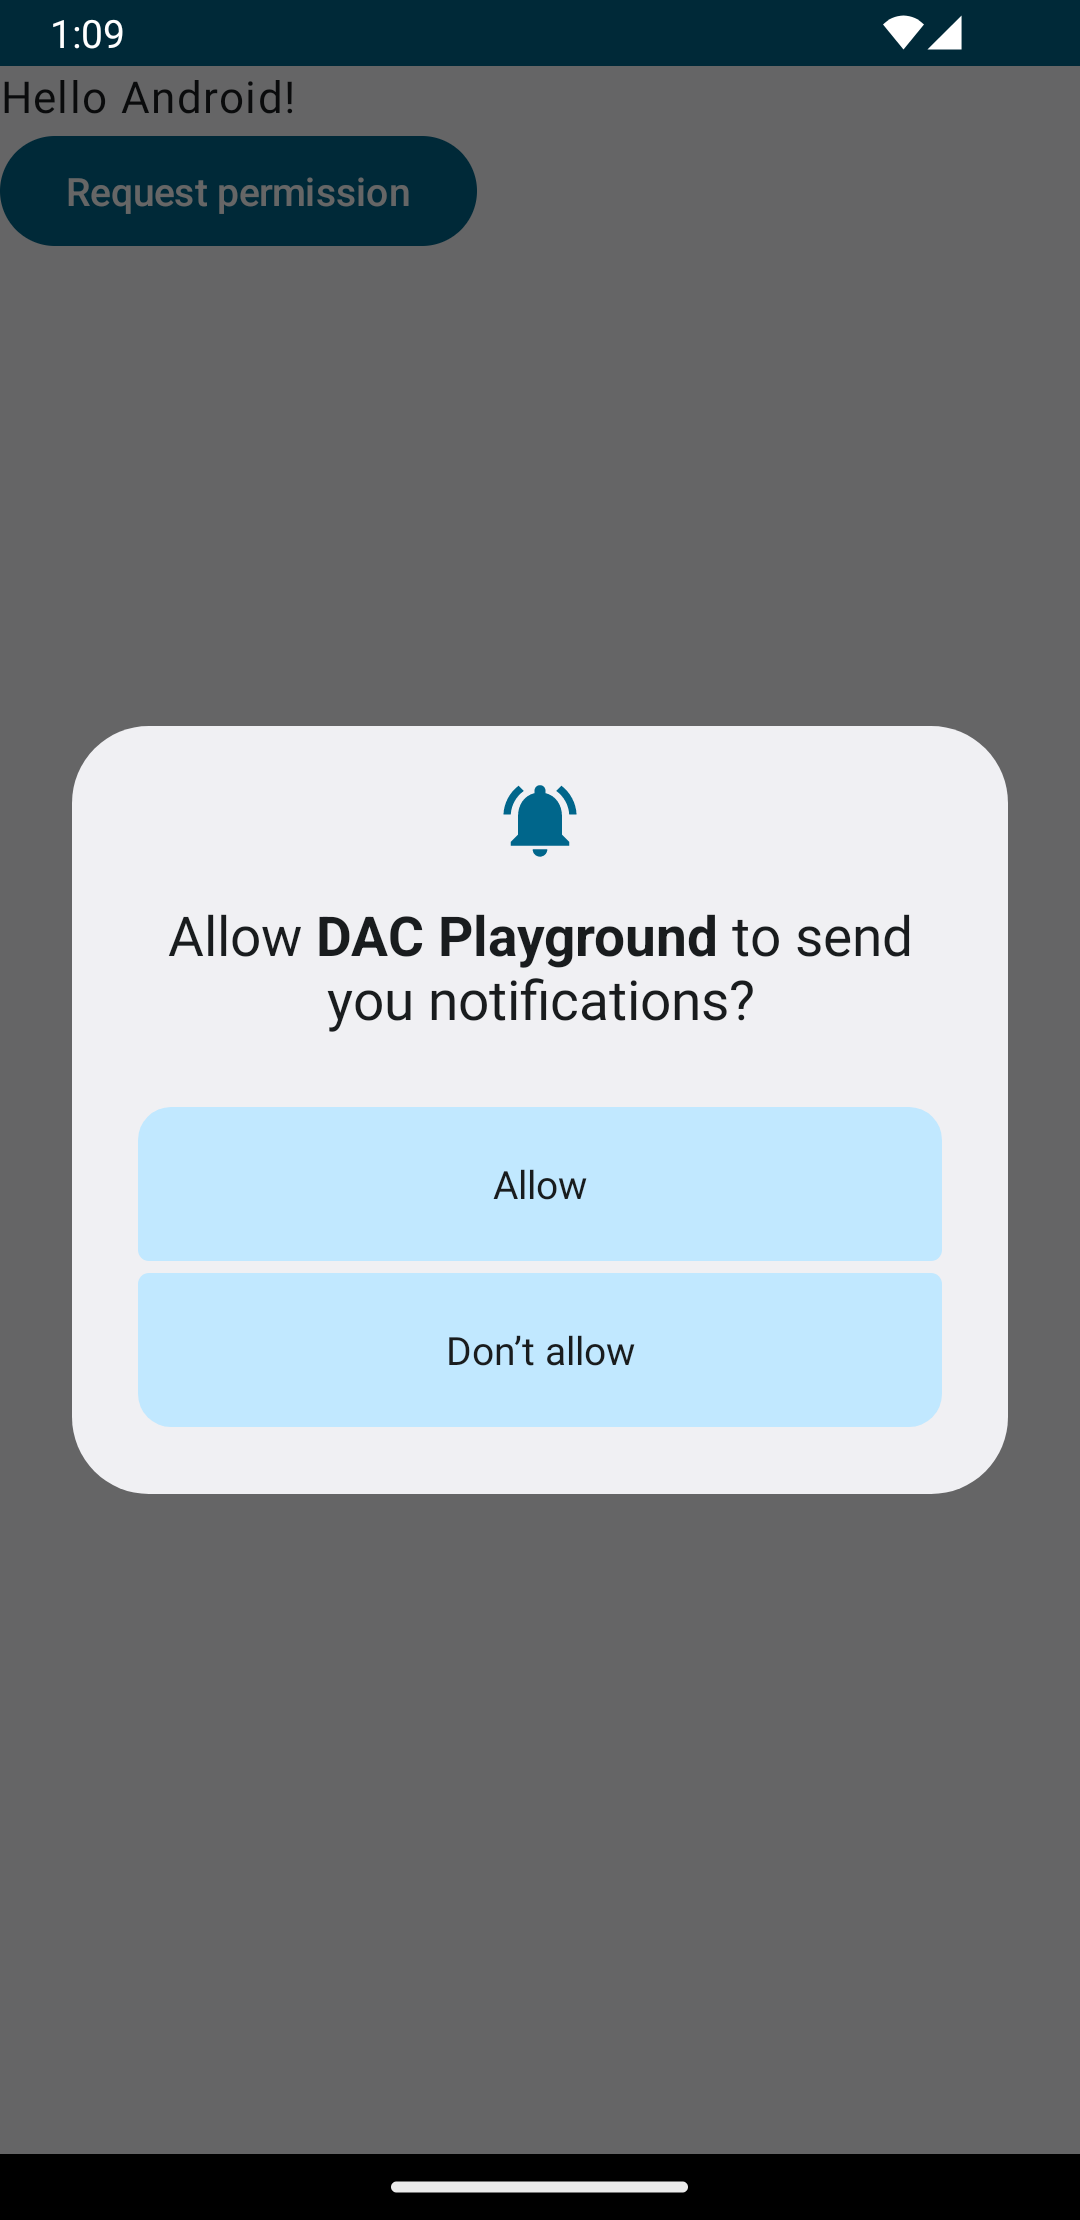
If your device is running Android 13, tapping the Request
permission button triggers the dialog shown in figure 2:
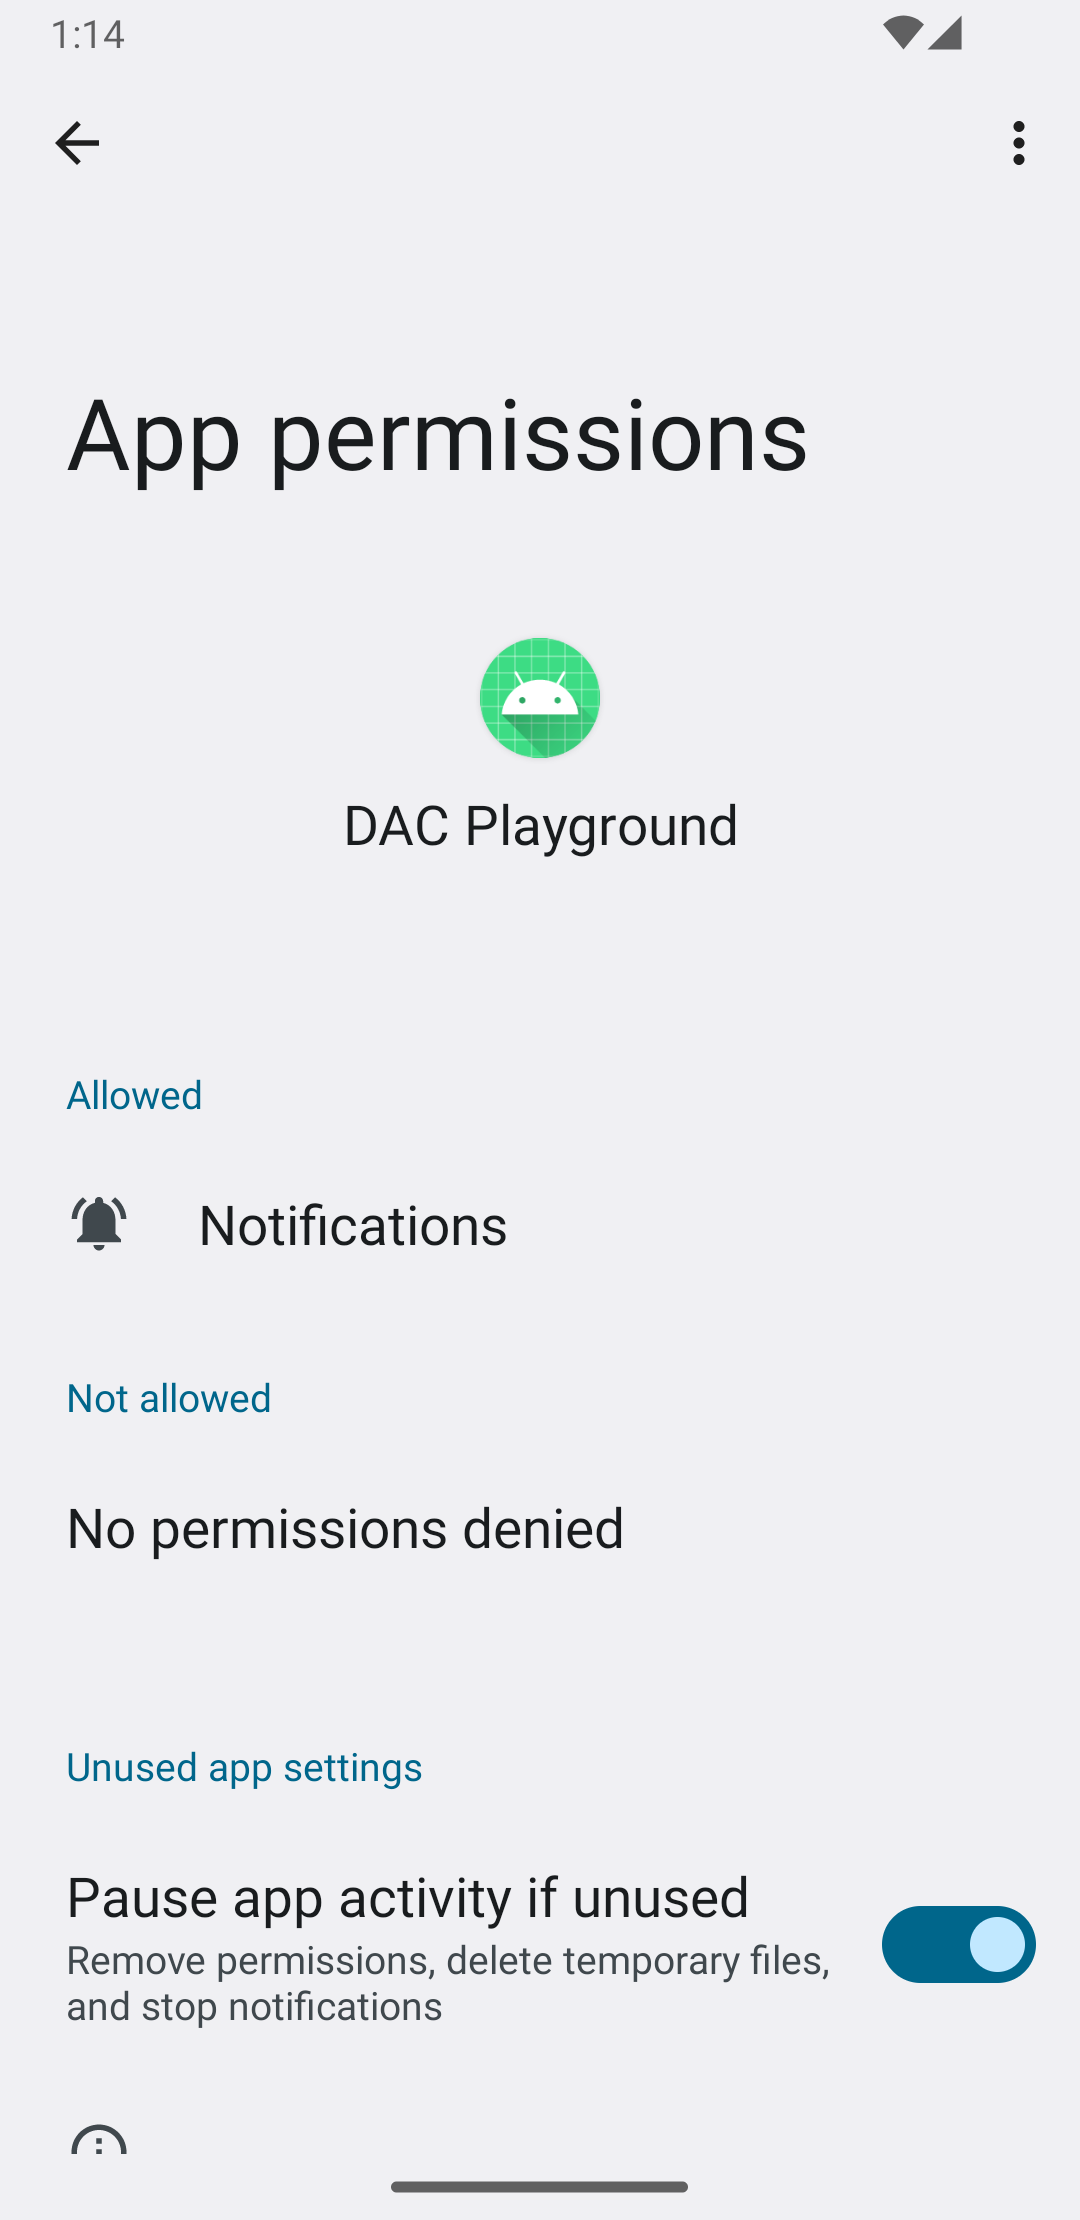
If the user accepts the permission request, the app's App info section looks like figure 3:
Create a high-priority notification
When creating the notification, include a descriptive title and message.
The following example contains a notification:
Kotlin
private fun showNotification() {
    val notificationManager = getSystemService(Context.NOTIFICATION_SERVICE) as NotificationManager

    val notificationBuilder =
        NotificationCompat.Builder(this, CHANNEL_ID)
            .setSmallIcon(R.drawable.baseline_auto_awesome_24)
            .setContentTitle("HIGH PRIORITY")
            .setContentText("Check this dog puppy video NOW!")
            .setPriority(NotificationCompat.PRIORITY_HIGH)
            .setCategory(NotificationCompat.CATEGORY_RECOMMENDATION)

    notificationManager.notify(0, notificationBuilder.build())
}
Display the notification to the user
Calling the showNotification() function triggers the notification as follows:
Kotlin
Button(onClick = { showNotification() }) {
    Text(text = "Show notification")
}
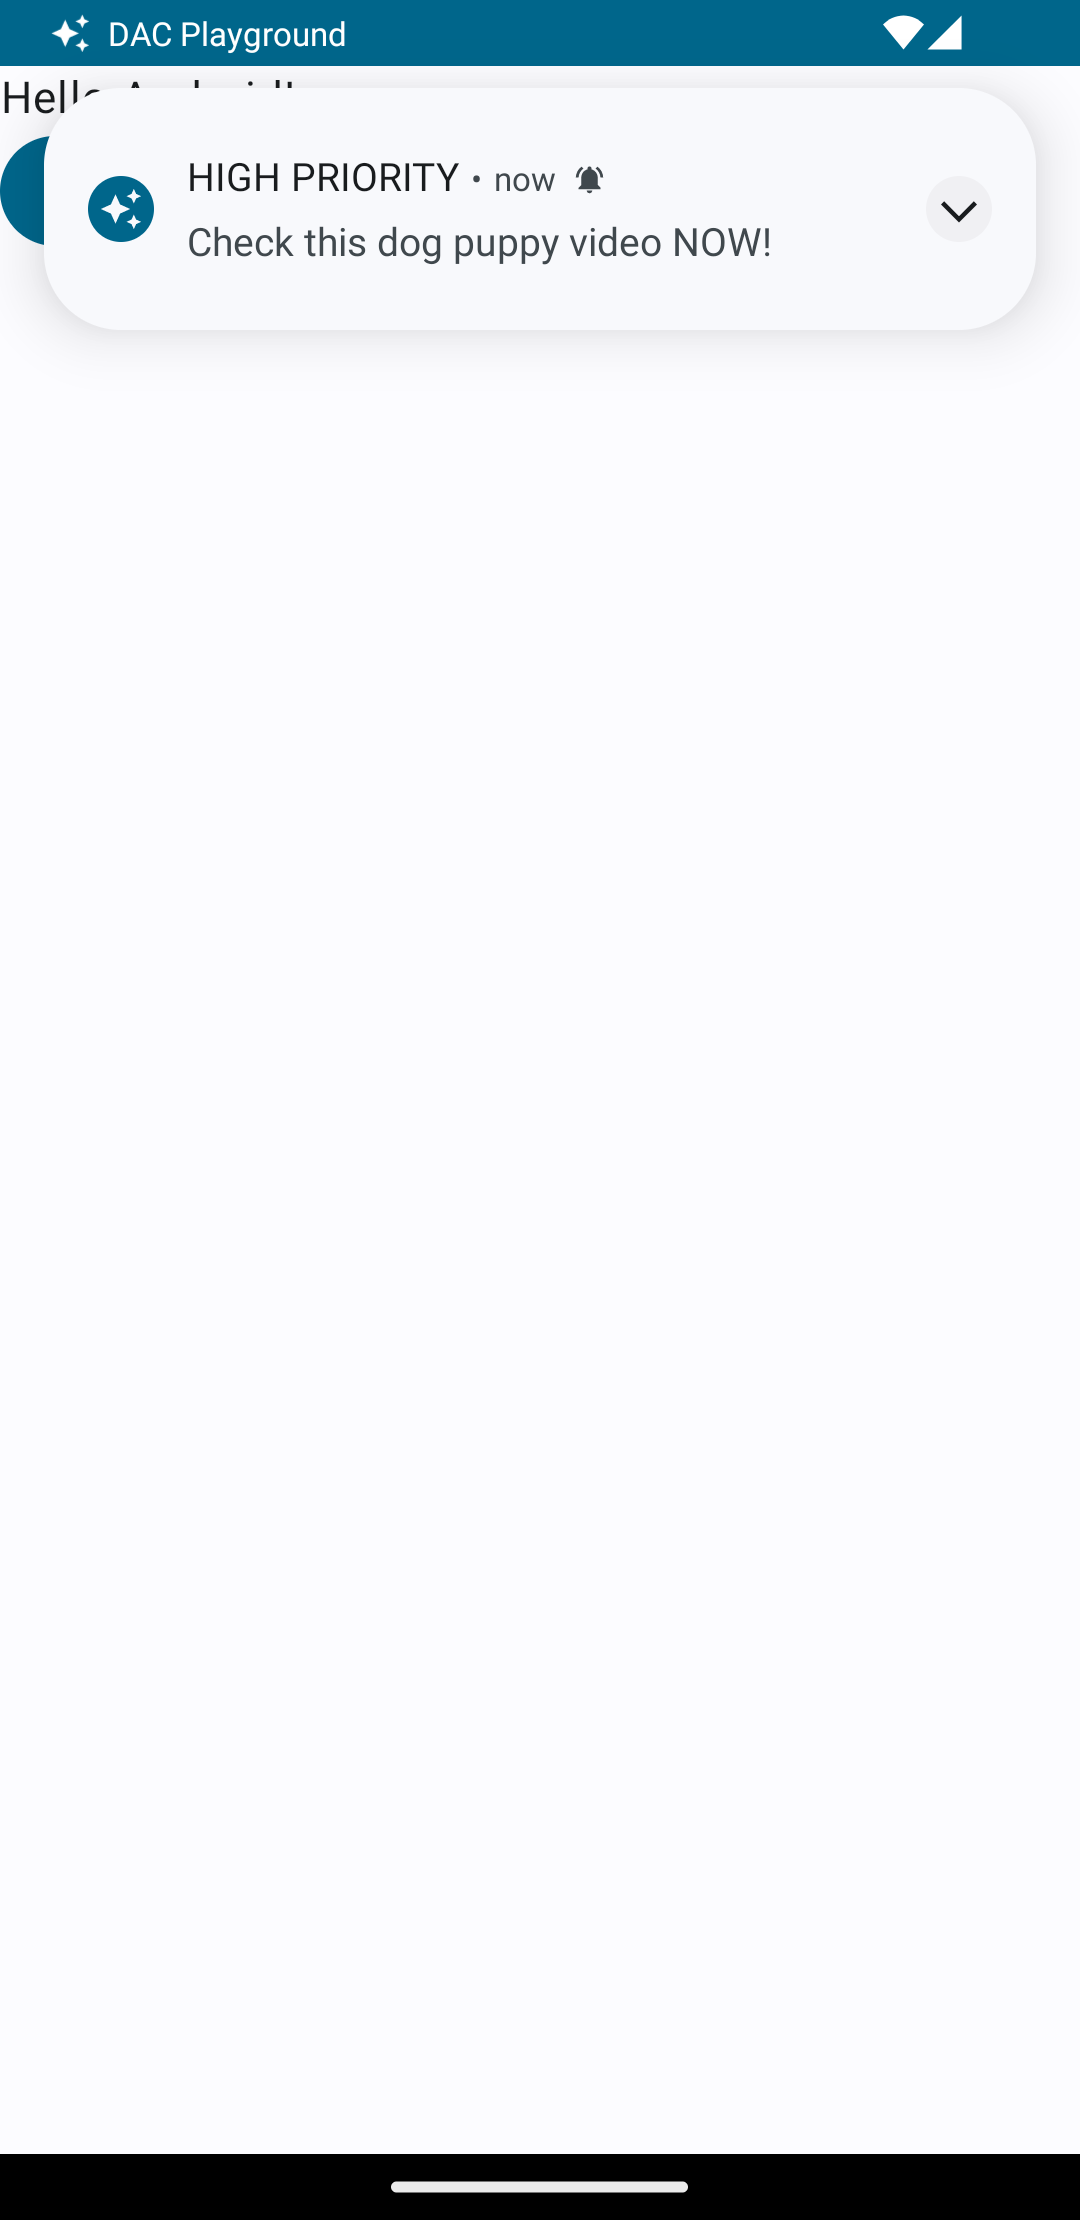
The notification in this example looks like figure 4:
Ongoing notification
When you display your notification to the user, they can acknowledge or dismiss your app's alert or reminder. For example, the user can accept or reject an incoming phone call.
If your notification is an ongoing one, such as an incoming phone call, associate the notification with a foreground service. The following code snippet shows how to display a notification associated with a foreground service:
Kotlin
// Provide a unique integer for the "notificationId" of each notification.
startForeground(notificationId, notification)
Java
// Provide a unique integer for the "notificationId" of each notification.
startForeground(notificationId, notification);
Consider using Live Updates
Time-sensitive ongoing notifications can benefit from higher visibility. Consider promoting time-sensitive ongoing notifications as Live Updates to display them in various system UI surfaces.