
既存のビューベースのアプリがある場合、UI 全体を一度に書き換える必要はありません。このページでは、新しい Compose コンポーネントを既存のアプリに追加する方法について説明します。アプリで Compose の利用を開始するには、既存のアプリに Compose を設定するをご覧ください。
Jetpack Compose は、ビューの相互運用性を最初から考慮して設計されています。この機能で、既存のビューベースのアプリを Compose に移行しつつ、新しい機能を引き続きビルドできます。Compose に移行する場合、アプリが完全に Compose に移行されるまで、コードベースに Compose と View を共存させる増分移行をおすすめします。
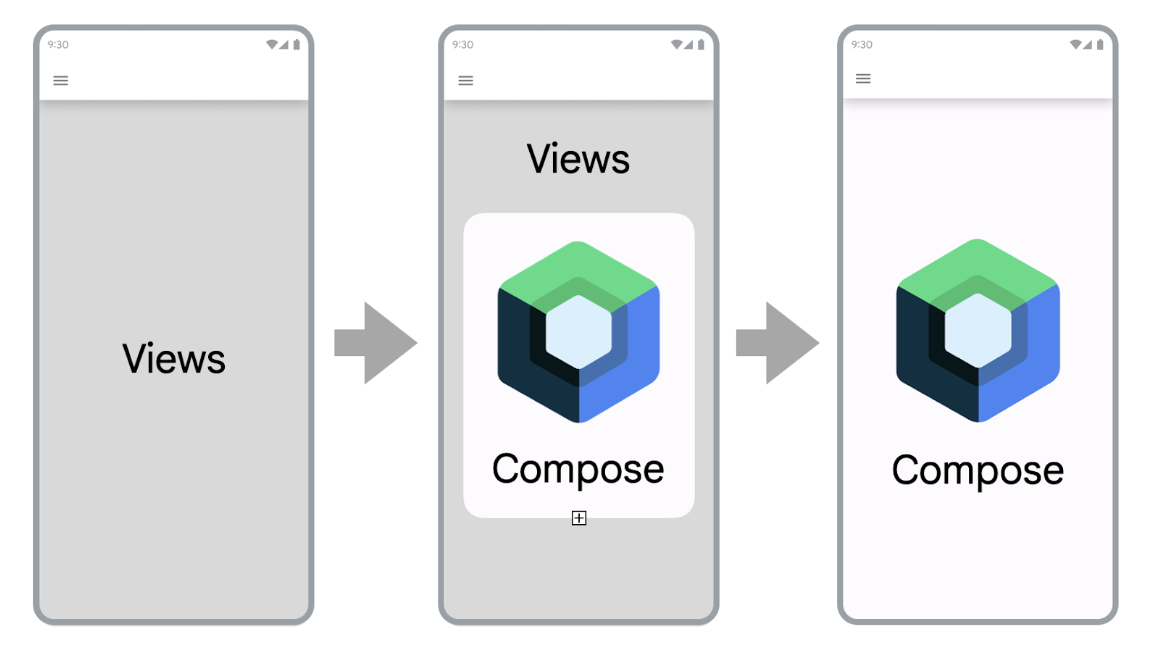
アプリを Compose に移行するには、次の手順を行います。
- Compose を使用して新しい画面を作成します。
- 機能を構築しながら、再利用可能な要素を特定し、一般的な UI コンポーネントのライブラリの作成を開始します。
- 既存の機能を 1 画面ずつ置き換えます。
Compose を使用して新しい画面を作成する
Compose を使用した画面全体を含む新しい機能の構築は、Compose の導入を促進する最良の方法です。この戦略で機能を追加することで、企業のビジネスニーズに対応しながら Compose のメリットを活用できます。

Compose を使用して既存のアプリに新しい画面をビルドする場合でも、アプリのアーキテクチャの制約下で作業を行います。フラグメントと Navigation コンポーネントを使用している場合は、新しいフラグメントを作成し、そのコンテンツを Compose に追加する必要があります。
フラグメントで Compose を使用するには、フラグメントの onCreateView() ライフサイクル メソッドで ComposeView を返します。ComposeView には、コンポーズ可能な関数を提供できる setContent() メソッドがあります。
class NewFeatureFragment : Fragment() { override fun onCreateView( inflater: LayoutInflater, container: ViewGroup?, savedInstanceState: Bundle? ): View { return ComposeView(requireContext()).apply { setViewCompositionStrategy(ViewCompositionStrategy.DisposeOnViewTreeLifecycleDestroyed) setContent { NewFeatureScreen() } } } }
詳しくは、フラグメント内の ComposeView をご覧ください。
既存の画面に新しい機能を追加する
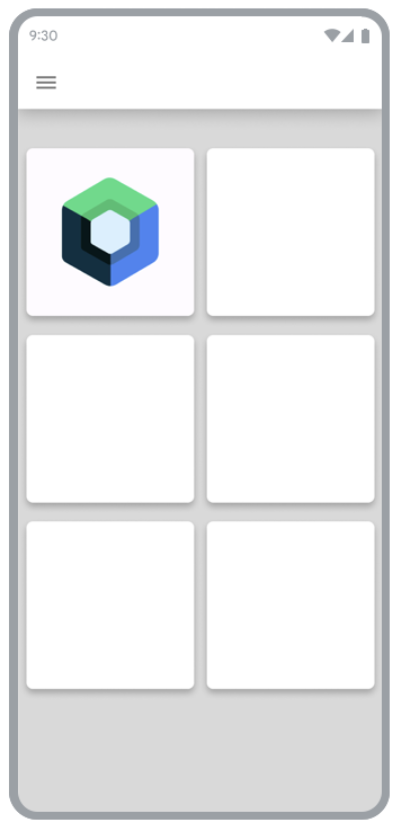
追加する新機能が既存の画面の一部である場合は、既存のビューベースの画面で Compose を使用することもできます。そのためには、他の View と同様に、ComposeView をビュー階層に追加します。
たとえば、LinearLayout に子ビューを追加するとします。これは、次のように XML で行うことができます。
<LinearLayout xmlns:android="http://schemas.android.com/apk/res/android" android:orientation="vertical" android:layout_width="match_parent" android:layout_height="match_parent"> <TextView android:id="@+id/text" android:layout_width="wrap_content" android:layout_height="wrap_content" /> <androidx.compose.ui.platform.ComposeView android:id="@+id/compose_view" android:layout_width="match_parent" android:layout_height="match_parent" /> </LinearLayout>
ビューがインフレートしたら、後で階層内の ComposeView を参照して setContent() を呼び出すことができます。
ComposeView について詳しくは、Interoperability API をご覧ください。
一般的な UI コンポーネントのライブラリを作成する
Compose を使用して機能を作成する場合、結果としてコンポーネントのライブラリを構築することになります。そこで、共通の UI コンポーネントのライブラリを作成することで、アプリ内のそれらのコンポーネントの信頼できる唯一の情報源を保持し、再利用性を促進できます。作成した機能は、このライブラリに依存させることができます。この手法は、Compose でカスタム デザイン システムを構築する場合に特に便利です。
アプリのサイズに応じて、このライブラリは別個のパッケージ、モジュール、ライブラリ モジュールにすることができます。アプリ内のモジュールを整理する方法について詳しくは、Android アプリのモジュール化に関するガイドをご覧ください。
既存の機能を Compose で置き換える
Compose を使用して新機能を構築するだけでなく、アプリ内の既存の機能を段階的に移行して Compose を活用することもできます。
アプリを Compose のみにすることで、開発を加速でき、アプリの APK サイズとビルド時間も短縮できます。詳しくは、Compose と View のパフォーマンスを比較するをご覧ください。
シンプルな画面
既存の機能を Compose に移行する際にまず確認する必要があるのは、シンプルな画面です。シンプルな画面には、ウェルカム画面、確認画面、設定画面などがあり、UI に表示されるデータは比較的静的です。
次の XML ファイルを使用します。
<LinearLayout xmlns:android="http://schemas.android.com/apk/res/android" android:orientation="vertical" android:layout_width="match_parent" android:layout_height="match_parent"> <TextView android:id="@+id/title_text" android:layout_width="wrap_content" android:layout_height="wrap_content" android:text="@string/title" android:textAppearance="?attr/textAppearanceHeadline2" /> <TextView android:id="@+id/subtitle_text" android:layout_width="wrap_content" android:layout_height="wrap_content" android:text="@string/subtitle" android:textAppearance="?attr/textAppearanceHeadline6" /> <TextView android:id="@+id/body_text" android:layout_width="wrap_content" android:layout_height="0dp" android:layout_weight="1" android:text="@string/body" android:textAppearance="?attr/textAppearanceBody1" /> <Button android:id="@+id/confirm_button" android:layout_width="match_parent" android:layout_height="wrap_content" android:text="@string/confirm"/> </LinearLayout>
この XML ファイルは、Compose で次のように書き直すことができます。
@Composable fun SimpleScreen() { Column(Modifier.fillMaxSize()) { Text( text = stringResource(R.string.title), style = MaterialTheme.typography.headlineMedium ) Text( text = stringResource(R.string.subtitle), style = MaterialTheme.typography.headlineSmall ) Text( text = stringResource(R.string.body), style = MaterialTheme.typography.bodyMedium ) Spacer(modifier = Modifier.weight(1f)) Button(onClick = { /* Handle click */ }, Modifier.fillMaxWidth()) { Text(text = stringResource(R.string.confirm)) } } }
ビューと Compose が混在する画面
少量の Compose コードがすでに含まれている画面も、Compose に完全に移行する候補として有力です。画面の複雑さに応じて、完全に Compose に移行することも、部分的に移行することもできます。UI 階層のサブツリーで Compose が実行された画面は、画面全体が Compose になるまで UI 要素の移行が続けられます。このアプローチは、ボトムアップ アプローチとも呼ばれます。
フラグメントと Navigation コンポーネントを削除する
すべてのフラグメントを削除して、対応する画面レベルのコンポーザブルに置き換えることができたら、Navigation Compose に移行できます。画面レベルのコンポーザブルには Compose と View のコンテンツを混在させることができますが、Navigation Compose の移行を可能にするには、すべてのナビゲーション デスティネーションがコンポーザブルである必要があります。それまでは、ビューと Compose のコードベースが混在している場合は、フラグメント ベースの Navigation コンポーネントを引き続き使用する必要があります。詳しくは、Jetpack Navigation を Navigation Compose に移行するをご覧ください。
参考情報
既存のビューベースのアプリを Compose に移行する方法について詳しくは、以下の参考情報をご確認ください。
- Codelab
- Jetpack Compose への移行: この Codelab では、Sunflower アプリの一部を Compose に移行する方法を学びます。
- ブログ投稿
- Sunflower を Jetpack Compose に移行する: このページで説明する戦略を使って、Sunflower を Compose に移行する方法を学びます。
- Jetpack Compose の相互運用: RecyclerView で Compose を使用する:
RecyclerViewで Compose を効率的に使用する方法を確認します。
次のステップ
既存のビューベースのアプリを移行する戦略について説明したので、相互運用 API についてさらに詳しく見ていきましょう。
あなたへのおすすめ
- 注: JavaScript がオフになっている場合はリンクテキストが表示されます
- ビューで Compose を使用する
- スクロール
RecyclerViewを Lazy リストに移行する