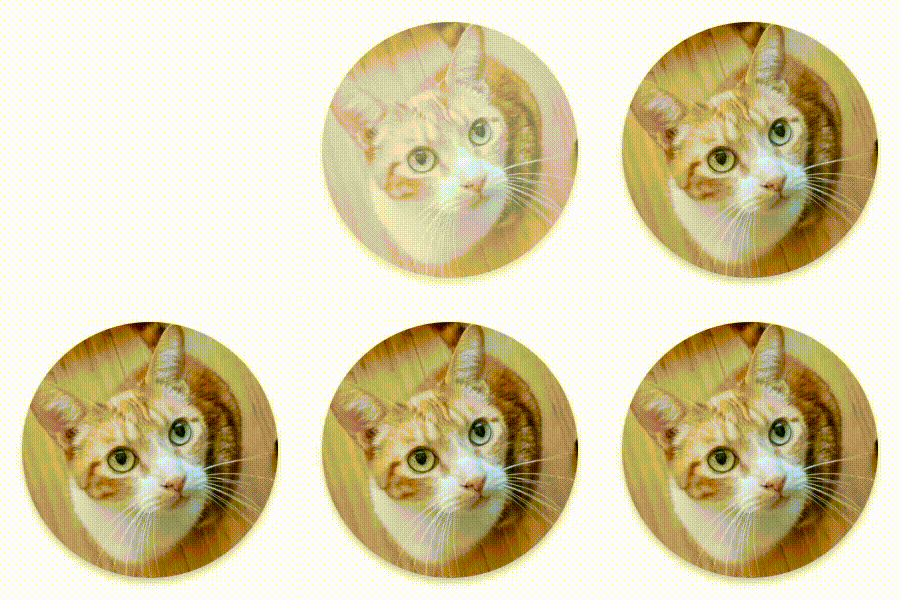
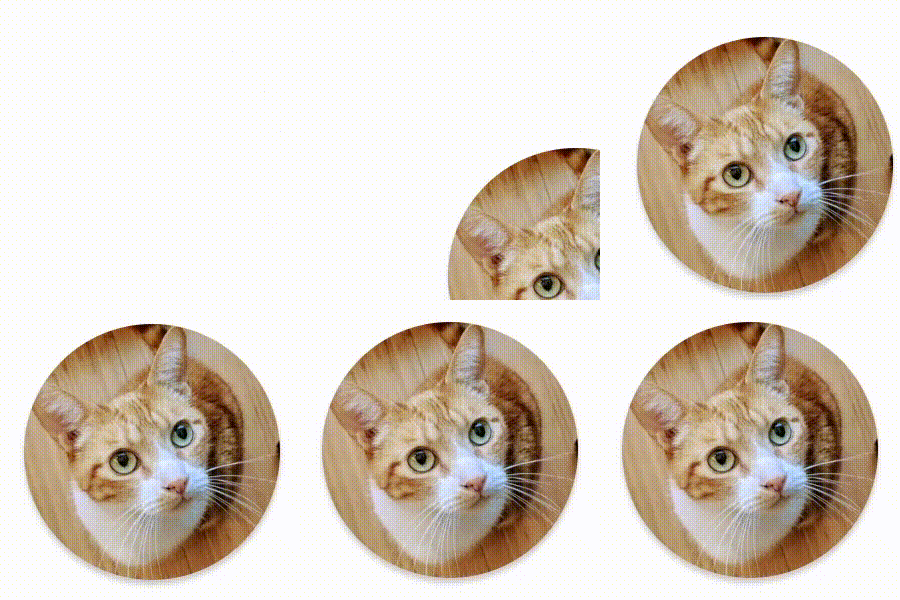
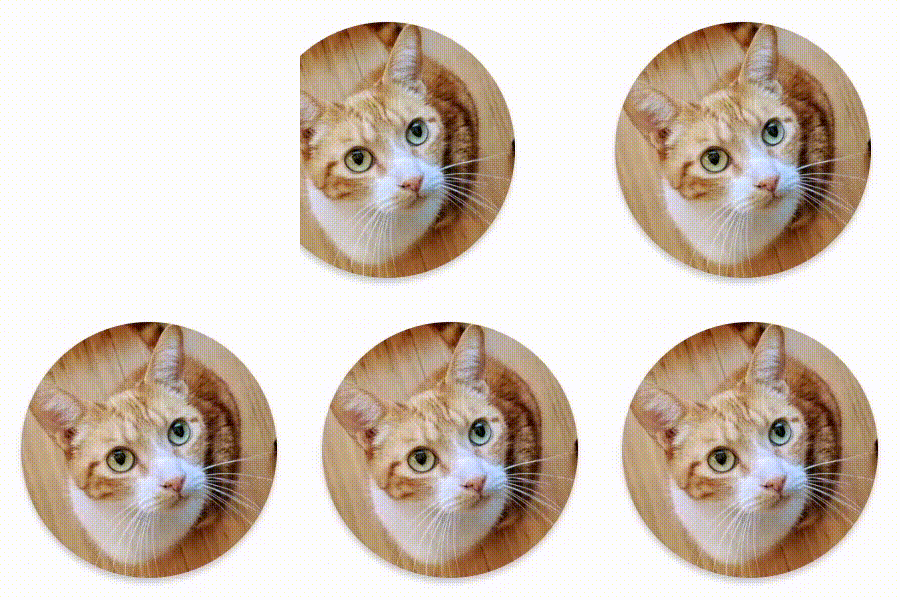
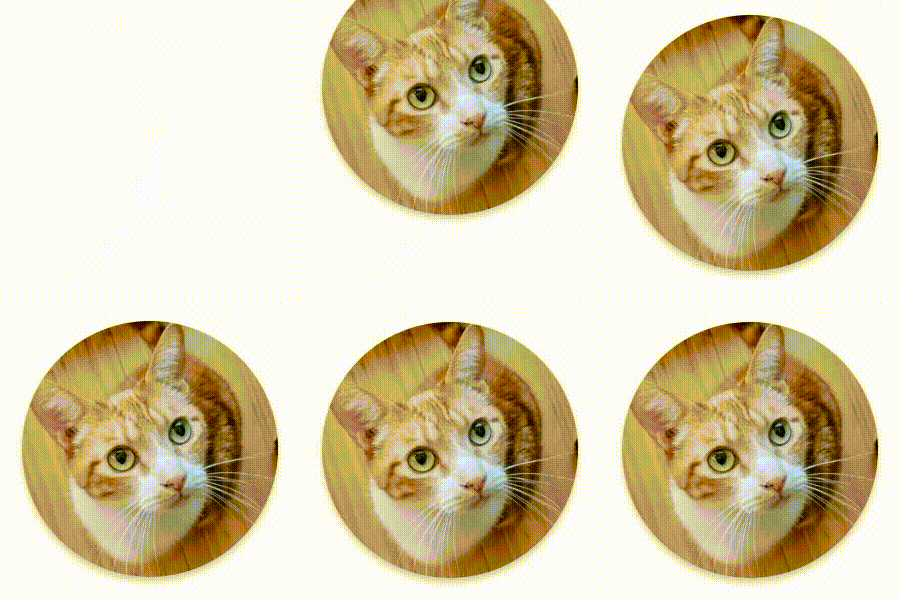
Compose มาพร้อมกับ Composable และตัวแก้ไขในตัวสําหรับจัดการ Use Case ของภาพเคลื่อนไหวทั่วไป
Composable แบบเคลื่อนไหวในตัว
Compose มี Composable หลายรายการที่เคลื่อนไหวการปรากฏ การหายไป และการเปลี่ยนแปลงเลย์เอาต์ของเนื้อหา
ทำให้การปรากฏและหายไปเคลื่อนไหว
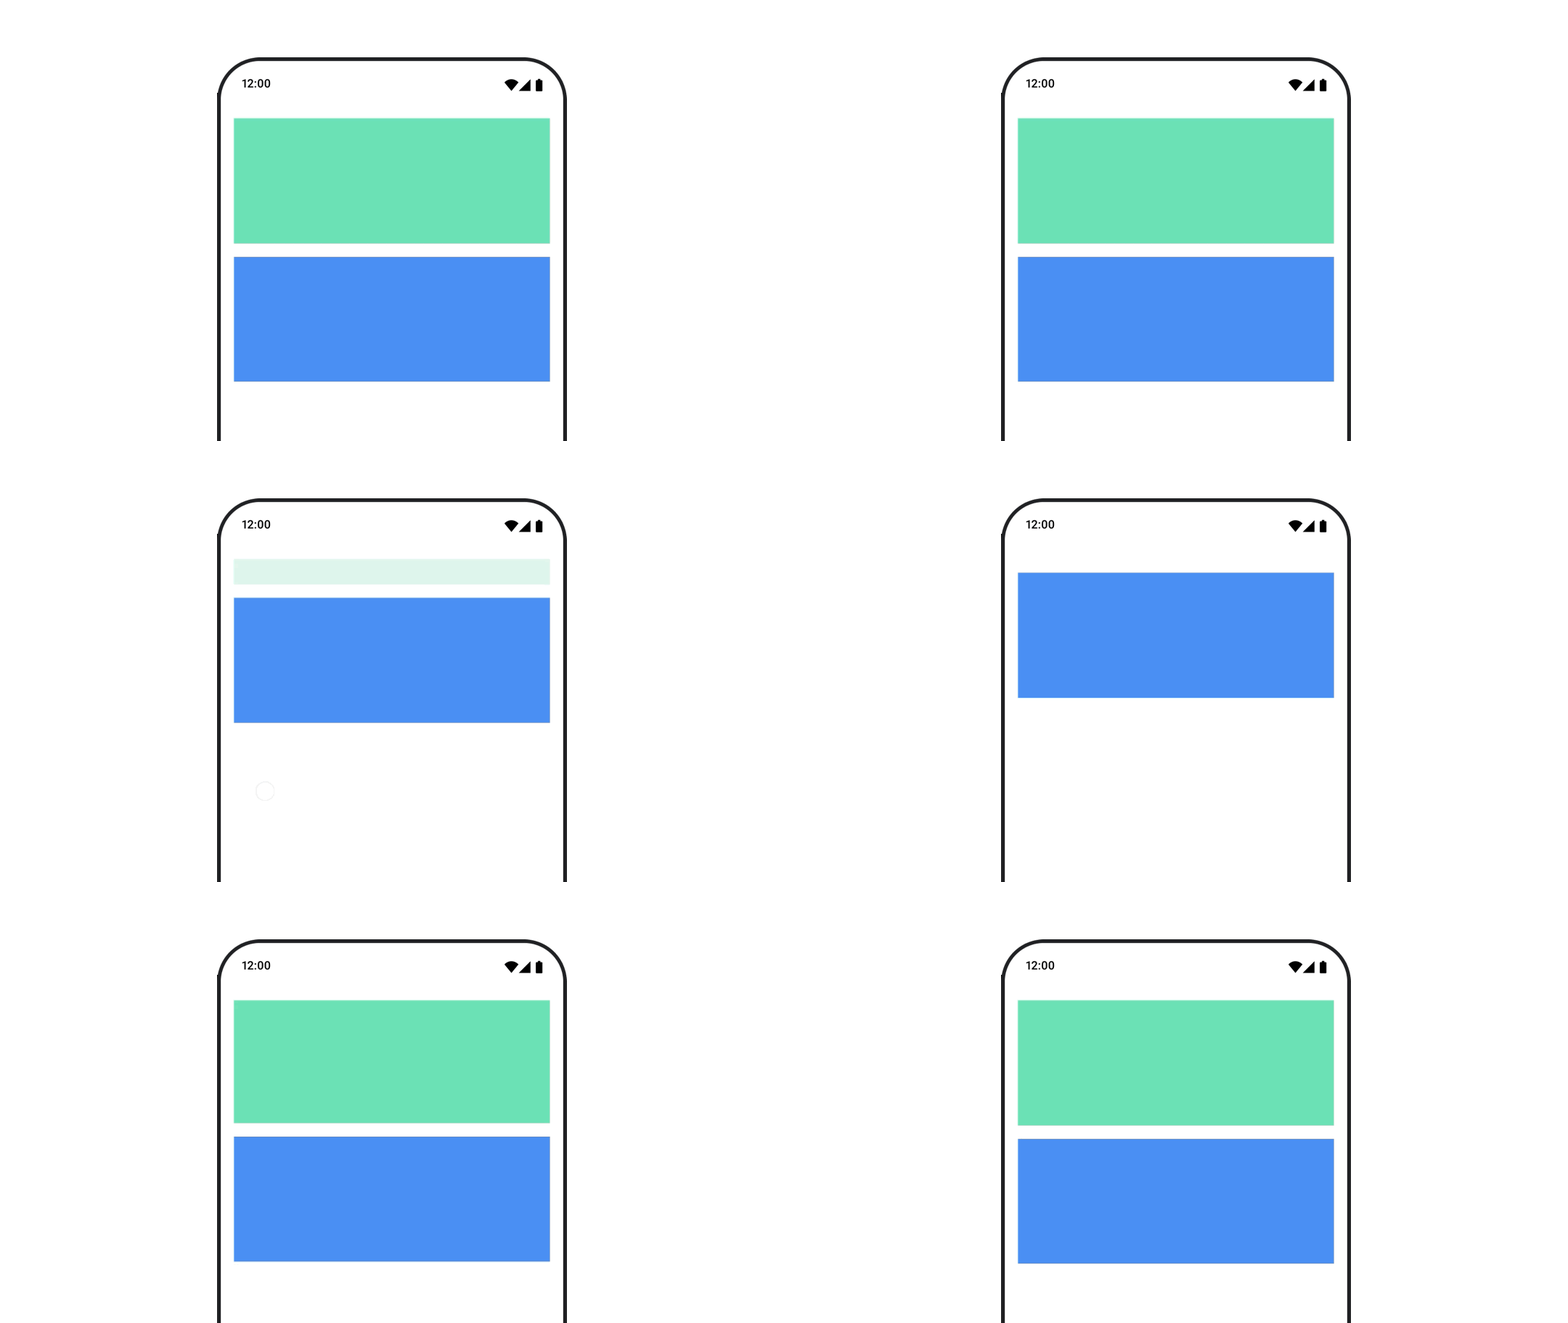
Composable
AnimatedVisibility
จะเคลื่อนไหวการปรากฏและหายไปของเนื้อหา
var visible by remember { mutableStateOf(true) } // Animated visibility will eventually remove the item from the composition once the animation has finished. AnimatedVisibility(visible) { // your composable here // ... }
โดยค่าเริ่มต้น เนื้อหาจะปรากฏโดยการค่อยๆ แสดงและขยาย และจะหายไปโดยการค่อยๆ จางและหด ปรับแต่งการเปลี่ยนฉากนี้โดยระบุออบเจ็กต์
EnterTransition และ ExitTransition
var visible by remember { mutableStateOf(true) } val density = LocalDensity.current AnimatedVisibility( visible = visible, enter = slideInVertically { // Slide in from 40 dp from the top. with(density) { -40.dp.roundToPx() } } + expandVertically( // Expand from the top. expandFrom = Alignment.Top ) + fadeIn( // Fade in with the initial alpha of 0.3f. initialAlpha = 0.3f ), exit = slideOutVertically() + shrinkVertically() + fadeOut() ) { Text( "Hello", Modifier .fillMaxWidth() .height(200.dp) ) }
ดังที่แสดงในตัวอย่างก่อนหน้า คุณสามารถรวมออบเจ็กต์ EnterTransition
หรือ ExitTransition หลายรายการเข้าด้วยกันด้วยตัวดำเนินการ + และแต่ละรายการจะยอมรับพารามิเตอร์ที่ไม่บังคับ
เพื่อปรับแต่งลักษณะการทำงานของออบเจ็กต์ ดูข้อมูลเพิ่มเติมได้ที่หน้าอ้างอิง
ตัวอย่างการเปลี่ยนฉากเข้าและออก
นอกจากนี้ AnimatedVisibility ยังมีฟังก์ชันที่รับอาร์กิวเมนต์ MutableTransitionState ด้วย ซึ่งจะช่วยให้คุณทริกเกอร์ภาพเคลื่อนไหวได้ทันทีที่เพิ่มฟังก์ชัน AnimatedVisibility ที่ประกอบกันได้ลงในโครงสร้างการจัดองค์ประกอบ นอกจากนี้ยัง
มีประโยชน์ในการสังเกตสถานะภาพเคลื่อนไหวด้วย
// Create a MutableTransitionState<Boolean> for the AnimatedVisibility. val state = remember { MutableTransitionState(false).apply { // Start the animation immediately. targetState = true } } Column { AnimatedVisibility(visibleState = state) { Text(text = "Hello, world!") } // Use the MutableTransitionState to know the current animation state // of the AnimatedVisibility. Text( text = when { state.isIdle && state.currentState -> "Visible" !state.isIdle && state.currentState -> "Disappearing" state.isIdle && !state.currentState -> "Invisible" else -> "Appearing" } ) }
สร้างภาพเคลื่อนไหวสำหรับการเข้าและออกสำหรับบุตรหลาน
เนื้อหาภายใน AnimatedVisibility (องค์ประกอบย่อยโดยตรงหรือโดยอ้อม) สามารถใช้ตัวแก้ไข
animateEnterExit
เพื่อระบุลักษณะการทำงานของภาพเคลื่อนไหวที่แตกต่างกันสำหรับแต่ละรายการ เอฟเฟกต์ภาพ
สำหรับแต่ละองค์ประกอบย่อยเหล่านี้คือการรวมภาพเคลื่อนไหวที่ระบุ
ไว้ใน AnimatedVisibility Composable กับภาพเคลื่อนไหวเข้าและออกขององค์ประกอบย่อยเอง
var visible by remember { mutableStateOf(true) } AnimatedVisibility( visible = visible, enter = fadeIn(), exit = fadeOut() ) { // Fade in/out the background and the foreground. Box( Modifier .fillMaxSize() .background(Color.DarkGray) ) { Box( Modifier .align(Alignment.Center) .animateEnterExit( // Slide in/out the inner box. enter = slideInVertically(), exit = slideOutVertically() ) .sizeIn(minWidth = 256.dp, minHeight = 64.dp) .background(Color.Red) ) { // Content of the notification… } } }
ในบางกรณี คุณอาจต้องการให้ AnimatedVisibility ไม่ใช้ภาพเคลื่อนไหวเลย เพื่อให้องค์ประกอบย่อยแต่ละรายการมีภาพเคลื่อนไหวที่แตกต่างกันได้โดย animateEnterExit โดยระบุ EnterTransition.None และ
ExitTransition.None ที่ Composable AnimatedVisibility
เพิ่มภาพเคลื่อนไหวที่กำหนดเอง
หากต้องการเพิ่มเอฟเฟกต์ภาพเคลื่อนไหวที่กำหนดเองนอกเหนือจากภาพเคลื่อนไหวเข้าและออกในตัว
ให้เข้าถึงออบเจ็กต์ Transition ที่อยู่เบื้องหลังโดยใช้พร็อพเพอร์ตี้ transition
ภายใน Lambda ของเนื้อหาสำหรับ AnimatedVisibility สถานะภาพเคลื่อนไหวที่เพิ่มลงในอินสแตนซ์การเปลี่ยนจะทำงานพร้อมกับภาพเคลื่อนไหวเข้าและออกของ AnimatedVisibility AnimatedVisibility จะรอจนกว่า
ภาพเคลื่อนไหวทั้งหมดใน Transition จะเสร็จสิ้นก่อนจึงจะนำเนื้อหาออก
สำหรับภาพเคลื่อนไหวขาออกที่สร้างขึ้นโดยไม่ขึ้นอยู่กับ Transition (เช่น การใช้
animate*AsState) AnimatedVisibility จะไม่สามารถพิจารณาภาพเคลื่อนไหวดังกล่าวได้
และอาจนำเนื้อหาที่ประกอบได้ออกก่อนที่จะเสร็จสิ้น
var visible by remember { mutableStateOf(true) } AnimatedVisibility( visible = visible, enter = fadeIn(), exit = fadeOut() ) { // this: AnimatedVisibilityScope // Use AnimatedVisibilityScope#transition to add a custom animation // to the AnimatedVisibility. val background by transition.animateColor(label = "color") { state -> if (state == EnterExitState.Visible) Color.Blue else Color.Gray } Box( modifier = Modifier .size(128.dp) .background(background) ) }
ดูข้อมูลเพิ่มเติมเกี่ยวกับการใช้ Transition เพื่อจัดการภาพเคลื่อนไหวได้ที่สร้างภาพเคลื่อนไหว
พร็อพเพอร์ตี้หลายรายการพร้อมกันด้วยการเปลี่ยน
สร้างภาพเคลื่อนไหวตามสถานะเป้าหมาย
AnimatedContent
ที่ประกอบกันได้จะเคลื่อนไหวเนื้อหาเมื่อมีการเปลี่ยนแปลงตาม
สถานะเป้าหมาย
Row { var count by remember { mutableIntStateOf(0) } Button(onClick = { count++ }) { Text("Add") } AnimatedContent( targetState = count, label = "animated content" ) { targetCount -> // Make sure to use `targetCount`, not `count`. Text(text = "Count: $targetCount") } }
โดยค่าเริ่มต้น เนื้อหาเริ่มต้นจะค่อยๆ จางหายไป แล้วเนื้อหาเป้าหมายจะค่อยๆ ปรากฏขึ้น
(ลักษณะการทำงานนี้เรียกว่าจางผ่าน) คุณปรับแต่งลักษณะการทำงานของภาพเคลื่อนไหวนี้ได้โดยระบุออบเจ็กต์ ContentTransform
ให้กับพารามิเตอร์ transitionSpec คุณสร้างอินสแตนซ์ของ ContentTransform ได้โดยการรวมออบเจ็กต์ EnterTransition กับออบเจ็กต์ ExitTransition โดยใช้ฟังก์ชัน with แบบ Infix คุณใช้ SizeTransform
กับออบเจ็กต์ ContentTransform ได้โดยแนบออบเจ็กต์ดังกล่าวด้วยฟังก์ชัน
using ที่อยู่ระหว่างกลาง
AnimatedContent( targetState = count, transitionSpec = { // Compare the incoming number with the previous number. if (targetState > initialState) { // If the target number is larger, it slides up and fades in // while the initial (smaller) number slides up and fades out. slideInVertically { height -> height } + fadeIn() togetherWith slideOutVertically { height -> -height } + fadeOut() } else { // If the target number is smaller, it slides down and fades in // while the initial number slides down and fades out. slideInVertically { height -> -height } + fadeIn() togetherWith slideOutVertically { height -> height } + fadeOut() }.using( // Disable clipping since the faded slide-in/out should // be displayed out of bounds. SizeTransform(clip = false) ) }, label = "animated content" ) { targetCount -> Text(text = "$targetCount") }
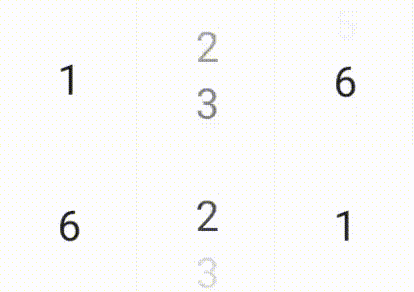
EnterTransition จะกำหนดลักษณะที่เนื้อหาเป้าหมายควรปรากฏ และ
ExitTransition จะกำหนดลักษณะที่เนื้อหาเริ่มต้นควรหายไป นอกจากฟังก์ชันทั้งหมดของ EnterTransition และ ExitTransition ที่พร้อมใช้งานสำหรับ AnimatedVisibility แล้ว AnimatedContent ยังมี slideIntoContainer
และ slideOutOfContainer
ซึ่งเป็นทางเลือกที่สะดวกแทน slideInHorizontally/Vertically และ
slideOutHorizontally/Vertically ที่คำนวณระยะทางของสไลด์ตาม
ขนาดของเนื้อหาเริ่มต้นและเนื้อหาเป้าหมายของเนื้อหา AnimatedContent
SizeTransform จะกำหนดวิธีที่ขนาดควรเคลื่อนไหวระหว่างเนื้อหาเริ่มต้นและเนื้อหาเป้าหมาย คุณมีสิทธิ์เข้าถึงทั้งขนาดเริ่มต้นและขนาดเป้าหมายเมื่อสร้าง
ภาพเคลื่อนไหว SizeTransform ยังควบคุมว่าจะตัดเนื้อหาให้มีขนาดเท่ากับคอมโพเนนต์ระหว่างภาพเคลื่อนไหวหรือไม่ด้วย
var expanded by remember { mutableStateOf(false) } Surface( color = MaterialTheme.colorScheme.primary, onClick = { expanded = !expanded } ) { AnimatedContent( targetState = expanded, transitionSpec = { fadeIn(animationSpec = tween(150, 150)) togetherWith fadeOut(animationSpec = tween(150)) using SizeTransform { initialSize, targetSize -> if (targetState) { keyframes { // Expand horizontally first. IntSize(targetSize.width, initialSize.height) at 150 durationMillis = 300 } } else { keyframes { // Shrink vertically first. IntSize(initialSize.width, targetSize.height) at 150 durationMillis = 300 } } } }, label = "size transform" ) { targetExpanded -> if (targetExpanded) { Expanded() } else { ContentIcon() } } }
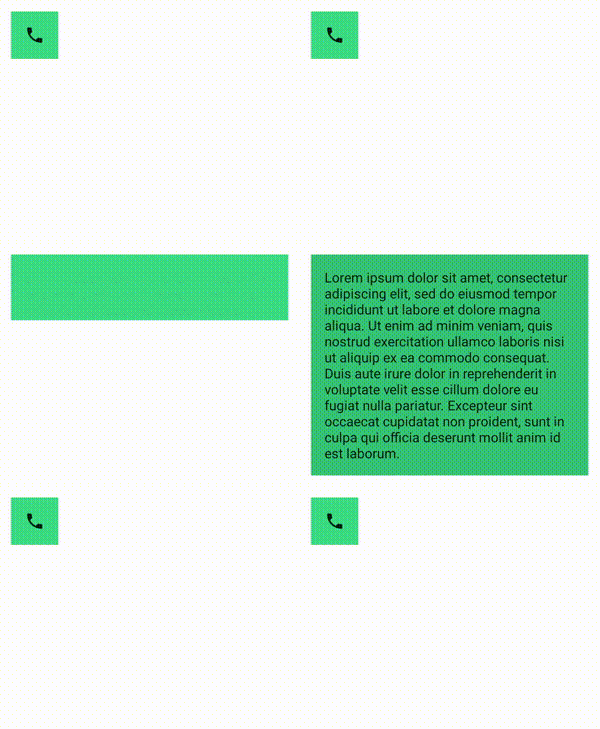
สร้างภาพเคลื่อนไหวให้กับการเปลี่ยนฉากเข้าและออกขององค์ประกอบย่อย
เช่นเดียวกับ AnimatedVisibility ตัวแก้ไข animateEnterExit
จะอยู่ใน Lambda ของเนื้อหาของ AnimatedContent ใช้คำสั่งนี้
เพื่อใช้ EnterAnimation และ ExitAnimation กับบุตรหลานแต่ละคนทั้งโดยตรงและโดยอ้อม
แยกกัน
เพิ่มภาพเคลื่อนไหวที่กำหนดเอง
ฟิลด์ transition จะอยู่ใน Lambda ของเนื้อหาของ AnimatedContent เช่นเดียวกับ AnimatedVisibility ใช้เพื่อสร้างเอฟเฟกต์ภาพเคลื่อนไหวที่กำหนดเอง
ซึ่งทำงานพร้อมกับAnimatedContentการเปลี่ยน ดูรายละเอียดได้ที่ updateTransition
สร้างภาพเคลื่อนไหวระหว่าง 2 เลย์เอาต์
Crossfade จะเคลื่อนไหวระหว่างเลย์เอาต์ 2 แบบด้วยภาพเคลื่อนไหวแบบครอสเฟด การสลับค่าที่ส่งไปยังพารามิเตอร์ current จะเปลี่ยนเนื้อหาด้วยภาพเคลื่อนไหวแบบครอสเฟด
var currentPage by remember { mutableStateOf("A") } Crossfade(targetState = currentPage, label = "cross fade") { screen -> when (screen) { "A" -> Text("Page A") "B" -> Text("Page B") } }
ตัวแก้ไขภาพเคลื่อนไหวในตัว
Compose มีตัวแก้ไขสำหรับการเคลื่อนไหวการเปลี่ยนแปลงที่เฉพาะเจาะจงโดยตรงใน Composable
สร้างภาพเคลื่อนไหวการเปลี่ยนแปลงขนาดที่ประกอบได้
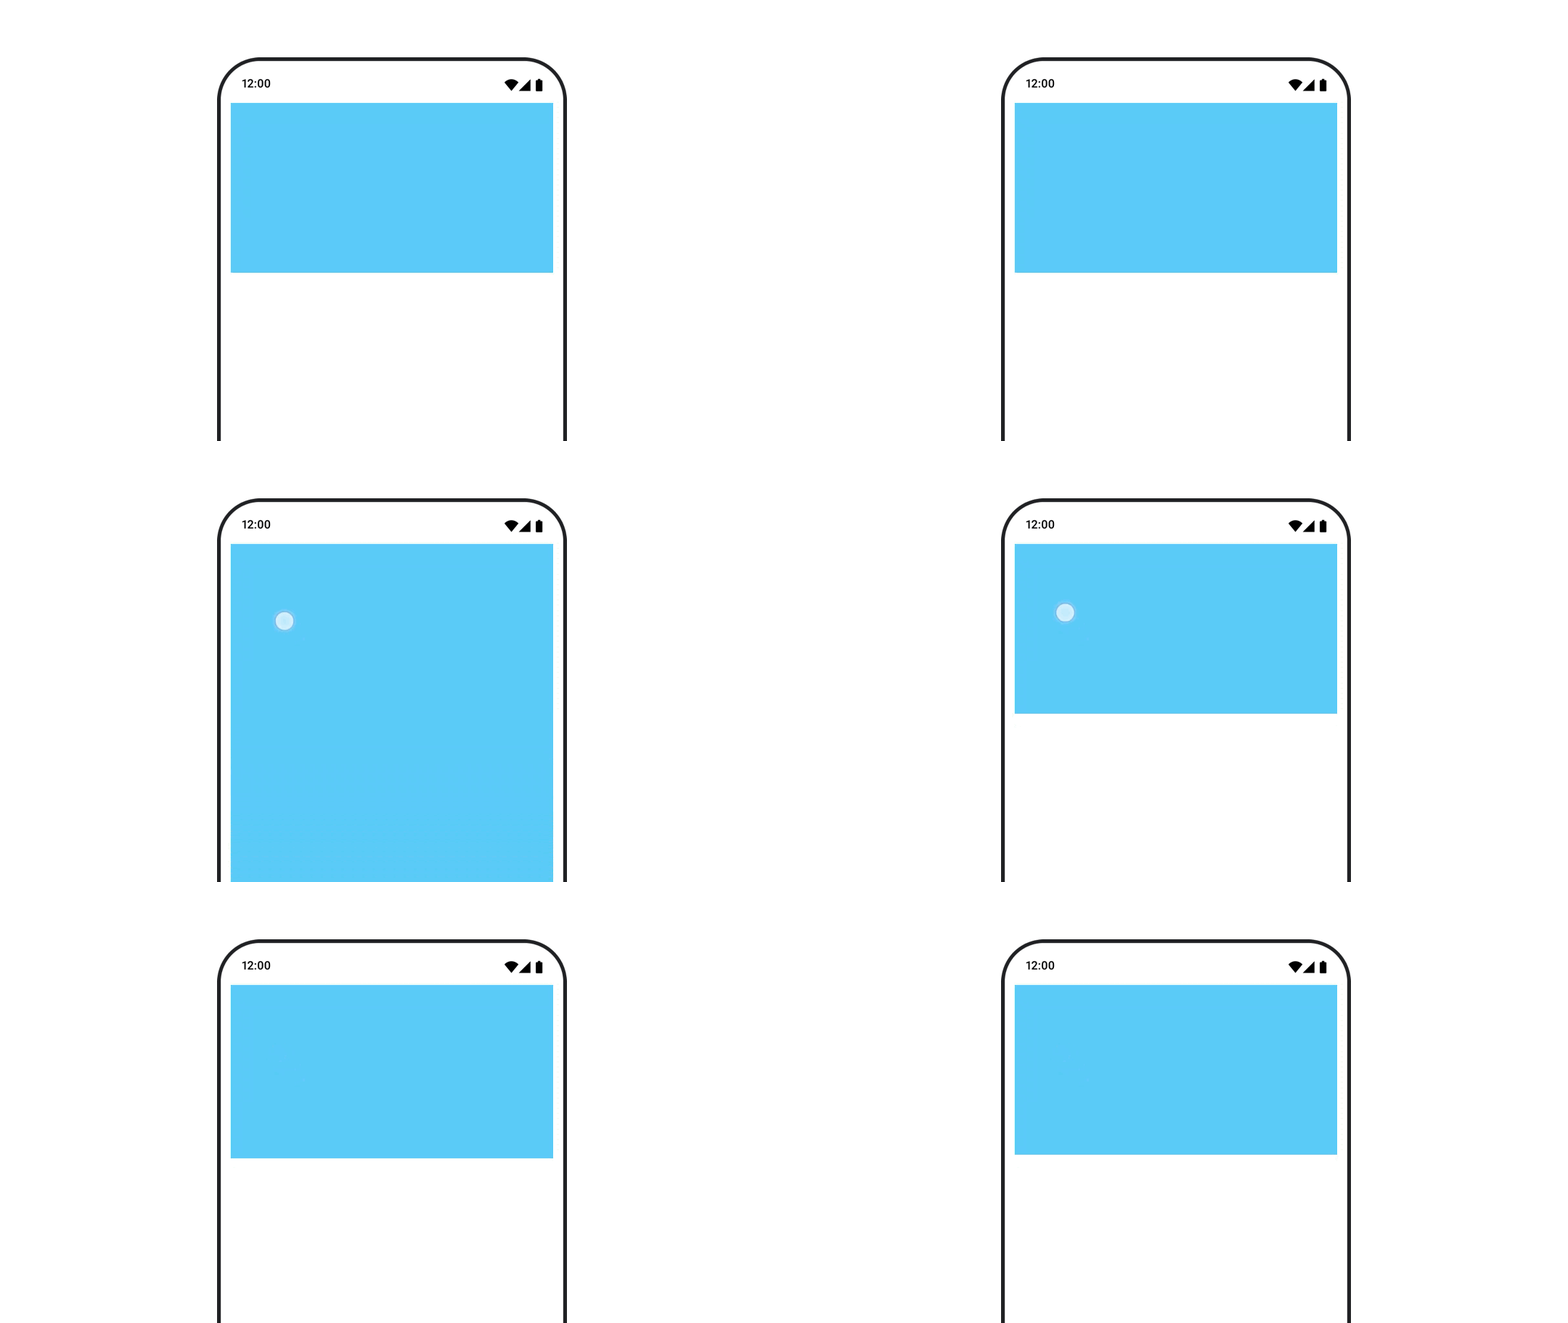
ตัวแก้ไข animateContentSize จะสร้างภาพเคลื่อนไหวของการเปลี่ยนแปลงขนาด
var expanded by remember { mutableStateOf(false) } Box( modifier = Modifier .background(colorBlue) .animateContentSize() .height(if (expanded) 400.dp else 200.dp) .fillMaxWidth() .clickable( interactionSource = remember { MutableInteractionSource() }, indication = null ) { expanded = !expanded } ) { }
ภาพเคลื่อนไหวของรายการ
หากต้องการทำให้การเรียงลำดับไอเทมใหม่ภายใน Lazy list หรือกริดเคลื่อนไหว โปรดดูเอกสารประกอบเกี่ยวกับภาพเคลื่อนไหวของไอเทมเลย์เอาต์แบบ Lazy
แนะนำสำหรับคุณ
- หมายเหตุ: ข้อความลิงก์จะแสดงเมื่อ JavaScript ปิดอยู่
- ภาพเคลื่อนไหวตามมูลค่า
- ภาพเคลื่อนไหวใน Compose
- การรองรับเครื่องมือภาพเคลื่อนไหว {:#tooling}

