
หากต้องการทำให้การแจ้งเตือนดูดีที่สุดใน Android เวอร์ชันต่างๆ ให้ใช้การแจ้งเตือนมาตรฐาน เทมเพลตเพื่อสร้าง การแจ้งเตือน หากต้องการใส่เนื้อหาเพิ่มเติมในการแจ้งเตือน ให้ใช้การแจ้งเตือนที่ขยายได้ เทมเพลต
แต่ถ้าเทมเพลตของระบบไม่ตรงกับความต้องการของคุณ คุณสามารถใช้เทมเพลต เลย์เอาต์สำหรับการแจ้งเตือน
สร้างเลย์เอาต์ที่กำหนดเองสำหรับพื้นที่เนื้อหา
หากต้องการเลย์เอาต์ที่กำหนดเอง คุณก็นำไปใช้ได้
NotificationCompat.DecoratedCustomViewStyle
กับการแจ้งเตือนของคุณ API นี้ช่วยให้คุณกำหนดเลย์เอาต์ที่กำหนดเองสำหรับเนื้อหาได้
พื้นที่ที่โดยปกติจะมีชื่อและเนื้อหาข้อความ ในขณะที่ยังคงใช้ระบบ
การตกแต่งสำหรับไอคอนการแจ้งเตือน การประทับเวลา ข้อความย่อย และปุ่มการทำงาน
API นี้ทำงานคล้ายกับเทมเพลตการแจ้งเตือนที่ขยายได้โดยต่อยอดจากการแจ้งเตือนพื้นฐาน ดังนี้
- สร้างการแจ้งเตือนพื้นฐาน
กับ
NotificationCompat.Builder - โทร
setStyle()ส่งต่อเรื่องNotificationCompat.DecoratedCustomViewStyle - ขยายเลย์เอาต์ที่กำหนดเองเป็นอินสแตนซ์ของ
RemoteViews - โทร
setCustomContentView()เพื่อกำหนดเลย์เอาต์สำหรับการแจ้งเตือนแบบยุบ - โทร (ไม่บังคับ)
setCustomBigContentView()เพื่อกำหนดเลย์เอาต์แบบอื่นสำหรับการแจ้งเตือนแบบขยาย
เตรียมเลย์เอาต์
คุณต้องมีเลย์เอาต์ small และ large สำหรับตัวอย่างนี้เลย์เอาต์ small
อาจมีลักษณะเช่นนี้
<?xml version="1.0" encoding="utf-8"?>
<LinearLayout xmlns:android="http://schemas.android.com/apk/res/android"
    android:layout_width="match_parent"
    android:layout_height="wrap_content"
    android:orientation="vertical">

    <TextView
        android:id="@+id/notification_title"
        style="@style/TextAppearance.Compat.Notification.Title"
        android:layout_width="wrap_content"
        android:layout_height="0dp"
        android:layout_weight="1"
        android:text="Small notification, showing only a title" />
</LinearLayout>
และเลย์เอาต์ large อาจมีลักษณะดังนี้
<?xml version="1.0" encoding="utf-8"?>
<LinearLayout xmlns:android="http://schemas.android.com/apk/res/android"
    android:layout_width="match_parent"
    android:layout_height="300dp"
    android:orientation="vertical">

    <TextView
        android:id="@+id/notification_title"
        style="@style/TextAppearance.Compat.Notification.Title"
        android:layout_width="wrap_content"
        android:layout_height="wrap_content"
        android:layout_weight="1"
        android:text="Large notification, showing a title and a body." />

    <TextView
        android:id="@+id/notification_body"
        style="@style/TextAppearance.Compat.Notification.Line2"
        android:layout_width="wrap_content"
        android:layout_height="wrap_content"
        android:layout_weight="1"
        android:text="This is the body. The height is manually forced to 300dp." />
</LinearLayout>
สร้างและแสดงการแจ้งเตือน
หลังจากเลย์เอาต์พร้อมแล้ว คุณสามารถใช้รูปแบบเหล่านี้ได้ดังตัวอย่างต่อไปนี้
Kotlin
val notificationManager = getSystemService(Context.NOTIFICATION_SERVICE) as NotificationManager

// Get the layouts to use in the custom notification.
val notificationLayout = RemoteViews(packageName, R.layout.notification_small)
val notificationLayoutExpanded = RemoteViews(packageName, R.layout.notification_large)

// Apply the layouts to the notification.
val customNotification = NotificationCompat.Builder(context, CHANNEL_ID)
        .setSmallIcon(R.drawable.notification_icon)
        .setStyle(NotificationCompat.DecoratedCustomViewStyle())
        .setCustomContentView(notificationLayout)
        .setCustomBigContentView(notificationLayoutExpanded)
        .build()

notificationManager.notify(666, customNotification)
Java
NotificationManager notificationManager = (NotificationManager) getSystemService(Context.NOTIFICATION_SERVICE);

// Get the layouts to use in the custom notification
RemoteViews notificationLayout = new RemoteViews(getPackageName(), R.layout.notification_small);
RemoteViews notificationLayoutExpanded = new RemoteViews(getPackageName(), R.layout.notification_large);

// Apply the layouts to the notification.
Notification customNotification = new NotificationCompat.Builder(context, CHANNEL_ID)
        .setSmallIcon(R.drawable.notification_icon)
        .setStyle(new NotificationCompat.DecoratedCustomViewStyle())
        .setCustomContentView(notificationLayout)
        .setCustomBigContentView(notificationLayoutExpanded)
        .build();

notificationManager.notify(666, customNotification);
โปรดทราบว่าสีพื้นหลังของการแจ้งเตือนอาจแตกต่างกันไปตามอุปกรณ์
และเวอร์ชันต่างๆ ใช้รูปแบบไลบรารีการสนับสนุน เช่น
TextAppearance_Compat_Notification สำหรับข้อความและ
TextAppearance_Compat_Notification_Title สำหรับชื่อในเลย์เอาต์ที่กำหนดเอง
ดังที่ปรากฏในตัวอย่างต่อไปนี้ รูปแบบเหล่านี้จะปรับตาม รูปแบบสีต่างๆ ได้
คุณไม่ต้องใส่ข้อความขาวดำหรือขาวดำ
<TextView
    android:layout_width="wrap_content"
    android:layout_height="match_parent"
    android:layout_weight="1"
    android:text="@string/notification_title"
    android:id="@+id/notification_title"
    style="@style/TextAppearance.Compat.Notification.Title" />
หลีกเลี่ยงการตั้งค่าภาพพื้นหลังในวัตถุ RemoteViews เนื่องจากข้อความของคุณ
อาจอ่านไม่ได้
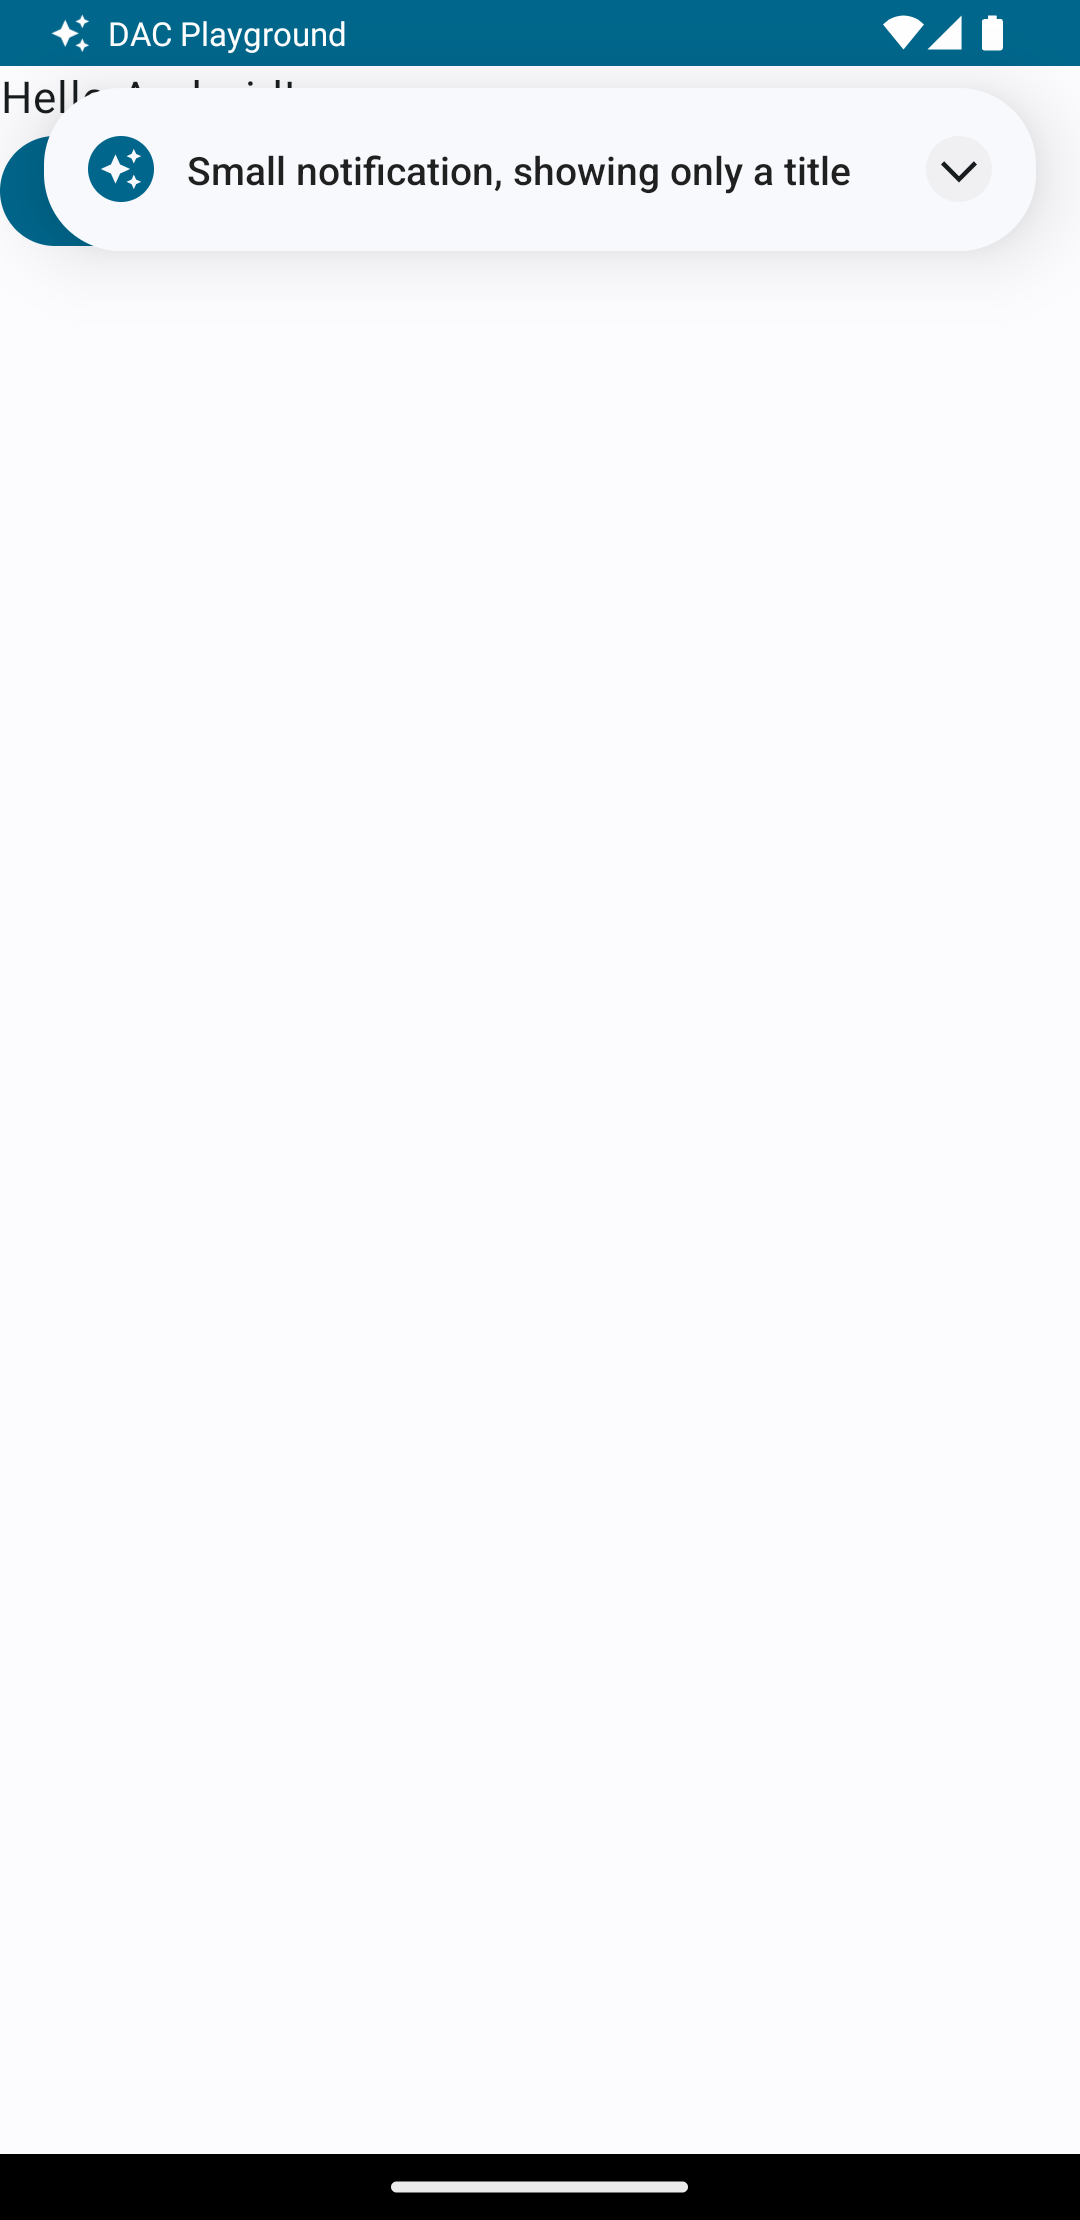
เมื่อคุณทริกเกอร์การแจ้งเตือนขณะที่ผู้ใช้กำลังใช้แอป ผลลัพธ์จะเป็น คล้ายกับรูปที่ 1:
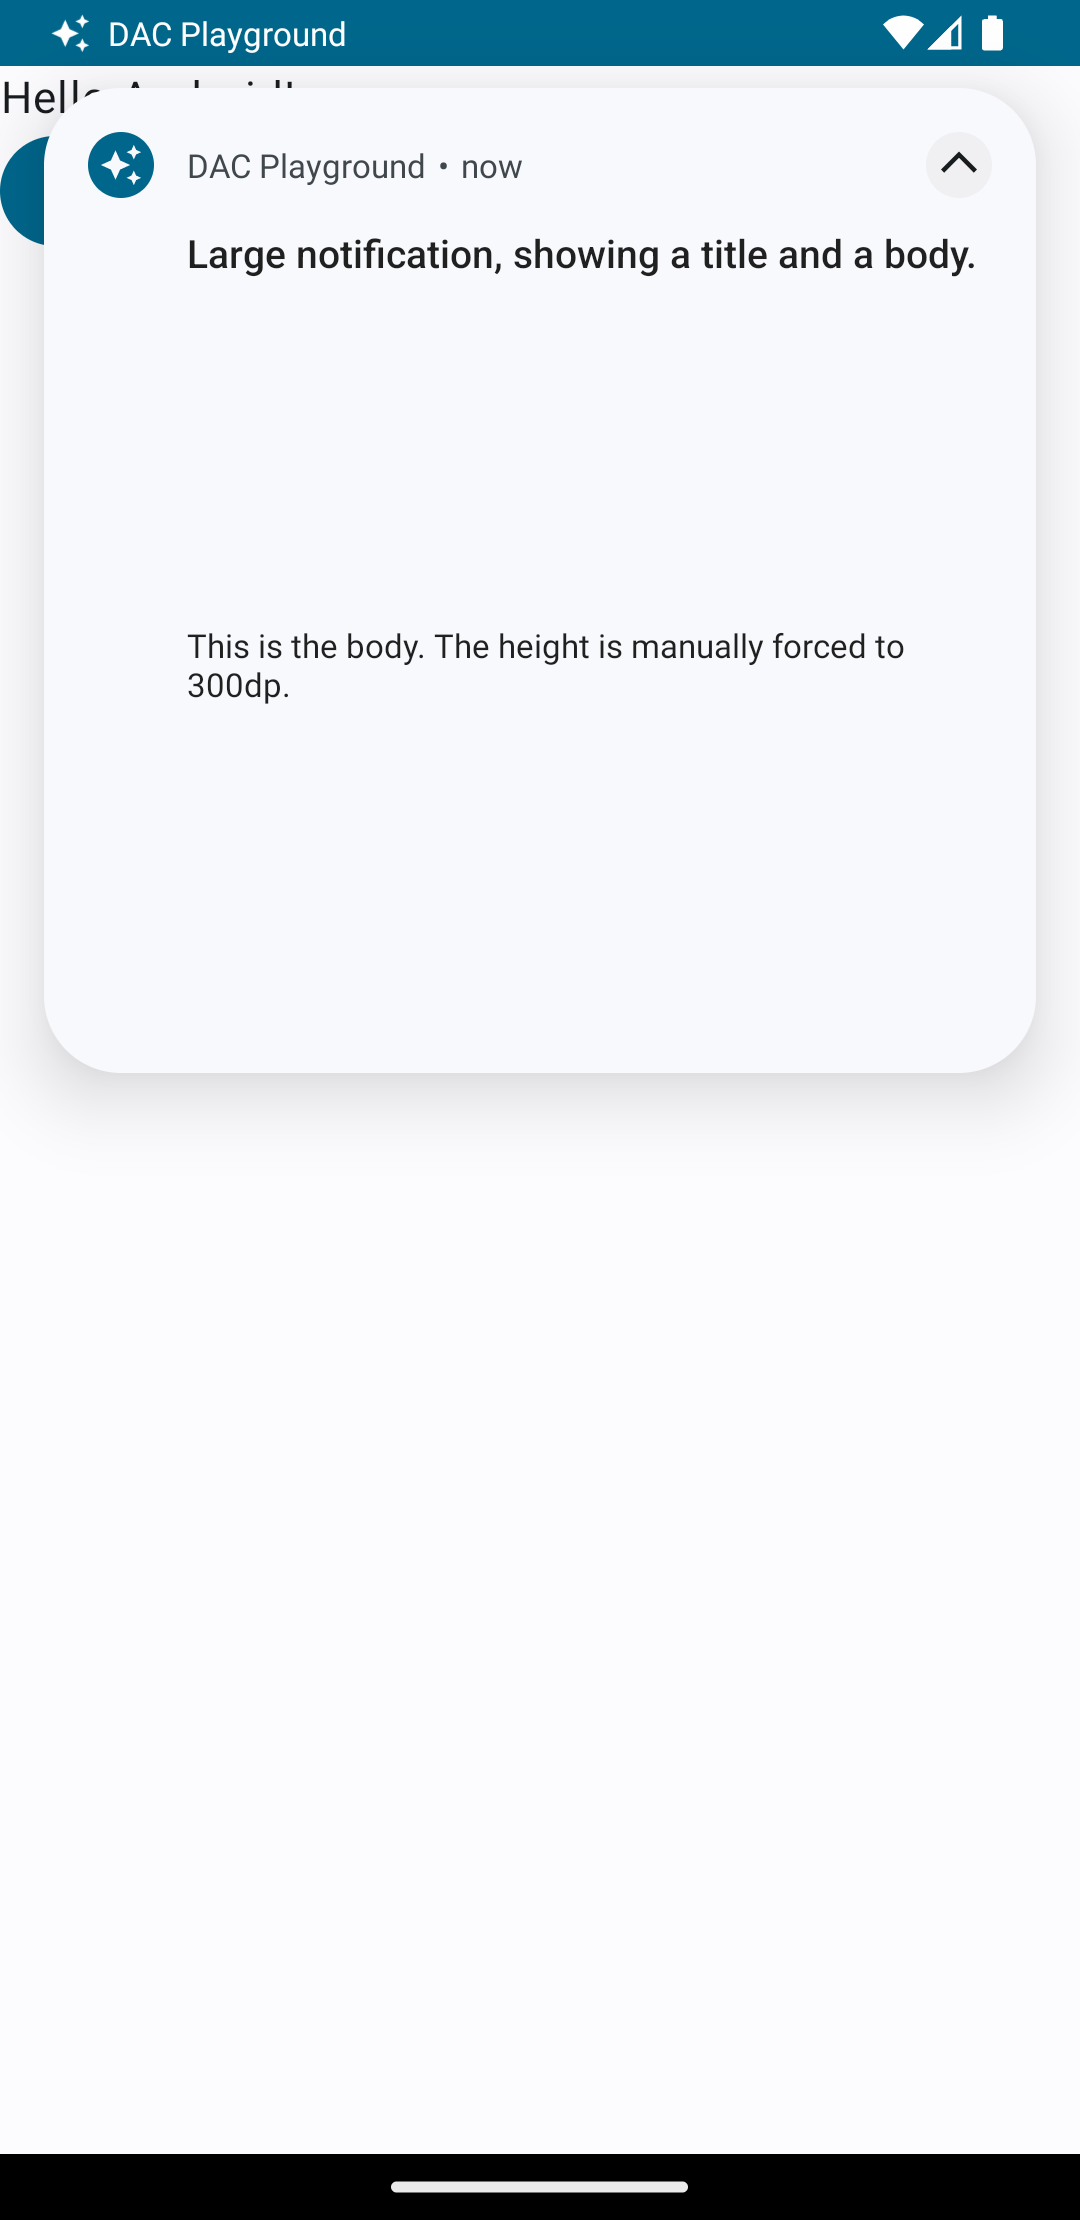
การแตะลูกศรขยายจะขยายการแจ้งเตือน ดังที่แสดงในรูปที่ 2:
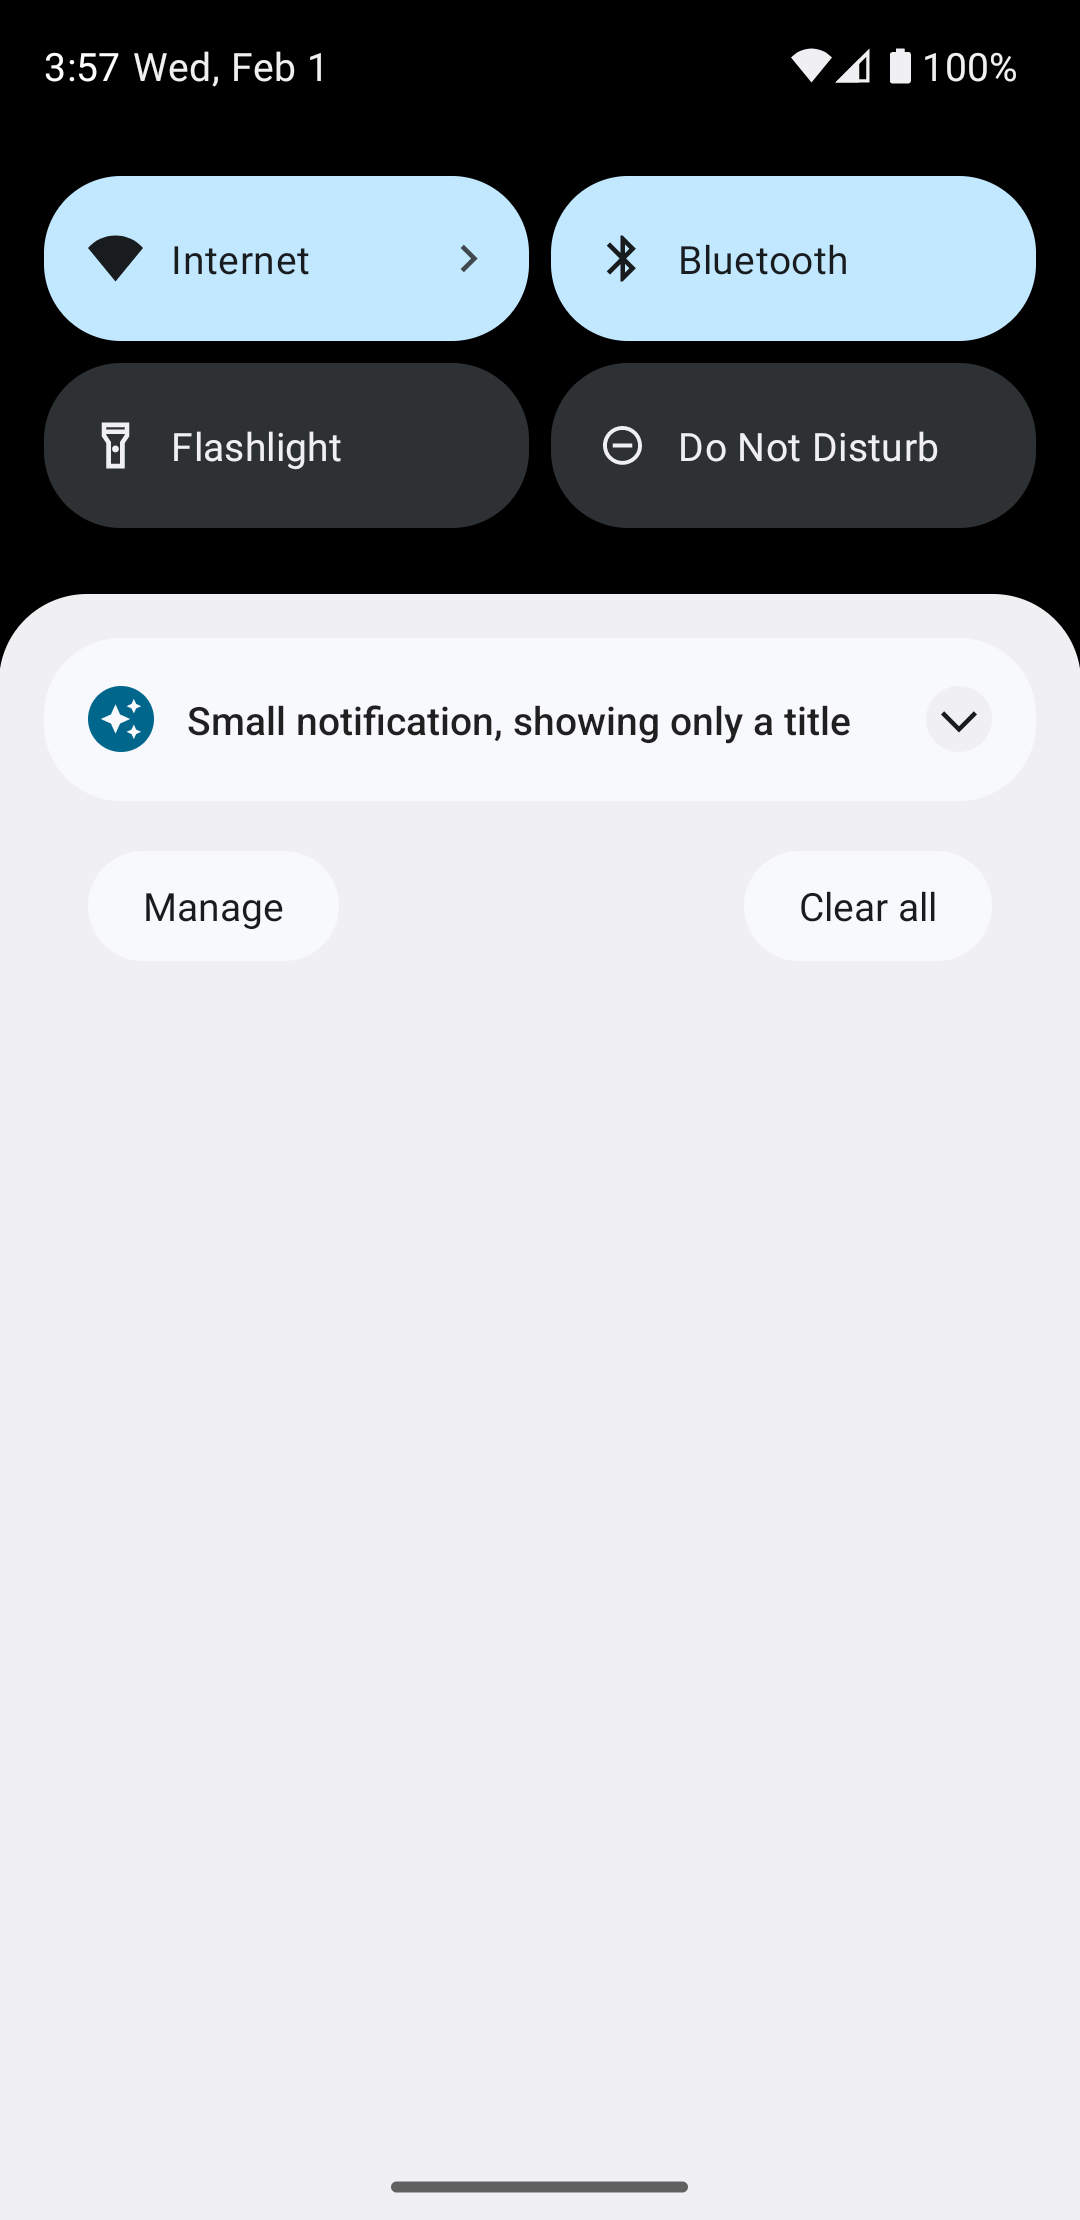
หลังจากหมดเวลาการแจ้งเตือนแล้ว การแจ้งเตือนจะปรากฏเฉพาะใน แถบระบบ ซึ่งดูคล้ายรูปที่ 3:
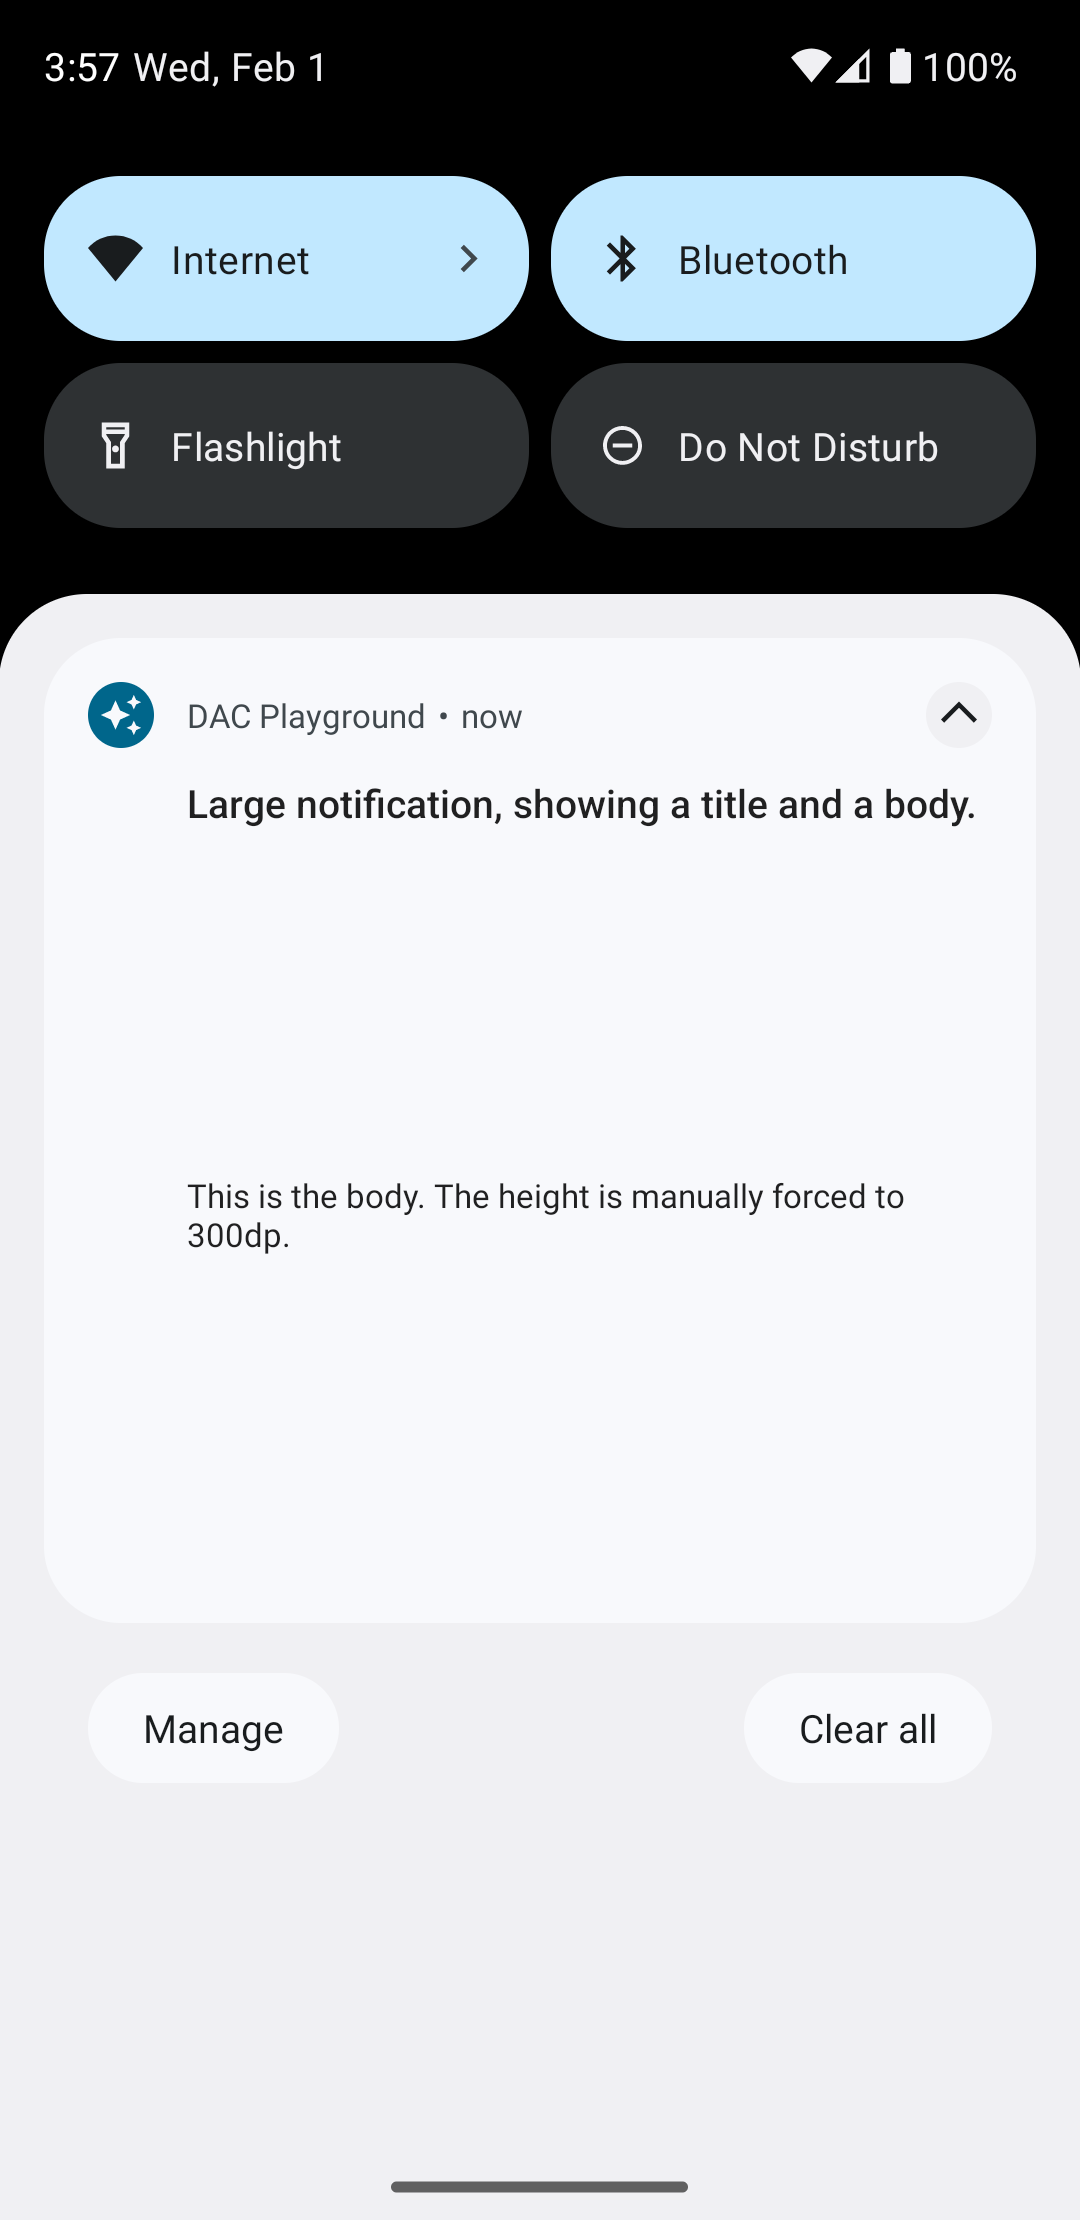
การแตะลูกศรขยายจะขยายการแจ้งเตือน ดังที่แสดงในรูปที่ 4 ดังนี้
สร้างเลย์เอาต์การแจ้งเตือนแบบกำหนดเองทั้งหมด
หากไม่ต้องการให้การแจ้งเตือนตกแต่งด้วยการแจ้งเตือนมาตรฐาน
ให้ทําตามขั้นตอนก่อนหน้าแต่ไม่เรียกใช้ setStyle()