
כדי שההתראות ייראו במיטבן בגרסאות שונות של Android, להשתמש בהתראה הרגילה תבנית התראות. אם אתם רוצים לספק תוכן נוסף בהודעה, מומלץ להשתמש באחת מההתראות הניתנות להרחבה תבניות.
עם זאת, אם תבניות המערכת לא מתאימות לצרכים שלך, אפשר להשתמש הפריסה של ההתראה.
יצירת פריסה מותאמת אישית לאזור התוכן
אם דרושה לך פריסה מותאמת אישית, אפשר להחיל
NotificationCompat.DecoratedCustomViewStyle
להודעה שלך. ה-API הזה מאפשר לך לספק פריסה מותאמת אישית של התוכן.
אזור שבדרך כלל מאכלס את הכותרת ותוכן הטקסט, ועדיין משתמשים במערכת
קישוטים לסמל ההתראות, לחותמת הזמן, לטקסט המשנה וללחצני הפעולה.
ה-API הזה פועל באופן דומה לתבניות של התראות הניתנות להרחבה בכך שהוא מתבסס על ההתראה הבסיסית באופן הבא:
- יצירה של התראה בסיסית
עם
NotificationCompat.Builder. - שיחת טלפון
setStyle()להעביר לו מופעNotificationCompat.DecoratedCustomViewStyle - ניפוח של הפריסה המותאמת אישית כמופע של
RemoteViews - שיחת טלפון
setCustomContentView()כדי להגדיר את הפריסה של ההתראה המכווצת. - אופציונלי:
setCustomBigContentView()כדי להגדיר פריסה שונה להודעה המורחבת.
מכינים את הפריסות
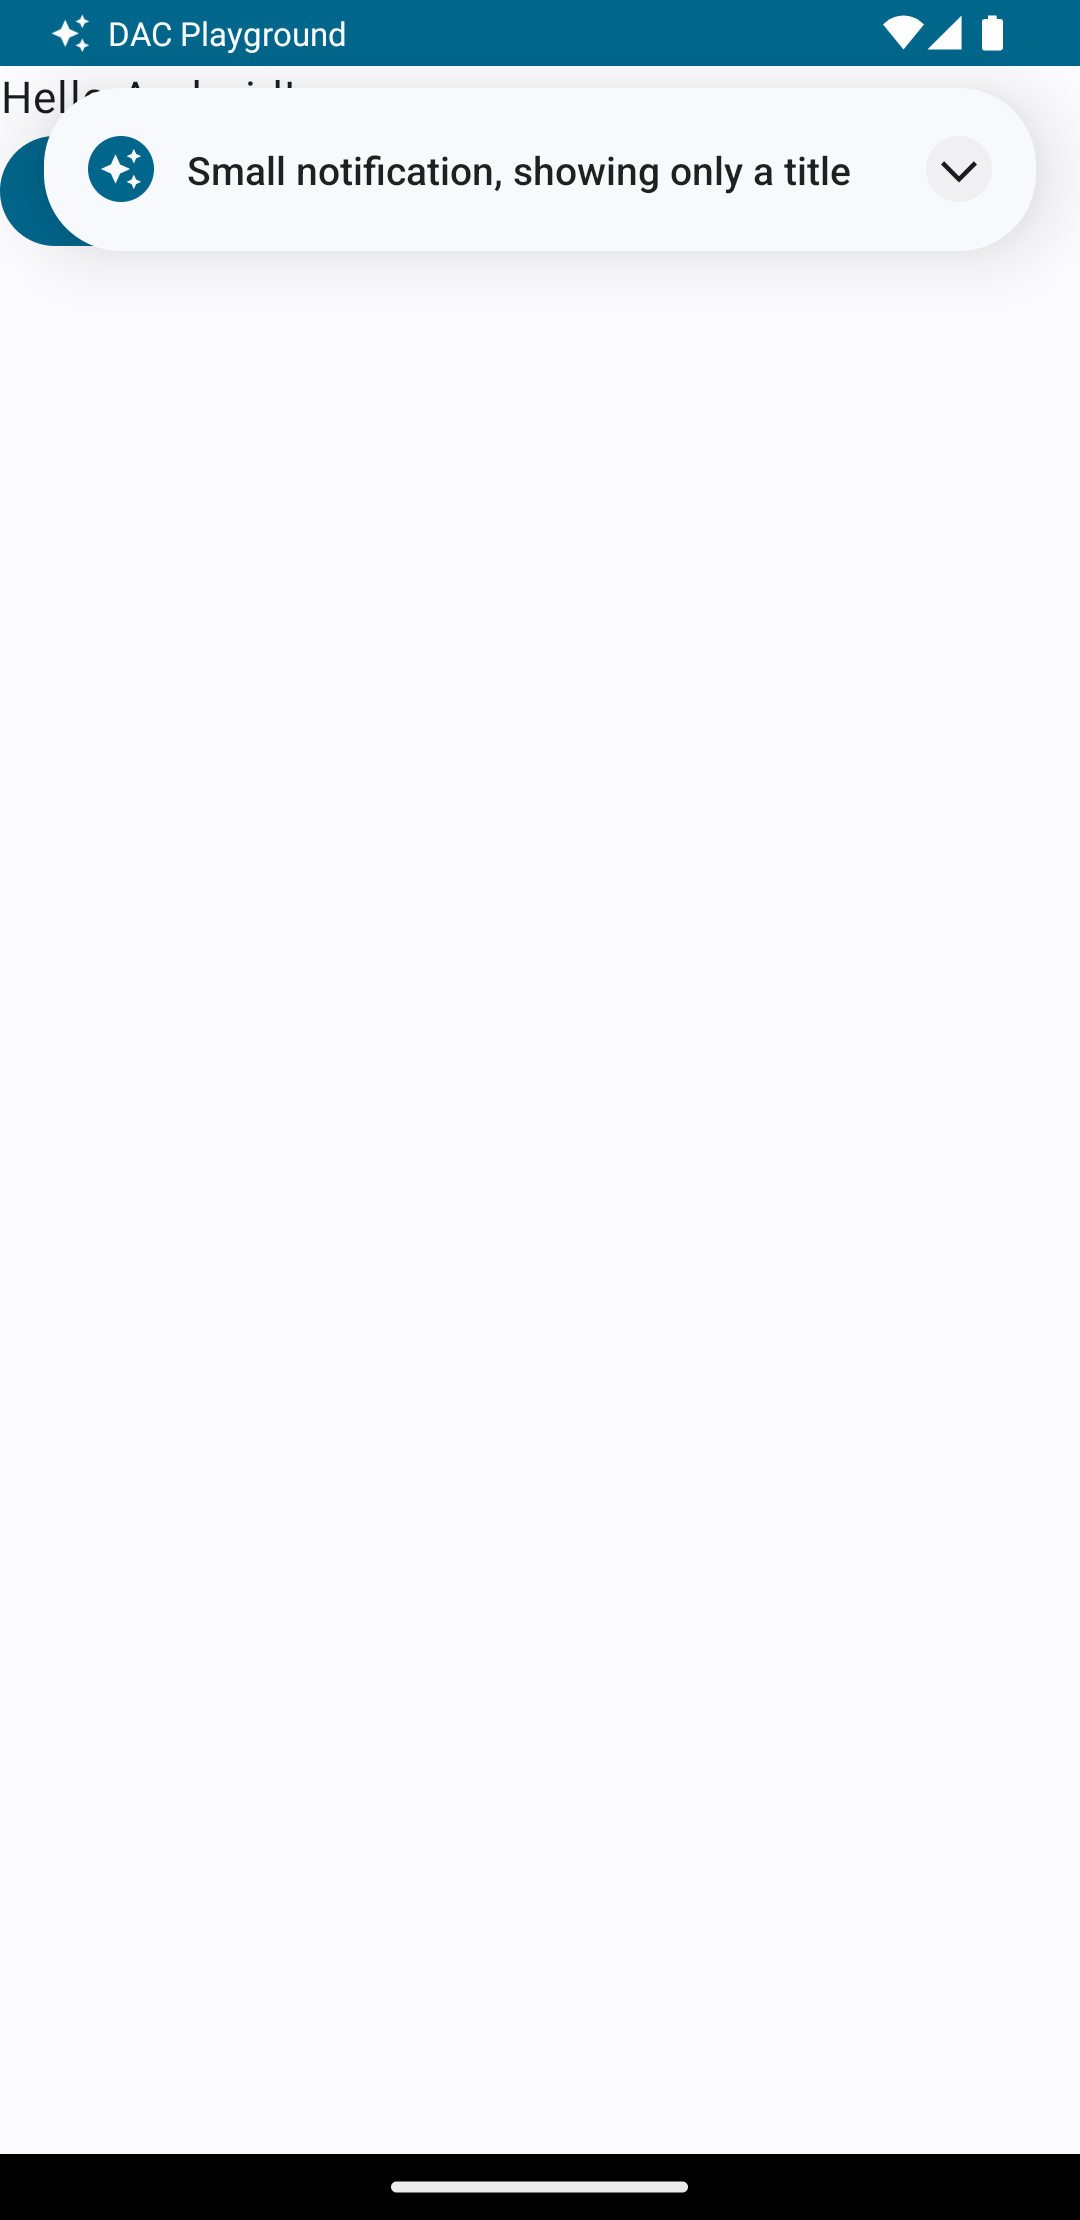
צריך פריסה של small וlarge. בדוגמה הזו, הפריסה small
עשוי להיראות כך:
<?xml version="1.0" encoding="utf-8"?>
<LinearLayout xmlns:android="http://schemas.android.com/apk/res/android"
    android:layout_width="match_parent"
    android:layout_height="wrap_content"
    android:orientation="vertical">

    <TextView
        android:id="@+id/notification_title"
        style="@style/TextAppearance.Compat.Notification.Title"
        android:layout_width="wrap_content"
        android:layout_height="0dp"
        android:layout_weight="1"
        android:text="Small notification, showing only a title" />
</LinearLayout>
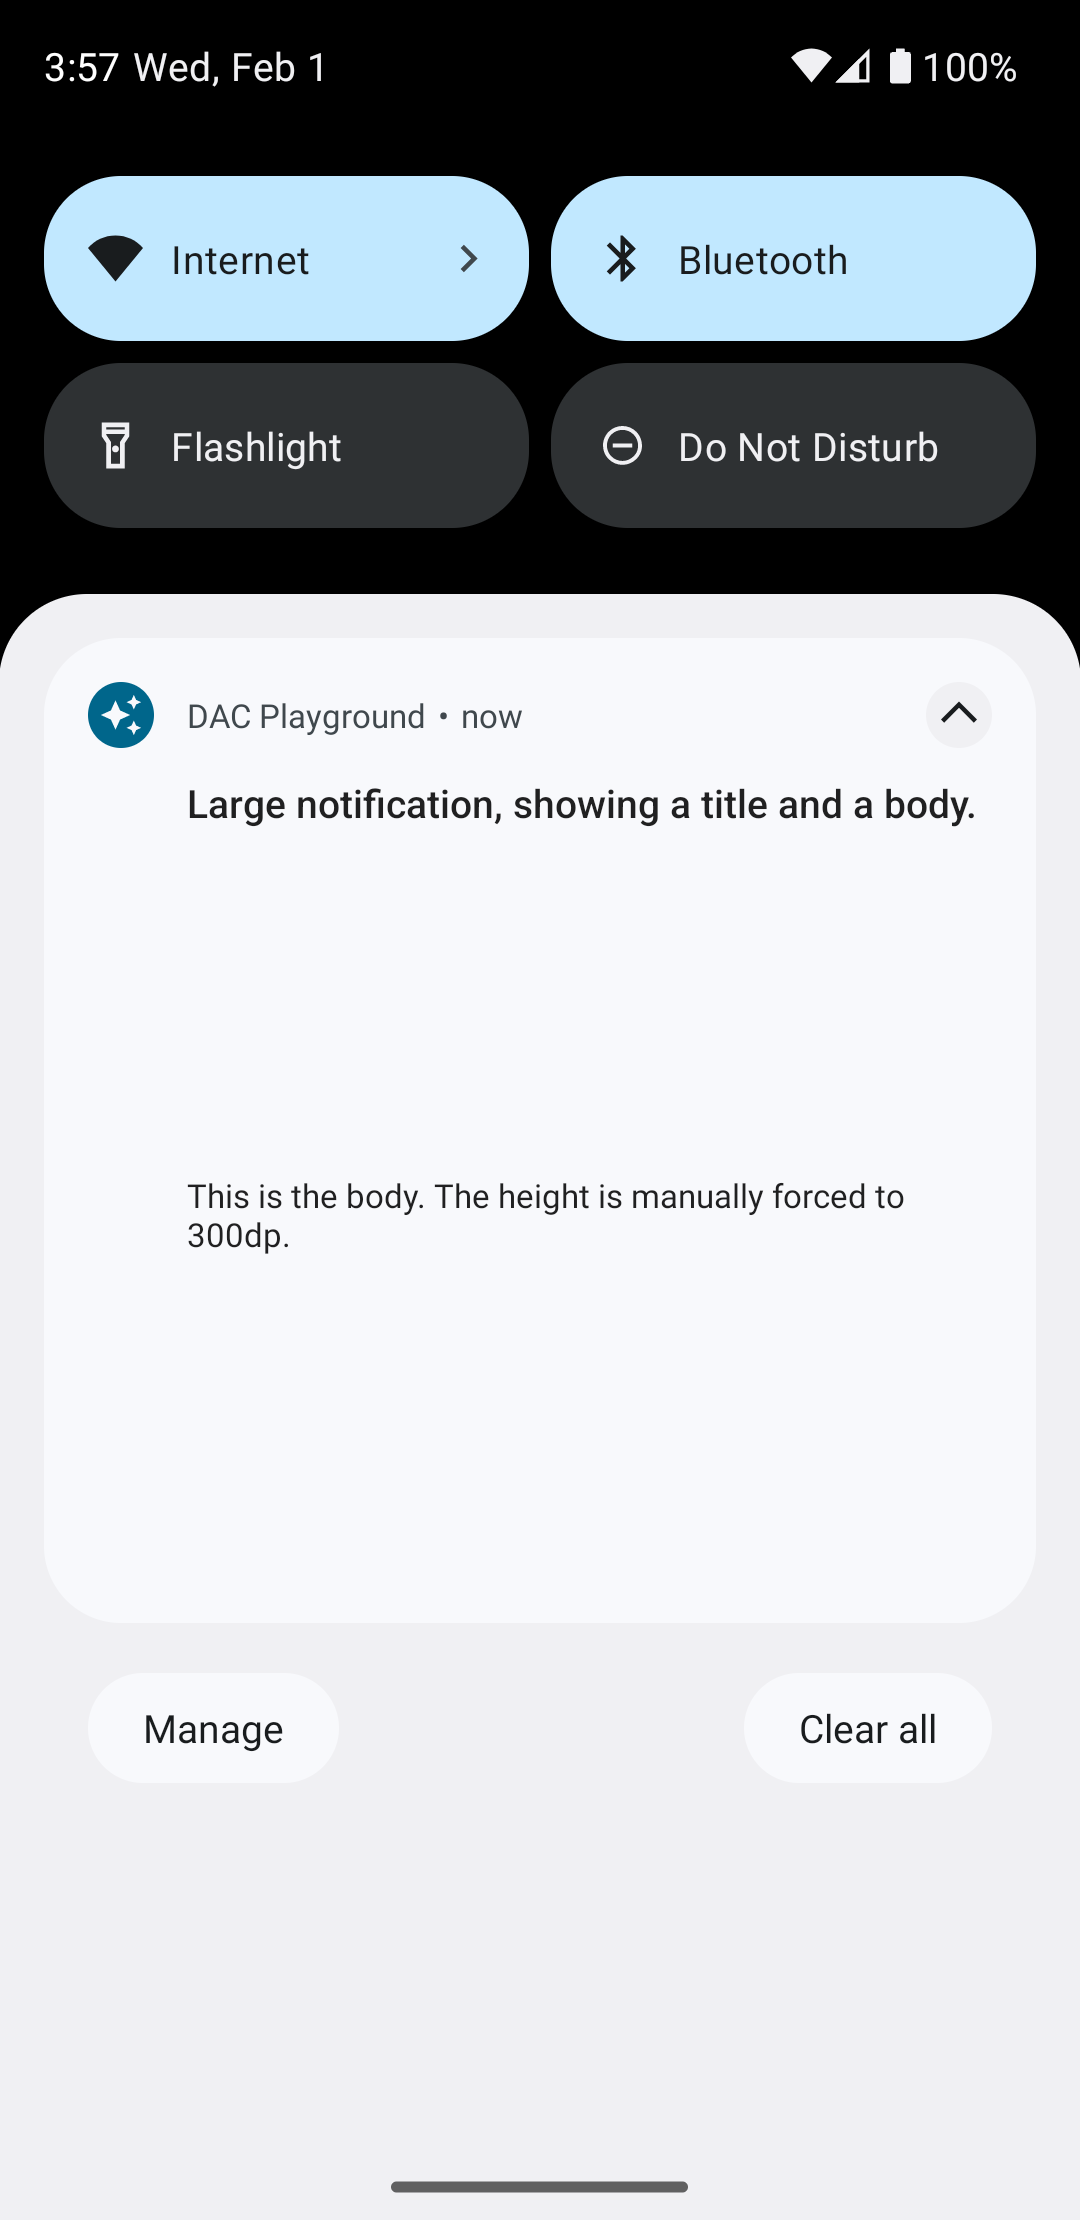
והפריסה של large עשויה להיראות כך:
<?xml version="1.0" encoding="utf-8"?>
<LinearLayout xmlns:android="http://schemas.android.com/apk/res/android"
    android:layout_width="match_parent"
    android:layout_height="300dp"
    android:orientation="vertical">

    <TextView
        android:id="@+id/notification_title"
        style="@style/TextAppearance.Compat.Notification.Title"
        android:layout_width="wrap_content"
        android:layout_height="wrap_content"
        android:layout_weight="1"
        android:text="Large notification, showing a title and a body." />

    <TextView
        android:id="@+id/notification_body"
        style="@style/TextAppearance.Compat.Notification.Line2"
        android:layout_width="wrap_content"
        android:layout_height="wrap_content"
        android:layout_weight="1"
        android:text="This is the body. The height is manually forced to 300dp." />
</LinearLayout>
יצירה והצגה של ההתראה
אחרי שהפריסות מוכנות, אפשר להשתמש בהן כמו בדוגמה הבאה:
Kotlin
val notificationManager = getSystemService(Context.NOTIFICATION_SERVICE) as NotificationManager

// Get the layouts to use in the custom notification.
val notificationLayout = RemoteViews(packageName, R.layout.notification_small)
val notificationLayoutExpanded = RemoteViews(packageName, R.layout.notification_large)

// Apply the layouts to the notification.
val customNotification = NotificationCompat.Builder(context, CHANNEL_ID)
        .setSmallIcon(R.drawable.notification_icon)
        .setStyle(NotificationCompat.DecoratedCustomViewStyle())
        .setCustomContentView(notificationLayout)
        .setCustomBigContentView(notificationLayoutExpanded)
        .build()

notificationManager.notify(666, customNotification)
Java
NotificationManager notificationManager = (NotificationManager) getSystemService(Context.NOTIFICATION_SERVICE);

// Get the layouts to use in the custom notification
RemoteViews notificationLayout = new RemoteViews(getPackageName(), R.layout.notification_small);
RemoteViews notificationLayoutExpanded = new RemoteViews(getPackageName(), R.layout.notification_large);

// Apply the layouts to the notification.
Notification customNotification = new NotificationCompat.Builder(context, CHANNEL_ID)
        .setSmallIcon(R.drawable.notification_icon)
        .setStyle(new NotificationCompat.DecoratedCustomViewStyle())
        .setCustomContentView(notificationLayout)
        .setCustomBigContentView(notificationLayoutExpanded)
        .build();

notificationManager.notify(666, customNotification);
חשוב לזכור שצבע הרקע של ההודעה עשוי להשתנות בהתאם למכשיר
וגרסאות. החלת סגנונות של ספריית התמיכה כמו
TextAppearance_Compat_Notification לטקסט ו
TextAppearance_Compat_Notification_Title לכותרת בפריסה המותאמת אישית.
כפי שאפשר לראות בדוגמה הבאה. הסגנונות האלה מותאמים לווריאציות הצבע
לא תקבלו טקסט בשחור-שחור או לבן-לבן.
<TextView
    android:layout_width="wrap_content"
    android:layout_height="match_parent"
    android:layout_weight="1"
    android:text="@string/notification_title"
    android:id="@+id/notification_title"
    style="@style/TextAppearance.Compat.Notification.Title" />
אין להגדיר תמונת רקע באובייקט RemoteViews, כי הטקסט
עלולים להפוך לבלתי קריאים.
כשמפעילים התראה בזמן שהמשתמש משתמש באפליקציה, התוצאה היא בדומה לתרשים 1:
הקשה על חץ ההרחבה מרחיבה את ההתראה, כפי שמוצג באיור 2:

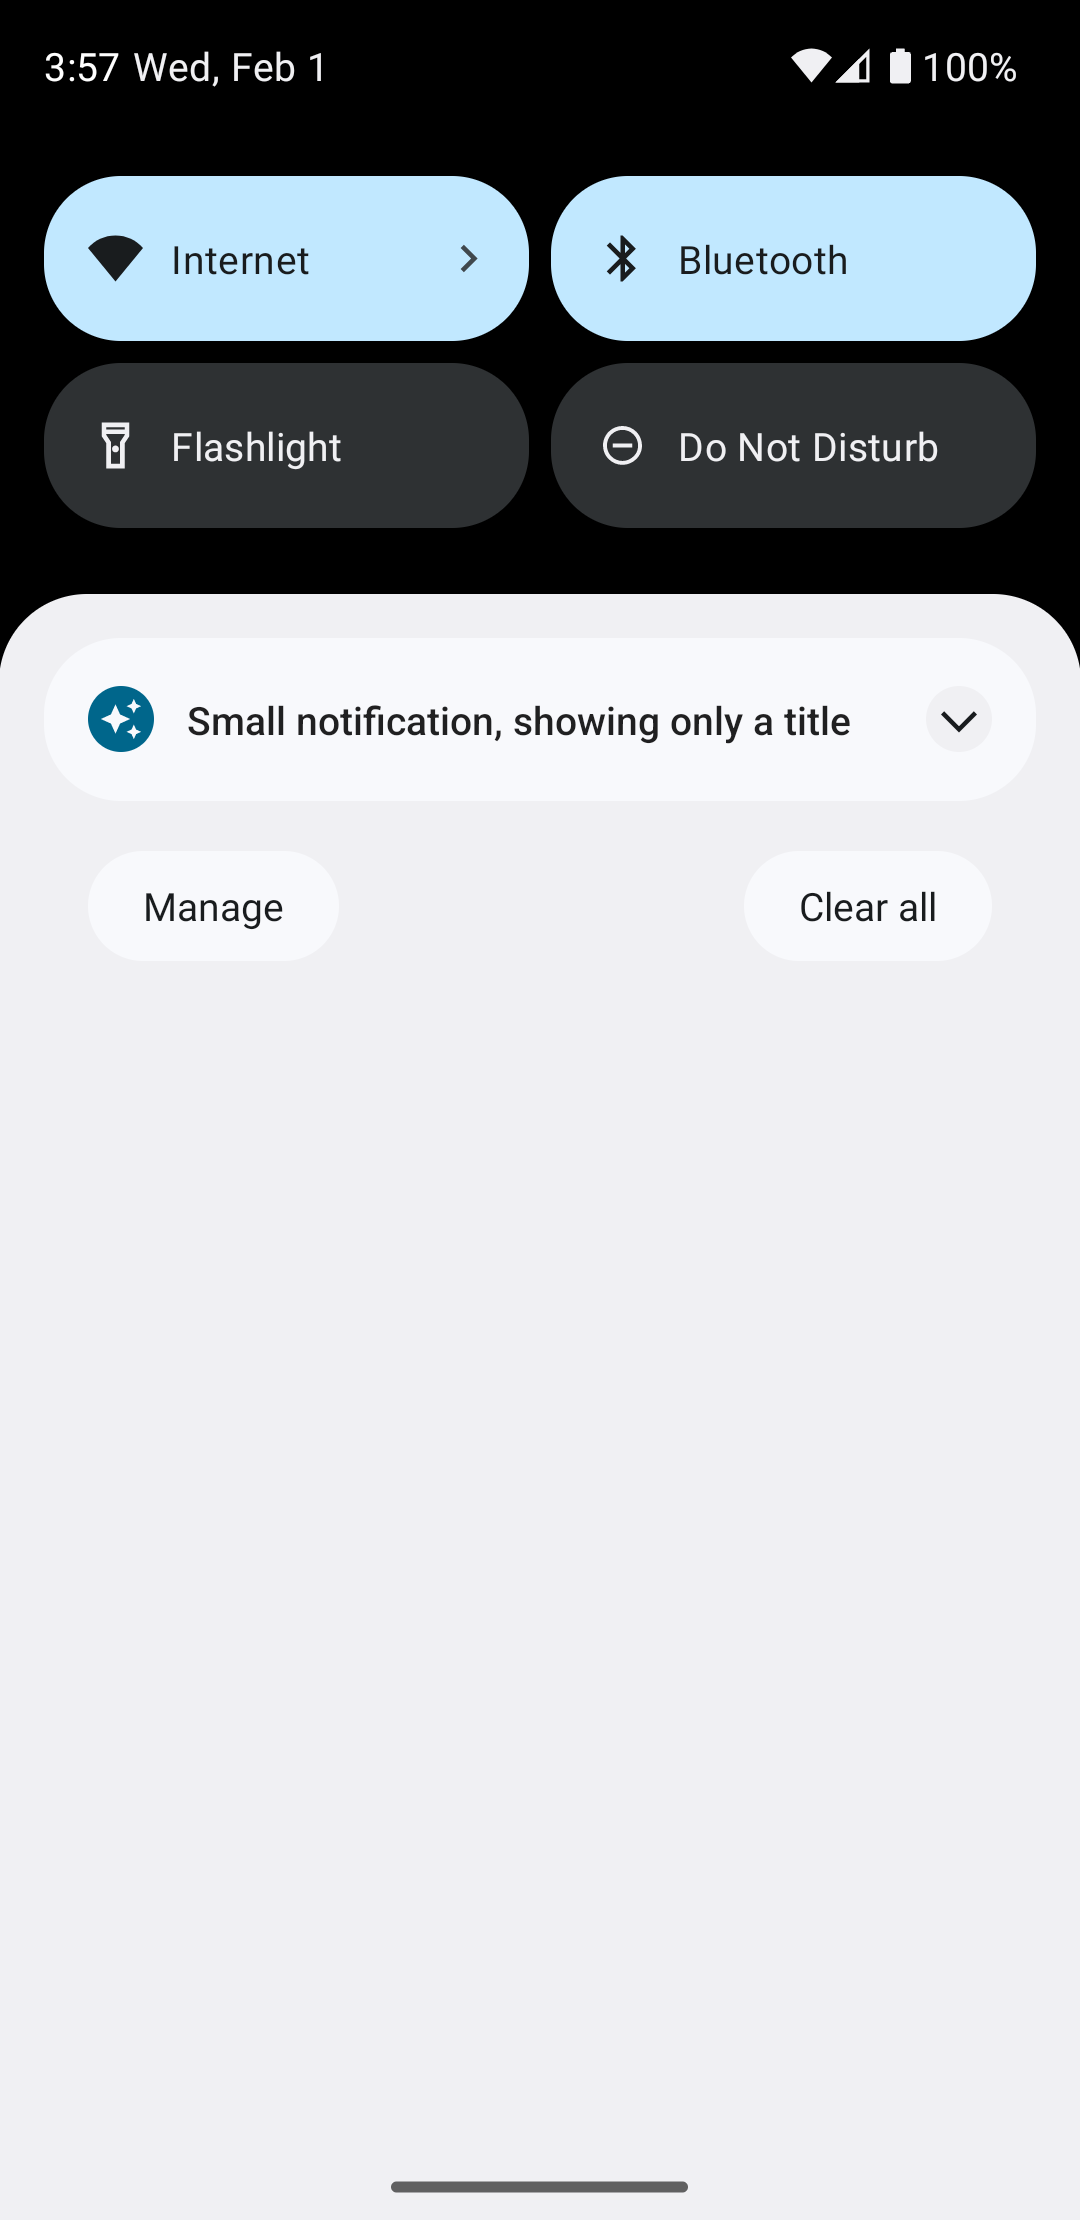
בתום הזמן הקצוב לתפוגה של ההתראה, ההתראה תוצג רק בסרגל המערכת, שנראה כמו איור מספר 3:
הקשה על חץ ההרחבה מרחיבה את ההתראה, כפי שמוצג באיור 4:
יצירת פריסת התראות בהתאמה אישית מלאה
אם אתם לא רוצים שההתראה תופיע עם ההתראה הרגילה
והכותרת, פועלים לפי השלבים הקודמים אבל לא קוראים setStyle().