
आपके ऐप्लिकेशन की हर स्क्रीन रिस्पॉन्सिव होनी चाहिए और उपलब्ध जगह के हिसाब से अडजस्ट होनी चाहिए.
ConstraintLayout की मदद से, रिस्पॉन्सिव यूज़र इंटरफ़ेस (यूआई) बनाया जा सकता हैConstraintLayout. इससे सिंगल-पैन अप्रोच को कई साइज़ में स्केल किया जा सकता है. हालांकि, बड़े डिवाइसों के लिए लेआउट को कई पैन में बांटने से फ़ायदा मिल सकता है. उदाहरण के लिए, हो सकता है कि आपको किसी स्क्रीन पर, चुने गए आइटम की जानकारी की सूची के बगल में, आइटम की सूची दिखानी हो.
SlidingPaneLayout कॉम्पोनेंट, बड़ी स्क्रीन वाले डिवाइसों और फ़ोल्ड किए जा सकने वाले डिवाइसों पर, दो पैन अगल-बगल में दिखाने की सुविधा देता है. साथ ही, यह अपने-आप अडजस्ट होकर, फ़ोन जैसे छोटे डिवाइसों पर एक बार में सिर्फ़ एक पैन दिखाता है.
किसी डिवाइस के बारे में खास जानकारी पाने के लिए, स्क्रीन के साथ काम करने की सुविधा के बारे में खास जानकारी देखें.
सेटअप
SlidingPaneLayout का इस्तेमाल करने के लिए, अपने ऐप्लिकेशन की build.gradle फ़ाइल में यह डिपेंडेंसी शामिल करें:
ग्रूवी
dependencies {
    implementation "androidx.slidingpanelayout:slidingpanelayout:1.2.0"
}
Kotlin
dependencies {
    implementation("androidx.slidingpanelayout:slidingpanelayout:1.2.0")
}
एक्सएमएल लेआउट कॉन्फ़िगरेशन
SlidingPaneLayout, यूज़र इंटरफ़ेस (यूआई) के टॉप लेवल पर इस्तेमाल करने के लिए, हॉरिज़ॉन्टल दो-पैनल वाला लेआउट उपलब्ध कराता है. इस लेआउट में, पहले पैन का इस्तेमाल कॉन्टेंट की सूची या ब्राउज़र के तौर पर किया जाता है. यह दूसरे पैन में कॉन्टेंट दिखाने के लिए, मुख्य जानकारी वाले व्यू के साथ काम करता है.
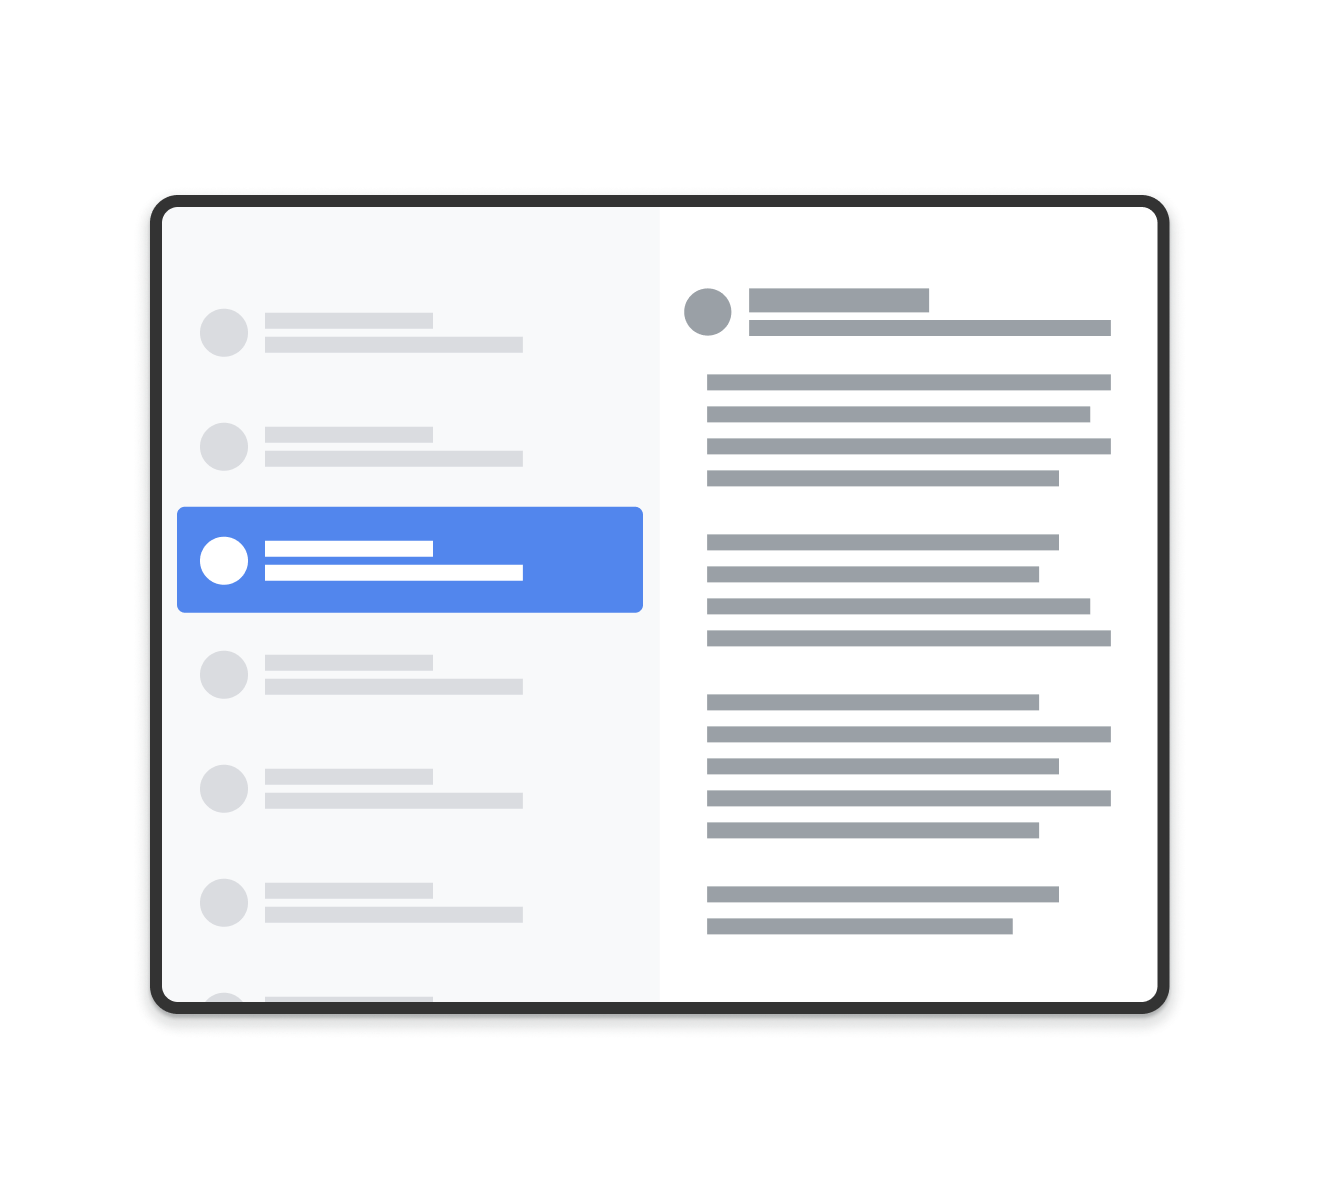
SlidingPaneLayout की मदद से बनाए गए लेआउट का उदाहरण.
SlidingPaneLayout कुकी, दोनों पैन की चौड़ाई का इस्तेमाल करके यह तय करती है कि पैन को एक-दूसरे के बगल में दिखाना है या नहीं. उदाहरण के लिए, अगर सूची वाले पैन का कम से कम साइज़ 200 डीपी है और जानकारी वाले पैन के लिए 400 डीपी की ज़रूरत है, तो SlidingPaneLayout दोनों पैन को एक साथ साइड-बाय-साइड अपने-आप दिखाएगा. ऐसा तब तक होगा, जब तक इसकी चौड़ाई कम से कम 600 डीपी उपलब्ध हो.
अगर चाइल्ड व्यू की कुल चौड़ाई, SlidingPaneLayout में उपलब्ध चौड़ाई से ज़्यादा है, तो चाइल्ड व्यू एक-दूसरे को ओवरलैप करेंगे. इस मामले में, चाइल्ड व्यू को बड़ा करके SlidingPaneLayout में उपलब्ध पूरी चौड़ाई में दिखाया जाता है. उपयोगकर्ता, सबसे ऊपर दिख रहे व्यू को स्क्रीन के किनारे से वापस खींचकर, अपनी जगह से हटा सकता है.
अगर व्यू ओवरलैप नहीं होते हैं, तो SlidingPaneLayout चाइल्ड व्यू पर लेआउट पैरामीटर layout_weight का इस्तेमाल करने की अनुमति देता है. इससे यह तय किया जा सकता है कि मेज़रमेंट पूरा होने के बाद, बची हुई जगह को कैसे बांटा जाए. यह पैरामीटर सिर्फ़ चौड़ाई के लिए काम करता है.
फ़ोल्ड किए जा सकने वाले ऐसे डिवाइस पर जिसमें स्क्रीन पर दोनों व्यू को अगल-बगल दिखाने की जगह होती है, SlidingPaneLayout दोनों पैन का साइज़ अपने-आप अडजस्ट हो जाता है, ताकि वे ओवरलैप होने वाले फ़ोल्ड या हिंज के दोनों ओर दिखें. इस मामले में, सेट की गई चौड़ाई को कम से कम चौड़ाई माना जाता है. यह चौड़ाई, फ़ोल्ड करने की सुविधा के दोनों ओर होनी चाहिए. अगर उस कम से कम साइज़ को बनाए रखने के लिए ज़रूरत के मुताबिक जगह नहीं है, तो SlidingPaneLayout व्यू को फिर से ओवरलैप करने लगता है.
यहां एक ऐसे SlidingPaneLayout का इस्तेमाल करने का उदाहरण दिया गया है जिसमें बाईं ओर RecyclerView और बाईं ओर मौजूद कॉन्टेंट दिखाने के लिए, मुख्य जानकारी वाले व्यू के तौर पर FragmentContainerView का इस्तेमाल किया गया है:
<!-- two_pane.xml -->
<androidx.slidingpanelayout.widget.SlidingPaneLayout
   xmlns:android="http://schemas.android.com/apk/res/android"
   android:id="@+id/sliding_pane_layout"
   android:layout_width="match_parent"
   android:layout_height="match_parent">

   <!-- The first child view becomes the left pane. When the combined needed
        width, expressed using android:layout_width, doesn't fit on-screen at
        once, the right pane is permitted to overlap the left. -->

   <androidx.recyclerview.widget.RecyclerView
             android:id="@+id/list_pane"
             android:layout_width="280dp"
             android:layout_height="match_parent"
             android:layout_gravity="start"/>

   <!-- The second child becomes the right (content) pane. In this example,
        android:layout_weight is used to expand this detail pane to consume
        leftover available space when the entire window is wide enough to fit
        the left and right pane.-->
   <androidx.fragment.app.FragmentContainerView
       android:id="@+id/detail_container"
       android:layout_width="300dp"
       android:layout_weight="1"
       android:layout_height="match_parent"
       android:background="#ff333333"
       android:name="com.example.SelectAnItemFragment" />
</androidx.slidingpanelayout.widget.SlidingPaneLayout>
इस उदाहरण में, FragmentContainerView पर मौजूद android:name एट्रिब्यूट, ज़्यादा जानकारी वाले पैनल में शुरुआती फ़्रैगमेंट जोड़ता है. इससे यह पक्का होता है कि ऐप्लिकेशन पहली बार लॉन्च होने पर, बड़ी स्क्रीन वाले डिवाइसों पर उपयोगकर्ताओं को दाईं ओर खाली पैनल न दिखे.
प्रोग्राम के हिसाब से, ज़्यादा जानकारी वाले पैनल को स्वैप करना
ऊपर दिए गए XML उदाहरण में, RecyclerView
में मौजूद किसी एलिमेंट पर टैप करने से, ज़्यादा जानकारी वाले पैनल में बदलाव होता है. फ़्रैगमेंट का इस्तेमाल करते समय, इसके लिए FragmentTransaction की ज़रूरत होती है. यह राइट पैन को बदलता है और SlidingPaneLayout पर open() को कॉल करता है, ताकि नए दिखने वाले फ़्रैगमेंट पर स्विच किया जा सके:
Kotlin
// A method on the Fragment that owns the SlidingPaneLayout,called by the
// adapter when an item is selected.
fun openDetails(itemId: Int) {
    childFragmentManager.commit {
        setReorderingAllowed(true)
        replace<ItemFragment>(R.id.detail_container,
            bundleOf("itemId" to itemId))
        // If it's already open and the detail pane is visible, crossfade
        // between the fragments.
        if (binding.slidingPaneLayout.isOpen) {
            setTransition(FragmentTransaction.TRANSIT_FRAGMENT_FADE)
        }
    }
    binding.slidingPaneLayout.open()
}
Java
// A method on the Fragment that owns the SlidingPaneLayout, called by the
// adapter when an item is selected.
void openDetails(int itemId) {
    Bundle arguments = new Bundle();
    arguments.putInt("itemId", itemId);
    FragmentTransaction ft = getChildFragmentManager().beginTransaction()
            .setReorderingAllowed(true)
            .replace(R.id.detail_container, ItemFragment.class, arguments);
    // If it's already open and the detail pane is visible, crossfade
    // between the fragments.
    if (binding.getSlidingPaneLayout().isOpen()) {
        ft.setTransition(FragmentTransaction.TRANSIT_FRAGMENT_FADE);
    }
    ft.commit();
    binding.getSlidingPaneLayout().open();
}
यह कोड, FragmentTransaction पर addToBackStack() को कॉल नहीं करता है. इससे, जानकारी वाले पैनल में बैक स्टैक नहीं बनता.
नेविगेशन कॉम्पोनेंट लागू करना
इस पेज पर दिए गए उदाहरणों में, SlidingPaneLayout का सीधे तौर पर इस्तेमाल किया गया है. इसलिए, आपको फ़्रैगमेंट ट्रांज़ैक्शन को मैन्युअल तरीके से मैनेज करना होगा. हालांकि, Navigation component, AbstractListDetailFragment के ज़रिए दो पैनल वाले लेआउट को पहले से तैयार करके लागू करने की सुविधा देता है. यह एक एपीआई क्लास है, जो आपके लिस्ट और डिटेल पैनल को मैनेज करने के लिए बैकग्राउंड में SlidingPaneLayout का इस्तेमाल करती है.
इससे, एक्सएमएल लेआउट कॉन्फ़िगरेशन को आसान बनाया जा सकता है. SlidingPaneLayout और दोनों पैन को साफ़ तौर पर एलान करने के बजाय, आपके लेआउट को सिर्फ़ एक FragmentContainerView की ज़रूरत होती है, ताकि AbstractListDetailFragment को लागू किया जा सके:
<FrameLayout xmlns:android="http://schemas.android.com/apk/res/android"
    xmlns:app="http://schemas.android.com/apk/res-auto"
    android:layout_width="match_parent"
    android:layout_height="match_parent">
    <androidx.fragment.app.FragmentContainerView
        android:id="@+id/two_pane_container"
        <!-- The name of your AbstractListDetailFragment implementation.-->
        android:name="com.example.testapp.TwoPaneFragment"
        android:layout_width="match_parent"
        android:layout_height="match_parent"
        <!-- The navigation graph for your detail pane.-->
        app:navGraph="@navigation/two_pane_navigation" />
</FrameLayout>
अपनी सूची वाले पैन के लिए कस्टम व्यू उपलब्ध कराने के लिए, onCreateListPaneView() और onListPaneViewCreated() लागू करें. ज़्यादा जानकारी वाले पैनल के लिए,
AbstractListDetailFragment, NavHostFragment का इस्तेमाल करता है.
इसका मतलब है कि आपके पास ऐसा नेविगेशन
ग्राफ़ तय करने का विकल्प होता है जिसमें सिर्फ़ वे डेस्टिनेशन शामिल हों जिन्हें जानकारी वाले पैनल में दिखाना है. इसके बाद, NavController का इस्तेमाल करके, नेविगेशन ग्राफ़ में मौजूद डेस्टिनेशन के बीच अपने ब्यौरे वाले पैनल को स्वैप किया जा सकता है:
Kotlin
fun openDetails(itemId: Int) {
    val navController = navHostFragment.navController
    navController.navigate(
        // Assume the itemId is the android:id of a destination in the graph.
        itemId,
        null,
        NavOptions.Builder()
            // Pop all destinations off the back stack.
            .setPopUpTo(navController.graph.startDestination, true)
            .apply {
                // If it's already open and the detail pane is visible,
                // crossfade between the destinations.
                if (binding.slidingPaneLayout.isOpen) {
                    setEnterAnim(R.animator.nav_default_enter_anim)
                    setExitAnim(R.animator.nav_default_exit_anim)
                }
            }
            .build()
    )
    binding.slidingPaneLayout.open()
}
Java
void openDetails(int itemId) {
    NavController navController = navHostFragment.getNavController();
    NavOptions.Builder builder = new NavOptions.Builder()
            // Pop all destinations off the back stack.
            .setPopUpTo(navController.getGraph().getStartDestination(), true);
    // If it's already open and the detail pane is visible, crossfade between
    // the destinations.
    if (binding.getSlidingPaneLayout().isOpen()) {
        builder.setEnterAnim(R.animator.nav_default_enter_anim)
                .setExitAnim(R.animator.nav_default_exit_anim);
    }
    navController.navigate(
        // Assume the itemId is the android:id of a destination in the graph.
        itemId,
        null,
        builder.build()
    );
    binding.getSlidingPaneLayout().open();
}
ज़्यादा जानकारी वाले पैनल के नेविगेशन ग्राफ़ में मौजूद डेस्टिनेशन, ऐप्लिकेशन के किसी भी बाहरी नेविगेशन ग्राफ़ में नहीं होने चाहिए. हालांकि, ज़्यादा जानकारी वाले पैनल के नेविगेशन ग्राफ़ में मौजूद किसी भी डीप लिंक को उस डेस्टिनेशन से अटैच किया जाना चाहिए जो SlidingPaneLayout को होस्ट करता है. इससे यह पक्का करने में मदद मिलती है कि बाहरी डीप लिंक, सबसे पहले SlidingPaneLayout डेस्टिनेशन पर जाएं. इसके बाद, वे जानकारी वाले सही पैनल के डेस्टिनेशन पर जाएं.
नेविगेशन कॉम्पोनेंट का इस्तेमाल करके, दो पैन वाले लेआउट को पूरी तरह से लागू करने के लिए, TwoPaneFragment का उदाहरण देखें.
सिस्टम के 'वापस जाएं' बटन के साथ इंटिग्रेट करना
छोटे डिवाइसों पर, सूची और जानकारी वाले पैन एक-दूसरे पर ओवरलैप होते हैं. ऐसे में, यह पक्का करें कि सिस्टम के बैक बटन पर क्लिक करने से, उपयोगकर्ता को जानकारी वाले पैन से वापस सूची वाले पैन पर ले जाया जाए. इसके लिए, बैक नेविगेशन की सुविधा को पसंद के मुताबिक बनाएं और OnBackPressedCallback को SlidingPaneLayout की मौजूदा स्थिति से कनेक्ट करें:
Kotlin
class TwoPaneOnBackPressedCallback(
    private val slidingPaneLayout: SlidingPaneLayout
) : OnBackPressedCallback(
    // Set the default 'enabled' state to true only if it is slidable, such as
    // when the panes overlap, and open, such as when the detail pane is
    // visible.
    slidingPaneLayout.isSlideable && slidingPaneLayout.isOpen
), SlidingPaneLayout.PanelSlideListener {

    init {
        slidingPaneLayout.addPanelSlideListener(this)
    }

    override fun handleOnBackPressed() {
        // Return to the list pane when the system back button is tapped.
        slidingPaneLayout.closePane()
    }

    override fun onPanelSlide(panel: View, slideOffset: Float) { }

    override fun onPanelOpened(panel: View) {
        // Intercept the system back button when the detail pane becomes
        // visible.
        isEnabled = true
    }

    override fun onPanelClosed(panel: View) {
        // Disable intercepting the system back button when the user returns to
        // the list pane.
        isEnabled = false
    }
}
Java
class TwoPaneOnBackPressedCallback extends OnBackPressedCallback
        implements SlidingPaneLayout.PanelSlideListener {

    private final SlidingPaneLayout mSlidingPaneLayout;

    TwoPaneOnBackPressedCallback(@NonNull SlidingPaneLayout slidingPaneLayout) {
        // Set the default 'enabled' state to true only if it is slideable, such
        // as when the panes overlap, and open, such as when the detail pane is
        // visible.
        super(slidingPaneLayout.isSlideable() && slidingPaneLayout.isOpen());
        mSlidingPaneLayout = slidingPaneLayout;
        slidingPaneLayout.addPanelSlideListener(this);
    }

    @Override
    public void handleOnBackPressed() {
        // Return to the list pane when the system back button is tapped.
        mSlidingPaneLayout.closePane();
    }

    @Override
    public void onPanelSlide(@NonNull View panel, float slideOffset) { }

    @Override
    public void onPanelOpened(@NonNull View panel) {
        // Intercept the system back button when the detail pane becomes
        // visible.
        setEnabled(true);
    }

    @Override
    public void onPanelClosed(@NonNull View panel) {
        // Disable intercepting the system back button when the user returns to
        // the list pane.
        setEnabled(false);
    }
}
addCallback() का इस्तेमाल करके, कॉलबैक को OnBackPressedDispatcher में जोड़ा जा सकता है:
Kotlin
class TwoPaneFragment : Fragment(R.layout.two_pane) {

    override fun onViewCreated(view: View, savedInstanceState: Bundle?) {
        val binding = TwoPaneBinding.bind(view)

        // Connect the SlidingPaneLayout to the system back button.
        requireActivity().onBackPressedDispatcher.addCallback(viewLifecycleOwner,
            TwoPaneOnBackPressedCallback(binding.slidingPaneLayout))

        // Set up the RecyclerView adapter.
    }
}
Java
class TwoPaneFragment extends Fragment {

    public TwoPaneFragment() {
        super(R.layout.two_pane);
    }

    @Override
    public void onViewCreated(@NonNull View view,
             @Nullable Bundle savedInstanceState) {
        TwoPaneBinding binding = TwoPaneBinding.bind(view);

        // Connect the SlidingPaneLayout to the system back button.
        requireActivity().getOnBackPressedDispatcher().addCallback(
            getViewLifecycleOwner(),
            new TwoPaneOnBackPressedCallback(binding.getSlidingPaneLayout()));

        // Set up the RecyclerView adapter.
    }
}
लॉक मोड
SlidingPaneLayout की मदद से, open() को मैन्युअल तरीके से कॉल किया जा सकता है. साथ ही, close() की मदद से, फ़ोन पर सूची और जानकारी वाले पैन के बीच ट्रांज़िशन किया जा सकता है. अगर दोनों पैन दिख रहे हैं और ओवरलैप नहीं हो रहे हैं, तो इन तरीकों का कोई असर नहीं पड़ता.
जब सूची और जानकारी वाले पैन एक-दूसरे पर ओवरलैप होते हैं, तो उपयोगकर्ता डिफ़ॉल्ट रूप से दोनों दिशाओं में स्वाइप कर सकते हैं. वे हावभाव से नेविगेट करने की सुविधा का इस्तेमाल न करने पर भी, दोनों पैन के बीच आसानी से स्विच कर सकते हैं. SlidingPaneLayout का लॉक मोड सेट करके, स्वाइप करने की दिशा को कंट्रोल किया जा सकता है:
Kotlin
binding.slidingPaneLayout.lockMode = SlidingPaneLayout.LOCK_MODE_LOCKED
Java
binding.getSlidingPaneLayout().setLockMode(SlidingPaneLayout.LOCK_MODE_LOCKED);
ज़्यादा जानें
अलग-अलग डिवाइसों के लिए लेआउट डिज़ाइन करने के बारे में ज़्यादा जानने के लिए, यहां दिया गया दस्तावेज़ देखें:
- स्क्रीन के साथ काम करने की सुविधा के बारे में खास जानकारी
- अलग-अलग नाप या आकार वाले डिवाइसों के लिए डिज़ाइन करना
अन्य संसाधन
- अडैप्टिव लेआउट कोडलैब
- GitHub पर SlidingPaneLayout का उदाहरण.