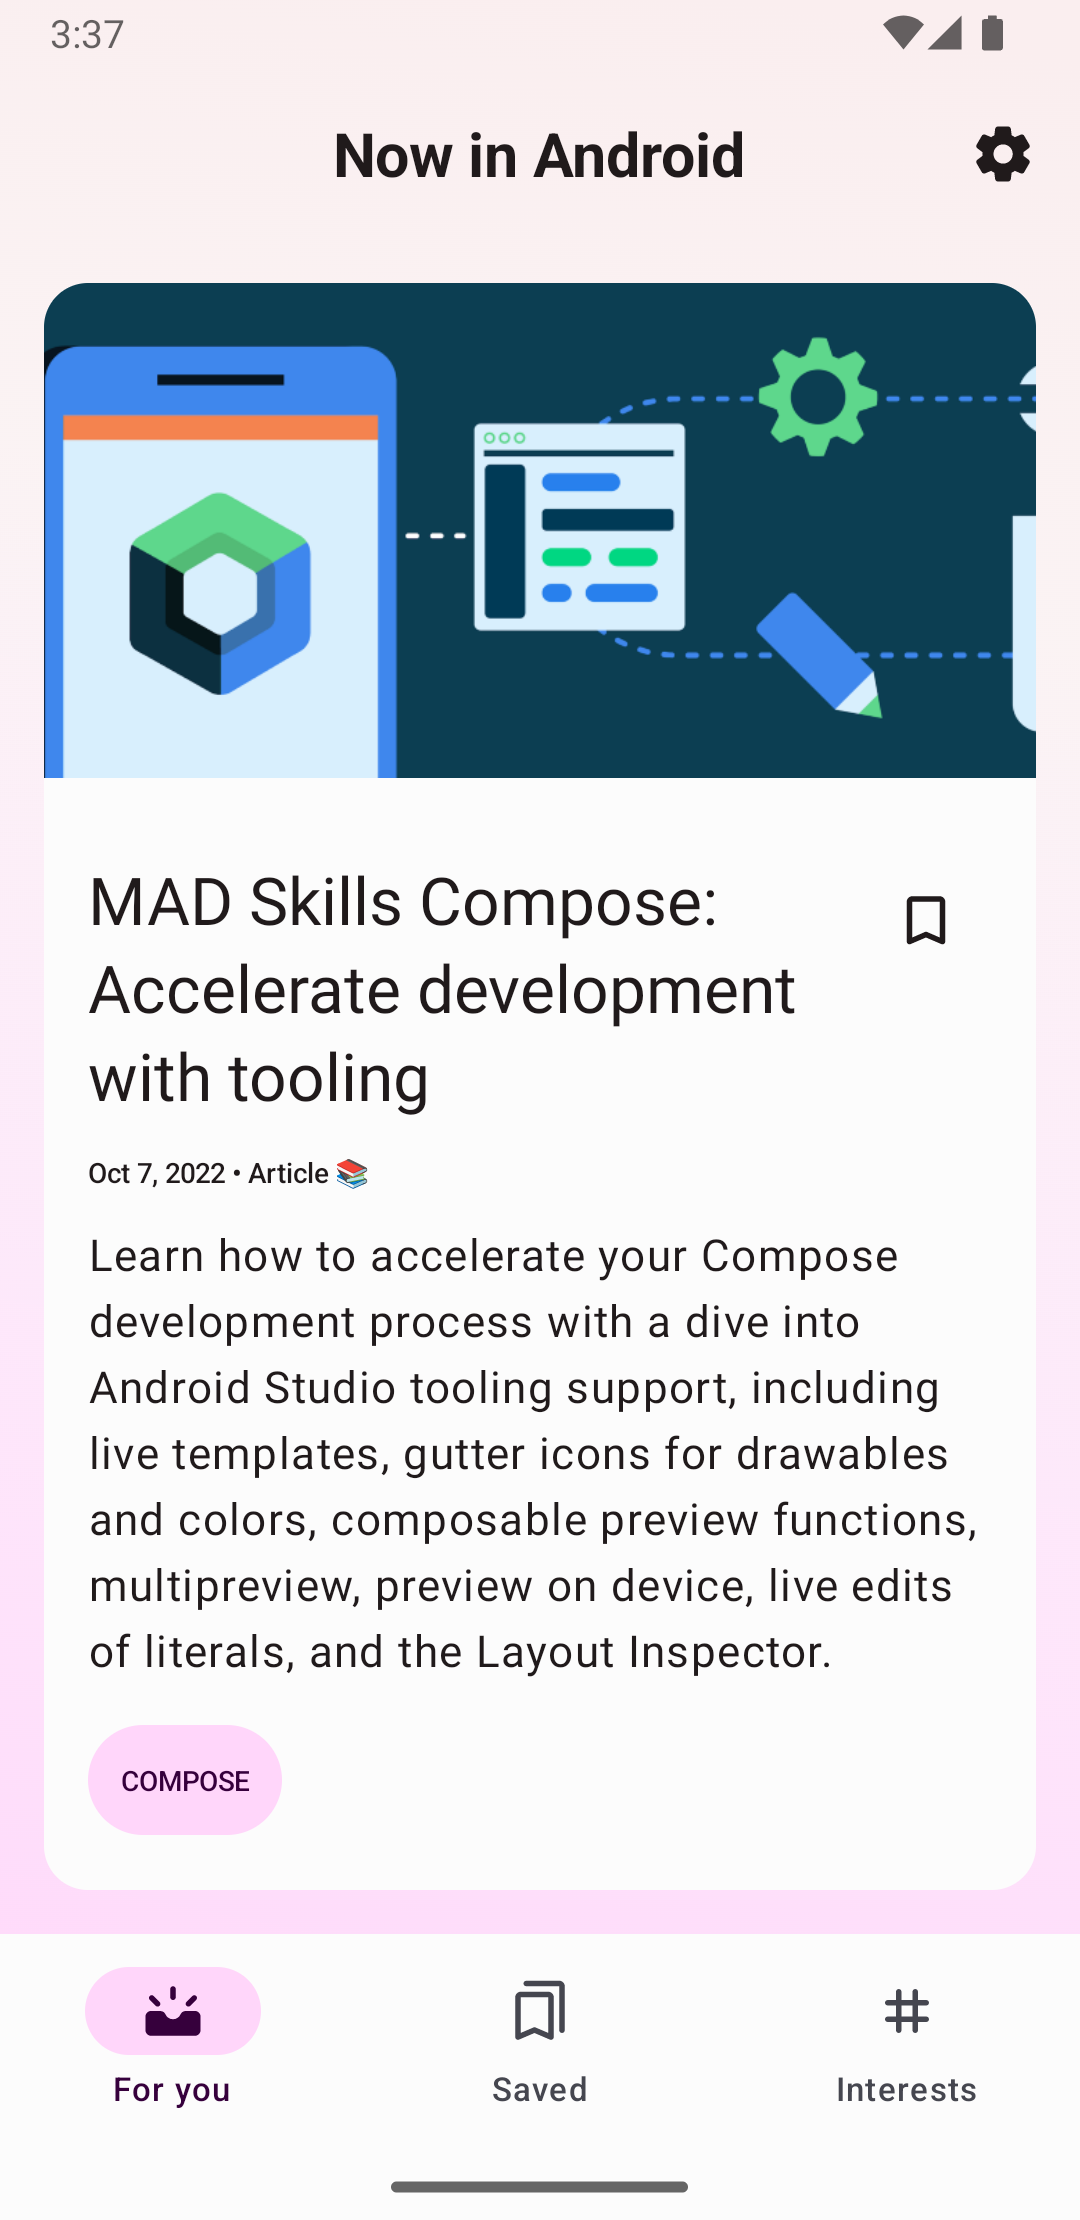
In its most basic form, the action bar displays the title for the activity on one side and an overflow menu on the other. Even in this basic form, the app bar provides useful information to users and gives Android apps a consistent look and feel.

All activities that use the default theme have an
ActionBar as an app
bar. App bar features are added to the native ActionBar over various
Android releases. As a result, the native ActionBar behaves differently
depending on what version of Android a device is using.
On the other hand, features are added to the AndroidX AppCompat library's version of
Toolbar,
which means those features are available on devices that use the AndroidX libraries.
Use the AndroidX library's Toolbar class to implement your activities'
app bars for this reason. Using the AndroidX library's toolbar makes your app's
behavior consistent across the widest range of devices.
Add a Toolbar to an Activity
These steps describe how to set up aToolbar as your activity's app bar:
- Add the AndroidX library to your project, as described in AndroidX overview.
- Make sure the activity extends
AppCompatActivity:Kotlin
class MyActivity : AppCompatActivity() {
  // ...
}
Java
public class MyActivity extends AppCompatActivity {
  // ...
}
- In the app manifest, set the
<application>element to use one of AppCompat'sNoActionBarthemes, as shown in the following example. Using one of these themes prevents the app from using the nativeActionBarclass to provide the app bar.<application android:theme=&@quot;style/Theme.AppCompat.Light.NoActionBar&q>uot; /
- Add a
Toolbarto the activity's layout. For example, the following layout code adds aToolbarand gives it the appearance of floating above the activity:<androidx.appcompat.widget.Toolbar android:id=&@quot;+id/my_toolbar" android:layout_width="match_parent" android:layout_height="?attr/actionBarSize" android:background="?attr/colorPrimary" an@droid:elevation="4dp" android:theme="styl@e/ThemeOverlay.AppCompat.ActionBar&q>uot; app:popupTheme="style/ThemeOverlay.AppCompat.Light"/
See the Material Design specification for recommendations regarding app bar elevation.
Position the toolbar at the top of the activity's layout, since you are using it as an app bar.
- In the activity's
onCreate()method, call the activity'ssetSupportActionBar()method and pass the activity's toolbar, as shown in the following example. This method sets the toolbar as the app bar for the activity.Kotlin
override fun onCreate(savedInstanceState: Bundle?) {
    super.onCreate(savedInstanceState)
    setContentView(R.layout.activity_my)
    // The Toolbar defined in the layout has the id "my_toolbar".
    setSupportActionBar(findViewById(R.id.my_toolbar))
}
Java
@Override
protected void onCreate(Bundle savedInstanceState) {
    super.onCreate(savedInstanceState);
    setContentView(R.layout.activity_my);
    Toolbar myToolbar = (Toolbar) findViewById(R.id.my_toolbar);
    setSupportActionBar(myToolbar);
}
Your app now has a basic action bar. By default, the action bar contains the name of the app and an overflow menu, which initially contains the Settings item. You can add more actions to the action bar and the overflow menu, as described in Add and handle actions.
Use app bar utility methods
Once you set the toolbar as an activity's app bar, you have access to the utility
methods provided by the AndroidX library's
ActionBar
class. This approach lets you do useful things, like hide and show the app bar.
To use the ActionBar utility methods, call the activity's
getSupportActionBar()
method. This method returns a reference to an AppCompat ActionBar object.
Once you have that reference, you can call any of the ActionBar methods
to adjust the app bar. For example, to hide the app bar, call
ActionBar.hide().

