
We recommend using the
SearchView
widget as an item in the app bar to provide search functionality in your app. As
with all items in the app bar, you can define the SearchView to
show at all times or only when there is room. You can also define it as a
collapsible action, which displays the SearchView as an icon
initially and then takes up the entire app bar as a search field when the user
taps the icon.
Add the SearchView to the app bar
To add a SearchView widget to the app bar, create a file in your
project named res/menu/options_menu.xml and add the following code
to the file. This code defines how to create the search item, such as the icon
to use and the title of the item. The collapseActionView attribute
lets your SearchView expand to take up the whole app bar and
collapse back down into a normal app bar item when not in use. Because of the
limited app bar space on handset devices, we recommend using the
collapsibleActionView attribute to provide a better user
experience.
<?xml version="1.0" encoding="utf-8"?>
<menu xmlns:android="http://schemas.android.com/apk/res/android">
<item android:id="@+id/search"
        android:title="@string/search_title"
        android:icon="@drawable/ic_search"
        android:showAsAction="collapseActionView|ifRoom"
        android:actionViewClass="androidx.appcompat.widget.SearchView" />
</menu>
If you want a more accessible search icon, create an
ic_search.xml file in the /res/drawable folder and
include the following code in it:
<vector
    android:height="24dp"
    android:tint="#000000"
    android:viewportHeight="24"
    android:viewportWidth="24"
    android:width="24dp"
    xmlns:android="http://schemas.android.com/apk/res/android">
        <path android:fillColor="@android:color/white" android:pathData="M15.5,14h-0.79l-0.28,-0.27C15.41,12.59 16,11.11 16,9.5 16,5.91 13.09,3 9.5,3S3,5.91 3,9.5 5.91,16 9.5,16c1.61,0 3.09,-0.59 4.23,-1.57l0.27,0.28v0.79l5,4.99L20.49,19l-4.99,-5zM9.5,14C7.01,14 5,11.99 5,9.5S7.01,5 9.5,5 14,7.01 14,9.5 11.99,14 9.5,14z"/>
</vector>
To display the SearchView in the app bar, inflate the XML menu
resource res/menu/options_menu.xml in the
onCreateOptionsMenu()
method of your activity:
Kotlin
override fun onCreateOptionsMenu(menu: Menu): Boolean {
    menuInflater.inflate(R.menu.options_menu, menu)

    return true
}
Running the app generates something like this:

The SearchView appears in your app's app bar, but it isn't
functional. If you tap the search icon, you get something like this:
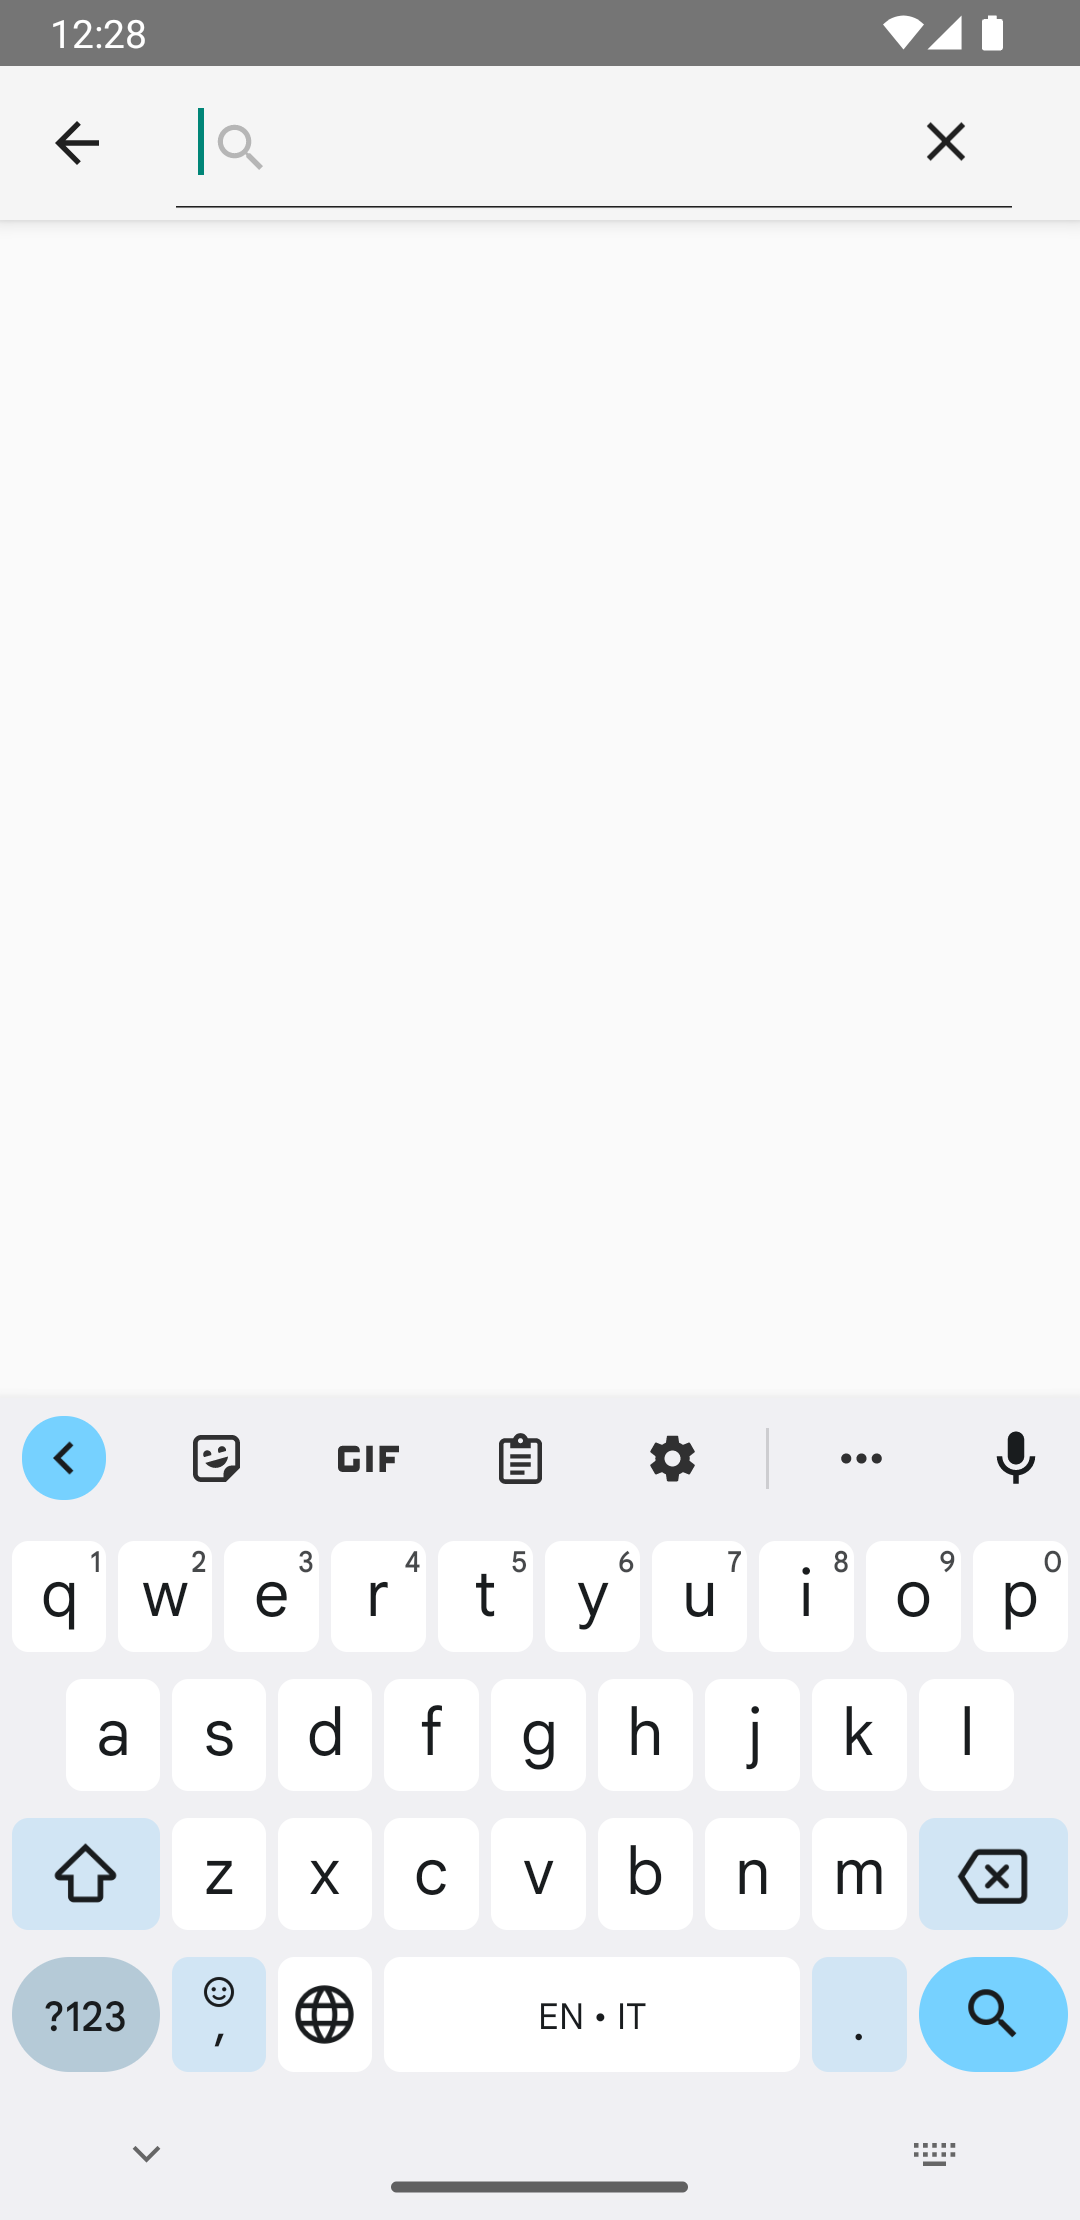
SearchView in action.
To make the SearchView functional, you must define how the
SearchView behaves.
Create a search configuration
A search
configuration specifies how the SearchView behaves and is
defined in a res/xml/searchable.xml file. A search configuration
must contain, at minimum, an android:label attribute that has the
same value as the android:label attribute of the
<application>
or <activity>
element in your Android manifest. However, we also recommend adding an
android:hint attribute to give the user an idea of what to enter
into the search box.
<?xml version="1.0" encoding="utf-8"?>

<searchable xmlns:android="http://schemas.android.com/apk/res/android"
        android:label="@string/app_name"
        android:hint="@string/search_hint" />
In your app's manifest file, declare a
<meta-data>
element that points to the res/xml/searchable.xml file. Declare the
element in an <activity> in which you want to display the
SearchView.
<activity
android:name=".SearchResultsActivity"
android:exported="false"
android:label="@string/title_activity_search_results"
android:launchMode="singleTop"
android:theme="@style/Theme.AppCompat.Light">
    <intent-filter>
        <action android:name="android.intent.action.SEARCH" />
    </intent-filter>
    <meta-data
        android:name="android.app.searchable"
        android:resource="@xml/searchable" />
</activity>
In the onCreateOptionsMenu() method that you create, associate
the search configuration with the SearchView by calling
setSearchableInfo(SearchableInfo):
Kotlin
override fun onCreateOptionsMenu(menu: Menu): Boolean {
    menuInflater.inflate(R.menu.options_menu, menu)

    val searchManager = getSystemService(Context.SEARCH_SERVICE) as SearchManager
    val searchView = menu.findItem(R.id.search).actionView as SearchView
    val component = ComponentName(this, SearchResultsActivity::class.java)
    val searchableInfo = searchManager.getSearchableInfo(component)
    searchView.setSearchableInfo(searchableInfo)
    return true
}
The call to
getSearchableInfo()
obtains a
SearchableInfo
object that is created from the search configuration XML file. When the search
configuration is correctly associated with your SearchView and the
user submits a query, the SearchView starts an activity with the
ACTION_SEARCH
intent. You then need an activity that can filter for this intent and handle the
search query.
Create a searchable activity
A searchable activity filters for the ACTION_SEARCH intent and
searches for the query in a data set. To create a searchable activity, declare
an activity of your choice to filter for the ACTION_SEARCH
intent:
<activity android:name=".SearchResultsActivity" ... >
    ...
    <intent-filter>
        <action android:name="android.intent.action.SEARCH" />
    </intent-filter>
    ...
</activity>
In your searchable activity, handle the ACTION_SEARCH intent by
checking for it in your
onCreate()
method.
Kotlin
class SearchResultsActivity : AppCompatActivity() {

    override fun onCreate(savedInstanceState: Bundle?) {
        super.onCreate(savedInstanceState)
        setContentView(R.layout.activity_search_results)
        handleIntent(intent)
    }

    override fun onNewIntent(intent: Intent) {
        super.onNewIntent(intent)
        handleIntent(intent)
    }

    private fun handleIntent(intent: Intent) {
        if (Intent.ACTION_SEARCH == intent.action) {
            val query = intent.getStringExtra(SearchManager.QUERY)
            Log.d("SEARCH", "Search query was: $query")
        }
    }
}
Now, the SearchView can accept the user's query and start your
searchable activity with the ACTION_SEARCH intent.
After you obtain the search query, you can pass it to the
ViewModel, where you can use it in other layers of your
architecture to retrieve the search results to display.