To flip through content in a left and right or up and down manner, you can use
the
HorizontalPager
and
VerticalPager
composables, respectively. These composables have similar functions to
ViewPager in the view
system. By default, the HorizontalPager takes up the full width of the screen,
VerticalPager takes up the full height, and the pagers only fling one page at a
time. These defaults are all configurable.
HorizontalPager
To create a pager that scrolls horizontally left and right, use
HorizontalPager:
HorizontalPager
// Display 10 items val pagerState = rememberPagerState(pageCount = { 10 }) HorizontalPager(state = pagerState) { page -> // Our page content Text( text = "Page: $page", modifier = Modifier.fillMaxWidth() ) }
VerticalPager
To create a pager that scrolls up and down, use VerticalPager:
VerticalPager
// Display 10 items val pagerState = rememberPagerState(pageCount = { 10 }) VerticalPager(state = pagerState) { page -> // Our page content Text( text = "Page: $page", modifier = Modifier.fillMaxWidth() ) }
Lazy creation
Pages in both HorizontalPager and VerticalPager are lazily
composed and laid-out when required. As the user
scrolls through pages, the composable removes any pages which are no longer
required.
Load more pages offscreen
By default, the pager only loads the visible pages on-screen. To load more pages
offscreen, set beyondBoundsPageCount to a value higher than zero.
Scroll to an item in the pager
To scroll to a certain page in the pager, create a
PagerState
object using
rememberPagerState()
and pass it as the state parameter to the pager. You can call
PagerState#scrollToPage()
on this state, inside a CoroutineScope:
val pagerState = rememberPagerState(pageCount = { 10 }) HorizontalPager(state = pagerState) { page -> // Our page content Text( text = "Page: $page", modifier = Modifier .fillMaxWidth() .height(100.dp) ) } // scroll to page val coroutineScope = rememberCoroutineScope() Button(onClick = { coroutineScope.launch { // Call scroll to on pagerState pagerState.scrollToPage(5) } }, modifier = Modifier.align(Alignment.BottomCenter)) { Text("Jump to Page 5") }
If you want to animate to the page, use the
PagerState#animateScrollToPage()
function:
val pagerState = rememberPagerState(pageCount = { 10 }) HorizontalPager(state = pagerState) { page -> // Our page content Text( text = "Page: $page", modifier = Modifier .fillMaxWidth() .height(100.dp) ) } // scroll to page val coroutineScope = rememberCoroutineScope() Button(onClick = { coroutineScope.launch { // Call scroll to on pagerState pagerState.animateScrollToPage(5) } }, modifier = Modifier.align(Alignment.BottomCenter)) { Text("Jump to Page 5") }
Get notified about page state changes
PagerState
has three properties with information about pages:
currentPage,
settledPage,
and
targetPage.
currentPage: The closest page to the snap position. By default, the snap position is at the start of the layout.settledPage: The page number when no animation or scrolling is running. This is different from thecurrentPageproperty in that thecurrentPageimmediately updates if the page is close enough to the snap position, butsettledPageremains the same until all the animations are finished running.targetPage: The proposed stop position for a scrolling movement.
You can use the snapshotFlow function to observe changes to these variables
and react to them. For example, to send an analytics event on each page change,
you can do the following:
val pagerState = rememberPagerState(pageCount = { 10 }) LaunchedEffect(pagerState) { // Collect from the a snapshotFlow reading the currentPage snapshotFlow { pagerState.currentPage }.collect { page -> // Do something with each page change, for example: // viewModel.sendPageSelectedEvent(page) Log.d("Page change", "Page changed to $page") } } VerticalPager( state = pagerState, ) { page -> Text(text = "Page: $page") }
Add a page indicator
To add an indicator to a page, use the PagerState object to get information
about which page is selected out of the number of pages, and draw your custom
indicator.
For example, if you want a simple circle indicator, you can repeat the number of
circles and change the circle color based on if the page is selected, using
pagerState.currentPage:
val pagerState = rememberPagerState(pageCount = { 4 }) HorizontalPager( state = pagerState, modifier = Modifier.fillMaxSize() ) { page -> // Our page content Text( text = "Page: $page", ) } Row( Modifier .wrapContentHeight() .fillMaxWidth() .align(Alignment.BottomCenter) .padding(bottom = 8.dp), horizontalArrangement = Arrangement.Center ) { repeat(pagerState.pageCount) { iteration -> val color = if (pagerState.currentPage == iteration) Color.DarkGray else Color.LightGray Box( modifier = Modifier .padding(2.dp) .clip(CircleShape) .background(color) .size(16.dp) ) } }

Apply item scroll effects to content
A common use case is to use the scroll position to apply effects to your pager
items. To find out how far a page is from the currently selected page, you can
use
PagerState.currentPageOffsetFraction.
You can then apply transformation effects to your content based on the distance
from the selected page.
For example, to adjust the opacity of items based on how far they are from the
center, change the alpha using
Modifier.graphicsLayer
on an item inside the pager:
val pagerState = rememberPagerState(pageCount = { 4 }) HorizontalPager(state = pagerState) { page -> Card( Modifier .size(200.dp) .graphicsLayer { // Calculate the absolute offset for the current page from the // scroll position. We use the absolute value which allows us to mirror // any effects for both directions val pageOffset = ( (pagerState.currentPage - page) + pagerState .currentPageOffsetFraction ).absoluteValue // We animate the alpha, between 50% and 100% alpha = lerp( start = 0.5f, stop = 1f, fraction = 1f - pageOffset.coerceIn(0f, 1f) ) } ) { // Card content } }
Custom page sizes
By default, HorizontalPager and VerticalPager takes up the full width or
full height, respectively. You can set the pageSize variable to either have a
Fixed,
Fill
(default), or a custom size calculation.
For example, to set a fixed width page of 100.dp:
val pagerState = rememberPagerState(pageCount = { 4 }) HorizontalPager( state = pagerState, pageSize = PageSize.Fixed(100.dp) ) { page -> // page content }
To size the pages based on the viewport size, use a custom page size
calculation. Create a custom
PageSize
object and divide the availableSpace by three, taking into account the spacing
between the items:
private val threePagesPerViewport = object : PageSize { override fun Density.calculateMainAxisPageSize( availableSpace: Int, pageSpacing: Int ): Int { return (availableSpace - 2 * pageSpacing) / 3 } }
Content padding
HorizontalPager and VerticalPager both support changing the content padding,
which lets you influence the maximum size and alignment of pages.
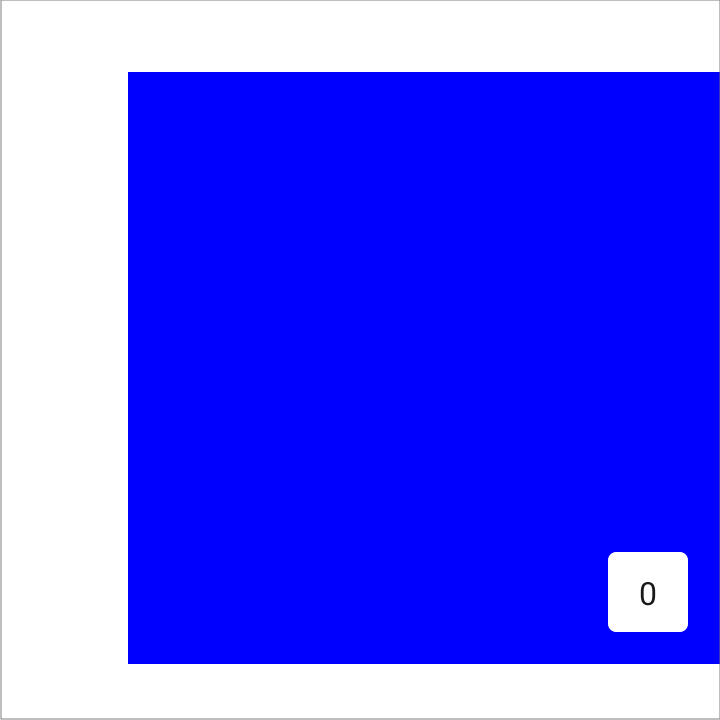
For example, setting the start padding aligns the pages towards the end:

val pagerState = rememberPagerState(pageCount = { 4 }) HorizontalPager( state = pagerState, contentPadding = PaddingValues(start = 64.dp), ) { page -> // page content }
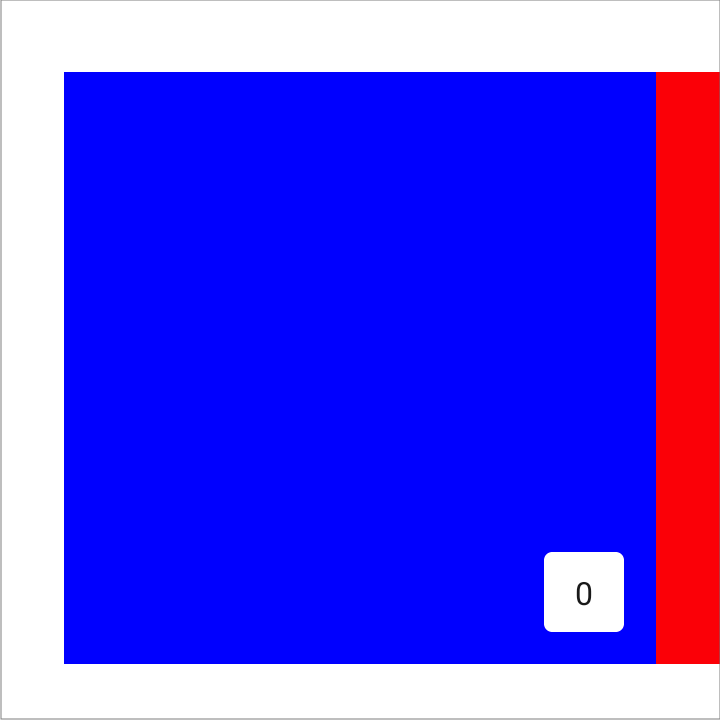
Setting both the start and end padding to the same value centers the item
horizontally:

val pagerState = rememberPagerState(pageCount = { 4 }) HorizontalPager( state = pagerState, contentPadding = PaddingValues(horizontal = 32.dp), ) { page -> // page content }
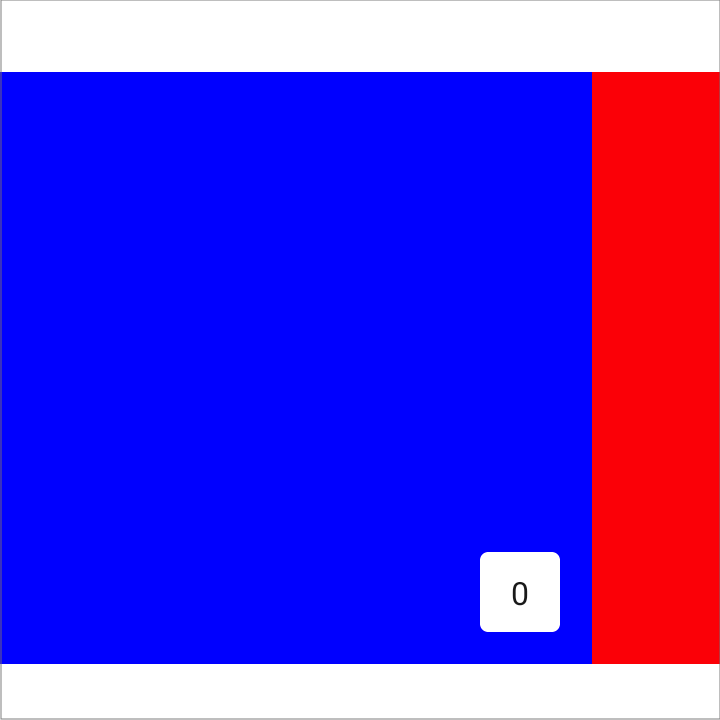
Setting the end padding aligns the pages towards the start:

val pagerState = rememberPagerState(pageCount = { 4 }) HorizontalPager( state = pagerState, contentPadding = PaddingValues(end = 64.dp), ) { page -> // page content }
You can set the top and bottom values to achieve similar effects for
VerticalPager. The value 32.dp is only used here as an example; you can set
each of the padding dimensions to any value.
Customize scroll behavior
The default HorizontalPager and VerticalPager composables specify how
scrolling gestures work with the pager. However, you can customize and change
the defaults such as the pagerSnapDistance or the flingBehavior.
Snap distance
By default, HorizontalPager and VerticalPager set the maximum number of
pages that a fling gesture can scroll past to one page at a time. To change
this, set
pagerSnapDistance
on the flingBehavior:
val pagerState = rememberPagerState(pageCount = { 10 }) val fling = PagerDefaults.flingBehavior( state = pagerState, pagerSnapDistance = PagerSnapDistance.atMost(10) ) Column(modifier = Modifier.fillMaxSize()) { HorizontalPager( state = pagerState, pageSize = PageSize.Fixed(200.dp), beyondViewportPageCount = 10, flingBehavior = fling ) { PagerSampleItem(page = it) } }
Recommended for you
- Note: link text is displayed when JavaScript is off
- ConstraintLayout in Compose
- Graphics Modifiers
- Migrate
CoordinatorLayoutto Compose
