
Android के अलग-अलग वर्शन पर अपने नोटिफ़िकेशन को सबसे अच्छा दिखाने के लिए, मानक सूचना का इस्तेमाल करें टेंप्लेट का इस्तेमाल करें. नोटिफ़िकेशन. अगर आपको सूचना में ज़्यादा कॉन्टेंट देना है, तो बड़े किए जा सकने वाली सूचना में से किसी एक का इस्तेमाल करें टेंप्लेट में बदल सकते हैं.
हालांकि, अगर सिस्टम टेंप्लेट आपकी ज़रूरतों के हिसाब से नहीं हैं, तो अपने टेंप्लेट का इस्तेमाल किया जा सकता है सूचना के लिए लेआउट.
कॉन्टेंट एरिया के लिए अपनी पसंद का लेआउट बनाना
अगर आपको पसंद के मुताबिक लेआउट चाहिए, तो
NotificationCompat.DecoratedCustomViewStyle
उस पर क्लिक करें. यह एपीआई आपको कॉन्टेंट के लिए पसंद के मुताबिक लेआउट देने की सुविधा देता है
वह इलाका जिसमें आम तौर पर टाइटल और टेक्स्ट कॉन्टेंट शामिल होता है. हालांकि, इसमें सिस्टम का इस्तेमाल होता है
सूचना आइकॉन, टाइमस्टैंप, सब-टेक्स्ट, और ऐक्शन बटन में बदलाव करने का विकल्प.
यह एपीआई, बुनियादी सूचना पर काम करके, बड़े किए जा सकने वाले सूचना टेंप्लेट की तरह ही काम करता है लेआउट इस प्रकार है:
- बुनियादी सूचना बनाएं
के साथ
NotificationCompat.Builder. - कॉल करें
setStyle()उसेNotificationCompat.DecoratedCustomViewStyle. - अपने कस्टम लेआउट को इनफ़्लेट करें
RemoteViews. - कॉल करें
setCustomContentView()छोटा किया गया नोटिफ़िकेशन का लेआउट सेट करने के लिए. - वैकल्पिक रूप से, कॉल भी करें
setCustomBigContentView()का इस्तेमाल करके, सूचना को बड़ा करने के लिए कोई दूसरा लेआउट सेट करें.
लेआउट तैयार करना
आपको small और large का लेआउट चाहिए. उदाहरण के लिए, small लेआउट
ऐसा दिख सकता है:
<?xml version="1.0" encoding="utf-8"?>
<LinearLayout xmlns:android="http://schemas.android.com/apk/res/android"
    android:layout_width="match_parent"
    android:layout_height="wrap_content"
    android:orientation="vertical">

    <TextView
        android:id="@+id/notification_title"
        style="@style/TextAppearance.Compat.Notification.Title"
        android:layout_width="wrap_content"
        android:layout_height="0dp"
        android:layout_weight="1"
        android:text="Small notification, showing only a title" />
</LinearLayout>
और large का लेआउट ऐसा दिख सकता है:
<?xml version="1.0" encoding="utf-8"?>
<LinearLayout xmlns:android="http://schemas.android.com/apk/res/android"
    android:layout_width="match_parent"
    android:layout_height="300dp"
    android:orientation="vertical">

    <TextView
        android:id="@+id/notification_title"
        style="@style/TextAppearance.Compat.Notification.Title"
        android:layout_width="wrap_content"
        android:layout_height="wrap_content"
        android:layout_weight="1"
        android:text="Large notification, showing a title and a body." />

    <TextView
        android:id="@+id/notification_body"
        style="@style/TextAppearance.Compat.Notification.Line2"
        android:layout_width="wrap_content"
        android:layout_height="wrap_content"
        android:layout_weight="1"
        android:text="This is the body. The height is manually forced to 300dp." />
</LinearLayout>
सूचना बनाएं और दिखाएं
लेआउट तैयार होने के बाद, उनका इस्तेमाल इस उदाहरण में दिखाए गए तरीके से किया जा सकता है:
Kotlin
val notificationManager = getSystemService(Context.NOTIFICATION_SERVICE) as NotificationManager

// Get the layouts to use in the custom notification.
val notificationLayout = RemoteViews(packageName, R.layout.notification_small)
val notificationLayoutExpanded = RemoteViews(packageName, R.layout.notification_large)

// Apply the layouts to the notification.
val customNotification = NotificationCompat.Builder(context, CHANNEL_ID)
        .setSmallIcon(R.drawable.notification_icon)
        .setStyle(NotificationCompat.DecoratedCustomViewStyle())
        .setCustomContentView(notificationLayout)
        .setCustomBigContentView(notificationLayoutExpanded)
        .build()

notificationManager.notify(666, customNotification)
Java
NotificationManager notificationManager = (NotificationManager) getSystemService(Context.NOTIFICATION_SERVICE);

// Get the layouts to use in the custom notification
RemoteViews notificationLayout = new RemoteViews(getPackageName(), R.layout.notification_small);
RemoteViews notificationLayoutExpanded = new RemoteViews(getPackageName(), R.layout.notification_large);

// Apply the layouts to the notification.
Notification customNotification = new NotificationCompat.Builder(context, CHANNEL_ID)
        .setSmallIcon(R.drawable.notification_icon)
        .setStyle(new NotificationCompat.DecoratedCustomViewStyle())
        .setCustomContentView(notificationLayout)
        .setCustomBigContentView(notificationLayoutExpanded)
        .build();

notificationManager.notify(666, customNotification);
ध्यान रखें कि नोटिफ़िकेशन के लिए बैकग्राउंड का रंग अलग-अलग डिवाइस में अलग-अलग हो सकता है
और वर्शन पर टैप करें. सपोर्ट लाइब्रेरी स्टाइल लागू करें, जैसे कि
टेक्स्ट के लिए TextAppearance_Compat_Notification और
अपने कस्टम लेआउट में शीर्षक के लिए TextAppearance_Compat_Notification_Title,
जैसा कि नीचे दिए गए उदाहरण में दिखाया गया है. ये शैलियां, रंगों के अलग-अलग वर्शन के हिसाब से ढल जाती हैं, इसलिए
काला या सफ़ेद रंग का टेक्स्ट नहीं दिखेगा.
<TextView
    android:layout_width="wrap_content"
    android:layout_height="match_parent"
    android:layout_weight="1"
    android:text="@string/notification_title"
    android:id="@+id/notification_title"
    style="@style/TextAppearance.Compat.Notification.Title" />
अपने RemoteViews ऑब्जेक्ट पर बैकग्राउंड इमेज सेट करने से बचें, क्योंकि आपका टेक्स्ट
हो सकता है कि पढ़ा न जा सके.
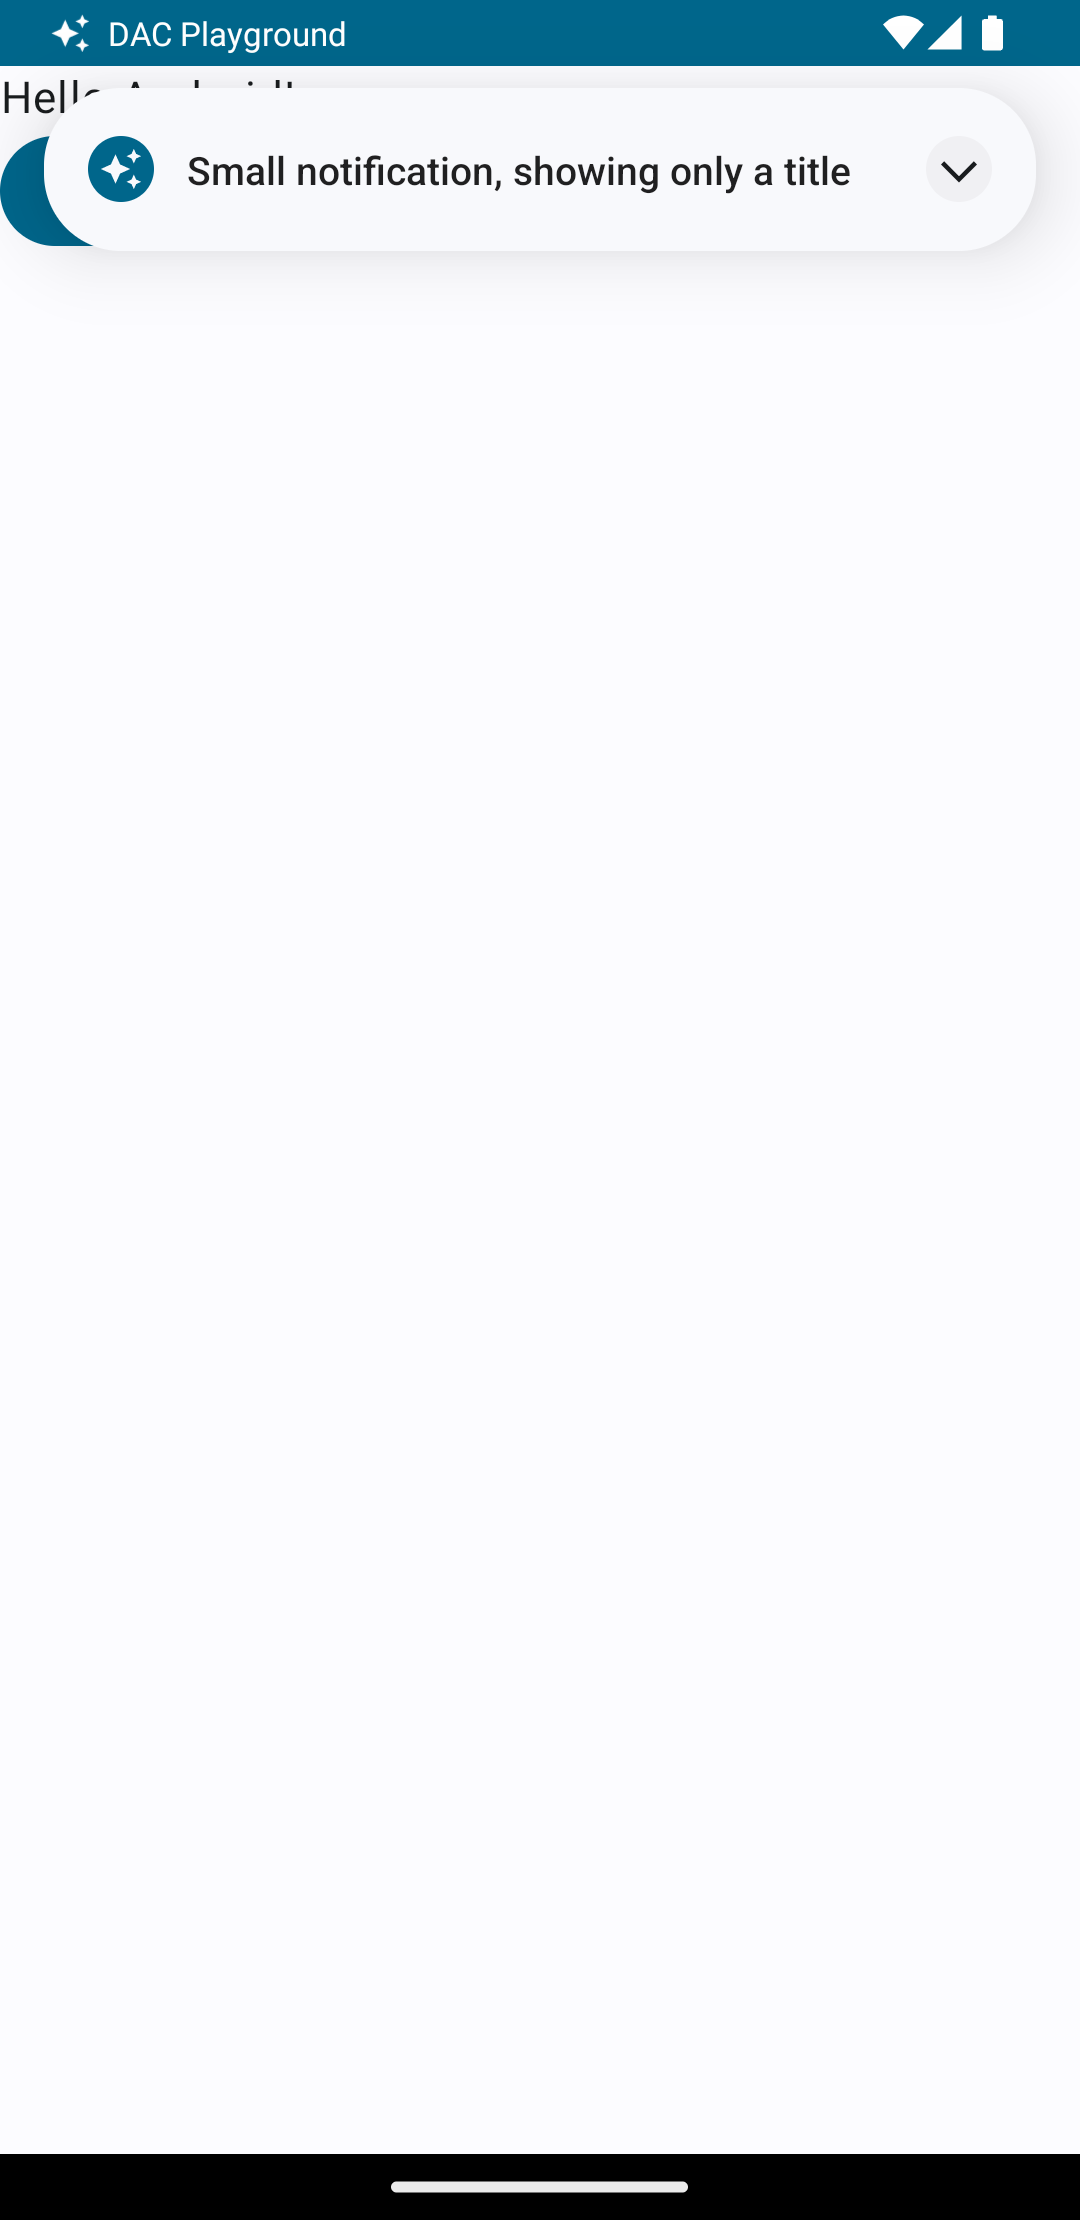
जब उपयोगकर्ता, ऐप्लिकेशन इस्तेमाल करने के दौरान किसी सूचना को ट्रिगर करता है, तो इसका नतीजा यह होता है कि पहले डायग्राम में ये चीज़ें मिलती हैं:
एक्सपैंडर ऐरो पर टैप करने से सूचना बड़ी हो जाती है, जैसा कि दूसरी इमेज में दिखाया गया है:

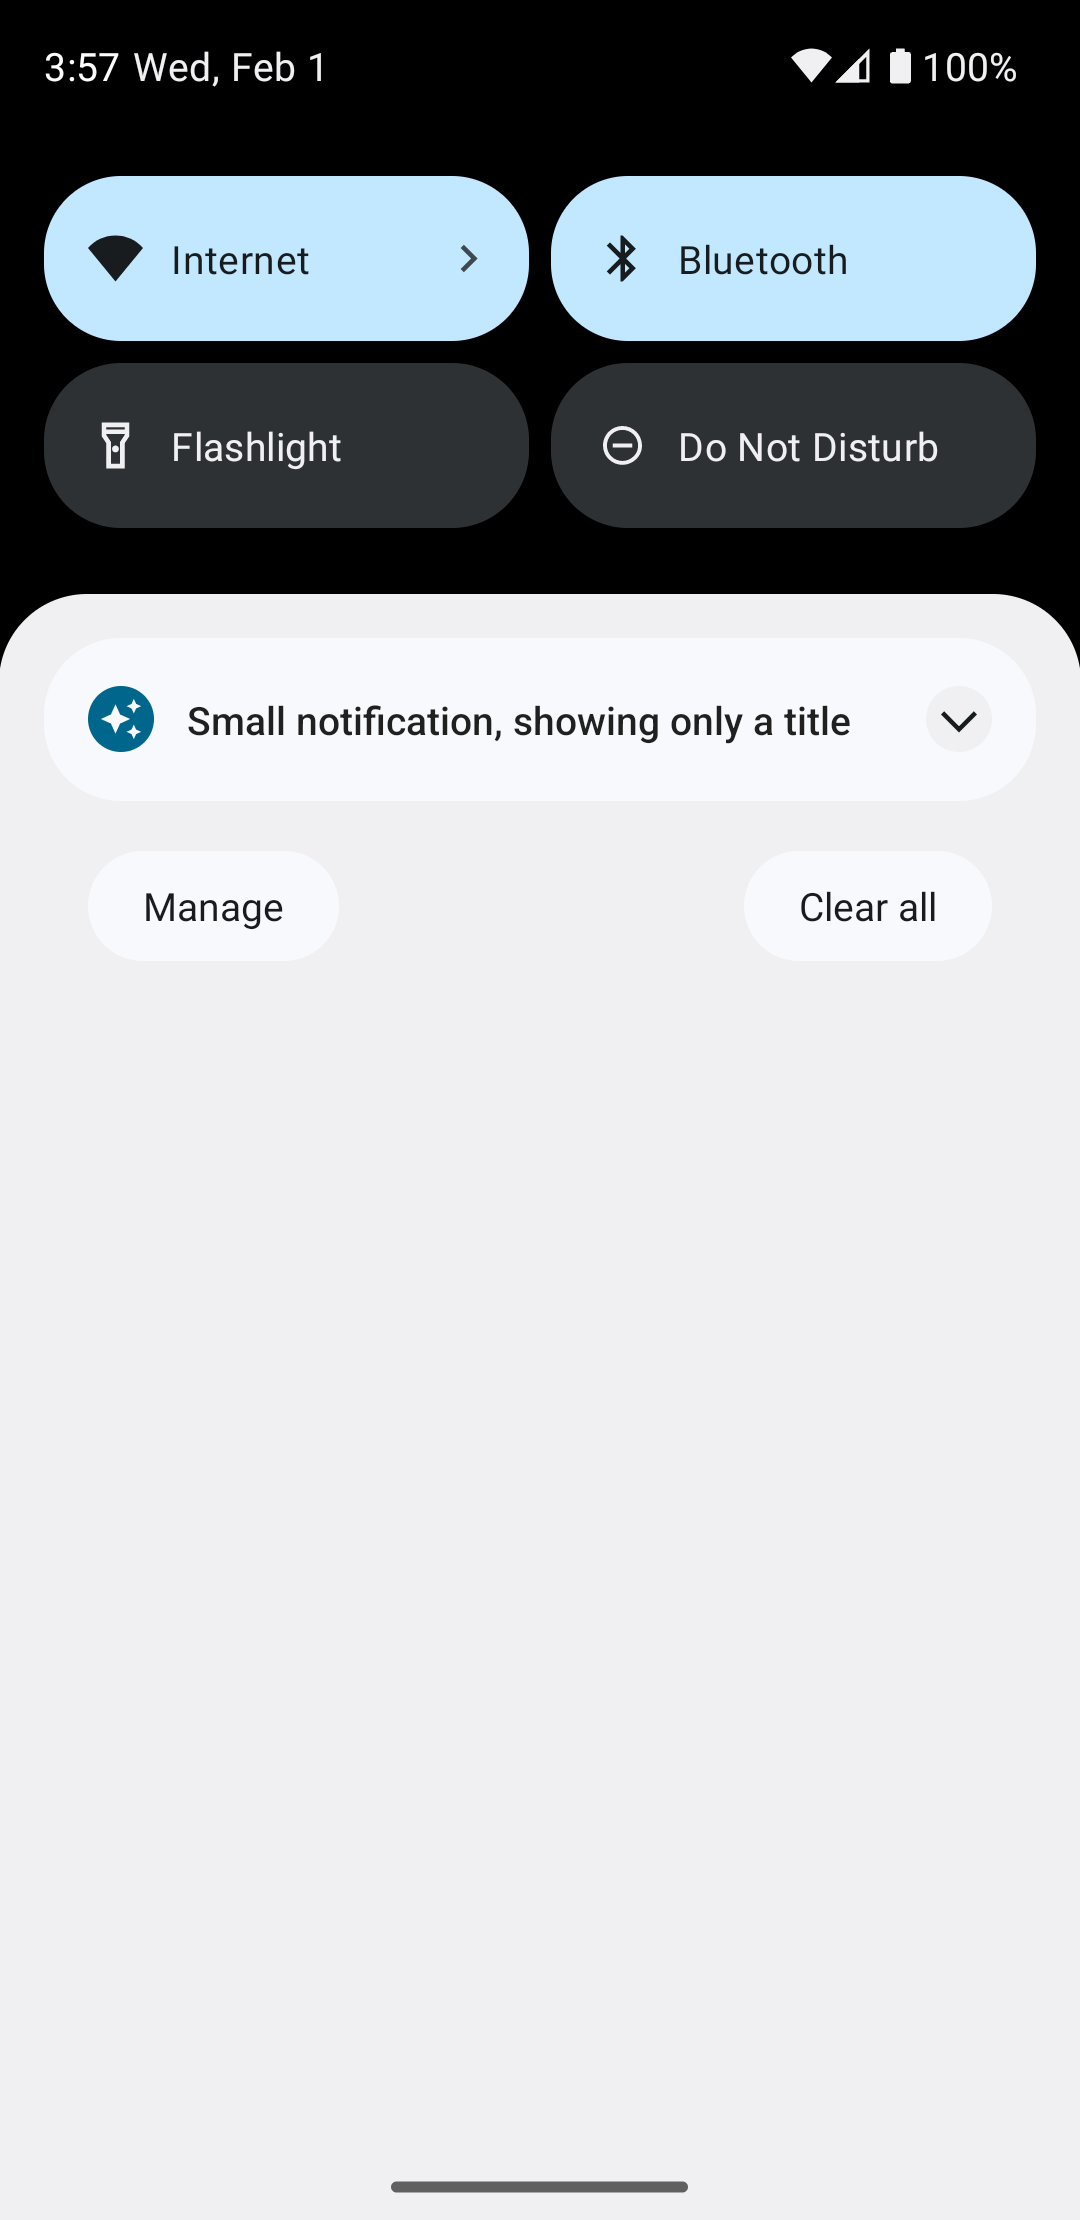
सूचना का समय खत्म हो जाने के बाद, सूचना सिर्फ़ सिस्टम बार पर क्लिक करें, जो तीसरी इमेज की तरह दिखेगा:
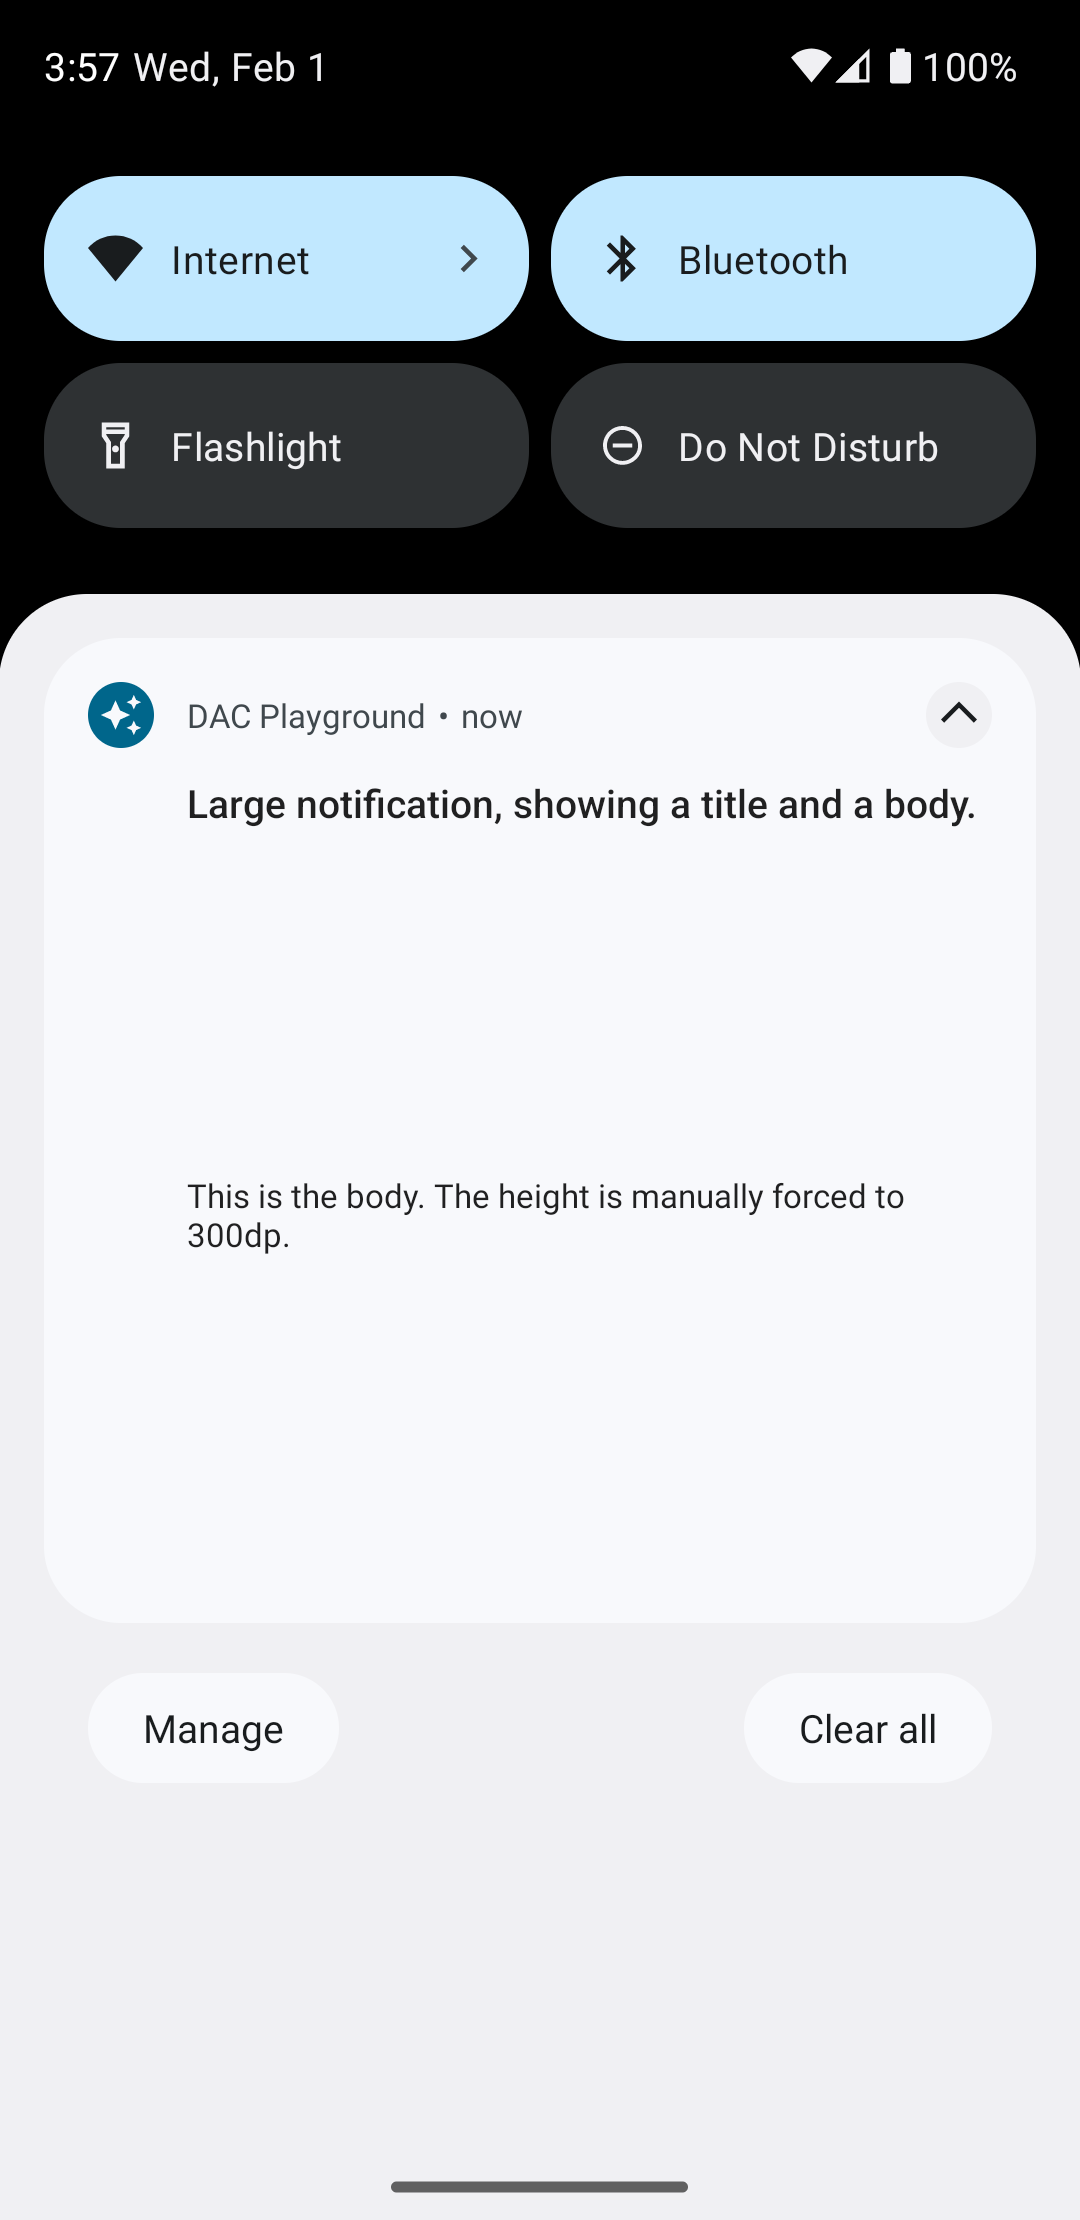
एक्सपैंडर ऐरो पर टैप करने से नोटिफ़िकेशन बड़ा हो जाता है, जैसा कि 4 में दिखाया गया है:
अपनी पसंद के मुताबिक सूचना का लेआउट बनाना
अगर आप अपनी सूचना को मानक सूचना से सजाएं नहीं, तो ऐसा करना ज़रूरी है
आइकन और हेडर का अनुसरण करना है, तो पिछले चरणों का पालन करें, लेकिन setStyle() को कॉल न करें.