
Android 拖曳架構可讓您在應用程式中新增互動式拖曳功能。有了這項功能,使用者就能在應用程式內,或在多視窗模式下,將文字、圖片、物件和任何可由 URI 代表的內容,從一個 View 複製或移動到另一個 View。
|
|
|
|
|
架構包含拖曳事件類別、拖曳事件監聽器及輔助類別和方法。雖然此架構主要是用來資料移轉,但也可以用於其他 UI 動作。舉例來說,您可以建立混色應用程式,使用者直接將某個顏色圖示拖曳到另一個圖示即可混色。不過,本文件的其餘部分將介紹資料移轉的拖曳架構。
總覽
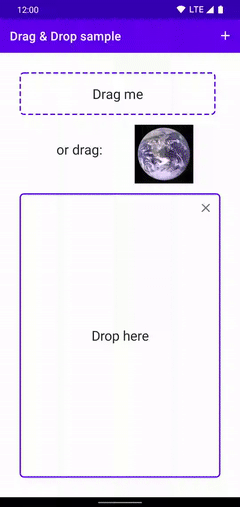
拖曳程序涉及幾個元素。
拖曳來源:拖曳程序的起點檢視區塊。
放置目標:可接受拖曳資料的檢視區塊。
拖曳陰影: 拖曳陰影是所拖曳資料的代表,使用者可看見。
拖曳事件: 當使用者將拖曳陰影移動到應用程式版面配置上時,系統會傳送拖曳事件給拖曳事件監聽器,並傳送與版面配置中
View物件相關的回呼方法。
當使用者做出 UI 手勢讓應用程式辨識到開始拖曳的訊號時,拖曳作業就會開始。應用程式的回應是通知系統拖曳作業開始。系統會回呼應用程式,取得拖曳陰影,並在拖曳過程中向使用者顯示。
當使用者將拖曳陰影移動到應用程式版面配置上時,系統會傳送拖曳事件給拖曳事件監聽器和回呼方法,並傳送與版面配置中 View 物件相關的回呼方法。如果使用者在放置目標上放開拖曳陰影,系統會將資料傳送至該目標。無論拖曳陰影是否在放置目標上,當使用者放開拖曳陰影時,拖曳作業即結束。
主題
- 重要概念
- 瞭解拖曳程序。
- 使用 DropHelper 可簡化拖曳作業
- 瞭解如何使用
DropHelper實作拖曳功能。 - 使用檢視區塊實作拖曳功能
- 或者,您也可以使用 Android 檢視區塊實作拖曳功能,讓開發人員進一步控管詳細資料。
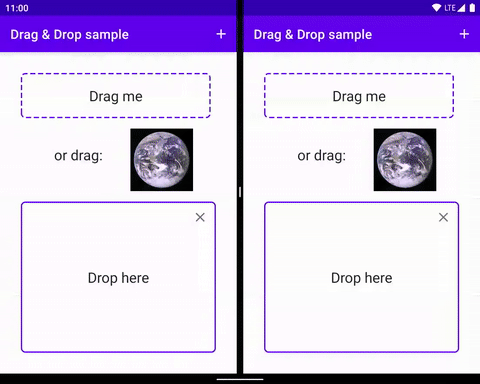
- 在多視窗模式下拖曳
- 支援在多視窗模式下拖曳,允許物件在不同應用程式之間移動。
其他資源
- 拖曳功能程式碼研究室 (使用檢視區塊)
- 拖曳功能,輕鬆執行多項工作影片
- 拖曳範例:包含各種實作拖曳功能的方法,以及接受互動式多媒體內容的方式。