
Dans certaines situations, votre application peut avoir besoin d'attirer l'attention de l'utilisateur de manière urgente, par exemple en cas d'alarme en cours ou d'appel entrant. Dans les applications ciblant les appareils équipés d'Android 9 (niveau d'API 28) ou version antérieure, vous pouvez gérer cela en lançant une activité lorsque l'application est en arrière-plan. Ce document explique comment obtenir ce comportement sur les appareils exécutant Android 10 (niveau d'API 29) à Android 13 (niveau d'API 33).
Ajouter l'autorisation POST_NOTIFICATIONS
À partir d'Android 13, ajoutez la ligne suivante à votre fichier AndroidManifest.xml :
<manifest ...>
    <uses-permission android:name="android.permission.POST_NOTIFICATIONS"/>
    <application ...>
        ...
    </application>
</manifest>
Une fois que vous l'avez, vous pouvez créer un canal de notification.
Créer un canal de notification
Créez un canal de notification pour afficher correctement vos notifications et permettre à l'utilisateur de les gérer dans les paramètres de l'application. Pour en savoir plus sur les canaux de notification, consultez Créer et gérer des canaux de notification.
Créez vos canaux de notification dans la méthode onCreate de la classe Application :
Kotlin
class DACapp : Application() {
    override fun onCreate() {
        super.onCreate()
        val channel = NotificationChannel(
            CHANNEL_ID,
            "High priority notifications",
            NotificationManager.IMPORTANCE_HIGH
        )

        val notificationManager = getSystemService(Context.NOTIFICATION_SERVICE) as NotificationManager
        notificationManager.createNotificationChannel(channel)
    }
}
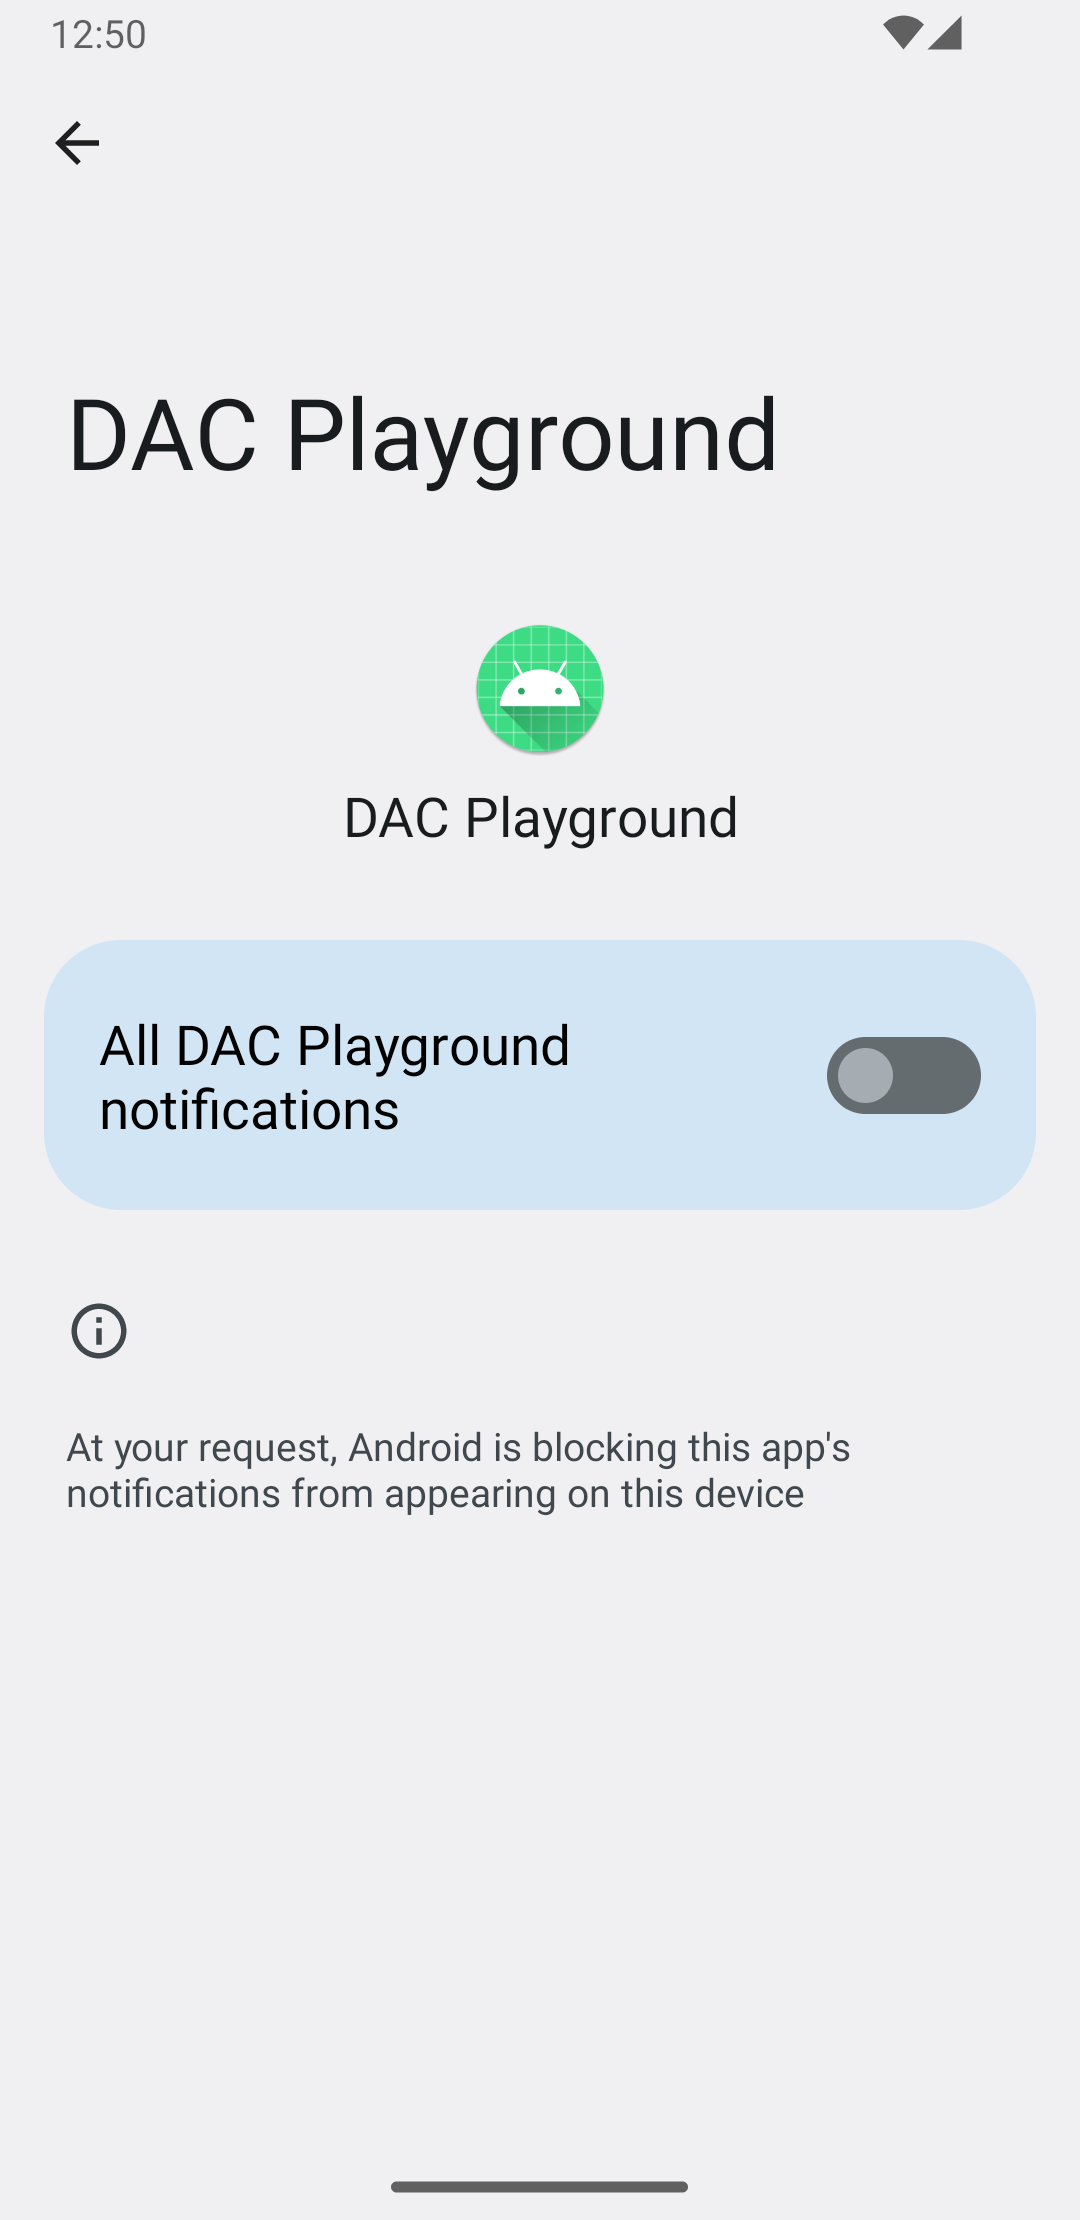
Lorsque l'utilisateur exécute votre application pour la première fois, il voit quelque chose comme la figure 1 sur l'écran système Infos sur l'appli de votre application :
Gérer les autorisations de notifications
À partir d'Android 13, demandez les autorisations de notification avant d'afficher des notifications aux utilisateurs.
Voici à quoi ressemble l'implémentation minimale :
Kotlin
val permissionLauncher = rememberLauncherForActivityResult(
    contract = ActivityResultContracts.RequestPermission(),
    onResult = { hasNotificationPermission = it }
)
...
Button(
    onClick = {
        if (!hasNotificationPermission) {
            if (Build.VERSION.SDK_INT >= Build.VERSION_CODES.TIRAMISU) {
                permissionLauncher.launch(Manifest.permission.POST_NOTIFICATIONS)
            }
        }
    },
) {
    Text(text = "Request permission")
}
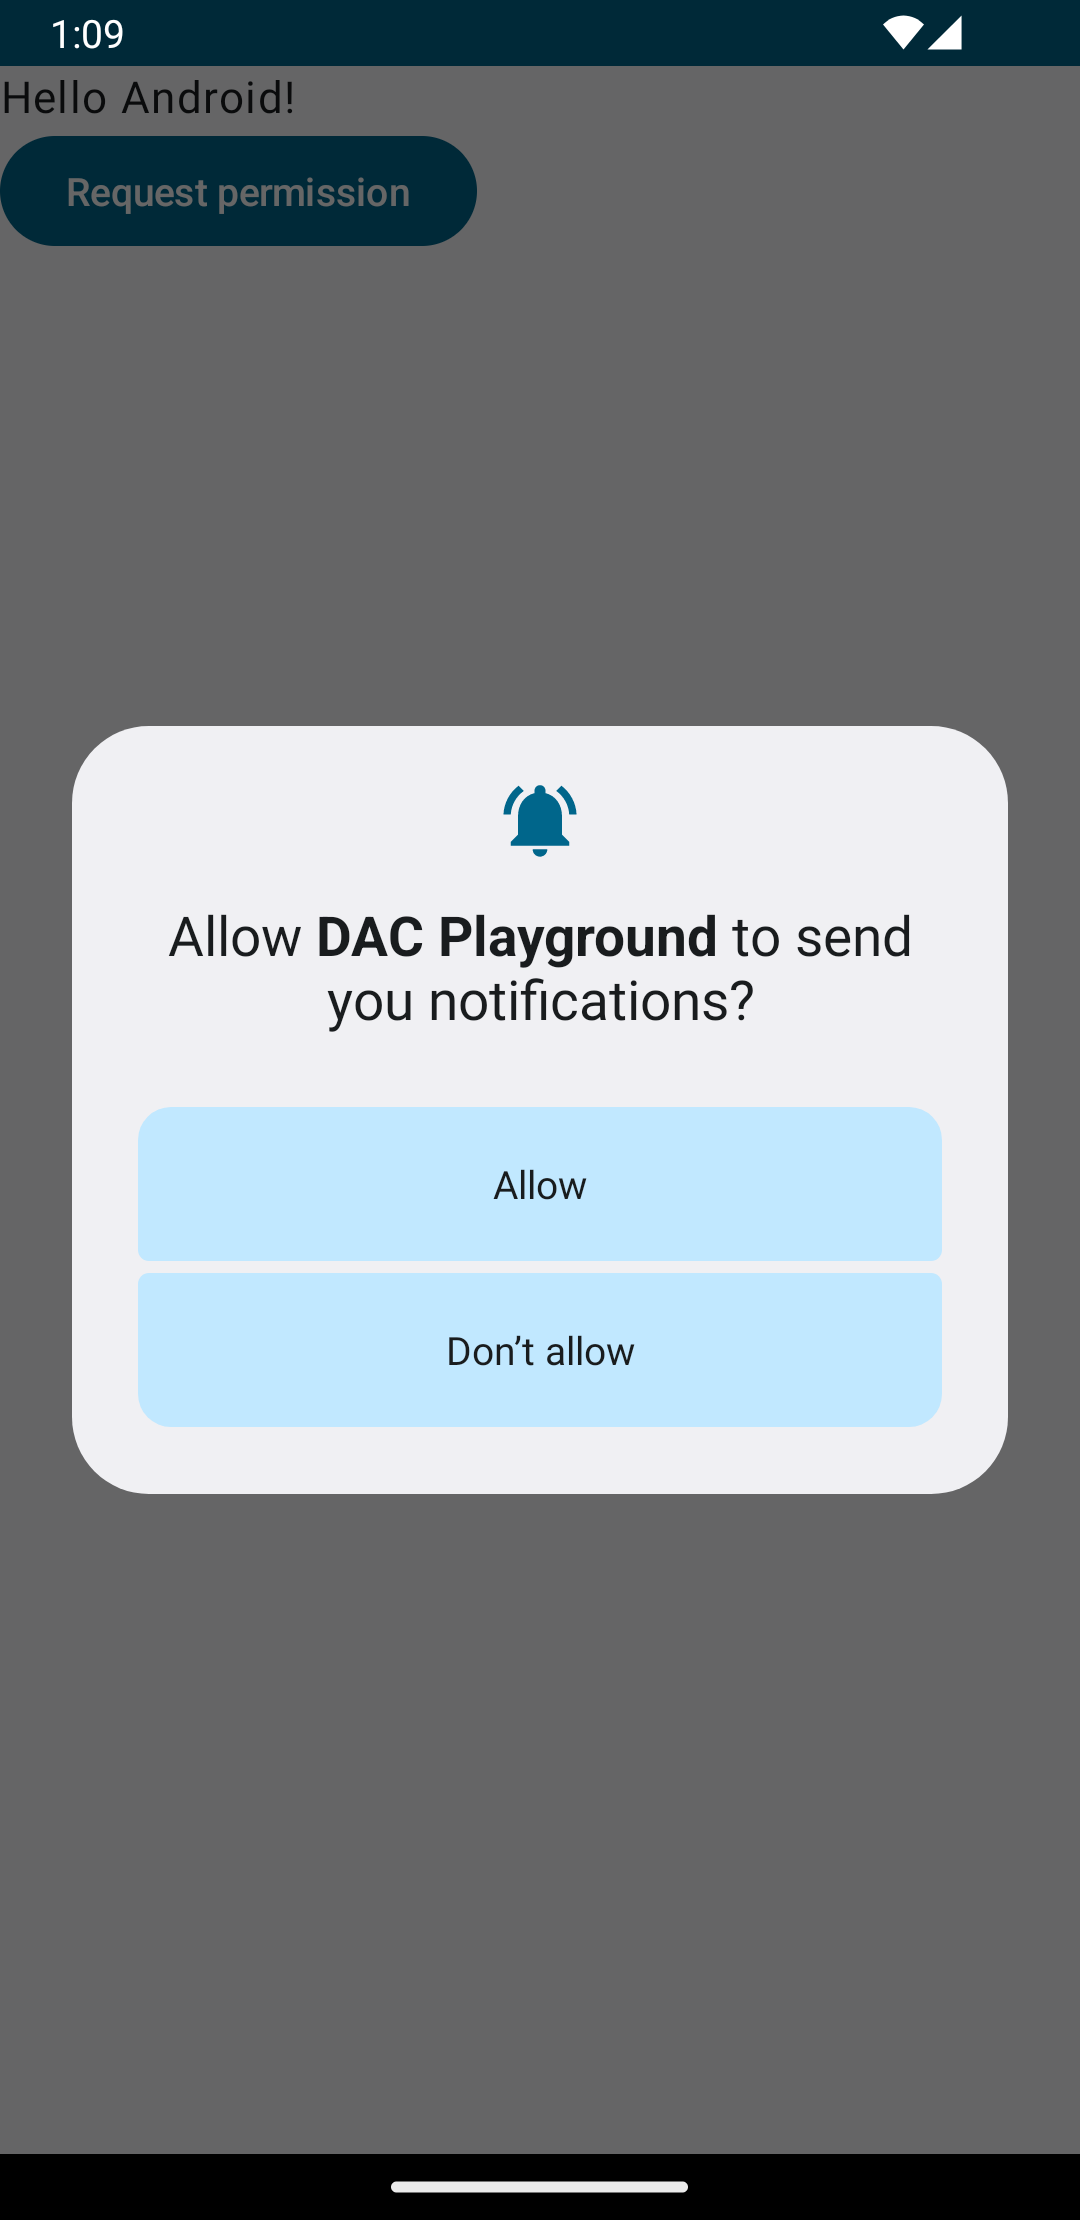
Si votre appareil exécute Android 13, appuyer sur le bouton Request
permission déclenche la boîte de dialogue illustrée à la figure 2 :
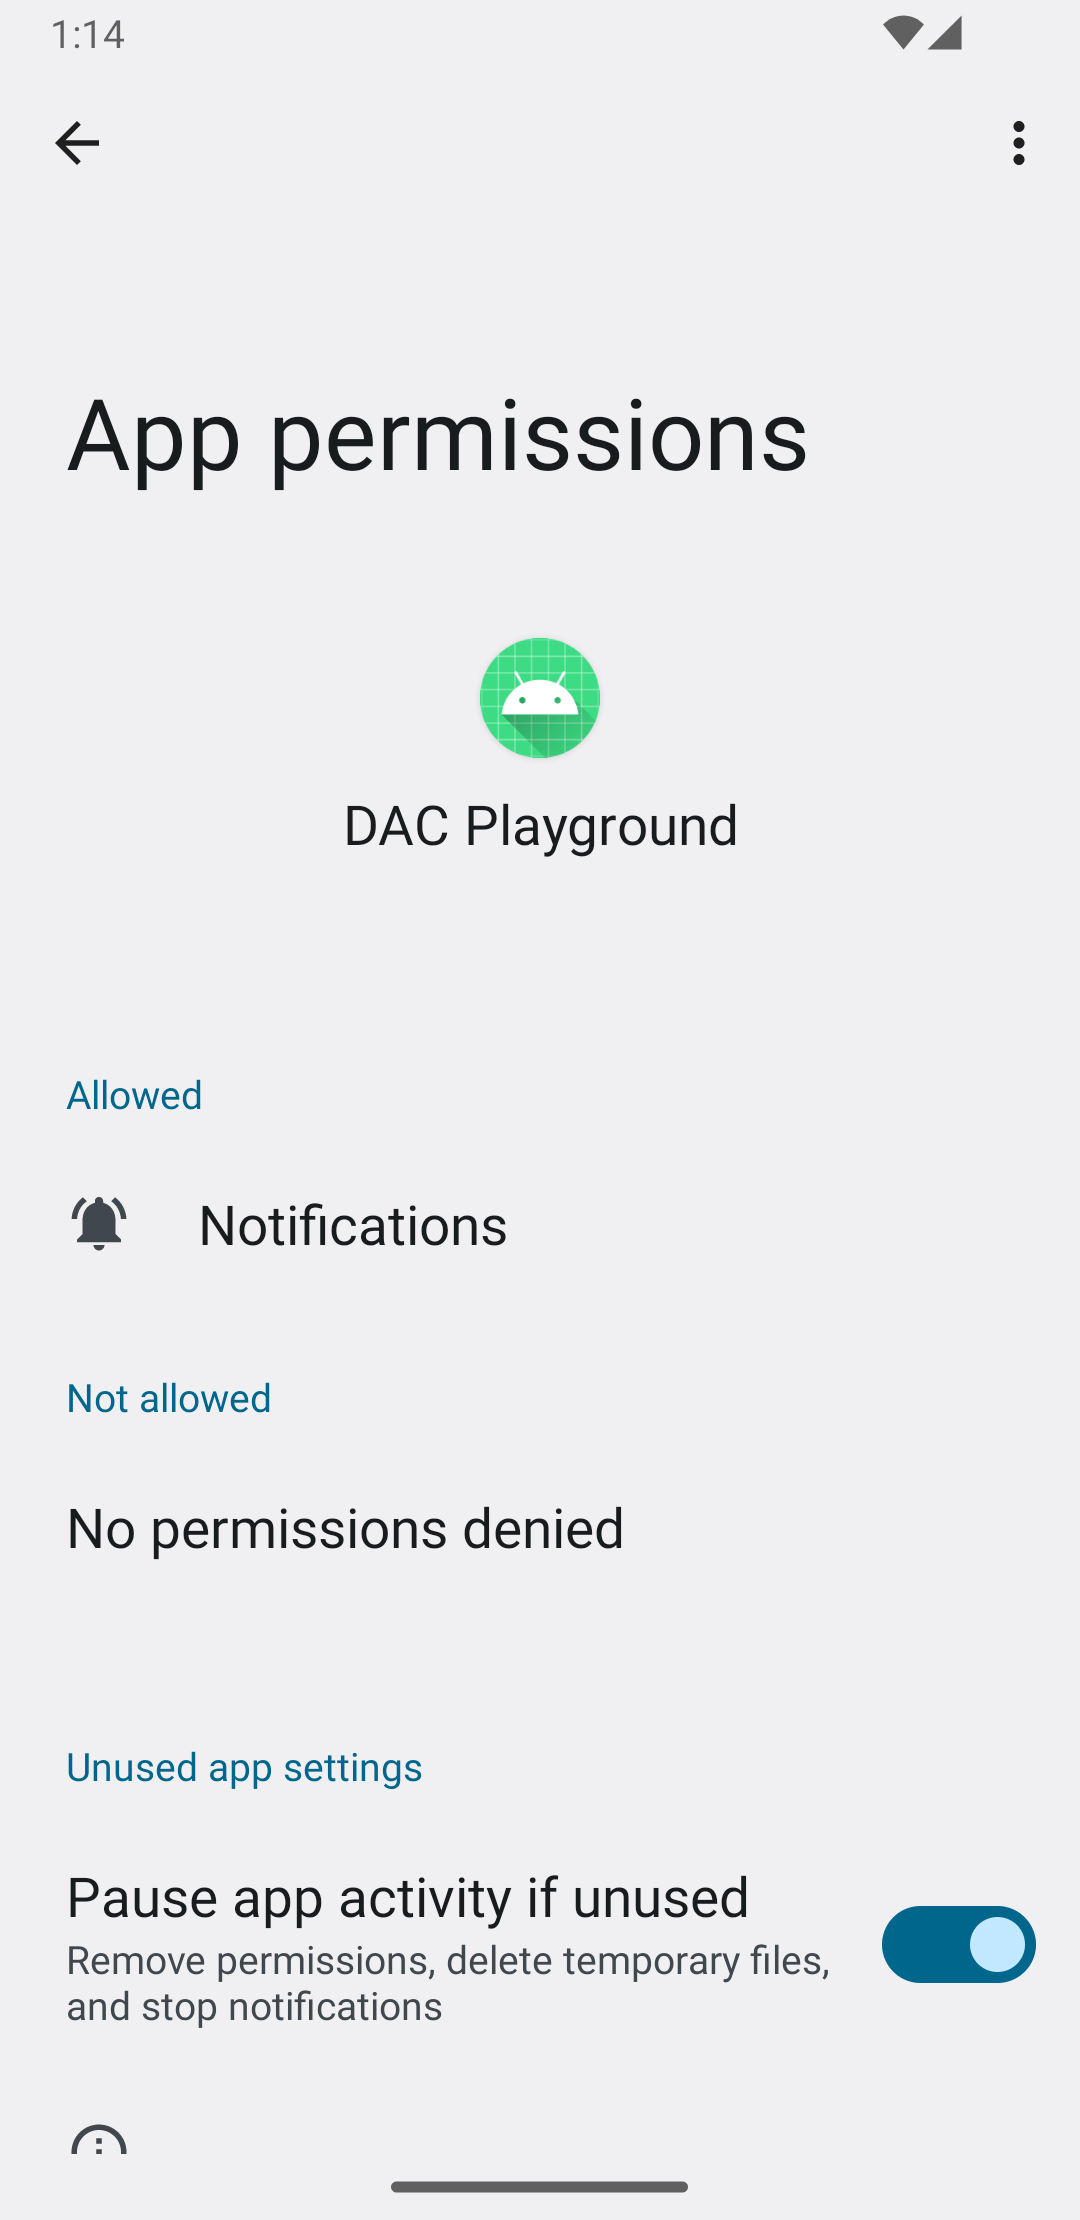
Si l'utilisateur accepte la demande d'autorisation, la section Infos sur l'appli de l'application se présente comme illustré dans la figure 3 :
Créer une notification à priorité élevée
Lorsque vous créez la notification, incluez un titre et un message descriptifs.
L'exemple suivant contient une notification :
Kotlin
private fun showNotification() {
    val notificationManager = getSystemService(Context.NOTIFICATION_SERVICE) as NotificationManager

    val notificationBuilder =
        NotificationCompat.Builder(this, CHANNEL_ID)
            .setSmallIcon(R.drawable.baseline_auto_awesome_24)
            .setContentTitle("HIGH PRIORITY")
            .setContentText("Check this dog puppy video NOW!")
            .setPriority(NotificationCompat.PRIORITY_HIGH)
            .setCategory(NotificationCompat.CATEGORY_RECOMMENDATION)

    notificationManager.notify(0, notificationBuilder.build())
}
Afficher la notification à l'utilisateur
L'appel de la fonction showNotification() déclenche la notification comme suit :
Kotlin
Button(onClick = { showNotification() }) {
    Text(text = "Show notification")
}
Dans cet exemple, la notification ressemble à la figure 4 :

Notification en cours
Lorsque vous affichez votre notification à l'utilisateur, il peut accuser réception de l'alerte ou du rappel de votre application, ou les ignorer. Par exemple, l'utilisateur peut accepter ou refuser un appel téléphonique entrant.
Si votre notification est continue, comme un appel téléphonique entrant, associez-la à un service de premier plan. L'extrait de code suivant montre comment afficher une notification associée à un service de premier plan :
Kotlin
// Provide a unique integer for the "notificationId" of each notification.
startForeground(notificationId, notification)
Java
// Provide a unique integer for the "notificationId" of each notification.
startForeground(notificationId, notification);
Envisagez d'utiliser les Infos en direct
Les notifications continues urgentes peuvent bénéficier d'une visibilité accrue. Envisagez de promouvoir les notifications en cours urgentes en tant que Informations en direct pour les afficher sur différentes surfaces de l'UI système.