액션 바의 가장 기본적인 형식은 한쪽에는 활동 제목을 표시하고 다른 쪽에는 더보기 메뉴를 표시하는 것입니다. 앱 바는 이 기본 형식만으로도 유용한 정보를 사용자에게 제공하고 일관된 디자인과 분위기를 Android 앱에 제공합니다.
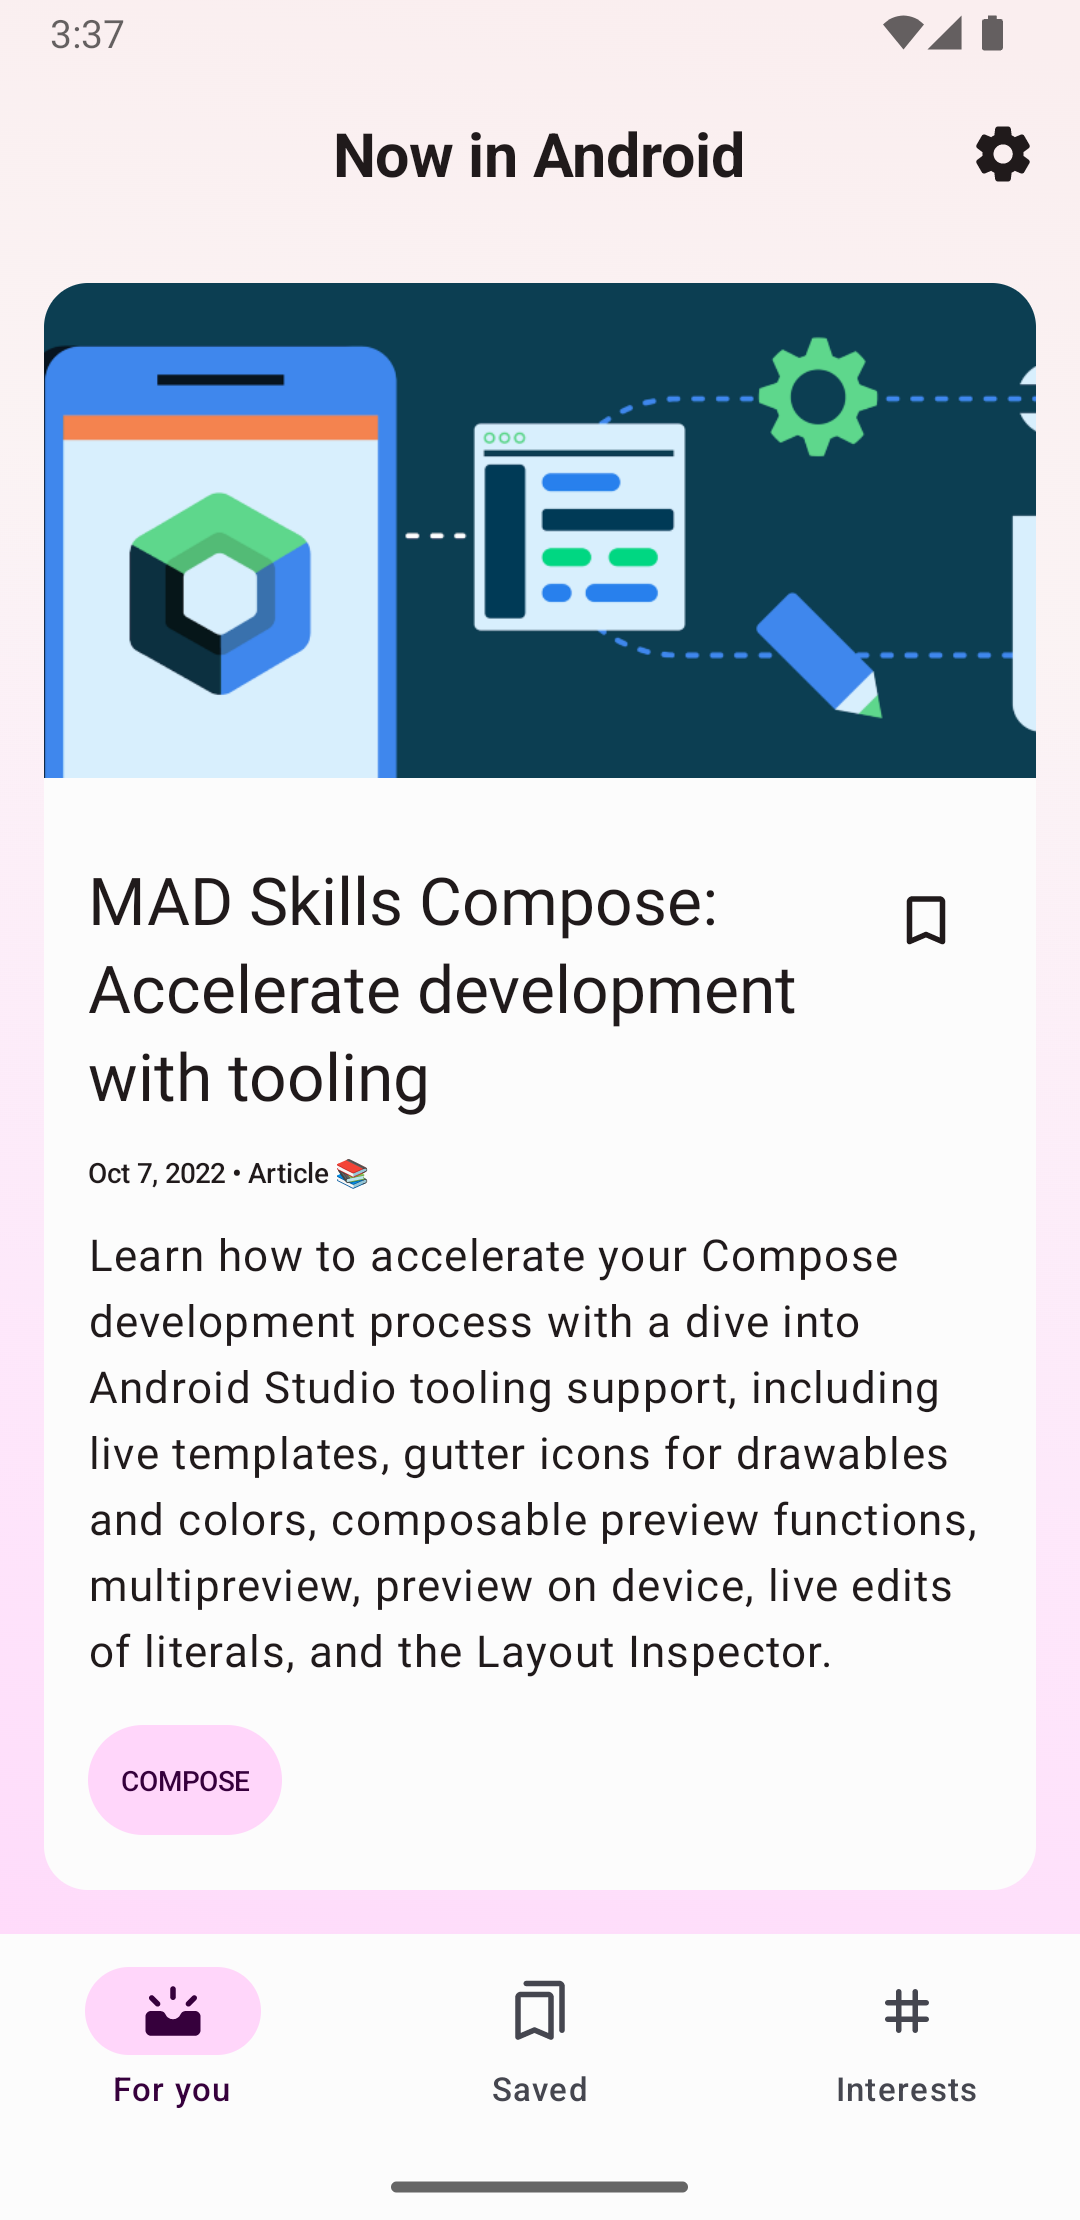
그림 1. 'Android의 새로운 기능' 앱에 작업 아이콘이 있는 앱 바입니다.
기본 테마를 사용하는 모든 활동에는 ActionBar가 앱 바로 있습니다. 앱 바 기능은 다양한 Android 출시를 통해 네이티브 ActionBar에 추가됩니다. 따라서 기기가 어떤 버전의 Android를 사용하는지에 따라 네이티브 ActionBar가 다르게 동작합니다.
반면 기능은 AndroidX AppCompat 라이브러리의 Toolbar 버전에 추가되므로 AndroidX 라이브러리를 사용하는 기기에서 이러한 기능을 사용할 수 있습니다.
이러한 이유로 AndroidX 라이브러리의 Toolbar 클래스를 사용하여 활동의 앱 바를 구현하세요. AndroidX 라이브러리의 툴바를 사용하면 다양한 기기에서 앱 동작이 일관됩니다.
overridefunonCreate(savedInstanceState:Bundle?){super.onCreate(savedInstanceState)setContentView(R.layout.activity_my)// The Toolbar defined in the layout has the id "my_toolbar".setSupportActionBar(findViewById(R.id.my_toolbar))}
이제 앱에 기본 작업 모음이 있습니다. 기본적으로 작업 표시줄에는 앱의 이름과 더보기 메뉴가 포함되며 처음에는 설정 항목이 포함됩니다.
작업 추가 및 처리에 설명된 것처럼 작업 표시줄과 더보기 메뉴에 더 많은 작업을 추가할 수 있습니다.
앱 바 유틸리티 메서드 사용
툴바를 활동의 앱 바로 설정하면 AndroidX 라이브러리의 ActionBar 클래스에서 제공하는 유틸리티 메서드에 액세스할 수 있습니다. 이 접근 방식을 사용하면 앱 바 숨기기 및 표시와 같은 유용한 작업을 할 수 있습니다.
ActionBar 유틸리티 메서드를 사용하려면 활동의 getSupportActionBar() 메서드를 호출합니다. 이 메서드는 AppCompat ActionBar 객체 참조를 반환합니다.
이러한 참조가 있으면 어떤 ActionBar 메서드라도 호출하여 앱 바를 조정할 수 있습니다. 예를 들어 앱 바를 숨기려면 ActionBar.hide()를 호출합니다.
이 페이지에 나와 있는 콘텐츠와 코드 샘플에는 콘텐츠 라이선스에서 설명하는 라이선스가 적용됩니다. 자바 및 OpenJDK는 Oracle 및 Oracle 계열사의 상표 또는 등록 상표입니다.
최종 업데이트: 2025-07-27(UTC)
[[["이해하기 쉬움","easyToUnderstand","thumb-up"],["문제가 해결됨","solvedMyProblem","thumb-up"],["기타","otherUp","thumb-up"]],[["필요한 정보가 없음","missingTheInformationINeed","thumb-down"],["너무 복잡함/단계 수가 너무 많음","tooComplicatedTooManySteps","thumb-down"],["오래됨","outOfDate","thumb-down"],["번역 문제","translationIssue","thumb-down"],["샘플/코드 문제","samplesCodeIssue","thumb-down"],["기타","otherDown","thumb-down"]],["최종 업데이트: 2025-07-27(UTC)"],[],[],null,["# Set up the app bar\n\nTry the Compose way \nJetpack Compose is the recommended UI toolkit for Android. Learn how to add components in Compose. \n[App Bar →](/develop/ui/compose/components/app-bars) \n\nIn its most basic form, the action bar displays the title for the activity on one\nside and an overflow menu on the other. Even in this basic form, the app bar provides\nuseful information to users and gives Android apps a consistent look and feel.\n**Figure 1.** An app bar with an action icon in the \"Now in Android\" app.\n\nAll activities that use the default theme have an\n[ActionBar](/reference/android/app/ActionBar) as an app\nbar. App bar features are added to the native `ActionBar` over various\nAndroid releases. As a result, the native `ActionBar` behaves differently\ndepending on what version of Android a device is using.\n\nOn the other hand, features are added to the AndroidX AppCompat library's version of\n[Toolbar](/reference/androidx/appcompat/widget/Toolbar),\nwhich means those features are available on devices that use the AndroidX libraries.\n\nUse the AndroidX library's `Toolbar` class to implement your activities'\napp bars for this reason. Using the AndroidX library's toolbar makes your app's\nbehavior consistent across the widest range of devices.\n\nAdd a Toolbar to an Activity\n----------------------------\n\nThese steps describe how to set up a `Toolbar` as your activity's app bar:\n\n1. Add the AndroidX library to your project, as described in [AndroidX overview](/jetpack/androidx).\n2. Make sure the activity extends [AppCompatActivity](/reference/androidx/appcompat/app/AppCompatActivity): \n\n ### Kotlin\n\n ```kotlin\n class MyActivity : AppCompatActivity() {\n // ...\n }\n ```\n\n ### Java\n\n ```java\n public class MyActivity extends AppCompatActivity {\n // ...\n }\n ```\n | **Note:** Make this change for every activity in your app that uses a `Toolbar` as an app bar.\n3. In the app manifest, set the [`\u003capplication\u003e`](/guide/topics/manifest/application-element) element to use one of AppCompat's [NoActionBar](/reference/android/R.style#Theme_DeviceDefault_Light_NoActionBar) themes, as shown in the following example. Using one of these themes prevents the app from using the native `ActionBar` class to provide the app bar. \n\n ```xml\n \u003capplication\n android:theme=\"@style/Theme.AppCompat.Light.NoActionBar\"\n /\u003e\n ```\n4. Add a `Toolbar` to the activity's layout. For example, the following layout code adds a `Toolbar` and gives it the appearance of floating above the activity: \n\n ```xml\n \u003candroidx.appcompat.widget.Toolbar\n android:id=\"@+id/my_toolbar\"\n android:layout_width=\"match_parent\"\n android:layout_height=\"?attr/actionBarSize\"\n android:background=\"?attr/colorPrimary\"\n android:elevation=\"4dp\"\n android:theme=\"@style/ThemeOverlay.AppCompat.ActionBar\"\n app:popupTheme=\"@style/ThemeOverlay.AppCompat.Light\"/\u003e\n ```\n\n See the\n [Material Design specification](https://material.io/design/components/app-bars-bottom.html)\n for recommendations regarding app bar elevation.\n\n Position the toolbar at the top of the activity's\n [layout](/guide/topics/ui/declaring-layout), since you are using\n it as an app bar.\n5. In the activity's [onCreate()](/reference/android/app/Activity#onCreate(android.os.Bundle)) method, call the activity's [setSupportActionBar()](/reference/androidx/appcompat/app/AppCompatActivity#setSupportActionBar(androidx.appcompat.widget.Toolbar)) method and pass the activity's toolbar, as shown in the following example. This method sets the toolbar as the app bar for the activity. \n\n ### Kotlin\n\n ```kotlin\n override fun onCreate(savedInstanceState: Bundle?) {\n super.onCreate(savedInstanceState)\n setContentView(R.layout.activity_my)\n // The Toolbar defined in the layout has the id \"my_toolbar\".\n setSupportActionBar(findViewById(R.id.my_toolbar))\n }\n ```\n\n ### Java\n\n ```java\n @Override\n protected void onCreate(Bundle savedInstanceState) {\n super.onCreate(savedInstanceState);\n setContentView(R.layout.activity_my);\n Toolbar myToolbar = (Toolbar) findViewById(R.id.my_toolbar);\n setSupportActionBar(myToolbar);\n }\n ```\n\nYour app now has a basic action bar. By default, the action bar contains the name\nof the app and an overflow menu, which initially contains the **Settings** item.\nYou can add more actions to the action bar and the overflow menu, as described in\n[Add and handle actions](/develop/ui/views/components/appbar/actions).\n\nUse app bar utility methods\n---------------------------\n\nOnce you set the toolbar as an activity's app bar, you have access to the utility\nmethods provided by the AndroidX library's\n[ActionBar](/reference/androidx/appcompat/app/ActionBar)\nclass. This approach lets you do useful things, like hide and show the app bar.\n\nTo use the `ActionBar` utility methods, call the activity's\n[getSupportActionBar()](/reference/androidx/appcompat/app/AppCompatActivity#getSupportActionBar())\nmethod. This method returns a reference to an AppCompat `ActionBar` object.\nOnce you have that reference, you can call any of the `ActionBar` methods\nto adjust the app bar. For example, to hide the app bar, call\n[ActionBar.hide()](/reference/androidx/appcompat/app/ActionBar#hide())."]]