ビューベースの設計を使用している既存のアプリに Compose ベースの UI を追加できます。
完全に Compose をベースとした画面を新たに作成するには、アクティビティで setContent() メソッドを呼び出し、任意のコンポーズ可能な関数を渡します。
class ExampleActivity : ComponentActivity() { override fun onCreate(savedInstanceState: Bundle?) { super.onCreate(savedInstanceState) setContent { // In here, we can call composables! MaterialTheme { Greeting(name = "compose") } } } } @Composable fun Greeting(name: String) { Text(text = "Hello $name!") }
このコードは、Compose のみのアプリで見られるコードに似ています。
ComposeView の ViewCompositionStrategy
ViewCompositionStrategy
は、Composition を破棄するタイミングを定義します。デフォルトの
ViewCompositionStrategy.Defaultでは、基盤となる
ComposeViewがウィンドウからデタッチされると、Composition が破棄されます。ただし、
RecyclerViewなどのプーリング コンテナの一部である場合は除きます。単一アクティビティの Compose のみのアプリでは、このデフォルトの動作が望ましいものですが、コードベースに Compose を段階的に追加している場合は、この動作によって一部のシナリオで状態が失われる可能性があります。
ViewCompositionStrategy を変更するには、setViewCompositionStrategy()
メソッドを呼び出して別の戦略を指定します。
次の表に、ViewCompositionStrategy を使用できるさまざまなシナリオをまとめます。
ViewCompositionStrategy |
説明と相互運用シナリオ |
|---|---|
DisposeOnDetachedFromWindow |
基盤となる ComposeView がウィンドウからデタッチされると、Composition が破棄されます。以降、DisposeOnDetachedFromWindowOrReleasedFromPool に置き換えられました。相互運用シナリオ: * ComposeView(ビュー階層内の唯一の要素であるか、ビューと Compose が混在する画面のコンテキスト内であるか(フラグメント内ではないか))。 |
DisposeOnDetachedFromWindowOrReleasedFromPool (デフォルト ) |
DisposeOnDetachedFromWindow と同様に、Composition が RecyclerView などのプーリング コンテナにない場合。プーリング コンテナにある場合は、プーリング コンテナ自体がウィンドウからデタッチされたとき、またはアイテムが破棄されたとき(つまり、プールがいっぱいになったとき)に破棄されます。相互運用シナリオ: * ComposeViewビュー階層内の唯一の要素であるか、ビューと Compose が混在する画面のコンテキスト内であるか(Fragment 内ではないか)。* RecyclerView などのプーリング コンテナ内のアイテムとしての ComposeView。 |
DisposeOnLifecycleDestroyed |
指定された Lifecycle が破棄されると、Composition が破棄されます。相互運用シナリオ * フラグメントのビュー内の ComposeView。 |
DisposeOnViewTreeLifecycleDestroyed |
ビューがアタッチされている次のウィンドウの ViewTreeLifecycleOwner.get によって返される LifecycleOwner が所有する Lifecycle が破棄されると、Composition が破棄されます。相互運用シナリオ: * フラグメントのビュー内の ComposeView。* Lifecycle がまだ不明なビュー内の ComposeView。 |
フラグメント内の ComposeView(移行ステップ)
Compose UI コンテンツをフラグメントまたは既存の View
レイアウトに組み込む場合は、ComposeView
を使用し、その
setContent()
メソッドを呼び出します。ComposeView は Android View です。
ComposeView は、他の View と同じように XML レイアウトに追加できます。
<LinearLayout xmlns:android="http://schemas.android.com/apk/res/android" android:orientation="vertical" android:layout_width="match_parent" android:layout_height="match_parent"> <TextView android:id="@+id/text" android:layout_width="wrap_content" android:layout_height="wrap_content" /> <androidx.compose.ui.platform.ComposeView android:id="@+id/compose_view" android:layout_width="match_parent" android:layout_height="match_parent" /> </LinearLayout>
Kotlin ソースコードでは、XML で定義されたレイアウト リソースからレイアウトをインフレートします。次に、XML ID を使用して
ComposeView を取得し、ホスト View に最適な Composition 戦略を設定して、Compose を使用するために setContent() を呼び出します。
class ExampleFragmentXml : Fragment() { override fun onCreateView( inflater: LayoutInflater, container: ViewGroup?, savedInstanceState: Bundle? ): View { val view = inflater.inflate(R.layout.fragment_example, container, false) val composeView = view.findViewById<ComposeView>(R.id.compose_view) composeView.apply { // Dispose of the Composition when the view's LifecycleOwner // is destroyed setViewCompositionStrategy(ViewCompositionStrategy.DisposeOnViewTreeLifecycleDestroyed) setContent { // In Compose world MaterialTheme { Text("Hello Compose!") } } } return view } }
または、ビュー バインディングを使用して、XML レイアウト ファイル用に生成されたバインディング クラスを参照することで、ComposeView への参照を取得することもできます。
class ExampleFragment : Fragment() { private var _binding: FragmentExampleBinding? = null // This property is only valid between onCreateView and onDestroyView. private val binding get() = _binding!! override fun onCreateView( inflater: LayoutInflater, container: ViewGroup?, savedInstanceState: Bundle? ): View { _binding = FragmentExampleBinding.inflate(inflater, container, false) val view = binding.root binding.composeView.apply { // Dispose of the Composition when the view's LifecycleOwner // is destroyed setViewCompositionStrategy(ViewCompositionStrategy.DisposeOnViewTreeLifecycleDestroyed) setContent { // In Compose world MaterialTheme { Text("Hello Compose!") } } } return view } override fun onDestroyView() { super.onDestroyView() _binding = null } }
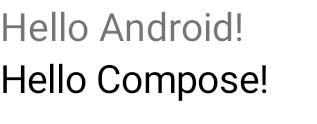
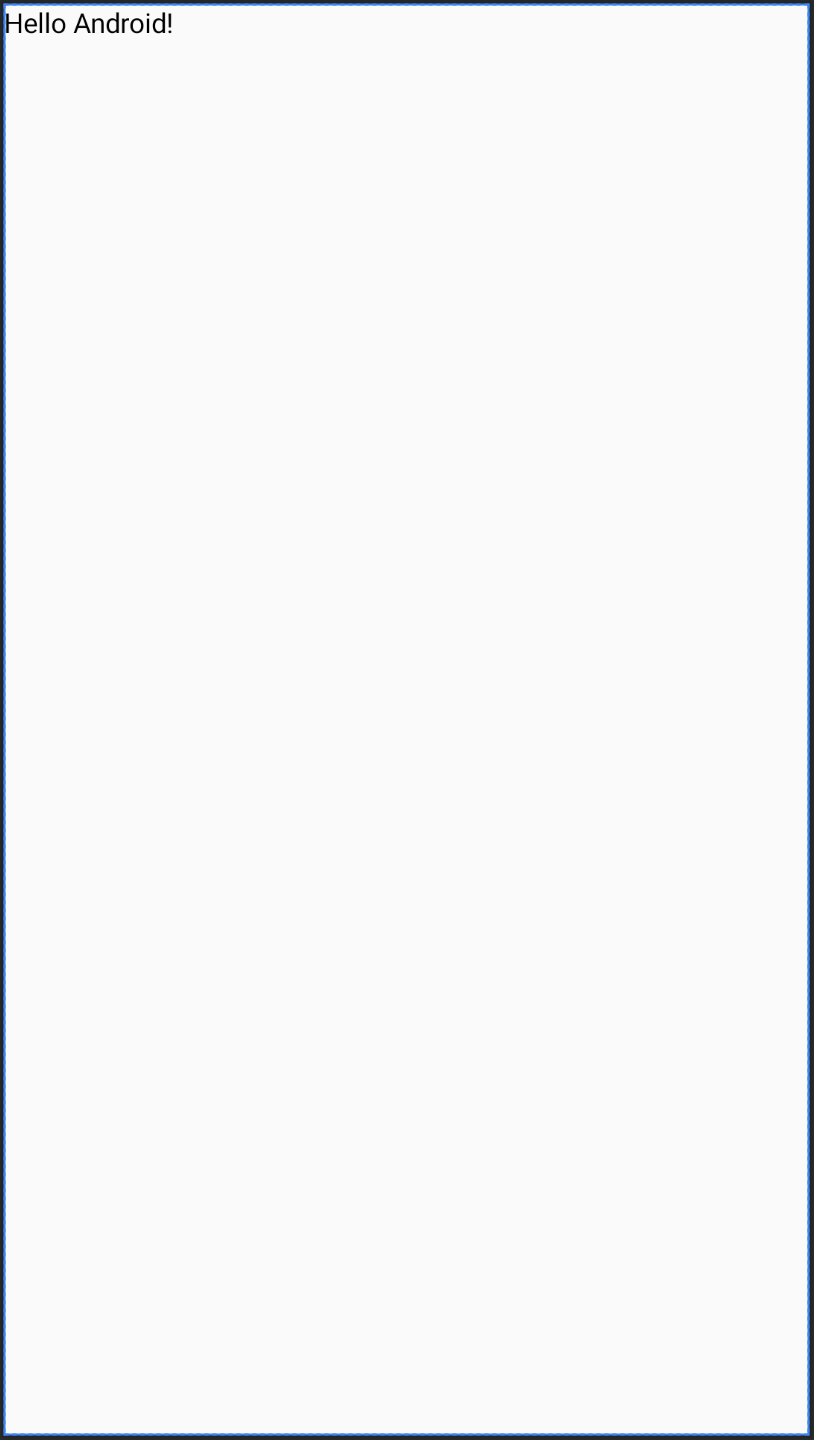
図 1. View UI 階層に Compose 要素を追加するコードの出力を示しています。「Hello Android!」のテキストは TextView ウィジェットで表示されます。「Hello Compose!」のテキストは Compose テキスト要素で表示されます。
また、全画面が Compose で作成されている場合、ComposeView をフラグメントに直接含めることもできます。これにより、XML レイアウト ファイル全体の使用を避けることができます。
class ExampleFragmentNoXml : Fragment() { override fun onCreateView( inflater: LayoutInflater, container: ViewGroup?, savedInstanceState: Bundle? ): View { return ComposeView(requireContext()).apply { // Dispose of the Composition when the view's LifecycleOwner // is destroyed setViewCompositionStrategy(ViewCompositionStrategy.DisposeOnViewTreeLifecycleDestroyed) setContent { MaterialTheme { // In Compose world Text("Hello Compose!") } } } } }
同じレイアウト内の複数の ComposeView インスタンス
同じレイアウトに複数の ComposeView 要素がある場合、savedInstanceState が機能するためには、各要素に一意の ID が必要です。
class ExampleFragmentMultipleComposeView : Fragment() { override fun onCreateView( inflater: LayoutInflater, container: ViewGroup?, savedInstanceState: Bundle? ): View = LinearLayout(requireContext()).apply { addView( ComposeView(requireContext()).apply { setViewCompositionStrategy( ViewCompositionStrategy.DisposeOnViewTreeLifecycleDestroyed ) id = R.id.compose_view_x // ... } ) addView(TextView(requireContext())) addView( ComposeView(requireContext()).apply { setViewCompositionStrategy( ViewCompositionStrategy.DisposeOnViewTreeLifecycleDestroyed ) id = R.id.compose_view_y // ... } ) } }
ComposeView ID は res/values/ids.xml ファイルで定義されています。
<resources> <item name="compose_view_x" type="id" /> <item name="compose_view_y" type="id" /> </resources>
Layout Editor でコンポーザブルをプレビューする
ComposeView を含む XML レイアウトの Layout Editor 内でコンポーザブルをプレビューすることもできます。これにより、ビューと Compose が混在するレイアウト内でコンポーザブルがどのように表示されるかを確認できます。
たとえば、次のコンポーザブルを Layout Editor に表示するとします。@Preview アノテーションが付けられたコンポーザブルは、Layout Editor でプレビューするのに適しています。
@Preview @Composable fun GreetingPreview() { Greeting(name = "Android") }
このコンポーザブルを表示するには、tools:composableName ツール属性を使用し、その値をレイアウトでプレビューするコンポーザブルの完全修飾名に設定します。
<LinearLayout xmlns:android="http://schemas.android.com/apk/res/android" xmlns:tools="http://schemas.android.com/tools" android:orientation="vertical" android:layout_width="match_parent" android:layout_height="match_parent"> <androidx.compose.ui.platform.ComposeView android:id="@+id/my_compose_view" tools:composableName="com.example.compose.snippets.interop.InteroperabilityAPIsSnippetsKt.GreetingPreview" android:layout_height="match_parent" android:layout_width="match_parent"/> </LinearLayout>