1. Before you begin
Screenshot: The YouTube Android app, which uses ExoPlayer as its video player.
ExoPlayer is an app-level media player built on top of low-level media APIs in Android. It is an open source project used by Google apps, including YouTube and Google TV. ExoPlayer is highly customizable and extensible, making it capable of many advanced use cases. It supports a variety of media formats, including adaptive formats such as DASH and SmoothStreaming.
Prerequisites
- Moderate knowledge of Android development and Android Studio
What you'll do
- Create an
ExoPlayerinstance, which prepares and plays media from a variety of sources. - Integrate ExoPlayer with the app's activity lifecycle to support backgrounding, foregrounding, and playback resumption in a single or multi-window environment.
- Use
MediaIteminstances to create a playlist. - Play adaptive video streams, which adapt the media quality to the available bandwidth.
- Register event listeners to monitor playback state and show how listeners can be used to measure the quality of playback.
- Use standard ExoPlayer UI components, then customize them to your app's style.
What you'll need
- The latest stable version of Android Studio, and knowledge of how to use it. Make sure your Android Studio, Android SDK, and Gradle plugin are up to date.
- An Android device with JellyBean (4.1) or higher, ideally with Nougat (7.1) or higher as it supports multiple windows.
2. Get set up
Get the code
To get started, download the Android Studio project:
Alternatively, you can clone the GitHub repository:
git clone https://github.com/android/codelab-exoplayer-intro.git
Directory structure
Cloning or unzipping provides you with a root folder (codelab-exoplayer-intro), which contains a single gradle project with an app module, and multiple modules; one for each step of this codelab, along with all the resources you need.
Import the project
- Start Android Studio.
- Choose File > New > Import Project*.*
- Select the root
build.gradlefile.
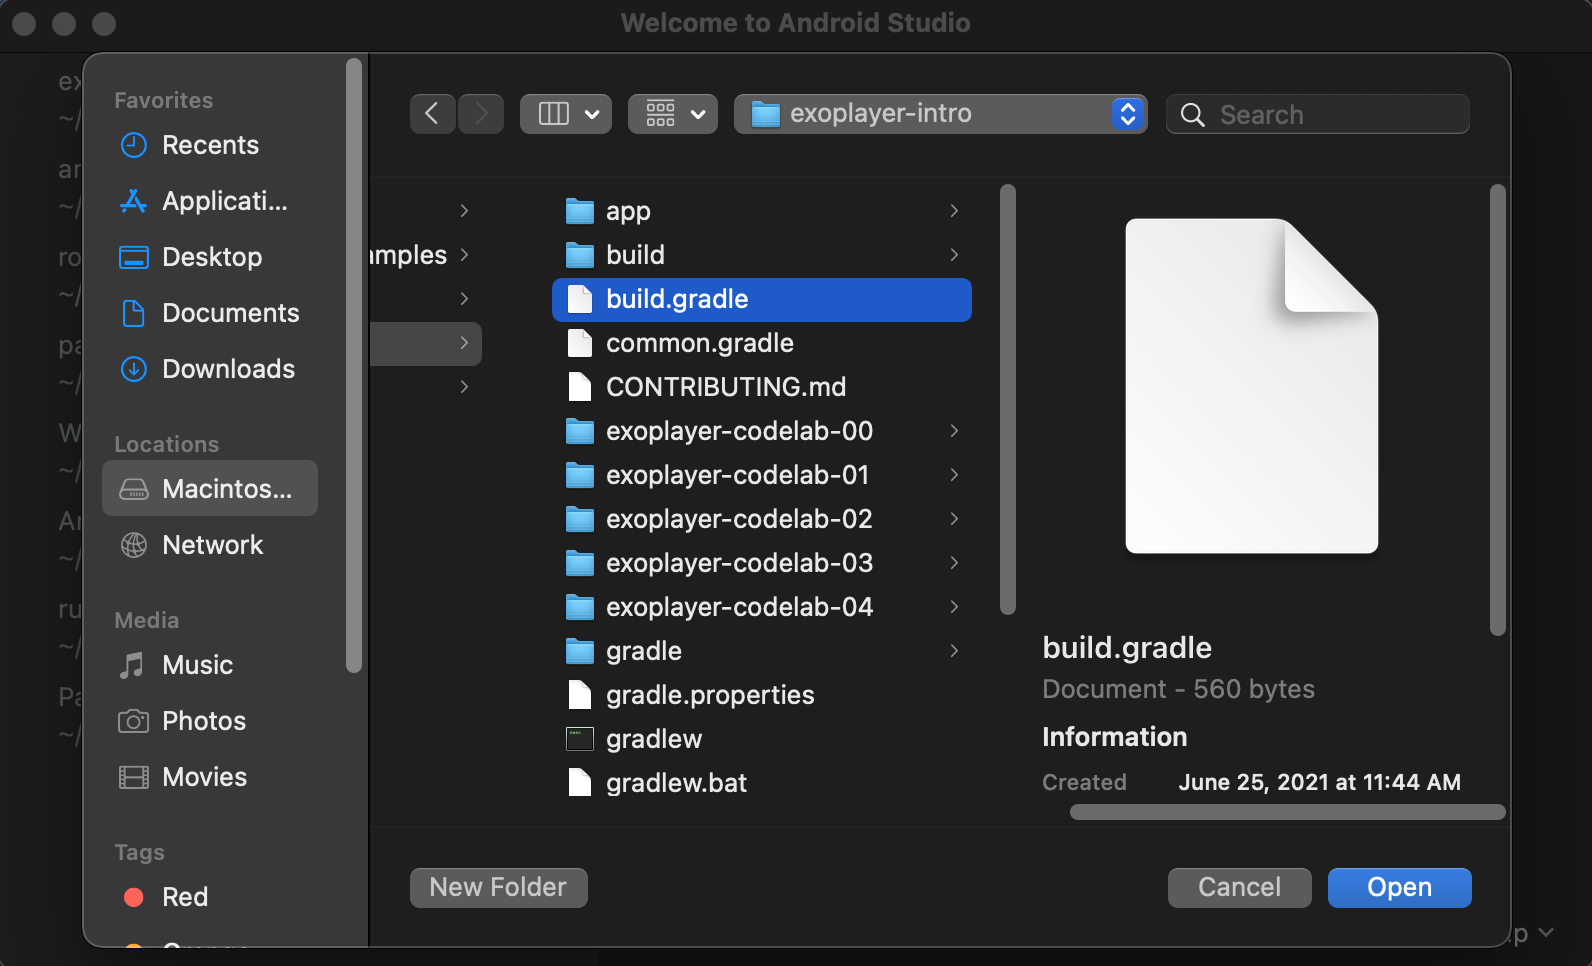
Screenshot: Project structure when importing
After the build finishes, you'll see six modules: the app module (of type application) and five modules with names exoplayer-codelab-N (where N is 00 to 04, each of type library). The app module is actually empty, having only a manifest. Everything from the currently specified exoplayer-codelab-N module is merged when the app is built using a gradle dependency in app/build.gradle.
app/build.gradle
dependencies {
   implementation project(":exoplayer-codelab-00")
}
Your media player Activity is kept in the exoplayer-codelab-N module. The reason for keeping it in a separate library module is so you can share it among APKs targeting different platforms, such as mobile and Android TV. It also allows you to take advantage of features, such as Dynamic Delivery, which allow your media playback feature to be installed only when the user needs it.
- Deploy and run the app to check everything is fine. The app should fill the screen with a black background.
Screenshot: Blank app running
3. Stream!
Add ExoPlayer dependency
ExoPlayer is part of the Jetpack Media3 library. Each release is uniquely identified by a string with the following format:
androidx.media3:media3-exoplayer:X.X.X
You can add ExoPlayer to your project simply by importing its classes and UI components. It's pretty small, having a shrunken footprint of about 70-to-300 kB depending on the included features and supported formats. The ExoPlayer library is split into modules to allow developers to import only the functionality they need. For more information about ExoPlayer's modular structure, see Add ExoPlayer modules.
- Open the
build.gradlefile of theexoplayer-codelab-00module. - Add the following lines to the
dependenciessection and sync the project.
exoplayer-codelab-00/build.gradle
def mediaVersion = "1.8.0"
dependencies {
    [...]

    implementation "androidx.media3:media3-exoplayer:$mediaVersion"
    implementation "androidx.media3:media3-ui:$mediaVersion"
    implementation "androidx.media3:media3-exoplayer-dash:$mediaVersion"
}
The below code snippet lists the imports that would be used in this codelab. You can choose to add them right away or subsequently as the codelab progresses.
PlayerActivity.kt
import android.util.Log
import android.annotation.SuppressLint

import androidx.media3.exoplayer.ExoPlayer
import androidx.media3.common.Player
import androidx.media3.common.MediaItem
import androidx.media3.common.MimeTypes

import androidx.core.view.WindowCompat
import androidx.core.view.WindowInsetsCompat
import androidx.core.view.WindowInsetsControllerCompat
Add the PlayerView element
- Open the layout resource file
activity_player.xmlfrom theexoplayer-codelab-00module. - Place the cursor inside the
FrameLayoutelement. - Start typing
<PlayerViewand let Android Studio autocomplete thePlayerViewelement. - Use
match_parentfor thewidthandheight. - Declare the id as
video_view.
activity_player.xml
<androidx.media3.ui.PlayerView
   android:id="@+id/video_view"
   android:layout_width="match_parent"
   android:layout_height="match_parent"/>
Going forward, you refer to this UI element as the video view.
- In the
PlayerActivity, you can now obtain a reference to the view tree created from the XML file you just edited.
PlayerActivity.kt
private val viewBinding by lazy(LazyThreadSafetyMode.NONE) {
    ActivityPlayerBinding.inflate(layoutInflater)
}
- Set the root of your view tree as the content view of your Activity. Also check to see that the
videoViewproperty is visible on yourviewBindingreference, and that its type isPlayerView.
override fun onCreate(savedInstanceState: Bundle?) {
    super.onCreate(savedInstanceState)
    setContentView(viewBinding.root)
}
Create an ExoPlayer
To play streaming media, you need an ExoPlayer object. The simplest way of creating one is to use the ExoPlayer.Builder class. As the name suggests, this uses the builder pattern to build an ExoPlayer instance.
ExoPlayer is a convenient, all-purpose implementation of the Player interface.
Add a private method initializePlayer to create your ExoPlayer.
PlayerActivity.kt
private var player: ExoPlayer? = null

[...]

private fun initializePlayer() {
    player = ExoPlayer.Builder(this)
        .build()
        .also { exoPlayer ->
            viewBinding.videoView.player = exoPlayer
        }
}
Create a ExoPlayer.Builder using your context, then call build to create your ExoPlayer object. This is then assigned to player, which you need to declare as a member field. You then use the viewBinding.videoView.player mutable property to bind the player to its corresponding view.
Create a media item
Your player now needs some content to play. For this, you create a MediaItem. There are many different types of MediaItem, but you start by creating one for an MP3 file on the internet.
The simplest way to create a MediaItem is to use MediaItem.fromUri, which accepts the URI of a media file. Add the MediaItem to the player using player.setMediaItem.
- Add the following code to
initializePlayerinside thealsoblock:
PlayerActivity.kt
private fun initializePlayer() {
    [...]
        .also { exoPlayer ->
            [...]

            val mediaItem = MediaItem.fromUri(getString(R.string.media_url_mp3))
            exoPlayer.setMediaItem(mediaItem)
        }
}
Note that R.string.media_url_mp3 is defined as https://storage.googleapis.com/exoplayer-test-media-0/play.mp3 in strings.xml.
Playing nice with the Activity lifecycle
Our player can hog a lot of resources including memory, CPU, network connections and hardware codecs. Many of these resources are in short supply, particularly for hardware codecs where there may only be one. It's important that you release those resources for other apps to use when you're not using them, such as when your app is put into the background.
Put another way, your player's lifecycle should be tied to the lifecycle of your app. To implement this, you need to override the four methods of PlayerActivity: onStart, onResume, onPause, and onStop.
- With
PlayerActivityopen, click Code menu > Override methods.... - Select
onStart,onResume,onPause, andonStop. - Initialize the player in the
onStartoronResumecallback depending on the API level.
PlayerActivity.kt
public override fun onStart() {
    super.onStart()
    if (Build.VERSION.SDK_INT > 23) {
        initializePlayer()
    }
}

public override fun onResume() {
    super.onResume()
    hideSystemUi()
    if (Build.VERSION.SDK_INT <= 23 || player == null) {
        initializePlayer()
    }
}
Android API level 24 and higher supports multiple windows. As your app can be visible, but not active in split window mode, you need to initialize the player in onStart. Android API level 23 and lower requires you to wait as long as possible until you grab resources, so you wait until onResume before initializing the player.
- Add the
hideSystemUimethod.
PlayerActivity.kt
@SuppressLint("InlinedApi")
private fun hideSystemUi() {
    WindowCompat.setDecorFitsSystemWindows(window, false)
    WindowInsetsControllerCompat(window, viewBinding.videoView).let { controller ->
        controller.hide(WindowInsetsCompat.Type.systemBars())
        controller.systemBarsBehavior = WindowInsetsControllerCompat.BEHAVIOR_SHOW_TRANSIENT_BARS_BY_SWIPE
    }
}
hideSystemUi is a helper method called in onResume, which allows you to have a full-screen experience.
- Release resources with
releasePlayer(which you create shortly) inonPauseandonStop.
PlayerActivity.kt
public override fun onPause() {
    super.onPause()
    if (Build.VERSION.SDK_INT <= 23) {
        releasePlayer()
    }
}

public override fun onStop() {
    super.onStop()
    if (Build.VERSION.SDK_INT > 23) {
        releasePlayer()
    }
}
With API Level 23 and lower, there is no guarantee of onStop being called, so you have to release the player as early as possible in onPause. With API Level 24 and higher (which brought multi- and split-window mode), onStop is guaranteed to be called. In the paused state, your activity is still visible, so you wait to release the player until onStop.
You now need to create a releasePlayer method, which frees the player's resources and destroys it.
- Add the following code to the activity:
PlayerActivity.kt
private var playWhenReady = true
private var currentItem = 0
private var playbackPosition = 0L
[...]

private fun releasePlayer() {
    player?.let { exoPlayer ->
        playbackPosition = exoPlayer.currentPosition
        currentItem = exoPlayer.currentMediaItemIndex
        playWhenReady = exoPlayer.playWhenReady
        exoPlayer.release()
    }
    player = null
}
Before you release and destroy the player, store the following information:
- Play/pause state from
playWhenReady. - Current playback position from
currentPosition. - Current media item index from
currentMediaItemIndex.
This allows you to resume playback from where the user left off. All you need to do is supply this state information when you initialize your player.
Final preparation
All you need to do now is to supply the state information you saved in releasePlayer to your player during initialization.
- Add the following to
initializePlayer:
PlayerActivity.kt
private fun initializePlayer() {
    [...]
    // Instead of exoPlayer.setMediaItem(mediaItem)
    exoPlayer.setMediaItems(listOf(mediaItem), currentItem, playbackPosition)
    exoPlayer.playWhenReady = playWhenReady
    exoPlayer.prepare()
}
Here's what's happening:
playWhenReadytells the player whether to start playing as soon as all resources for playback have been acquired. BecauseplayWhenReadyis initiallytrue, playback starts automatically the first time the app is run.seekTotells the player to seek to a certain position within a specific media item. BothcurrentItemandplaybackPositionare initialized to zero so that playback starts from the very start the first time the app is run.preparetells the player to acquire all the resources required for playback.
Play audio
Finally, you are done! Start the app to play the MP3 file and see the embedded artwork.
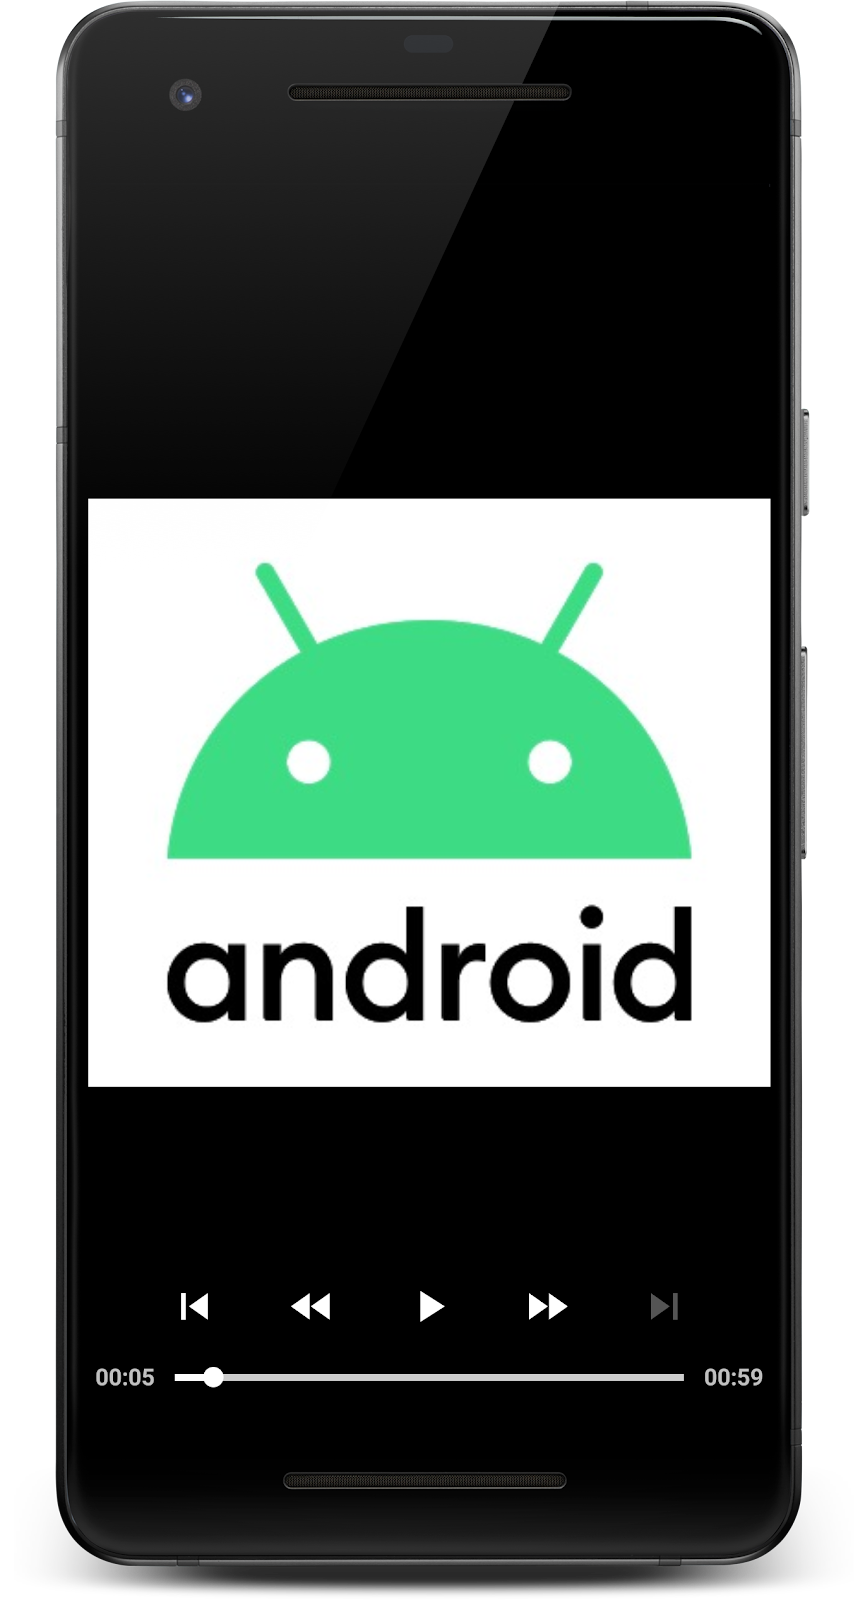
Screenshot: The app playing a single track.
Test the activity lifecycle
This is a good point at which to test whether the app works in all the different states of the activity lifecycle.
- Start another app and put your app in the foreground again. Does it resume at the correct position?
- Pause the app, and move it to the background and then to the foreground again. Does it stick to a paused state when backgrounded in paused state?
- Rotate the app. How does it behave if you change the orientation from portrait to landscape and back?
Play video
If you want to play video, it's as easy as modifying the media item URI to an MP4 file.
- Change the URI in the
initializePlayermethod toR.string.media_url_mp4. - Start the app again and test the behavior after being backgrounded with video playback as well.
PlayerActivity.kt
private fun initializePlayer() {
    [...]
    val mediaItem = MediaItem.fromUri(getString(R.string.media_url_mp4))
    [...]
}
The PlayerView does it all. Instead of the artwork, the video is rendered full screen.
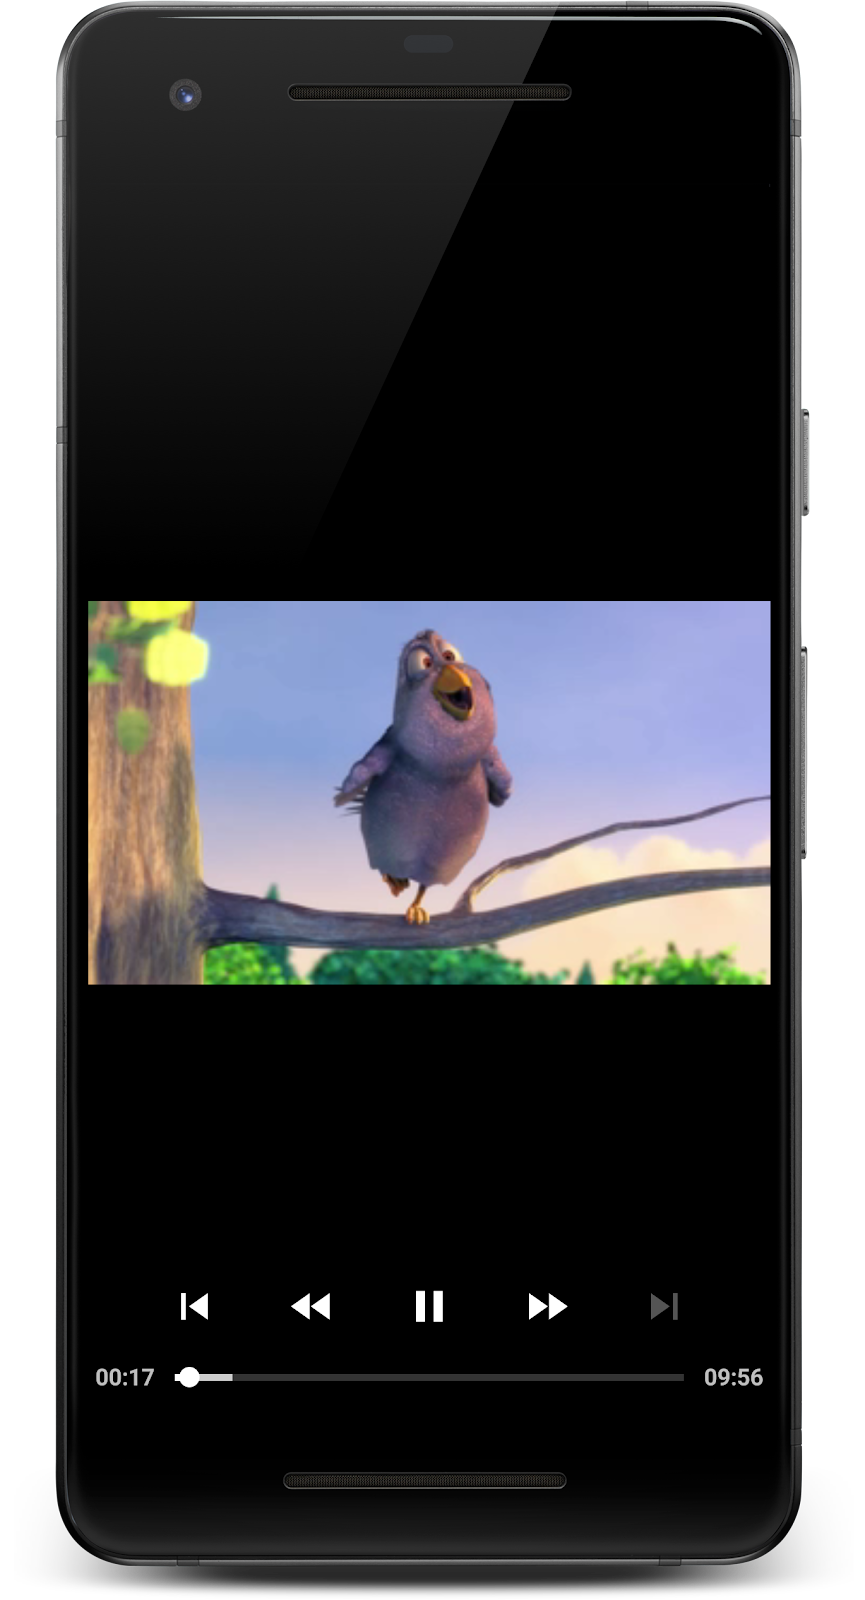
Screenshot: The app playing video.
You rock! You just created an app for full-screen media streaming on Android, complete with lifecycle management, saved state, and UI controls!
4. Create a playlist
Your current app plays a single media file, but what if you want to play more than one media file, one after the other? For that, you need a playlist.
Playlists can be created by adding more MediaItem objects to your player using addMediaItem. This allows seamless playback and buffering is handled in the background so the user doesn't see a buffering spinner when changing media items.
- Add the following code to
initializePlayer:
PlayerActivity.kt
private void initializePlayer() {
    [...]
    val mediaItem = MediaItem.fromUri(getString(R.string.media_url_mp4)) // Existing code

    val secondMediaItem = MediaItem.fromUri(getString(R.string.media_url_mp3))
    // Update setMediaItems to include secondMediaItem
    exoPlayer.setMediaItems(listOf(mediaItem, secondMediaItem), currentItem, playbackPosition)
    [...]
}
Check how the player controls behave. You can use  and
and  to navigate the sequence of media items.
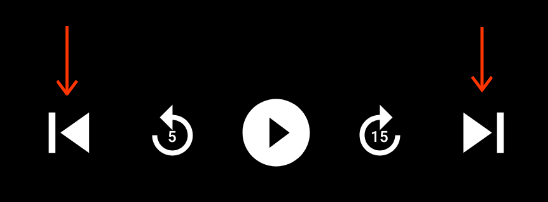
Screenshot: Playback controls showing a next and previous button
That's pretty handy! For more information, see the developer documentation on Media Items and Playlists, and this article about the Playlist API.
5. Adaptive streaming
Adaptive streaming is a technique for streaming media by varying the quality of the stream based on the available network bandwidth. This allows the user to experience the best-quality media that their bandwidth allows.
Typically, the same media content is split into multiple tracks with different qualities (bit rates and resolutions). The player chooses a track based on the available network bandwidth.
Each track is split into chunks of a given duration, typically between 2 and 10 seconds. This allows the player to quickly switch between tracks as available bandwidth changes. The player is responsible for stitching these chunks together for seamless playback.
Adaptive track selection
At the heart of adaptive streaming is selecting the most appropriate track for the current environment. Update your app to play adaptive streaming media by using adaptive track selection.
- Update
initializePlayerwith the following code:
PlayerActivity.kt
private fun initializePlayer() {
    player = ExoPlayer.Builder(this)
        .build()
        .also { exoPlayer ->
            // Update the track selection parameters to only pick standard definition tracks
            exoPlayer.trackSelectionParameters = exoPlayer.trackSelectionParameters
                    .buildUpon()
                    .setMaxVideoSizeSd()
                    .build()
            [...]
        }
}
Here, we've updated the default trackSelector to only pick tracks of standard definition or lower—a good way of saving your user's data at the expense of quality.
Build an adaptive MediaItem
DASH is a widely used adaptive streaming format. To stream DASH content, you need to create a MediaItem as before. However, this time, we must use a MediaItem.Builder rather than fromUri.
This is because fromUri uses the file extension to determine the underlying media format but our DASH URI does not have a file extension so we must supply a MIME type of APPLICATION_MPD when constructing the MediaItem.
- Update
initializePlayeras follows:
PlayerActivity.kt
private void initializePlayer() {
    [...]

    // Replace this line...
    val mediaItem = MediaItem.fromUri(getString(R.string.media_url_mp4));

    // ... with this
     val mediaItem = MediaItem.Builder()
         .setUri(getString(R.string.media_url_dash))
         .setMimeType(MimeTypes.APPLICATION_MPD)
         .build()

    // Remove the following line
    val secondMediaItem = MediaItem.fromUri(getString(R.string.media_url_mp3))

    // Remove secondMediaItem from setMediaItems
    exoPlayer.setMediaItems(listOf(mediaItem), currentItem, playbackPosition)
}
- Restart the app and see adaptive video streaming with DASH in action. It's pretty easy with ExoPlayer!
Other adaptive streaming formats
HLS (MimeTypes.APPLICATION_M3U8) and SmoothStreaming (MimeTypes.APPLICATION_SS) are other commonly used adaptive streaming formats, both of which are supported by ExoPlayer. For more examples of constructing other adaptive media sources, see the ExoPlayer demo app.
6. Listening for events
In the previous steps, you learned how to stream progressive and adaptive media streams. ExoPlayer is doing a lot of work for you behind the scenes, including the following:
- Allocating memory
- Downloading container files
- Extracting metadata from the container
- Decoding data
- Rendering video, audio, and text to the screen and loudspeakers
Sometimes, it's useful to know what ExoPlayer is doing at runtime in order to understand and improve the playback experience for your users.
For example, you might want to reflect playback state changes in the user interface by doing the following:
- Displaying a loading spinner when the player goes into a buffering state
- Showing an overlay with "watch next" options when the track has ended
ExoPlayer offers several listener interfaces that provide callbacks for useful events. You use a listener to log what state the player is in.
Listen up
- Create a
TAGconstant outside thePlayerActivityclass, which you use for logging later.
PlayerActivity.kt
private const val TAG = "PlayerActivity"
- Implement the
Player.Listenerinterface in a factory function outside thePlayerActivityclass. This is used to inform you about important player events, including errors and playback state changes. - Override
onPlaybackStateChangedby adding the following code:
PlayerActivity.kt
private fun playbackStateListener() = object : Player.Listener {
    override fun onPlaybackStateChanged(playbackState: Int) {
        val stateString: String = when (playbackState) {
            ExoPlayer.STATE_IDLE -> "ExoPlayer.STATE_IDLE      -"
            ExoPlayer.STATE_BUFFERING -> "ExoPlayer.STATE_BUFFERING -"
            ExoPlayer.STATE_READY -> "ExoPlayer.STATE_READY     -"
            ExoPlayer.STATE_ENDED -> "ExoPlayer.STATE_ENDED     -"
            else -> "UNKNOWN_STATE             -"
        }
        Log.d(TAG, "changed state to $stateString")
    }
}
- Declare a private member of type
Player.Listenerin thePlayerActivity.
PlayerActivity.kt
class PlayerActivity : AppCompatActivity() {
    [...]

    private val playbackStateListener: Player.Listener = playbackStateListener()
}
onPlaybackStateChanged is called when the playback state changes. The new state is given by the playbackState parameter.
The player can be in one of the following four states:
State | Description |
| The player has been instantiated, but has not yet been prepared. |
| The player is not able to play from the current position because not enough data has been buffered. |
| The player can immediately play from the current position. This means the player will start playing media automatically if the player's playWhenReady property is |
| The player has finished playing the media. |
Register your listener
To have your callbacks called, you need to register your playbackStateListener with the player. Do that in initializePlayer.
- Register the listener before the play is prepared.
PlayerActivity.kt
private void initializePlayer() {
    [...]
    exoPlayer.playWhenReady = playWhenReady
    exoPlayer.addListener(playbackStateListener) // Add this line
    exoPlayer.prepare()
    [...]
}
Again, you need to tidy up to avoid dangling references from the player which could cause a memory leak.
- Remove the listener in
releasePlayer:
PlayerActivity.kt
private void releasePlayer() {
    player?.let { exoPlayer ->
        [...]
        exoPlayer.removeListener(playbackStateListener)
        exoPlayer.release()
    }
    player = null
}
- Open logcat and run the app.
- Use the UI controls to seek forward / backward in the video. You could also try putting the app in the background, and bringing it back to foreground. In both the cases, you should see the playback state change in the logs.
More events and analytics
ExoPlayer offers a number of other listeners, which are useful in understanding the user's playback experience. There are listeners for audio and video, as well as an AnalyticsListener, which contains the callbacks from all the listeners. Some of the most important methods are the following:
onRenderedFirstFrameis called when the first frame of a video is rendered. With this, you can calculate how long the user had to wait to see meaningful content on the screen.onDroppedVideoFramesis called when video frames have been dropped. Dropped frames indicate that playback is janky and the user experience is likely to be poor.onAudioUnderrunis called when there has been an audio underrun. Underruns cause audible glitches in the sound and are more noticeable than dropped video frames.
AnalyticsListener can be added to the player with addListener. There are corresponding methods for the audio and video listeners as well.
The Player.Listener interface also includes the more general onEvents callback that is triggered for any state change in the player. Some cases in which you may find this useful include when responding to multiple changes in state at the same time or when responding the same way to multiple different state changes. Check the reference documentation for more examples of when you might want to use the onEvents callback instead of individual state change callbacks.
Think about what events are important to your app and your users. For more information, see Listening to playback events. That's it for event listeners!
7. Congratulations
Congratulations! You learned a lot about integrating ExoPlayer with your app.
Learn more
To learn more about ExoPlayer, check out the developer guide and source code, and subscribe to the Android Developers blog to be among the first to hear about the latest updates!
