
แฟลชหน้าจอ หรือที่เรียกว่าแฟลชด้านหน้าหรือแฟลชเซลฟี จะใช้ความสว่างของหน้าจอโทรศัพท์ เพื่อส่องสว่างวัตถุเมื่อถ่ายภาพด้วยกล้องหน้า ในสภาพแสงน้อย ฟีเจอร์นี้พร้อมใช้งานในแอปกล้องดั้งเดิมและแอปโซเชียลมีเดียหลายแอป เนื่องจากผู้ใช้ส่วนใหญ่ถือโทรศัพท์ไว้ใกล้พอเมื่อจัดเฟรมภาพ เซลฟี่ วิธีนี้จึงมีประสิทธิภาพ
อย่างไรก็ตาม นักพัฒนาแอปอาจพบว่าการติดตั้งใช้งานฟีเจอร์อย่างเหมาะสมและรักษาคุณภาพการจับภาพที่ดีอย่างสม่ำเสมอในอุปกรณ์ต่างๆ เป็นเรื่องยาก คู่มือนี้แสดงวิธี ติดตั้งใช้งานฟีเจอร์นี้อย่างถูกต้องโดยใช้ Camera2 ซึ่งเป็น API เฟรมเวิร์กกล้อง Android ระดับต่ำ
เวิร์กโฟลว์ทั่วไป
หากต้องการใช้ฟีเจอร์นี้อย่างถูกต้อง ปัจจัยสำคัญ 2 ประการคือการใช้ ลำดับการวัดแสงก่อนการจับภาพ (การจับภาพก่อนการเปิดรับแสงอัตโนมัติ) และ เวลาในการดำเนินการ เวิร์กโฟลว์ทั่วไปแสดงในรูปที่ 1
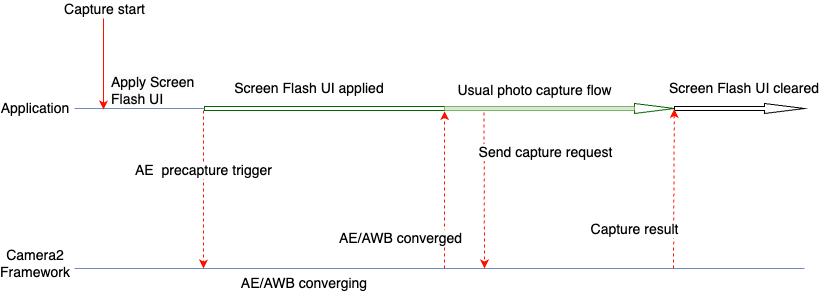
ขั้นตอนต่อไปนี้ใช้เมื่อต้องถ่ายภาพด้วยฟีเจอร์แฟลชหน้าจอ
- ใช้การเปลี่ยนแปลง UI ที่จำเป็นสำหรับแฟลชหน้าจอ ซึ่งอาจให้แสงสว่างเพียงพอ
สำหรับการถ่ายรูปโดยใช้หน้าจอของอุปกรณ์ สำหรับกรณีการใช้งานทั่วไป Google ขอแนะนำการเปลี่ยนแปลง UI ต่อไปนี้ตามที่ใช้ในการทดสอบ
- หน้าจอแอปถูกซ้อนทับด้วยสีขาว
- ความสว่างของหน้าจอจะเพิ่มขึ้นสูงสุด
- ตั้งค่าโหมดการเปิดรับแสงอัตโนมัติ (AE) เป็น
CONTROL_AE_MODE_ON_EXTERNAL_FLASHหากรองรับ - ทริกเกอร์ลำดับการวัดแสงก่อนการจับภาพโดยใช้
CONTROL_AE_PRECAPTURE_TRIGGER รอให้การชดเชยแสงอัตโนมัติ (AE) และสมดุลแสงสีขาวอัตโนมัติ (AWB) ทำงาน
เมื่อรวมกันแล้ว ระบบจะใช้ขั้นตอนการจับภาพถ่ายปกติของแอป
ส่งคำขอจับภาพไปยังเฟรมเวิร์ก
รอรับผลการจับภาพ
รีเซ็ตโหมด AE หากตั้งค่า
CONTROL_AE_MODE_ON_EXTERNAL_FLASHไว้ล้างการเปลี่ยนแปลง UI สำหรับแฟลชหน้าจอ
โค้ดตัวอย่าง Camera2
ปิดหน้าจอแอปด้วยการวางซ้อนสีขาว
เพิ่ม View ในไฟล์ XML ของเลย์เอาต์ของแอปพลิเคชัน มุมมองมีความสูงเพียงพอที่จะอยู่เหนือองค์ประกอบ UI อื่นๆ ทั้งหมดในระหว่างการจับภาพแฟลชหน้าจอ โดยค่าเริ่มต้น ระบบจะซ่อนไว้และจะแสดงเมื่อมีการใช้การเปลี่ยนแปลง UI ของหน้าจอ แฟลชเท่านั้น
ในตัวอย่างโค้ดต่อไปนี้ สีขาว (#FFFFFF) จะใช้เป็นตัวอย่างสำหรับ
มุมมอง แอปพลิเคชันสามารถเลือกสีหรือเสนอสีหลายสีให้แก่ผู้ใช้
ตามข้อกำหนดของแอป
<View
    android:id="@+id/white_color_overlay"
    android:layout_width="match_parent"
    android:layout_height="match_parent"
    android:background="#FFFFFF"
    android:visibility="invisible"
    android:elevation="8dp" />
เพิ่มความสว่างของหน้าจอให้สูงสุด
คุณเปลี่ยนความสว่างของหน้าจอในแอป Android ได้หลายวิธี วิธีหนึ่ง โดยตรงคือการเปลี่ยนพารามิเตอร์ screenBrightness ของ WindowManager ในการอ้างอิงหน้าต่างกิจกรรม
Kotlin
private var previousBrightness: Float = -1.0f

private fun maximizeScreenBrightness() {
    activity?.window?.let { window ->
        window.attributes?.apply {
            previousBrightness = screenBrightness
            screenBrightness = 1f
            window.attributes = this
        }
    }
}

private fun restoreScreenBrightness() {
    activity?.window?.let { window ->
        window.attributes?.apply {
            screenBrightness = previousBrightness
            window.attributes = this
        }
    }
}
Java
private float mPreviousBrightness = -1.0f;

private void maximizeScreenBrightness() {
    if (getActivity() == null || getActivity().getWindow() == null) {
        return;
    }

    Window window = getActivity().getWindow();
    WindowManager.LayoutParams attributes = window.getAttributes();

    mPreviousBrightness = attributes.screenBrightness;
    attributes.screenBrightness = 1f;
    window.setAttributes(attributes);
}

private void restoreScreenBrightness() {
    if (getActivity() == null || getActivity().getWindow() == null) {
        return;
    }

    Window window = getActivity().getWindow();
    WindowManager.LayoutParams attributes = window.getAttributes();

    attributes.screenBrightness = mPreviousBrightness;
    window.setAttributes(attributes);
}
ตั้งค่าโหมด AE เป็น CONTROL_AE_MODE_ON_EXTERNAL_FLASH
CONTROL_AE_MODE_ON_EXTERNAL_FLASH พร้อมใช้งานกับ API ระดับ 28 ขึ้นไป
อย่างไรก็ตาม โหมด AE นี้ไม่พร้อมใช้งานในอุปกรณ์บางรุ่น ดังนั้นให้ตรวจสอบว่าโหมด AE พร้อมใช้งานหรือไม่และตั้งค่าตามนั้น หากต้องการตรวจสอบความพร้อมใช้งาน ให้ใช้ CameraCharacteristics#CONTROL_AE_AVAILABLE_MODES
Kotlin
private val characteristics: CameraCharacteristics by lazy {
    cameraManager.getCameraCharacteristics(cameraId)
}

@RequiresApi(Build.VERSION_CODES.P)
private fun isExternalFlashAeModeAvailable() =
    characteristics.get(CameraCharacteristics.CONTROL_AE_AVAILABLE_MODES)
        ?.contains(CaptureRequest.CONTROL_AE_MODE_ON_EXTERNAL_FLASH) ?: false
Java
try {
    mCharacteristics = mCameraManager.getCameraCharacteristics(mCameraId);
} catch (CameraAccessException e) {
    e.printStackTrace();
}

@RequiresApi(Build.VERSION_CODES.P)
private boolean isExternalFlashAeModeAvailable() {
    int[] availableAeModes = mCharacteristics.get(CameraCharacteristics.CONTROL_AE_AVAILABLE_MODES);

    for (int aeMode : availableAeModes) {
        if (aeMode == CaptureRequest.CONTROL_AE_MODE_ON_EXTERNAL_FLASH) {
            return true;
        }
    }
    return false;
}
หากแอปพลิเคชันมีการตั้งค่าคำขอจับภาพซ้ำ (จำเป็นสำหรับ ตัวอย่าง) โหมด AE จะต้องตั้งค่าเป็นคำขอซ้ำ ไม่เช่นนั้น ระบบอาจ ลบล้างด้วยโหมด AE เริ่มต้นหรือโหมด AE อื่นๆ ที่ผู้ใช้ตั้งค่าไว้ในการจับภาพ ที่ทำซ้ำครั้งถัดไป หากเกิดกรณีนี้ขึ้น กล้องอาจมีเวลาไม่เพียงพอที่จะดำเนินการทั้งหมด ตามปกติสำหรับโหมด AE ของแฟลชภายนอก
โปรดตรวจสอบผลการจับภาพในการเรียกกลับการจับภาพซ้ำและรอให้โหมด AE อัปเดตในผลลัพธ์ เพื่อช่วยให้มั่นใจว่ากล้องจะประมวลผลคำขออัปเดตโหมด AE เสร็จสมบูรณ์
Capture callback that can wait for AE mode to be updated
ข้อมูลโค้ดต่อไปนี้แสดงวิธีดำเนินการ
Kotlin
private val repeatingCaptureCallback = object : CameraCaptureSession.CaptureCallback() {
    private var targetAeMode: Int? = null
    private var aeModeUpdateDeferred: CompletableDeferred? = null

    suspend fun awaitAeModeUpdate(targetAeMode: Int) {
        this.targetAeMode = targetAeMode
        aeModeUpdateDeferred = CompletableDeferred()
        // Makes the current coroutine wait until aeModeUpdateDeferred is completed. It is
        // completed once targetAeMode is found in the following capture callbacks
        aeModeUpdateDeferred?.await()
    }

    private fun process(result: CaptureResult) {
        // Checks if AE mode is updated and completes any awaiting Deferred
        aeModeUpdateDeferred?.let {
            val aeMode = result[CaptureResult.CONTROL_AE_MODE]
            if (aeMode == targetAeMode) {
                it.complete(Unit)
            }
        }
    }

    override fun onCaptureCompleted(
        session: CameraCaptureSession,
        request: CaptureRequest,
        result: TotalCaptureResult
    ) {
        super.onCaptureCompleted(session, request, result)
        process(result)
    }
}
Java
static class AwaitingCaptureCallback extends CameraCaptureSession.CaptureCallback {
    private int mTargetAeMode;
    private CountDownLatch mAeModeUpdateLatch = null;

    public void awaitAeModeUpdate(int targetAeMode) {
        mTargetAeMode = targetAeMode;
        mAeModeUpdateLatch = new CountDownLatch(1);
        // Makes the current thread wait until mAeModeUpdateLatch is released, it will be
        // released once targetAeMode is found in the capture callbacks below
        try {
            mAeModeUpdateLatch.await();
        } catch (InterruptedException e) {
            e.printStackTrace();
        }
    }

    private void process(CaptureResult result) {
        // Checks if AE mode is updated and decrements the count of any awaiting latch
        if (mAeModeUpdateLatch != null) {
            int aeMode = result.get(CaptureResult.CONTROL_AE_MODE);
            if (aeMode == mTargetAeMode) {
                mAeModeUpdateLatch.countDown();
            }
        }
    }

    @Override
    public void onCaptureCompleted(@NonNull CameraCaptureSession session,
            @NonNull CaptureRequest request,
            @NonNull TotalCaptureResult result) {
        super.onCaptureCompleted(session, request, result);
        process(result);
    }
}

private final AwaitingCaptureCallback mRepeatingCaptureCallback = new AwaitingCaptureCallback();
ตั้งค่าคำขอที่ทำซ้ำเพื่อเปิดหรือปิดใช้โหมด AE
เมื่อมี Callback การจับภาพแล้ว ตัวอย่างโค้ดต่อไปนี้จะแสดงวิธีตั้งค่าคำขอที่ทำซ้ำ
Kotlin
/** [HandlerThread] where all camera operations run */
private val cameraThread = HandlerThread("CameraThread").apply { start() }

/** [Handler] corresponding to [cameraThread] */
private val cameraHandler = Handler(cameraThread.looper)

private suspend fun enableExternalFlashAeMode() {
    if (Build.VERSION.SDK_INT >= 28 && isExternalFlashAeModeAvailable()) {
        session.setRepeatingRequest(
            camera.createCaptureRequest(CameraDevice.TEMPLATE_PREVIEW).apply {
                addTarget(previewSurface)
                set(
                    CaptureRequest.CONTROL_AE_MODE,
                    CaptureRequest.CONTROL_AE_MODE_ON_EXTERNAL_FLASH
                )
            }.build(), repeatingCaptureCallback, cameraHandler
        )

        // Wait for the request to be processed by camera
        repeatingCaptureCallback.awaitAeModeUpdate(CaptureRequest.CONTROL_AE_MODE_ON_EXTERNAL_FLASH)
    }
}

private fun disableExternalFlashAeMode() {
    if (Build.VERSION.SDK_INT >= 28 && isExternalFlashAeModeAvailable()) {
        session.setRepeatingRequest(
            camera.createCaptureRequest(CameraDevice.TEMPLATE_PREVIEW).apply {
                addTarget(previewSurface)
            }.build(), repeatingCaptureCallback, cameraHandler
        )
    }
}
Java
private void setupCameraThread() {
    // HandlerThread where all camera operations run
    HandlerThread cameraThread = new HandlerThread("CameraThread");
    cameraThread.start();

    // Handler corresponding to cameraThread
    mCameraHandler = new Handler(cameraThread.getLooper());
}

private void enableExternalFlashAeMode() {
    if (Build.VERSION.SDK_INT >= 28 && isExternalFlashAeModeAvailable()) {
        try {
            CaptureRequest.Builder requestBuilder = mCamera.createCaptureRequest(CameraDevice.TEMPLATE_PREVIEW);
            requestBuilder.addTarget(mPreviewSurface);
            requestBuilder.set(CaptureRequest.CONTROL_AE_MODE, CaptureRequest.CONTROL_AE_MODE_ON_EXTERNAL_FLASH);
            mSession.setRepeatingRequest(requestBuilder.build(), mRepeatingCaptureCallback, mCameraHandler);
        } catch (CameraAccessException e) {
            e.printStackTrace();
        }

        // Wait for the request to be processed by camera
        mRepeatingCaptureCallback.awaitAeModeUpdate(CaptureRequest.CONTROL_AE_MODE_ON_EXTERNAL_FLASH);
    }
}

private void disableExternalFlashAeMode() {
    if (Build.VERSION.SDK_INT >= 28 && isExternalFlashAeModeAvailable()) {
        try {
            CaptureRequest.Builder requestBuilder = mCamera.createCaptureRequest(CameraDevice.TEMPLATE_PREVIEW);
            requestBuilder.addTarget(mPreviewSurface);
            mSession.setRepeatingRequest(requestBuilder.build(), mRepeatingCaptureCallback, mCameraHandler);
        } catch (CameraAccessException e) {
            e.printStackTrace();
        }
    }
}
ทริกเกอร์ลำดับการจับภาพก่อน
หากต้องการทริกเกอร์ลำดับการวัดการใช้งานก่อนการจับภาพ คุณสามารถส่ง
CaptureRequest ที่ตั้งค่า CONTROL_AE_PRECAPTURE_TRIGGER_START เป็นคำขอได้ คุณต้องรอให้ระบบประมวลผลคำขอก่อน แล้วรอให้ AE และ AWB บรรจบกัน
แม้ว่าทริกเกอร์ก่อนการจับภาพจะมีคำขอจับภาพเพียงรายการเดียว แต่การรอให้ AE และ AWB ทำงานร่วมกันนั้นต้องใช้ความซับซ้อนมากขึ้น คุณสามารถติดตามสถานะ AE และสถานะ AWB ได้โดยใช้การเรียกกลับการจับภาพที่ตั้งค่าเป็นคำขอที่ทำซ้ำ
การอัปเดตการเรียกกลับที่เกิดซ้ำเดียวกันจะช่วยให้โค้ดมีความเรียบง่าย แอปพลิเคชันมักต้องใช้พรีวิวซึ่งจะตั้งค่าคำขอที่ทำซ้ำ ขณะตั้งค่ากล้อง ดังนั้น คุณจึงตั้งค่าการเรียกกลับการจับภาพซ้ำเป็นการร้องขอซ้ำครั้งแรกนั้นได้เพียงครั้งเดียว แล้วนำไปใช้ซ้ำเพื่อตรวจสอบผลลัพธ์และรอ
บันทึกการอัปเดตรหัสเรียกกลับเพื่อรอการบรรจบกัน
หากต้องการอัปเดตการเรียกกลับของการจับภาพซ้ำ ให้ใช้ข้อมูลโค้ดต่อไปนี้
Kotlin
private val repeatingCaptureCallback = object : CameraCaptureSession.CaptureCallback() {
    private var targetAeMode: Int? = null
    private var aeModeUpdateDeferred: CompletableDeferred? = null

    private var convergenceDeferred: CompletableDeferred? = null

    suspend fun awaitAeModeUpdate(targetAeMode: Int) {
        this.targetAeMode = targetAeMode
        aeModeUpdateDeferred = CompletableDeferred()
        // Makes the current coroutine wait until aeModeUpdateDeferred is completed. It is
        // completed once targetAeMode is found in the following capture callbacks
        aeModeUpdateDeferred?.await()
    }

    suspend fun awaitAeAwbConvergence() {
        convergenceDeferred = CompletableDeferred()
        // Makes the current coroutine wait until convergenceDeferred is completed, it will be
        // completed once both AE & AWB are reported as converged in the capture callbacks below
        convergenceDeferred?.await()
    }

    private fun process(result: CaptureResult) {
        // Checks if AE mode is updated and completes any awaiting Deferred
        aeModeUpdateDeferred?.let {
            val aeMode = result[CaptureResult.CONTROL_AE_MODE]
            if (aeMode == targetAeMode) {
                it.complete(Unit)
            }
        }

        // Checks for convergence and completes any awaiting Deferred
        convergenceDeferred?.let {
            val aeState = result[CaptureResult.CONTROL_AE_STATE]
            val awbState = result[CaptureResult.CONTROL_AWB_STATE]

            val isAeReady = (
                    aeState == null // May be null in some devices (e.g. legacy camera HW level)
                            || aeState == CaptureResult.CONTROL_AE_STATE_CONVERGED
                            || aeState == CaptureResult.CONTROL_AE_STATE_FLASH_REQUIRED
                    )

            val isAwbReady = (
                    awbState == null // May be null in some devices (e.g. legacy camera HW level)
                            || awbState == CaptureResult.CONTROL_AWB_STATE_CONVERGED
                    )

            if (isAeReady && isAwbReady) {
                // if any non-null convergenceDeferred is set, complete it
                it.complete(Unit)
            }
        }
    }

    override fun onCaptureCompleted(
        session: CameraCaptureSession,
        request: CaptureRequest,
        result: TotalCaptureResult
    ) {
        super.onCaptureCompleted(session, request, result)
        process(result)
    }
}
Java
static class AwaitingCaptureCallback extends CameraCaptureSession.CaptureCallback {
    private int mTargetAeMode;
    private CountDownLatch mAeModeUpdateLatch = null;

    private CountDownLatch mConvergenceLatch = null;

    public void awaitAeModeUpdate(int targetAeMode) {
        mTargetAeMode = targetAeMode;
        mAeModeUpdateLatch = new CountDownLatch(1);
        // Makes the current thread wait until mAeModeUpdateLatch is released, it will be
        // released once targetAeMode is found in the capture callbacks below
        try {
            mAeModeUpdateLatch.await();
        } catch (InterruptedException e) {
            e.printStackTrace();
        }
    }

    public void awaitAeAwbConvergence() {
        mConvergenceLatch = new CountDownLatch(1);
        // Makes the current coroutine wait until mConvergenceLatch is released, it will be
        // released once both AE & AWB are reported as converged in the capture callbacks below
        try {
            mConvergenceLatch.await();
        } catch (InterruptedException e) {
            e.printStackTrace();
        }
    }

    private void process(CaptureResult result) {
        // Checks if AE mode is updated and decrements the count of any awaiting latch
        if (mAeModeUpdateLatch != null) {
            int aeMode = result.get(CaptureResult.CONTROL_AE_MODE);
            if (aeMode == mTargetAeMode) {
                mAeModeUpdateLatch.countDown();
            }
        }

        // Checks for convergence and decrements the count of any awaiting latch
        if (mConvergenceLatch != null) {
            Integer aeState = result.get(CaptureResult.CONTROL_AE_STATE);
            Integer awbState = result.get(CaptureResult.CONTROL_AWB_STATE);

            boolean isAeReady = (
                    aeState == null // May be null in some devices (e.g. legacy camera HW level)
                            || aeState == CaptureResult.CONTROL_AE_STATE_CONVERGED
                            || aeState == CaptureResult.CONTROL_AE_STATE_FLASH_REQUIRED
            );

            boolean isAwbReady = (
                    awbState == null // May be null in some devices (e.g. legacy camera HW level)
                            || awbState == CaptureResult.CONTROL_AWB_STATE_CONVERGED
            );

            if (isAeReady && isAwbReady) {
                mConvergenceLatch.countDown();
                mConvergenceLatch = null;
            }
        }
    }

    @Override
    public void onCaptureCompleted(@NonNull CameraCaptureSession session,
            @NonNull CaptureRequest request,
            @NonNull TotalCaptureResult result) {
        super.onCaptureCompleted(session, request, result);
        process(result);
    }
}
ตั้งค่าการเรียกกลับเป็นคำขอที่ทำซ้ำระหว่างการตั้งค่ากล้อง
ตัวอย่างโค้ดต่อไปนี้ช่วยให้คุณตั้งค่าการเรียกกลับเป็นคำขอที่ทำซ้ำ ระหว่างการเริ่มต้นได้
Kotlin
// Open the selected camera
camera = openCamera(cameraManager, cameraId, cameraHandler)

// Creates list of Surfaces where the camera will output frames
val targets = listOf(previewSurface, imageReaderSurface)

// Start a capture session using our open camera and list of Surfaces where frames will go
session = createCameraCaptureSession(camera, targets, cameraHandler)

val captureRequest = camera.createCaptureRequest(
        CameraDevice.TEMPLATE_PREVIEW).apply { addTarget(previewSurface) }

// This will keep sending the capture request as frequently as possible until the
// session is torn down or session.stopRepeating() is called
session.setRepeatingRequest(captureRequest.build(), repeatingCaptureCallback, cameraHandler)
Java
// Open the selected camera mCamera = openCamera(mCameraManager, mCameraId, mCameraHandler); // Creates list of Surfaces where the camera will output frames Listtargets = new ArrayList<>(Arrays.asList(mPreviewSurface, mImageReaderSurface)); // Start a capture session using our open camera and list of Surfaces where frames will go mSession = createCaptureSession(mCamera, targets, mCameraHandler); try { CaptureRequest.Builder requestBuilder = mCamera.createCaptureRequest(CameraDevice.TEMPLATE_PREVIEW); requestBuilder.addTarget(mPreviewSurface); // This will keep sending the capture request as frequently as possible until the // session is torn down or session.stopRepeating() is called mSession.setRepeatingRequest(requestBuilder.build(), mRepeatingCaptureCallback, mCameraHandler); } catch (CameraAccessException e) { e.printStackTrace(); }
การทริกเกอร์และการรอการทำงานของลำดับก่อนการจับภาพ
เมื่อตั้งค่าการเรียกกลับแล้ว คุณจะใช้ตัวอย่างโค้ดต่อไปนี้เพื่อทริกเกอร์และรอการจับภาพก่อนได้
Kotlin
private suspend fun runPrecaptureSequence() {
    // Creates a new capture request with CONTROL_AE_PRECAPTURE_TRIGGER_START
    val captureRequest = session.device.createCaptureRequest(
        CameraDevice.TEMPLATE_PREVIEW
    ).apply {
        addTarget(previewSurface)
        set(
            CaptureRequest.CONTROL_AE_PRECAPTURE_TRIGGER,
            CaptureRequest.CONTROL_AE_PRECAPTURE_TRIGGER_START
        )
    }

    val precaptureDeferred = CompletableDeferred()
    session.capture(captureRequest.build(), object: CameraCaptureSession.CaptureCallback() {
        override fun onCaptureCompleted(
            session: CameraCaptureSession,
            request: CaptureRequest,
            result: TotalCaptureResult
        ) {
            // Waiting for this callback ensures the precapture request has been processed
            precaptureDeferred.complete(Unit)
        }
    }, cameraHandler)

    precaptureDeferred.await()

    // Precapture trigger request has been processed, we can wait for AE & AWB convergence now
    repeatingCaptureCallback.awaitAeAwbConvergence()
}
Java
private void runPrecaptureSequence() {
    // Creates a new capture request with CONTROL_AE_PRECAPTURE_TRIGGER_START
    try {
        CaptureRequest.Builder requestBuilder =
                mSession.getDevice().createCaptureRequest(CameraDevice.TEMPLATE_PREVIEW);
        requestBuilder.addTarget(mPreviewSurface);
        requestBuilder.set(CaptureRequest.CONTROL_AE_PRECAPTURE_TRIGGER,
                CaptureRequest.CONTROL_AE_PRECAPTURE_TRIGGER_START);

        CountDownLatch precaptureLatch = new CountDownLatch(1);
        mSession.capture(requestBuilder.build(), new CameraCaptureSession.CaptureCallback() {
            @Override
            public void onCaptureCompleted(@NonNull CameraCaptureSession session,
                                           @NonNull CaptureRequest request,
                                           @NonNull TotalCaptureResult result) {
                Log.d(TAG, "CONTROL_AE_PRECAPTURE_TRIGGER_START processed");
                // Waiting for this callback ensures the precapture request has been processed
                precaptureLatch.countDown();
            }
        }, mCameraHandler);

        precaptureLatch.await();

        // Precapture trigger request has been processed, we can wait for AE & AWB convergence now
        mRepeatingCaptureCallback.awaitAeAwbConvergence();
    } catch (CameraAccessException | InterruptedException e) {
        e.printStackTrace();
    }
}
เย็บทุกอย่างเข้าด้วยกัน
เมื่อคอมโพเนนต์หลักทั้งหมดพร้อมใช้งาน เมื่อใดก็ตามที่ต้องถ่ายภาพ เช่น เมื่อผู้ใช้คลิกปุ่มจับภาพเพื่อถ่ายรูป ขั้นตอนทั้งหมดจะดำเนินการตามลำดับที่ระบุไว้ในการอภิปรายและตัวอย่างโค้ดก่อนหน้านี้
Kotlin
// User clicks captureButton to take picture
captureButton.setOnClickListener { v ->
    // Apply the screen flash related UI changes
    whiteColorOverlayView.visibility = View.VISIBLE
    maximizeScreenBrightness()

    // Perform I/O heavy operations in a different scope
    lifecycleScope.launch(Dispatchers.IO) {
        // Enable external flash AE mode and wait for it to be processed
        enableExternalFlashAeMode()

        // Run precapture sequence and wait for it to complete
        runPrecaptureSequence()

        // Start taking picture and wait for it to complete
        takePhoto()

        disableExternalFlashAeMode()
        v.post {
            // Clear the screen flash related UI changes
            restoreScreenBrightness()
            whiteColorOverlayView.visibility = View.INVISIBLE
        }
    }
}
Java
// User clicks captureButton to take picture
mCaptureButton.setOnClickListener(new View.OnClickListener() {
    @Override
    public void onClick(View v) {
        // Apply the screen flash related UI changes
        mWhiteColorOverlayView.setVisibility(View.VISIBLE);
        maximizeScreenBrightness();

        // Perform heavy operations in a different thread
        Executors.newSingleThreadExecutor().execute(() -> {
            // Enable external flash AE mode and wait for it to be processed
            enableExternalFlashAeMode();

            // Run precapture sequence and wait for it to complete
            runPrecaptureSequence();

            // Start taking picture and wait for it to complete
            takePhoto();

            disableExternalFlashAeMode();

            v.post(() -> {
                // Clear the screen flash related UI changes
                restoreScreenBrightness();
                mWhiteColorOverlayView.setVisibility(View.INVISIBLE);
            });
        });
    }
});
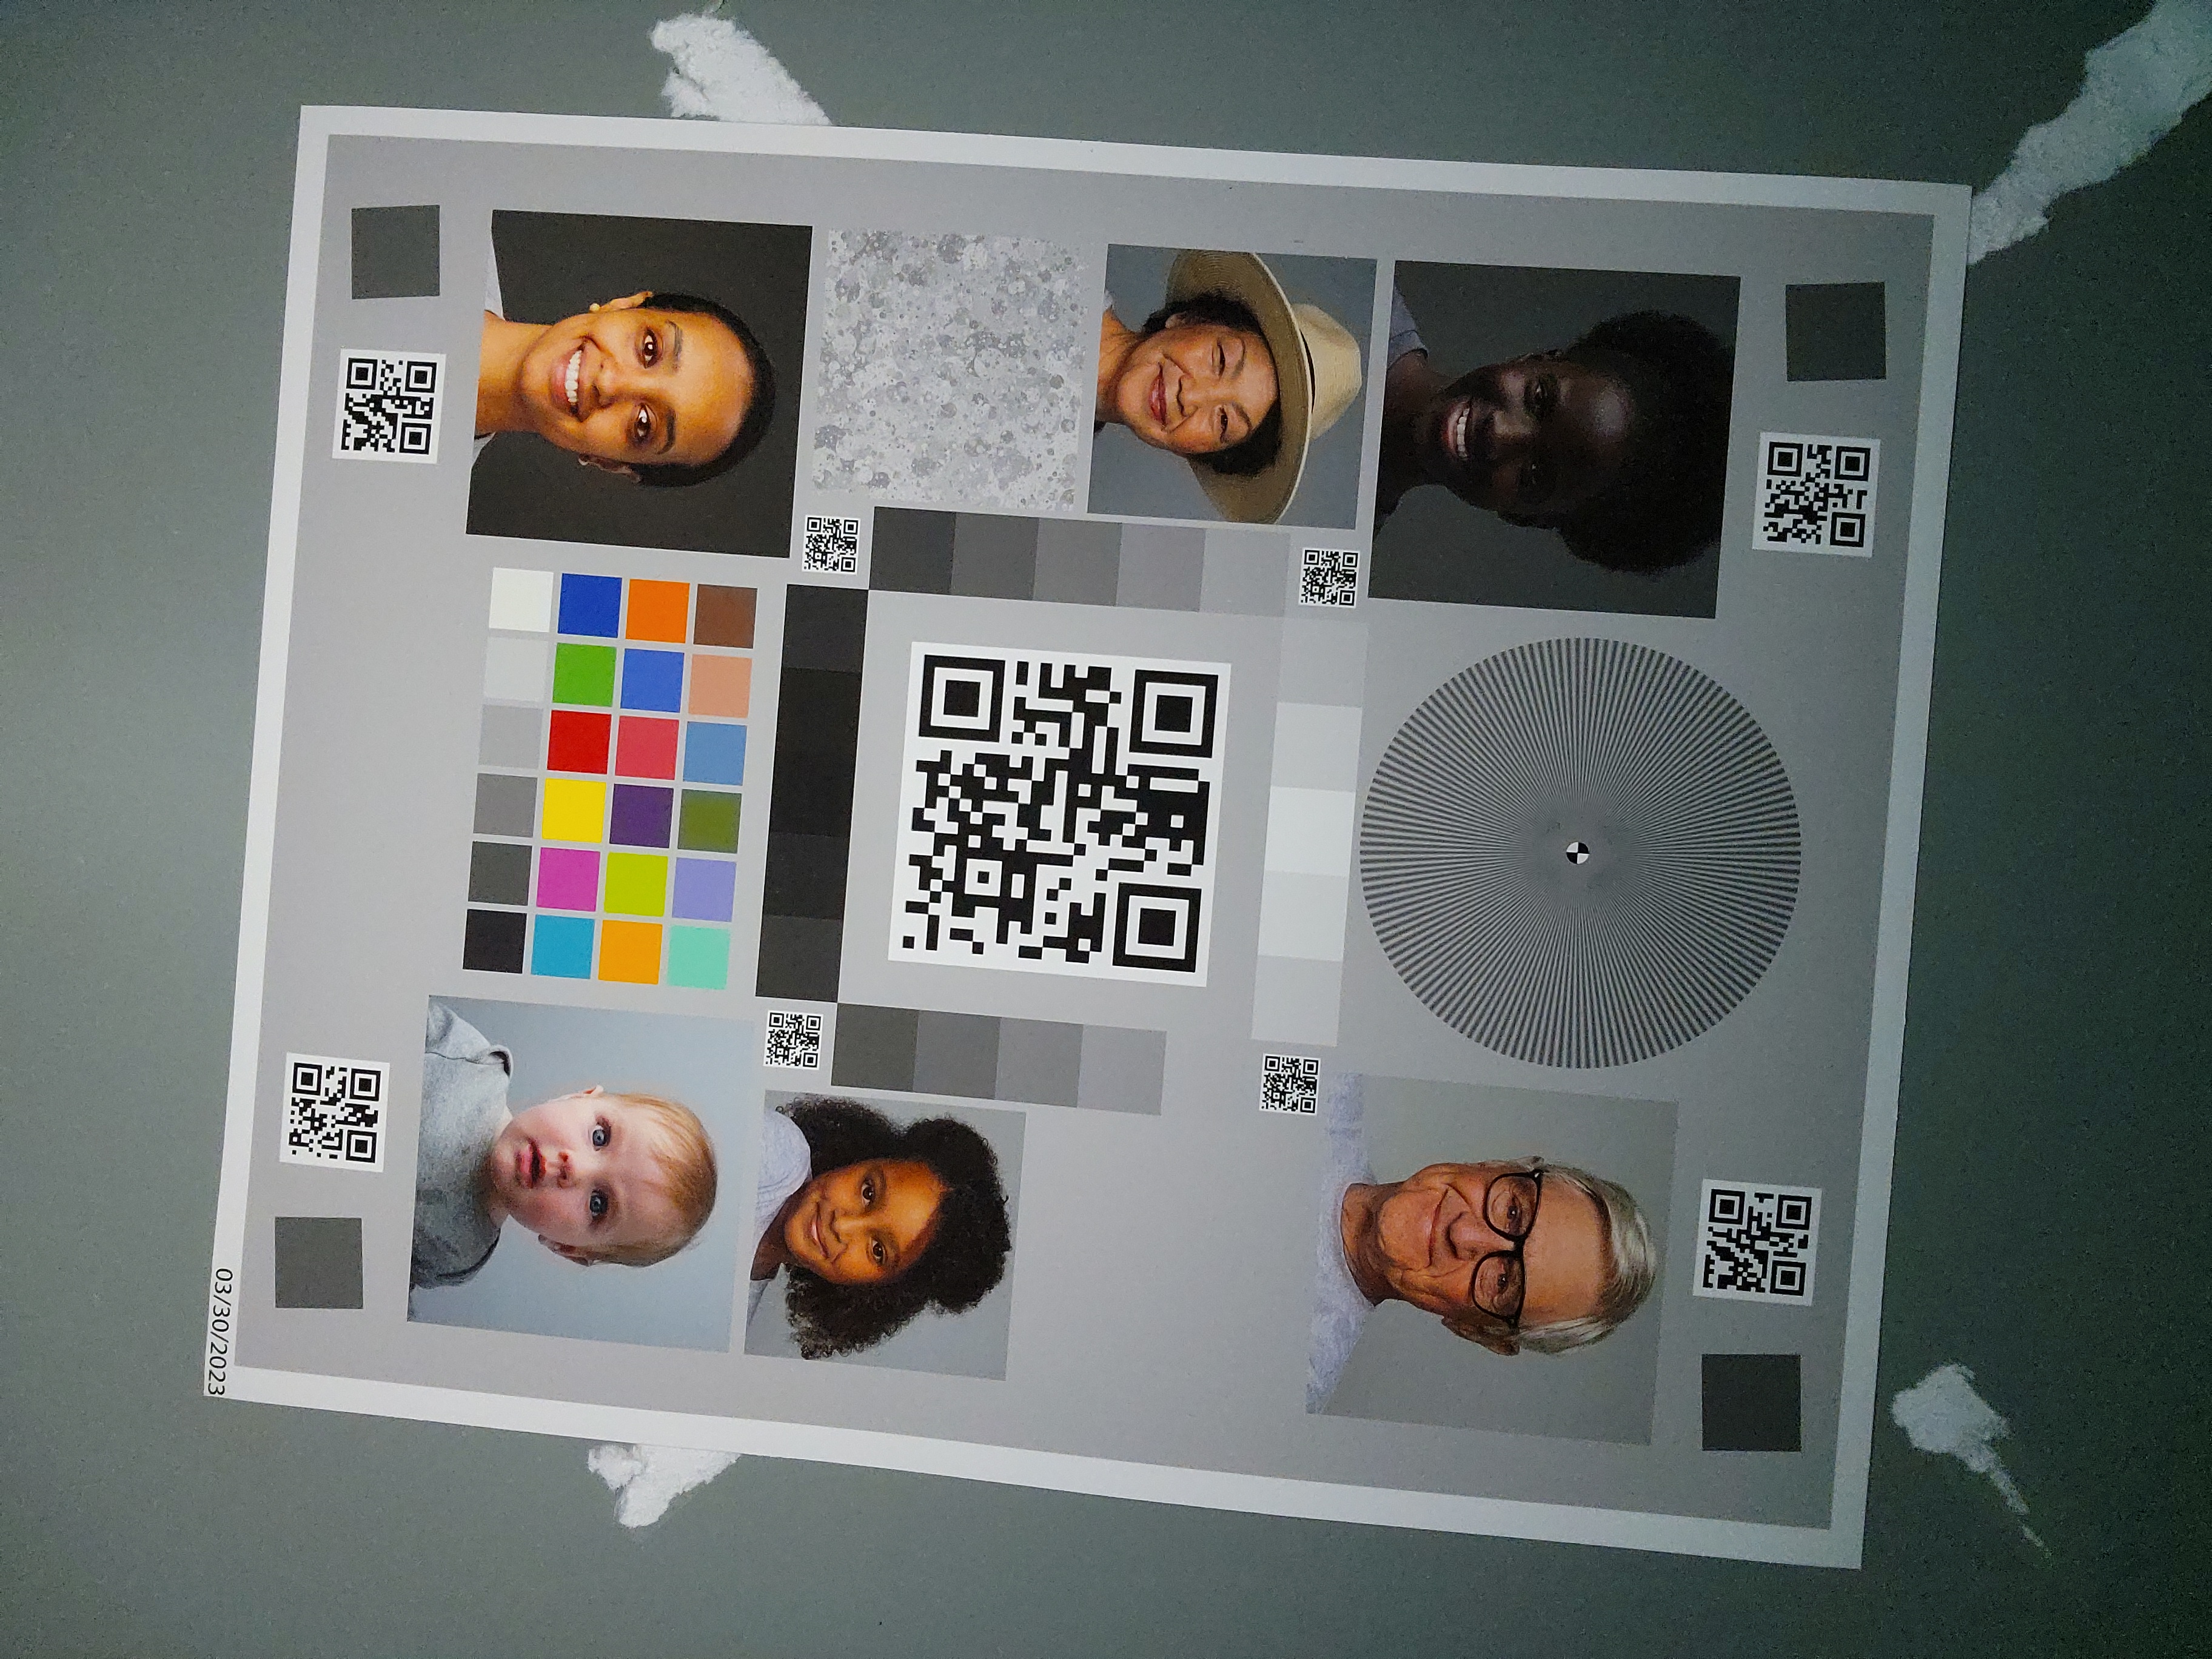
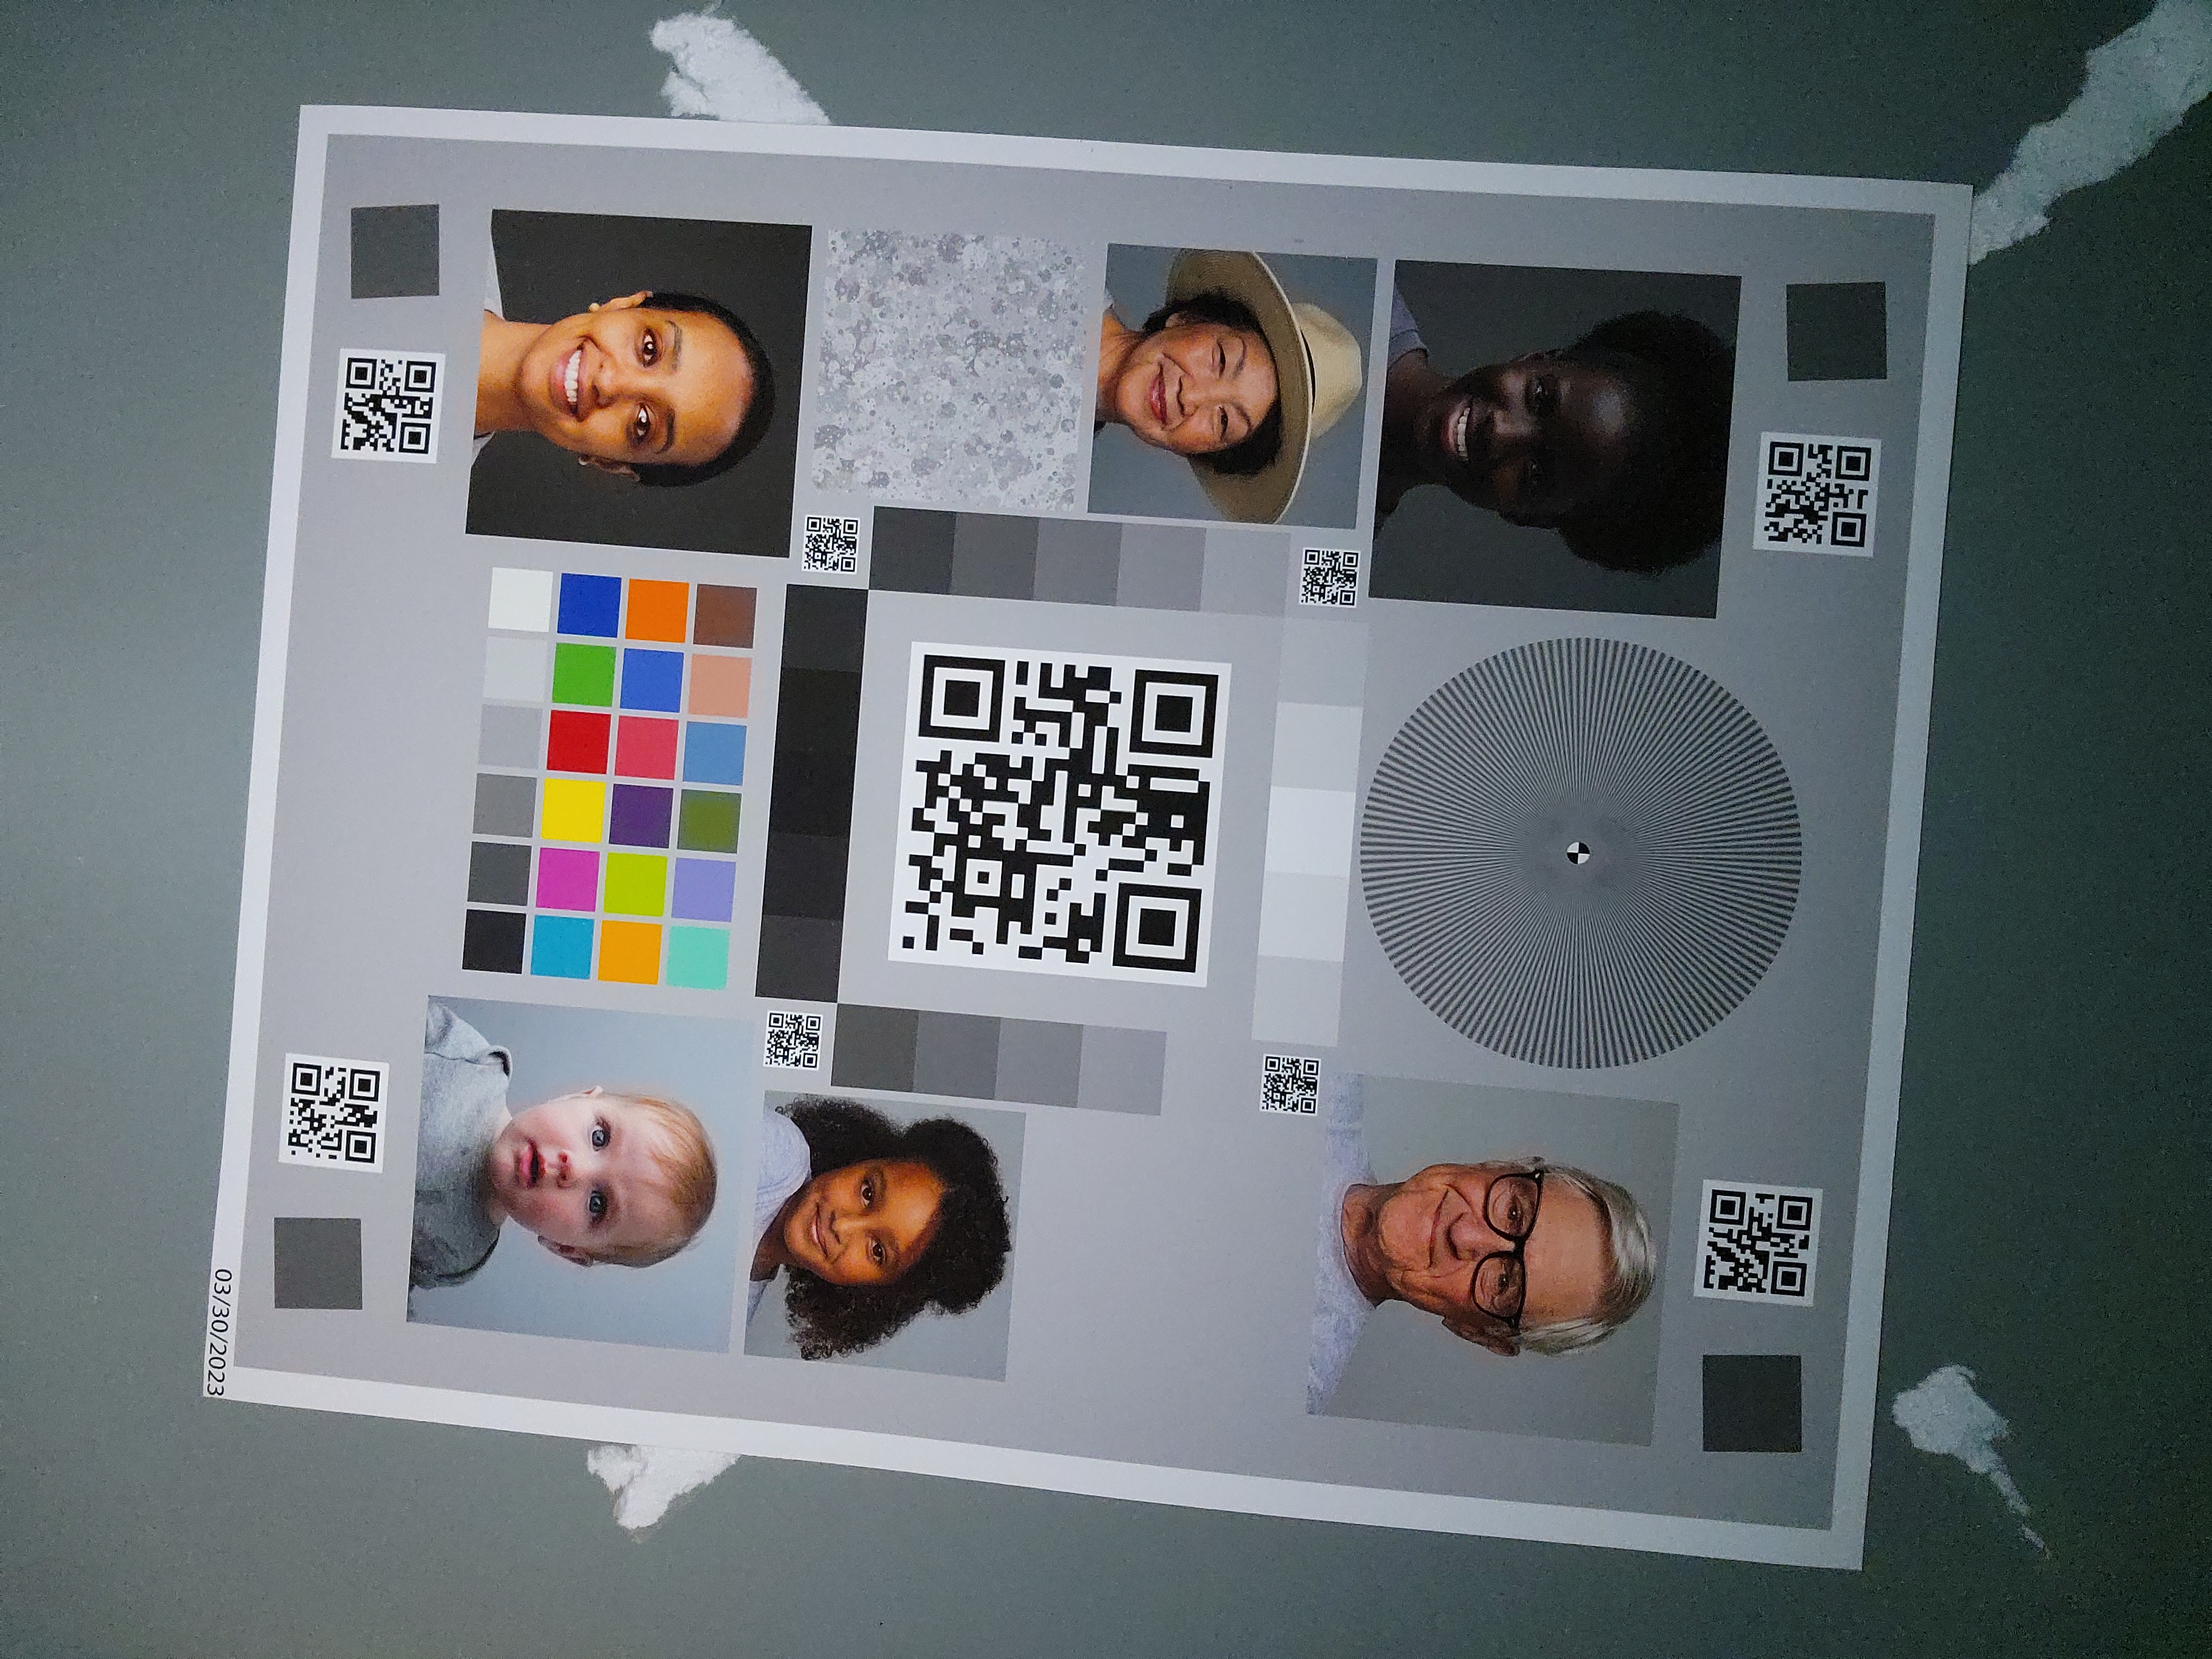
รูปภาพตัวอย่าง
คุณดูตัวอย่างต่อไปนี้เพื่อดูว่าเกิดอะไรขึ้นเมื่อใช้แฟลชหน้าจออย่างไม่ถูกต้อง และเมื่อใช้แฟลชหน้าจออย่างถูกต้อง
เมื่อทำไม่ถูกต้อง
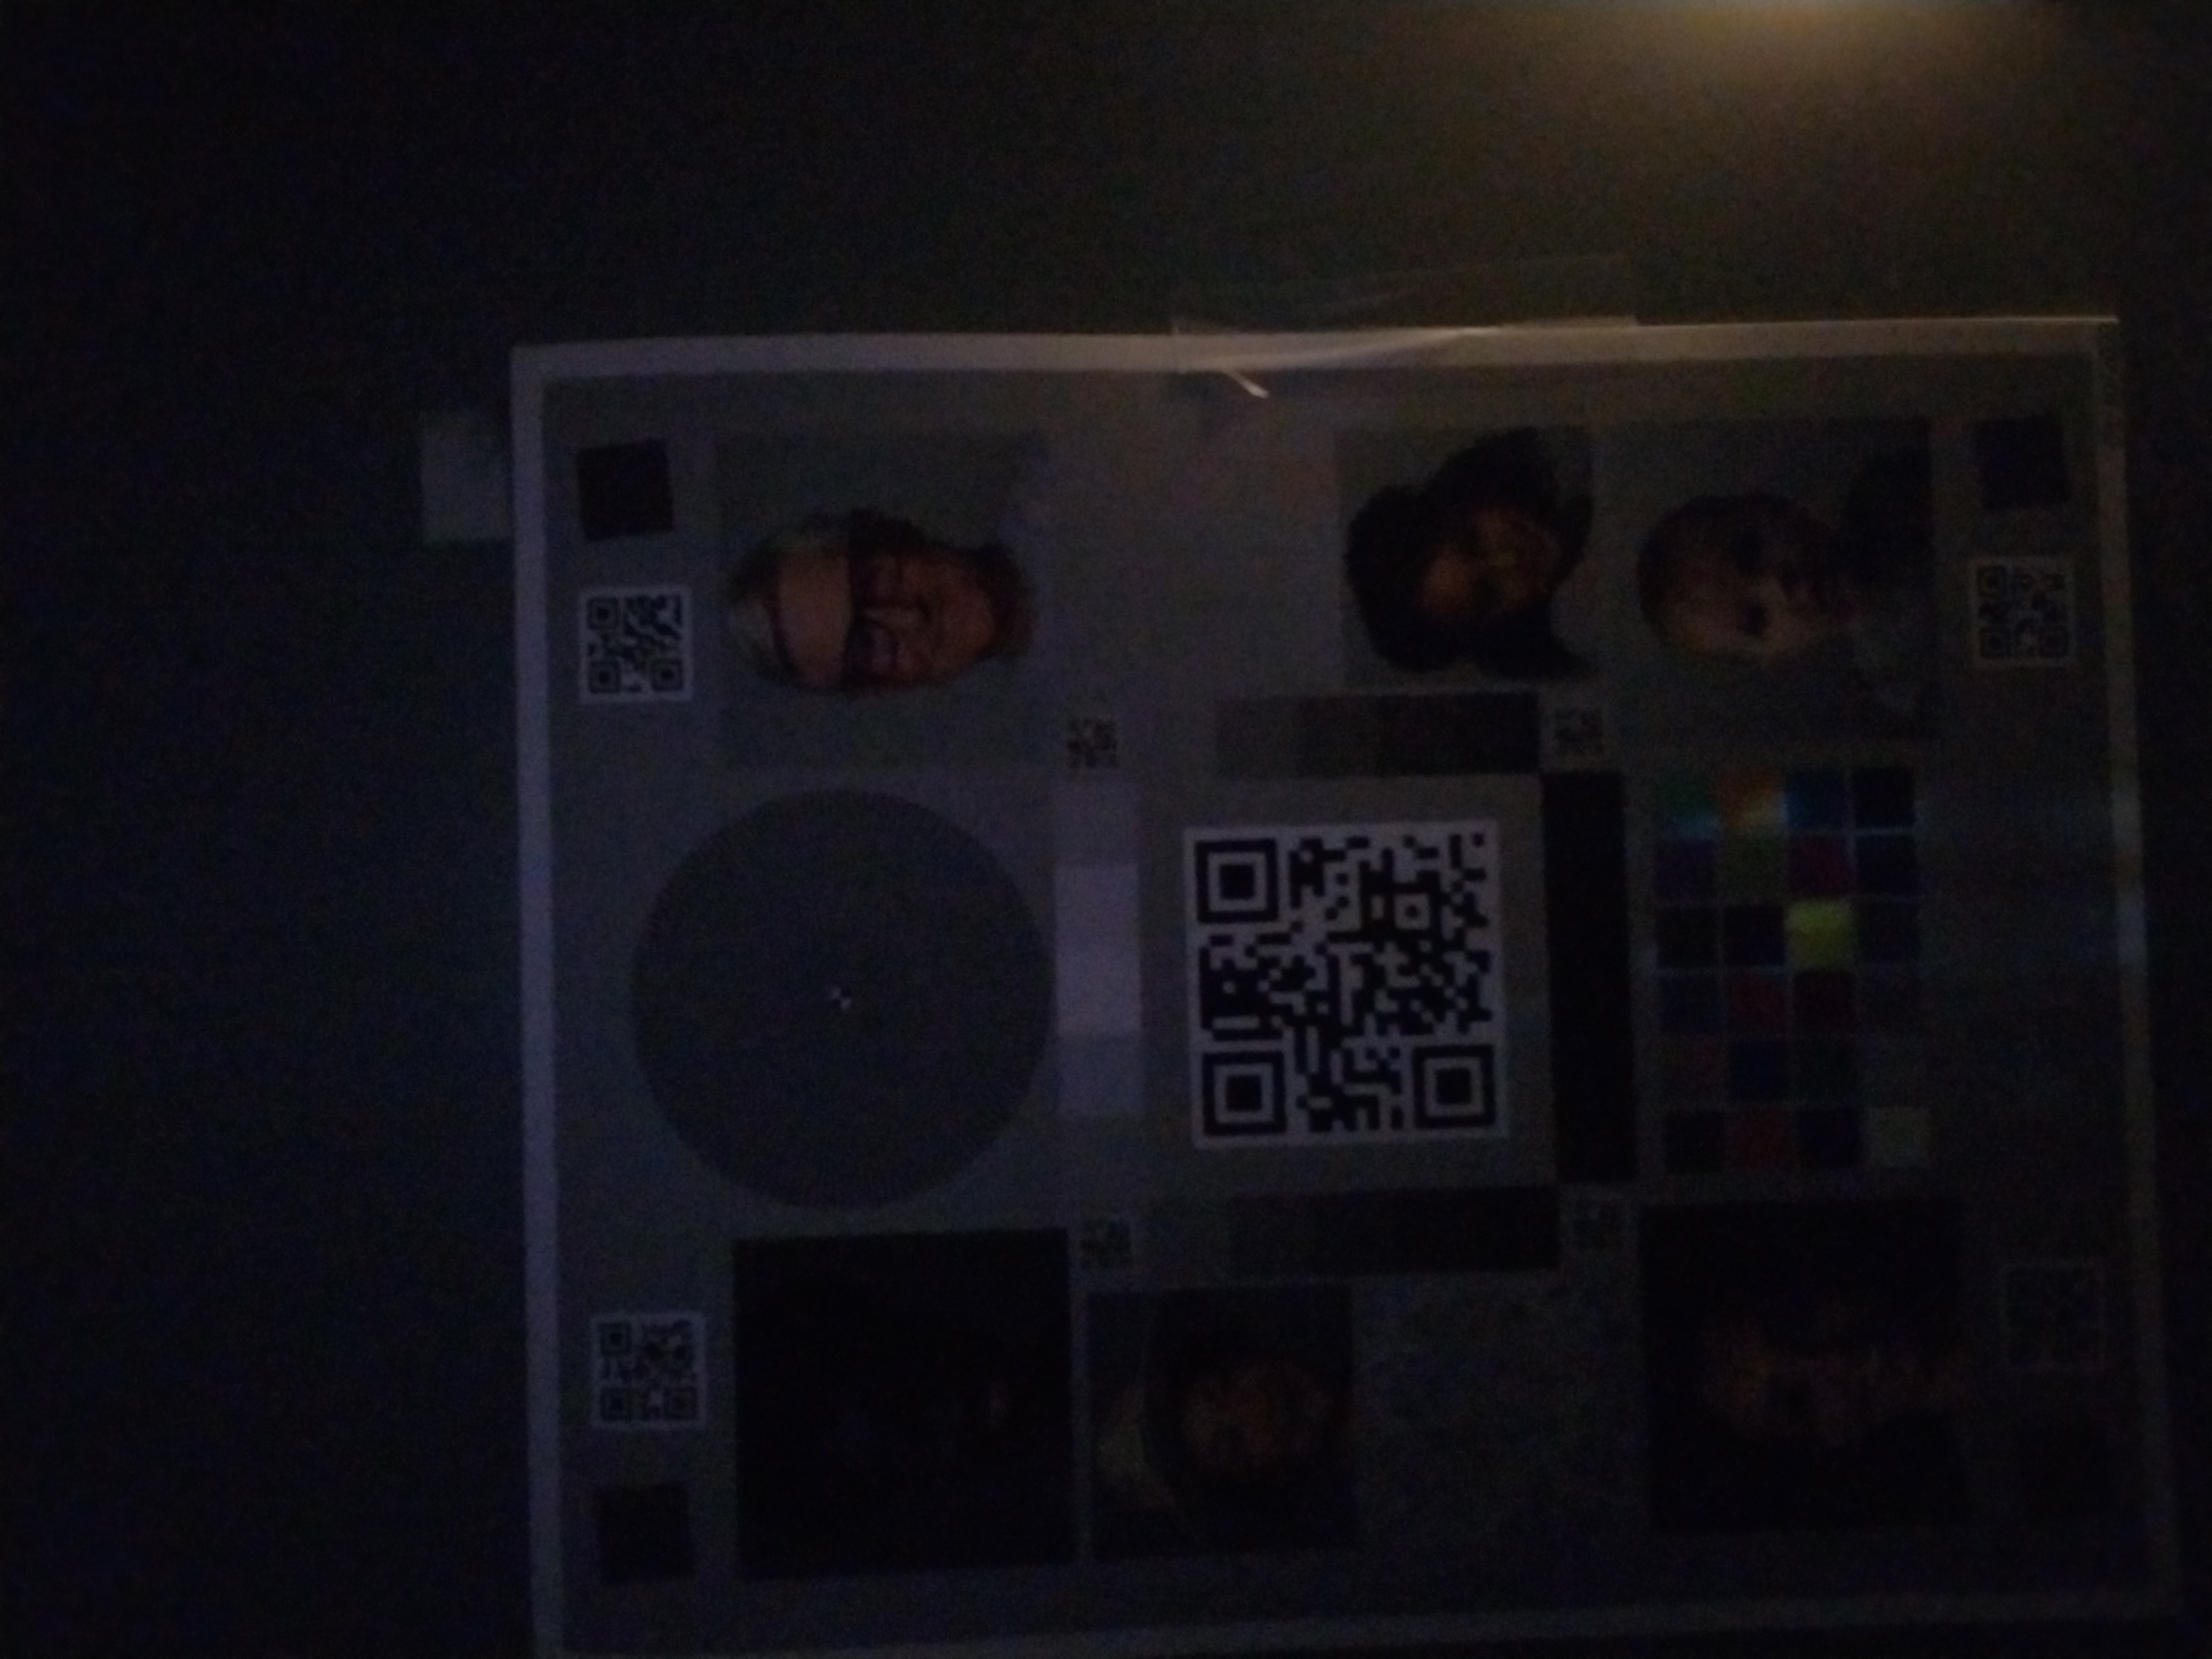
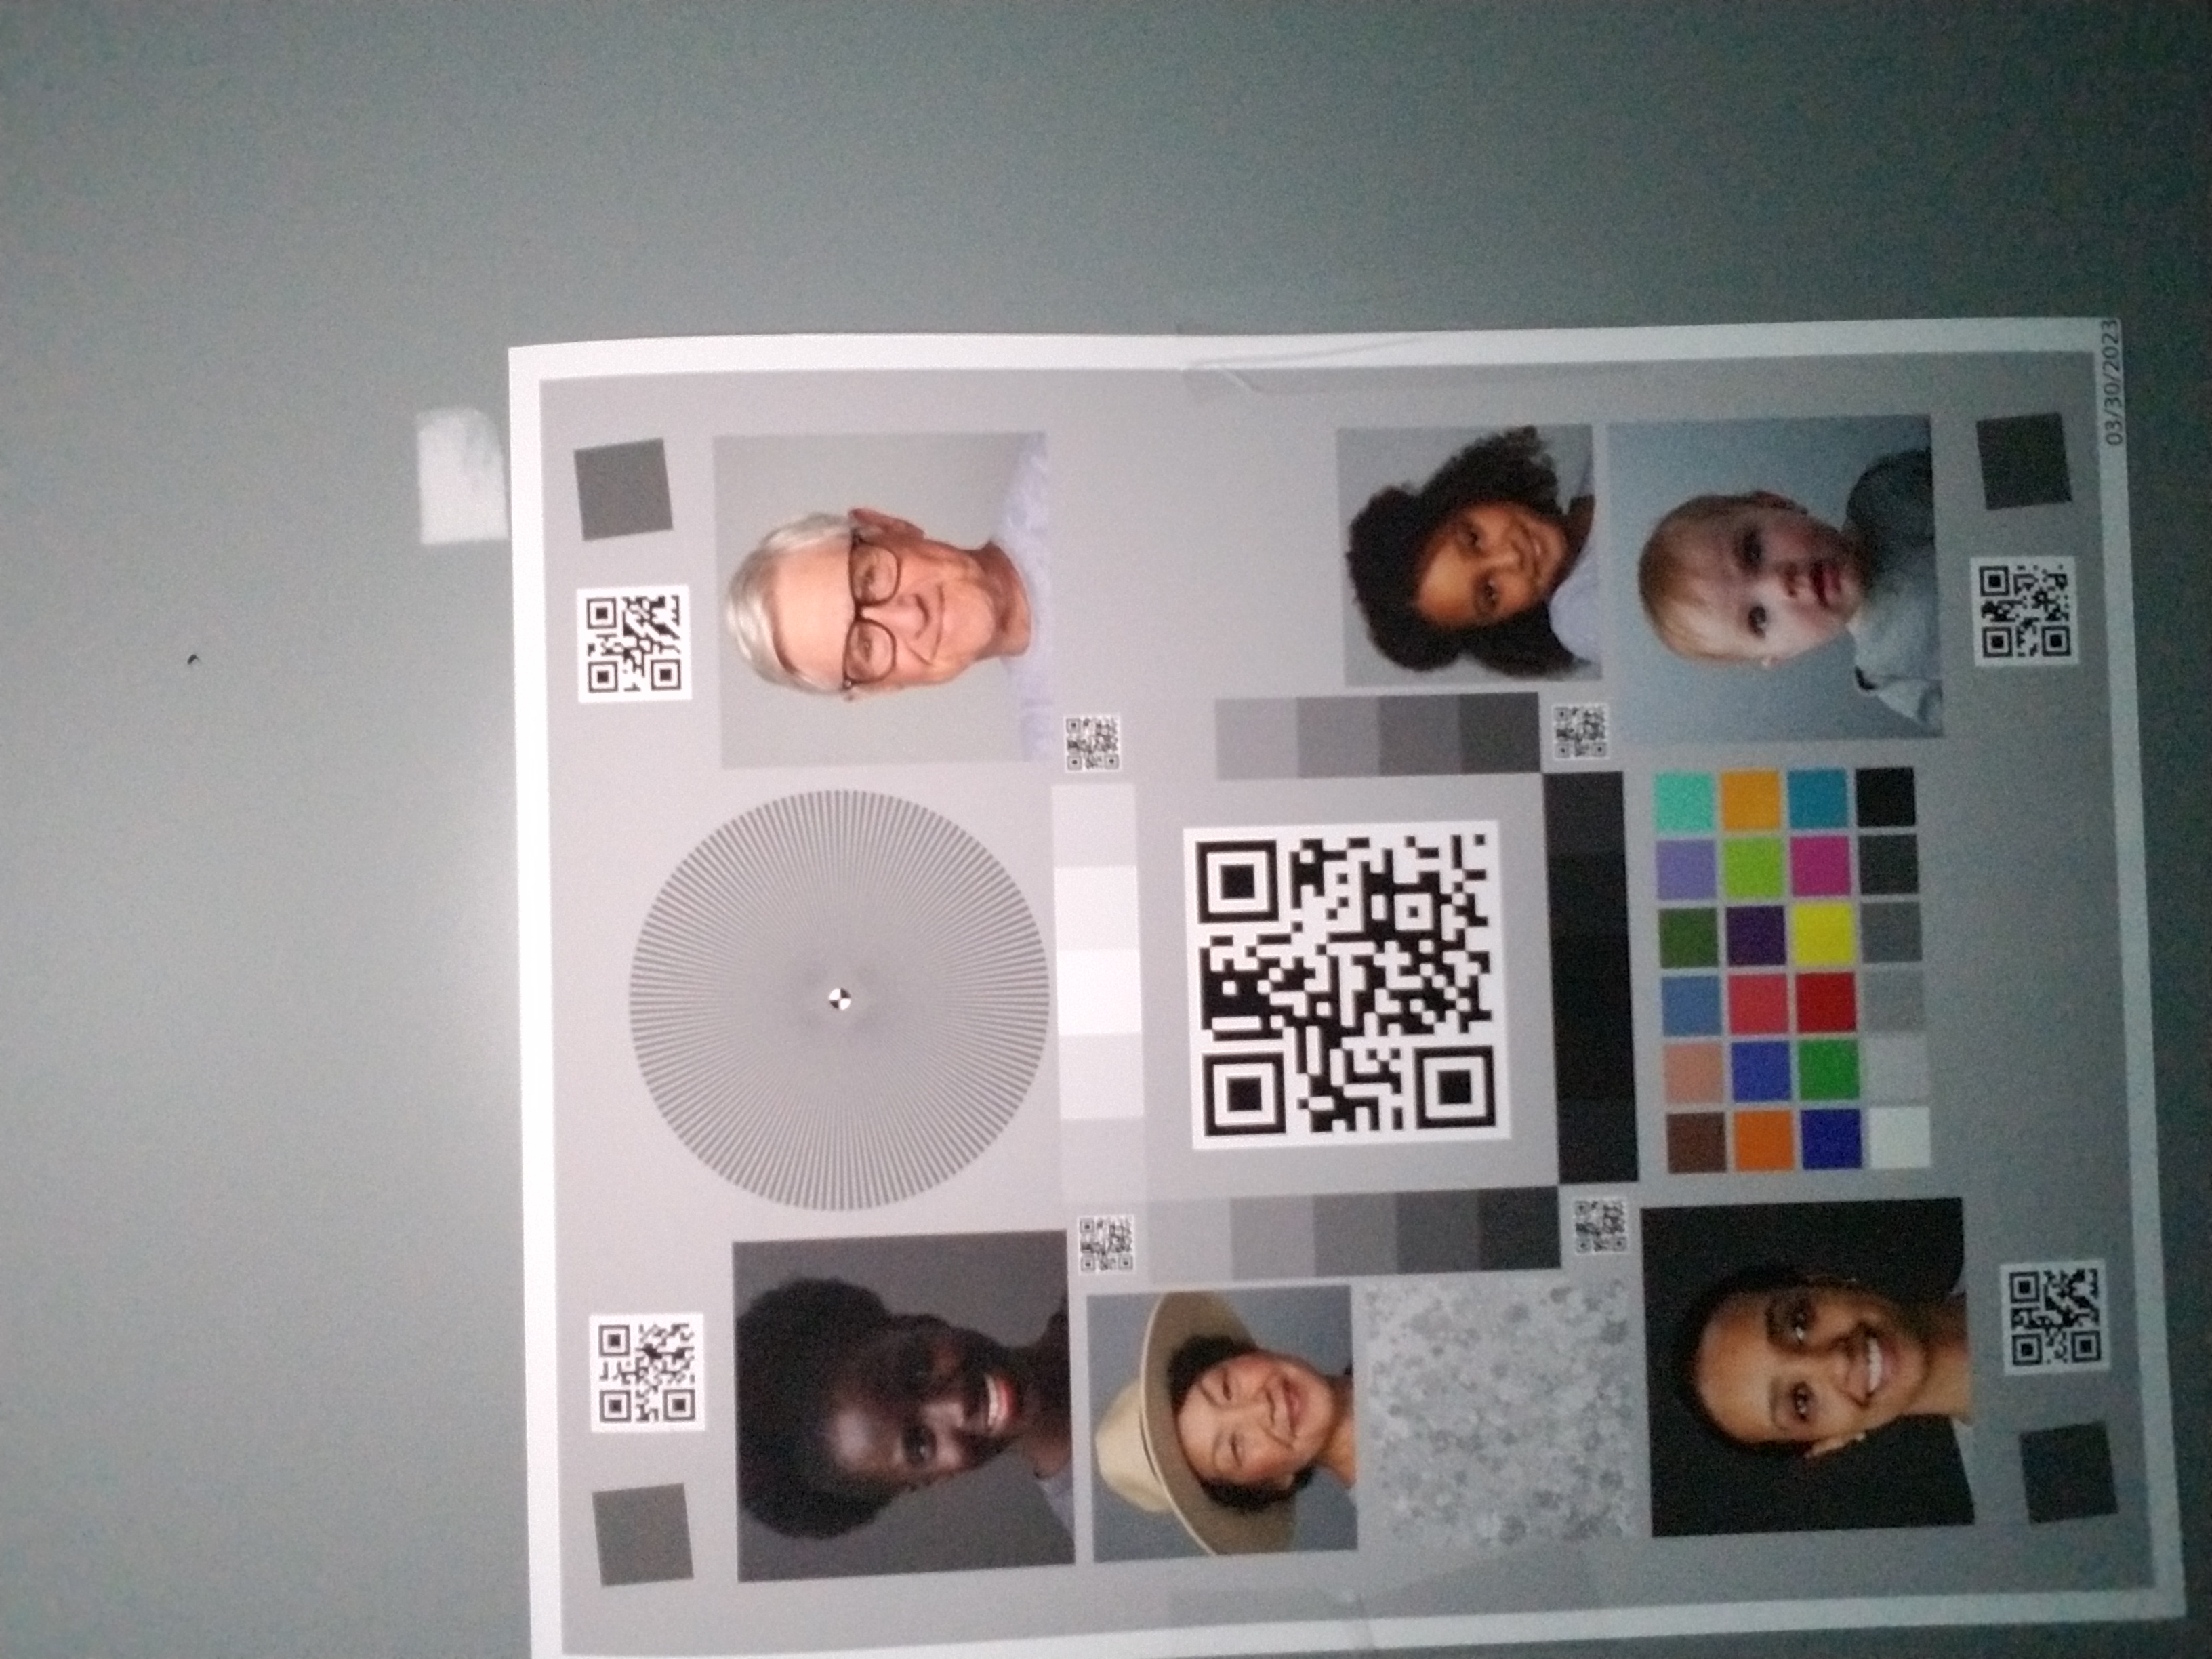
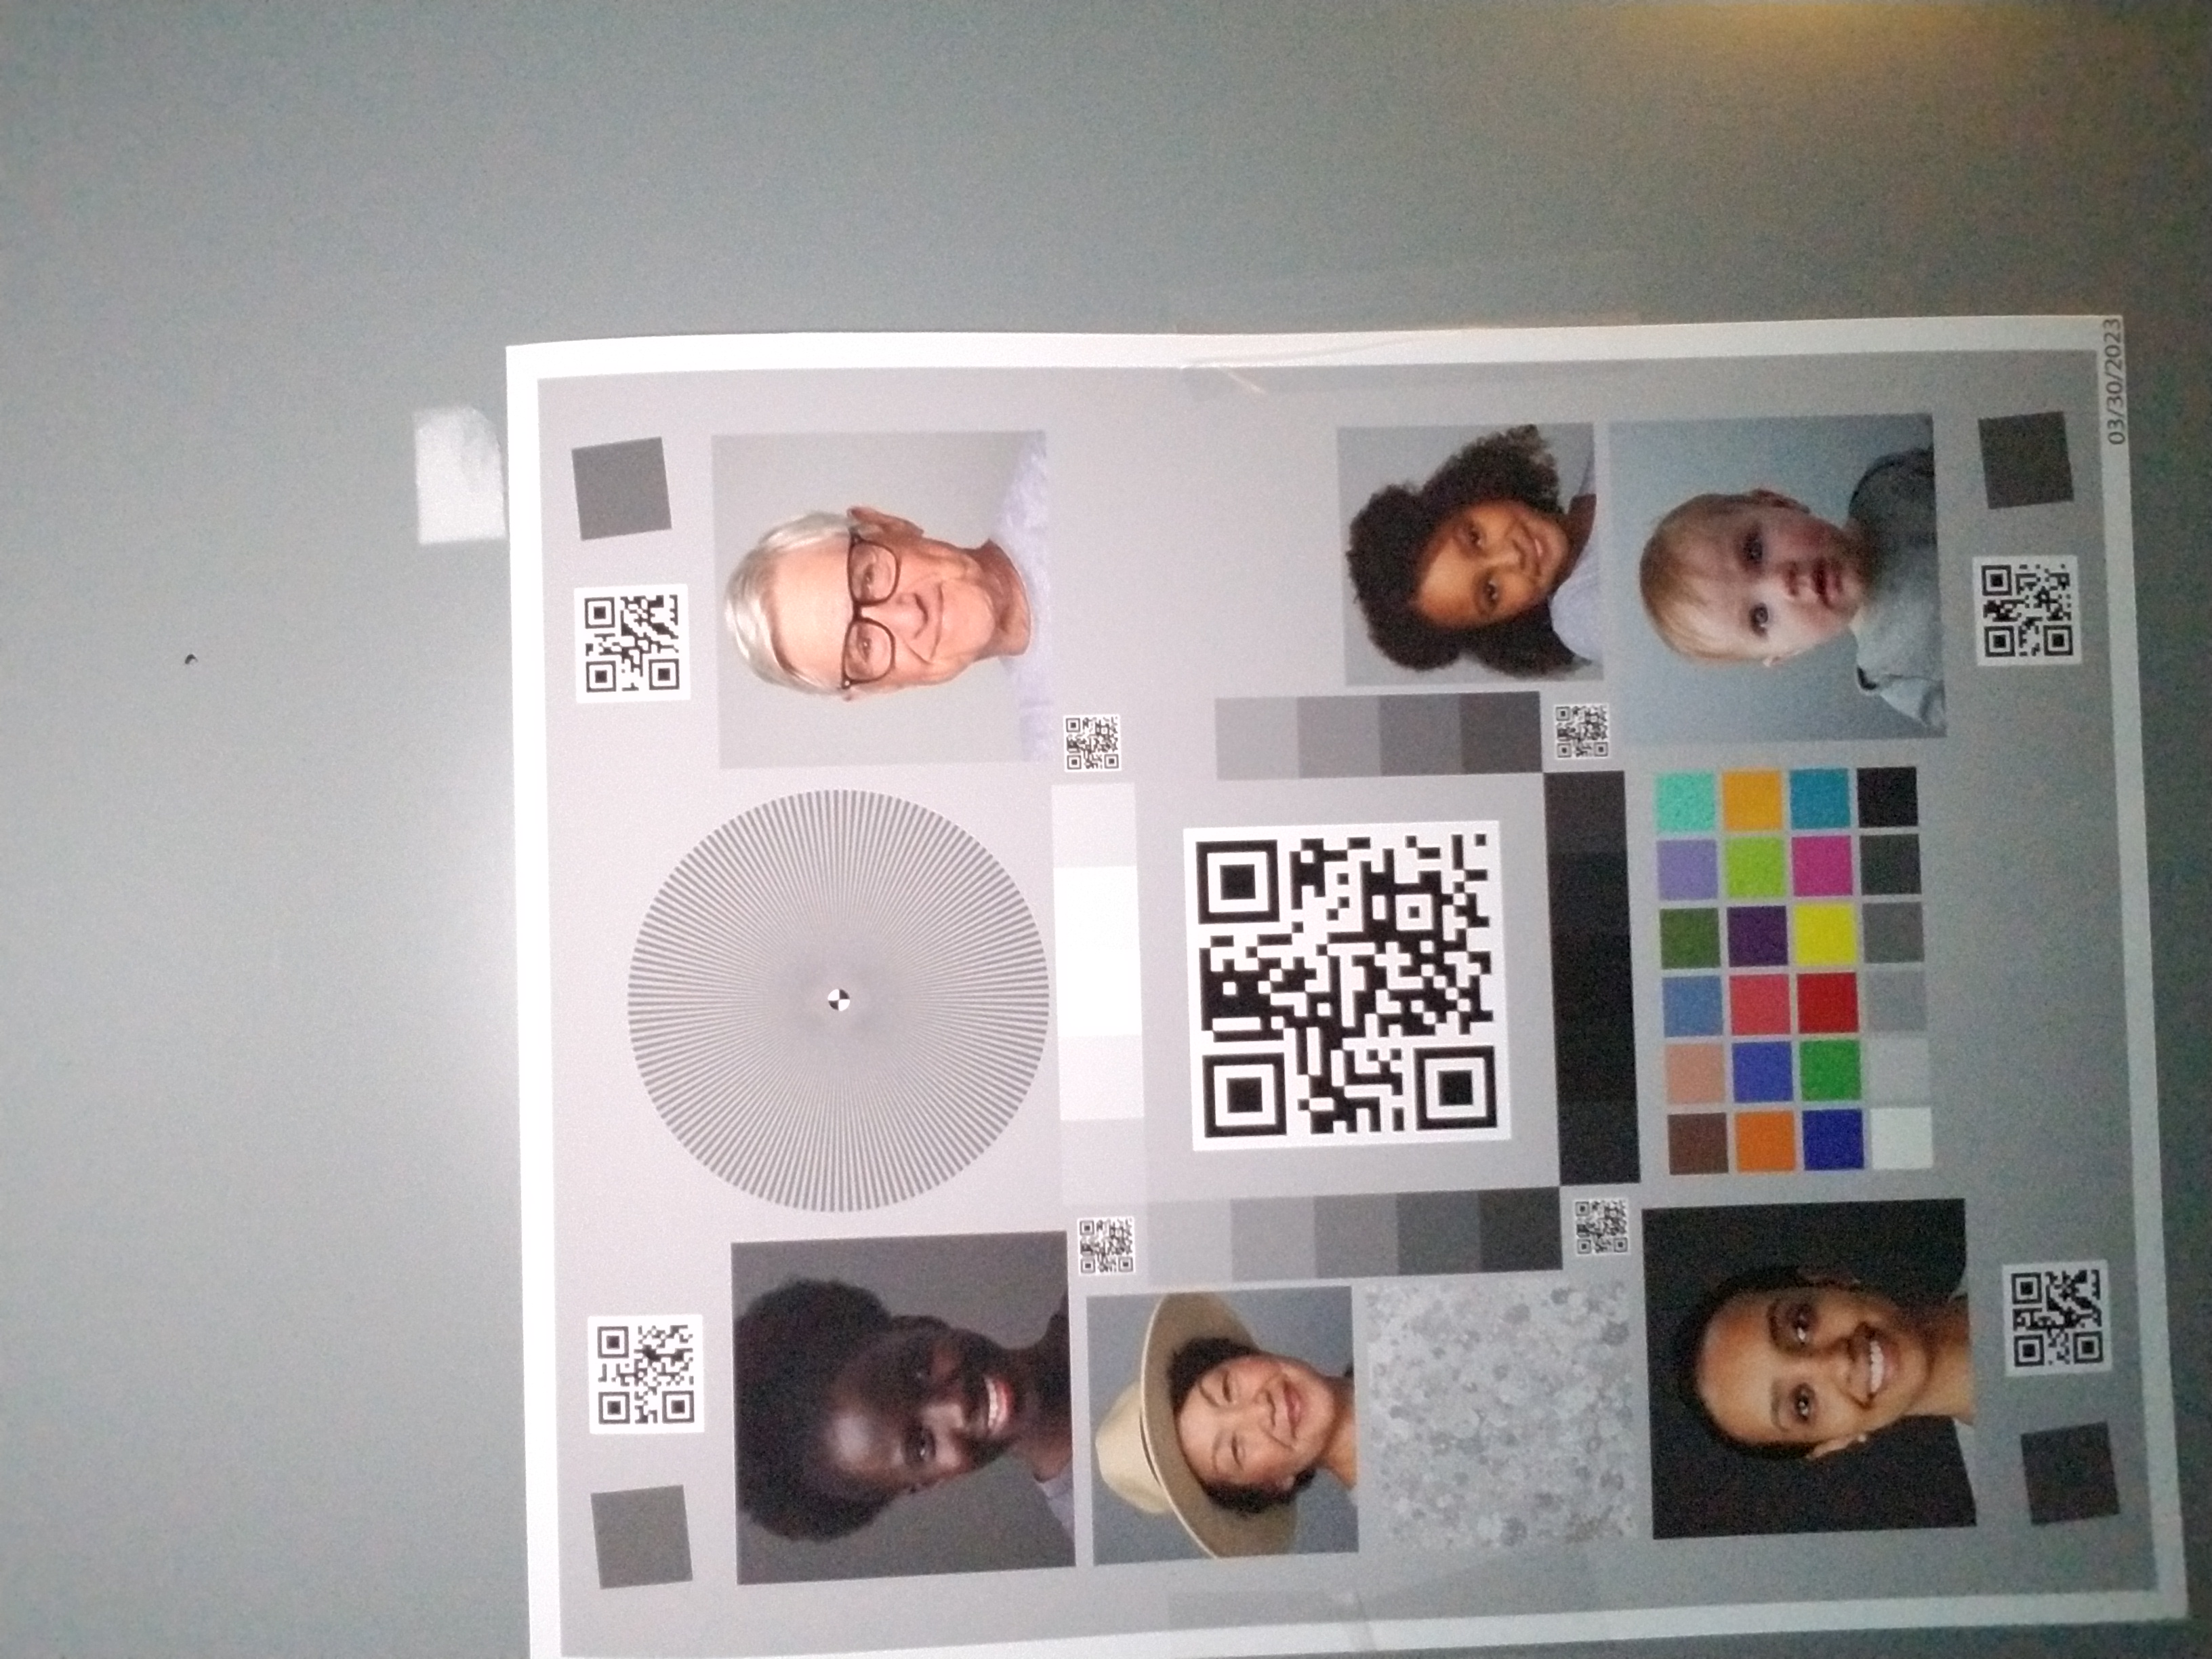
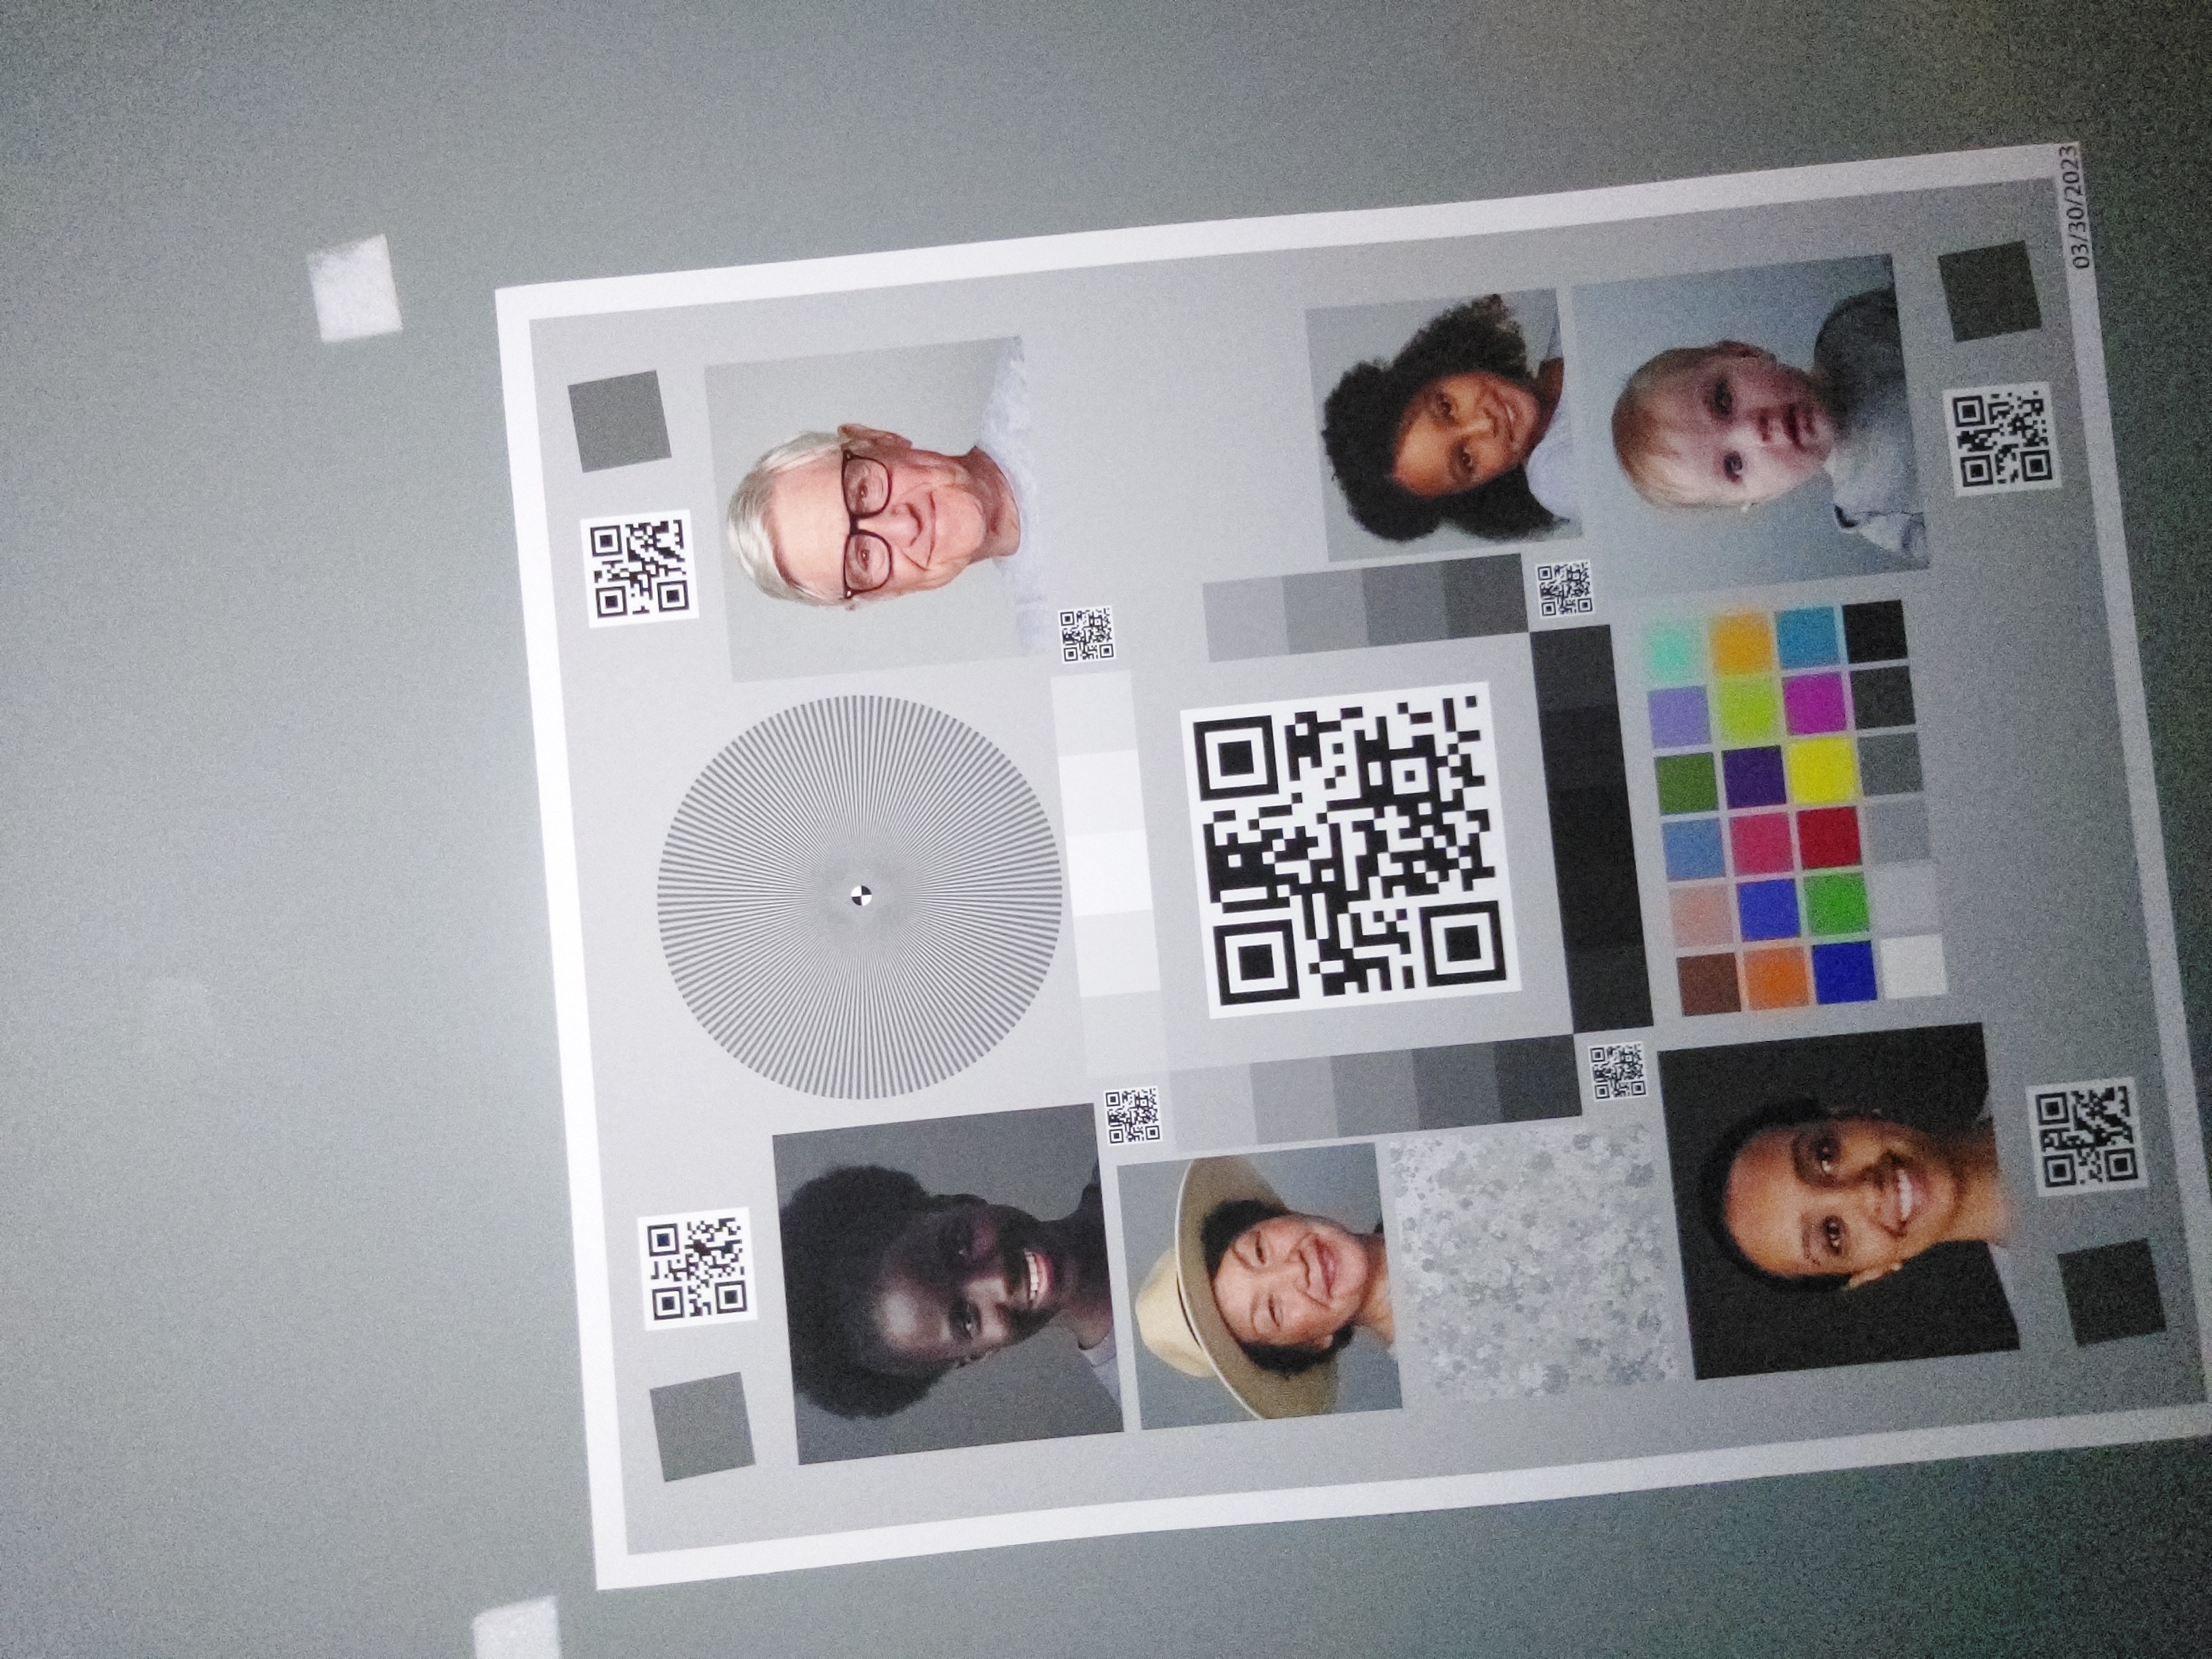
หากไม่ได้ใช้แฟลชหน้าจออย่างถูกต้อง คุณจะได้รับผลลัพธ์ที่ไม่สอดคล้องกันในการจับภาพ อุปกรณ์ และสภาพแสงต่างๆ บ่อยครั้งที่รูปภาพที่ถ่ายมีปัญหา การเปิดรับแสงหรือสีที่ไม่ดี สำหรับอุปกรณ์บางรุ่น ข้อบกพร่องประเภทนี้จะ เห็นได้ชัดเจนยิ่งขึ้นในสภาพแสงที่เฉพาะเจาะจง เช่น สภาพแวดล้อมที่มีแสงน้อย แทนที่จะเป็นสภาพแวดล้อมที่มืดสนิท
ตารางต่อไปนี้แสดงตัวอย่างปัญหาดังกล่าว รูปภาพเหล่านี้ถ่ายใน โครงสร้างพื้นฐานของห้องทดลอง CameraX โดยแหล่งกำเนิดแสงยังคงเป็นสีขาวนวล แหล่งกำเนิดแสงสีขาวนวลนี้ช่วยให้คุณเห็นว่าสีน้ำเงินที่เจือปนเป็นปัญหาจริง ไม่ใช่ผลข้างเคียงจากแหล่งกำเนิดแสง
| สภาพแวดล้อม | แสงน้อยเกินไป | การเปิดรับแสงมากเกินไป | การปรับสมดุลสีเขียว-แดง |
|---|---|---|---|
| สภาพแวดล้อมมืด (ไม่มีแหล่งกำเนิดแสงนอกจากโทรศัพท์) |
|
|
|
| แสงน้อย (แหล่งกำเนิดแสงเพิ่มเติมประมาณ 3 ลักซ์) |
|
|

|
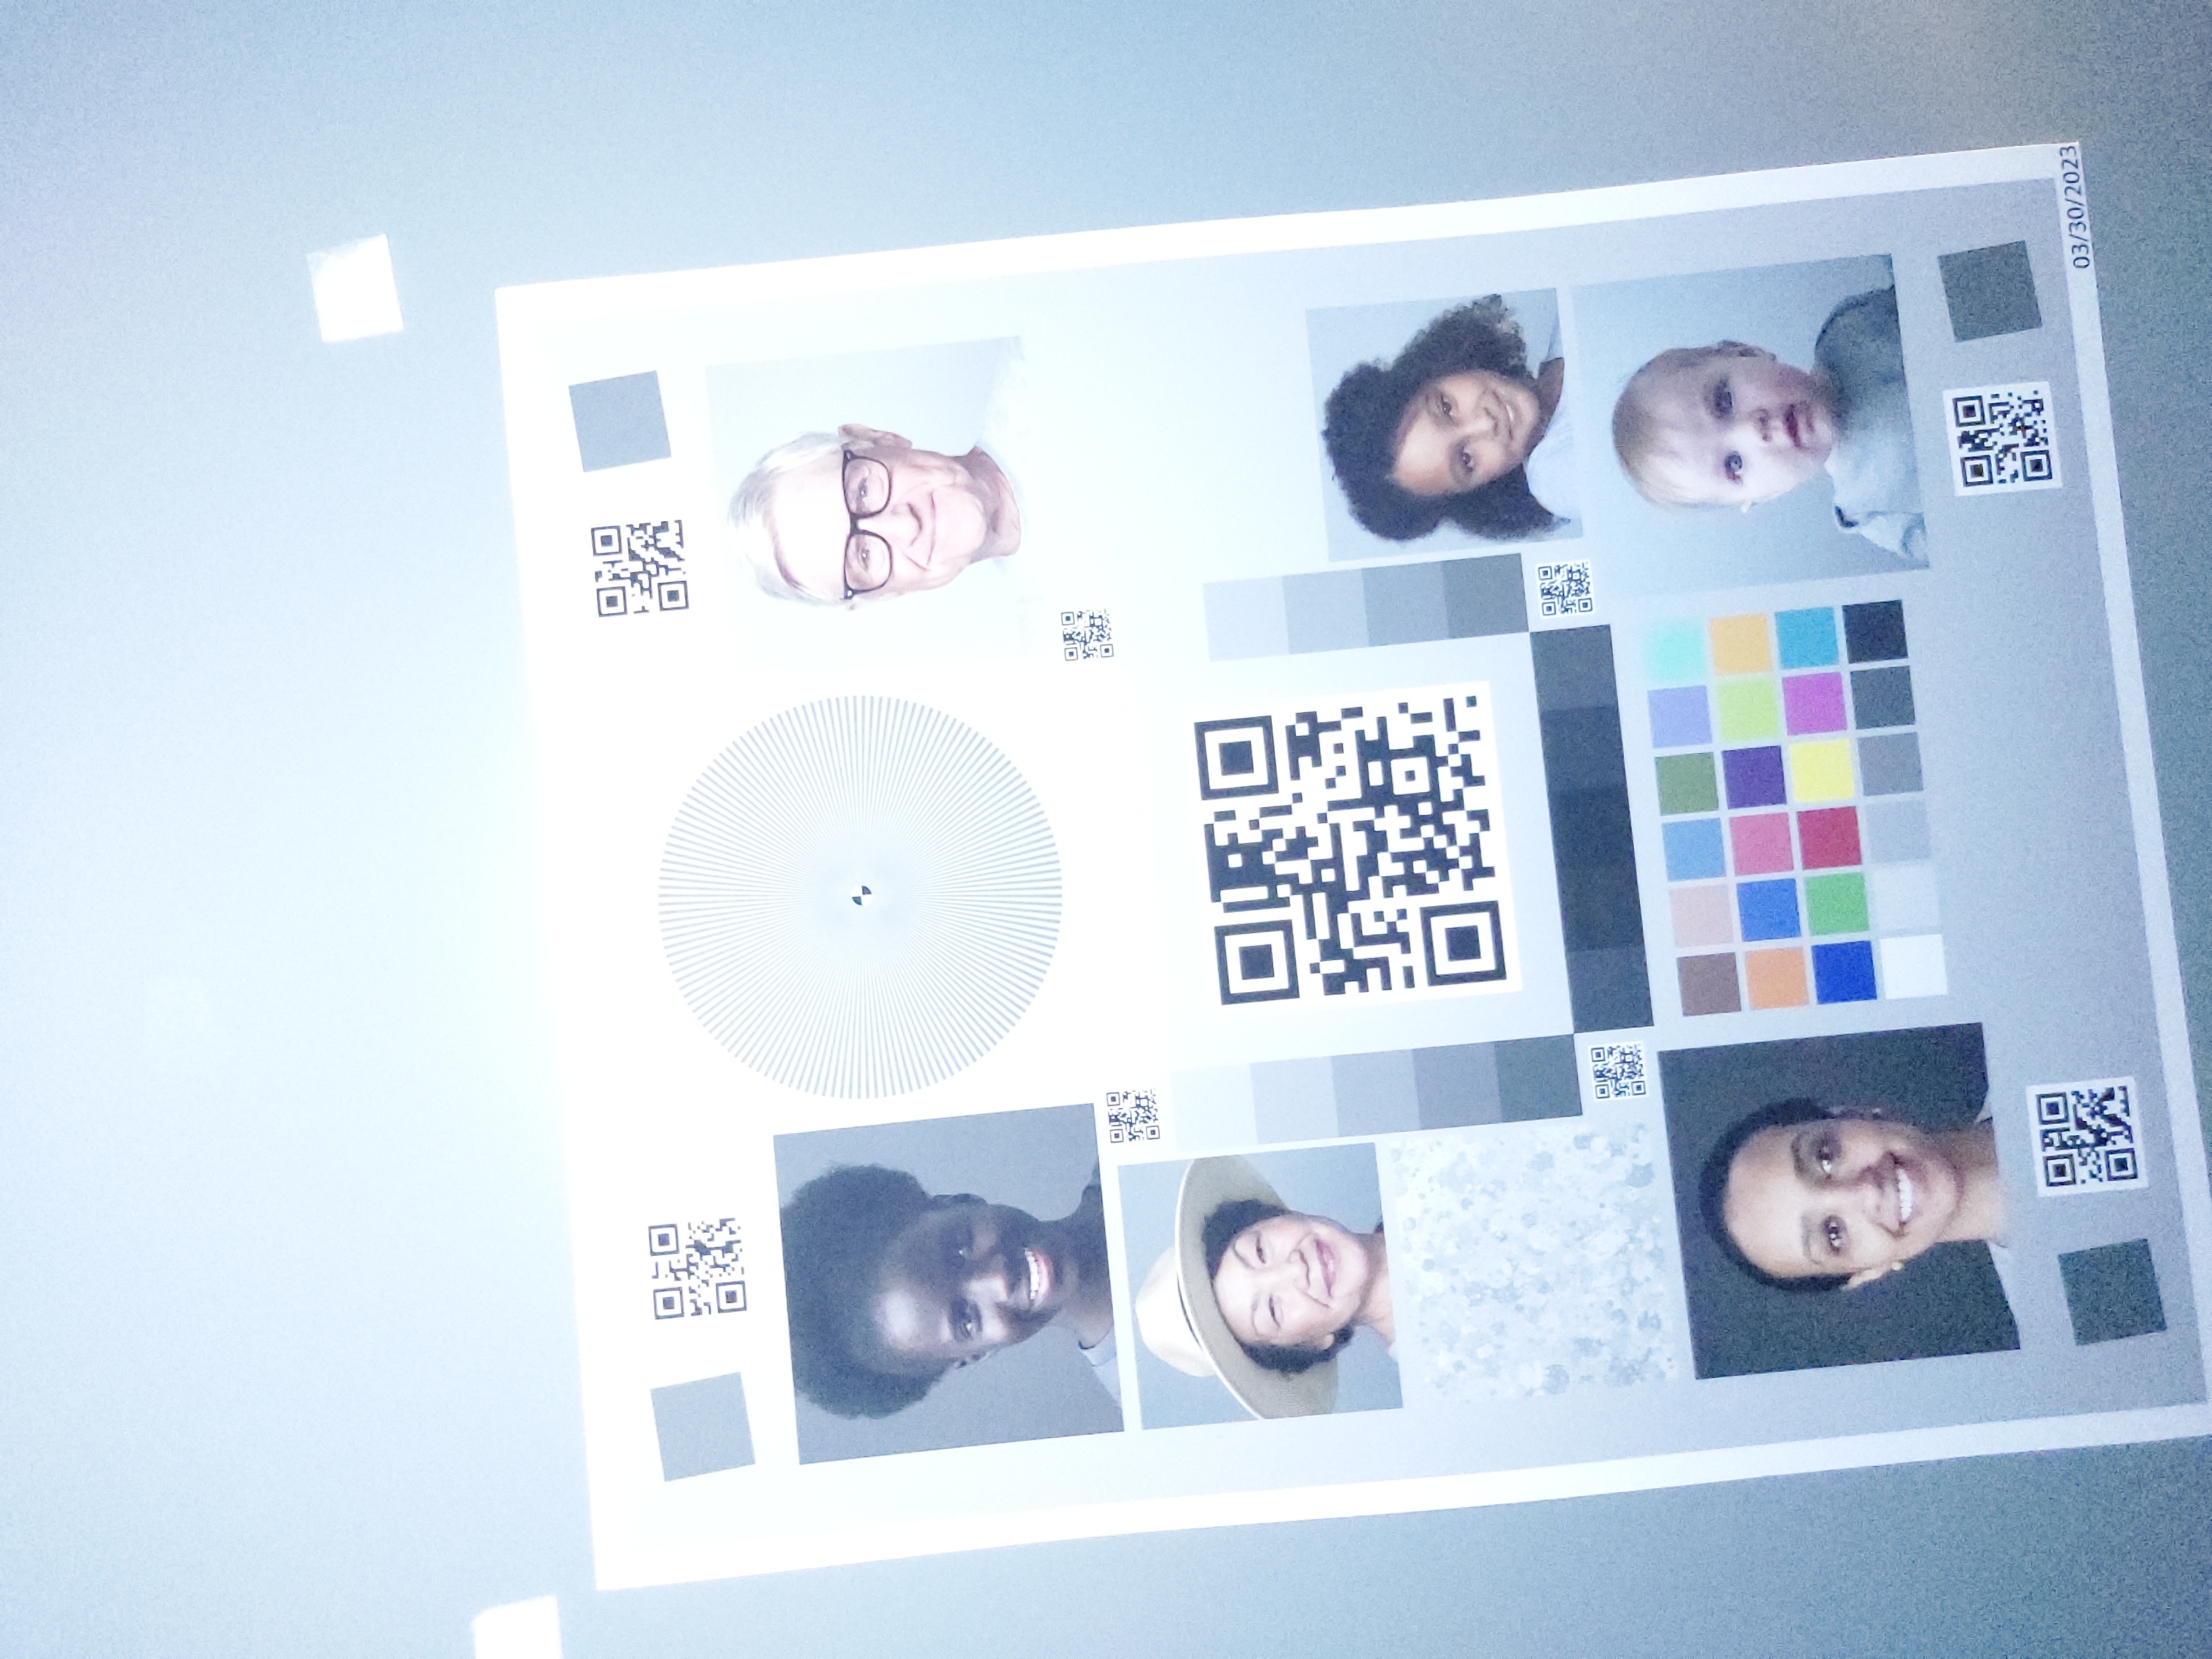
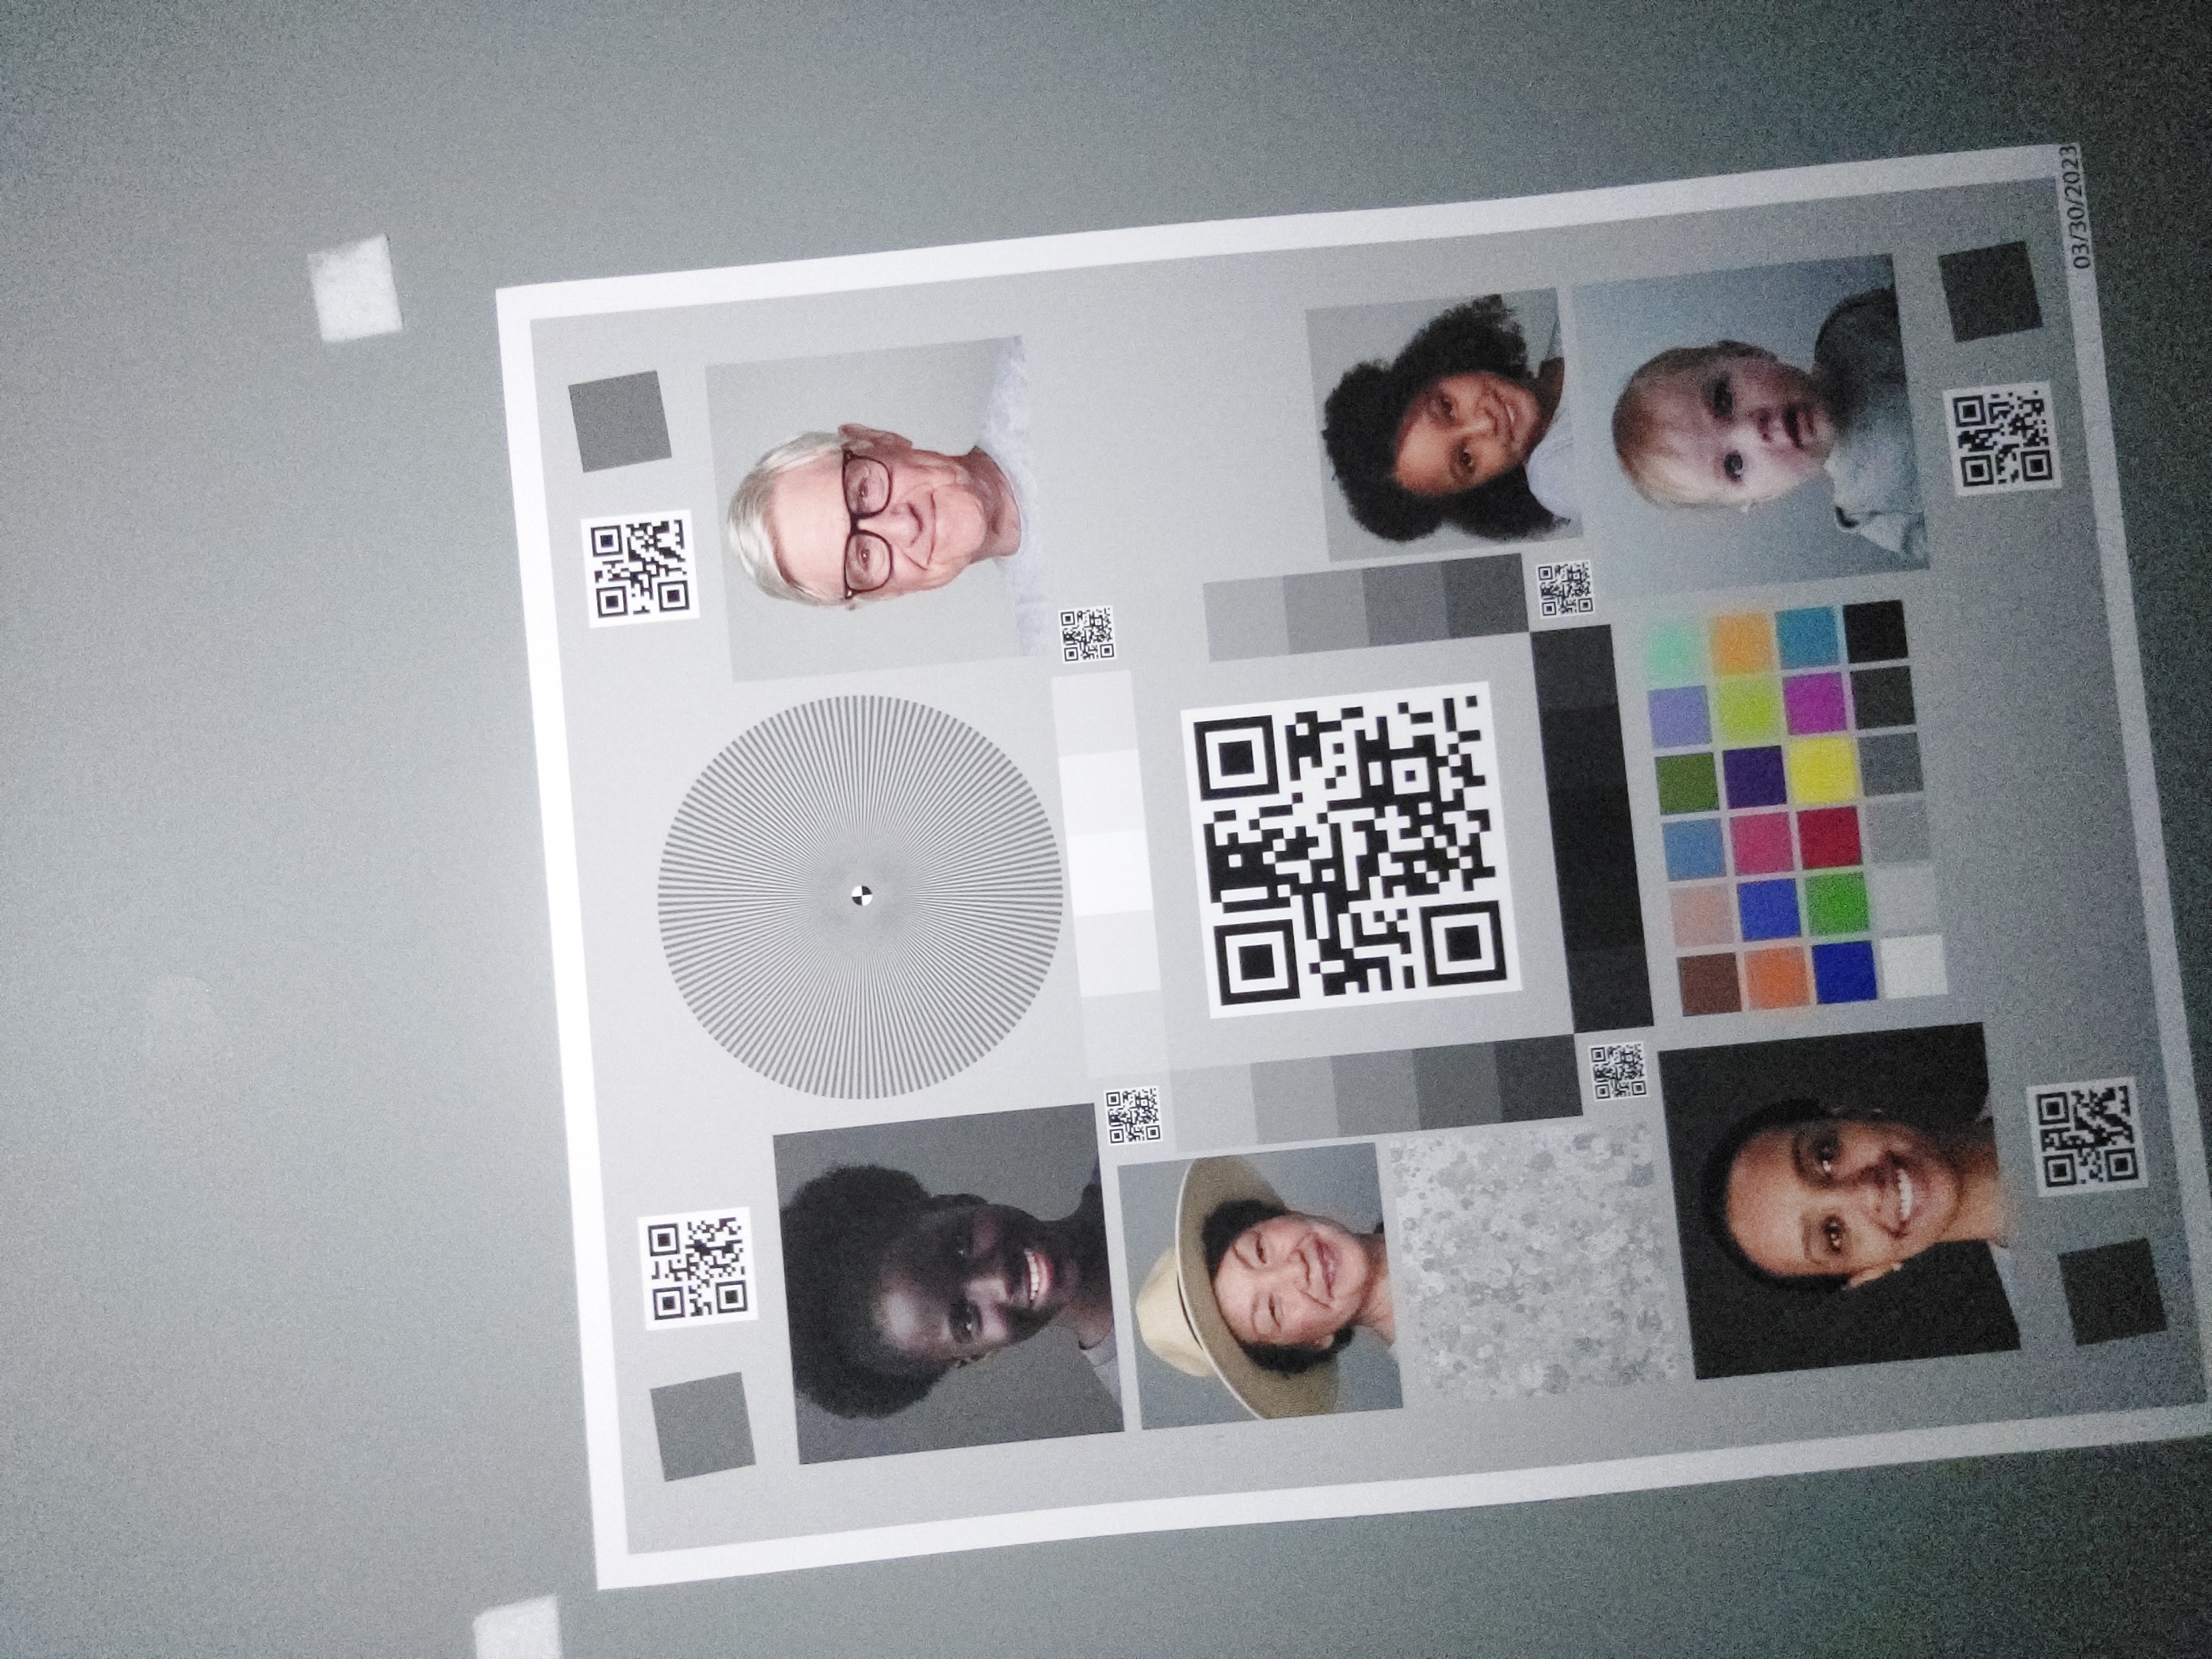
เมื่อทำอย่างถูกต้อง
เมื่อใช้การติดตั้งใช้งานมาตรฐานสำหรับอุปกรณ์และเงื่อนไขเดียวกัน คุณจะเห็นผลลัพธ์ในตารางต่อไปนี้
| สภาพแวดล้อม | แสงน้อยเกินไป (แก้ไขแล้ว) | การเปิดรับแสงมากเกินไป (แก้ไขแล้ว) | การปรับสมดุลสีเขียว-แดง (แก้ไขแล้ว) |
|---|---|---|---|
| สภาพแวดล้อมมืด (ไม่มีแหล่งกำเนิดแสงนอกจากโทรศัพท์) |
|
|
|
| แสงน้อย (แหล่งกำเนิดแสงเพิ่มเติมประมาณ 3 ลักซ์) |
|
|
|
ดังที่สังเกตได้ คุณภาพของรูปภาพจะดีขึ้นอย่างมากเมื่อใช้การติดตั้งใช้งานมาตรฐาน