
Để làm cho thông báo của bạn trông đẹp nhất trên các phiên bản Android khác nhau, hãy sử dụng thông báo chuẩn mẫu để tạo thông báo. Nếu bạn muốn cung cấp thêm nội dung trong thông báo, hãy cân nhắc sử dụng một trong thông báo có thể mở rộng mẫu.
Tuy nhiên, nếu các mẫu hệ thống không đáp ứng nhu cầu của bạn, bạn có thể sử dụng cho thông báo.
Tạo bố cục tuỳ chỉnh cho vùng nội dung
Nếu cần bố cục tuỳ chỉnh, bạn có thể áp dụng
NotificationCompat.DecoratedCustomViewStyle
đối với thông báo của bạn. API này cho phép bạn cung cấp bố cục tuỳ chỉnh cho nội dung
vùng thường dành cho tiêu đề và nội dung văn bản, trong khi vẫn đang sử dụng hệ thống
trang trí cho biểu tượng thông báo, dấu thời gian, văn bản phụ và nút hành động.
API này hoạt động tương tự như các mẫu thông báo có thể mở rộng bằng cách xây dựng dựa trên thông báo cơ bản có bố cục như sau:
- Tạo thông báo cơ bản
thông qua tính năng
NotificationCompat.Builder. - Gọi điện
setStyle()! truyền cho nó một thực thể củaNotificationCompat.DecoratedCustomViewStyle. - Tăng cường bố cục tuỳ chỉnh dưới dạng một phiên bản của
RemoteViews. - Gọi điện
setCustomContentView()để đặt bố cục cho thông báo được thu gọn. - Nếu muốn, bạn cũng có thể gọi
setCustomBigContentView()để đặt một bố cục khác cho thông báo mở rộng.
Chuẩn bị bố cục
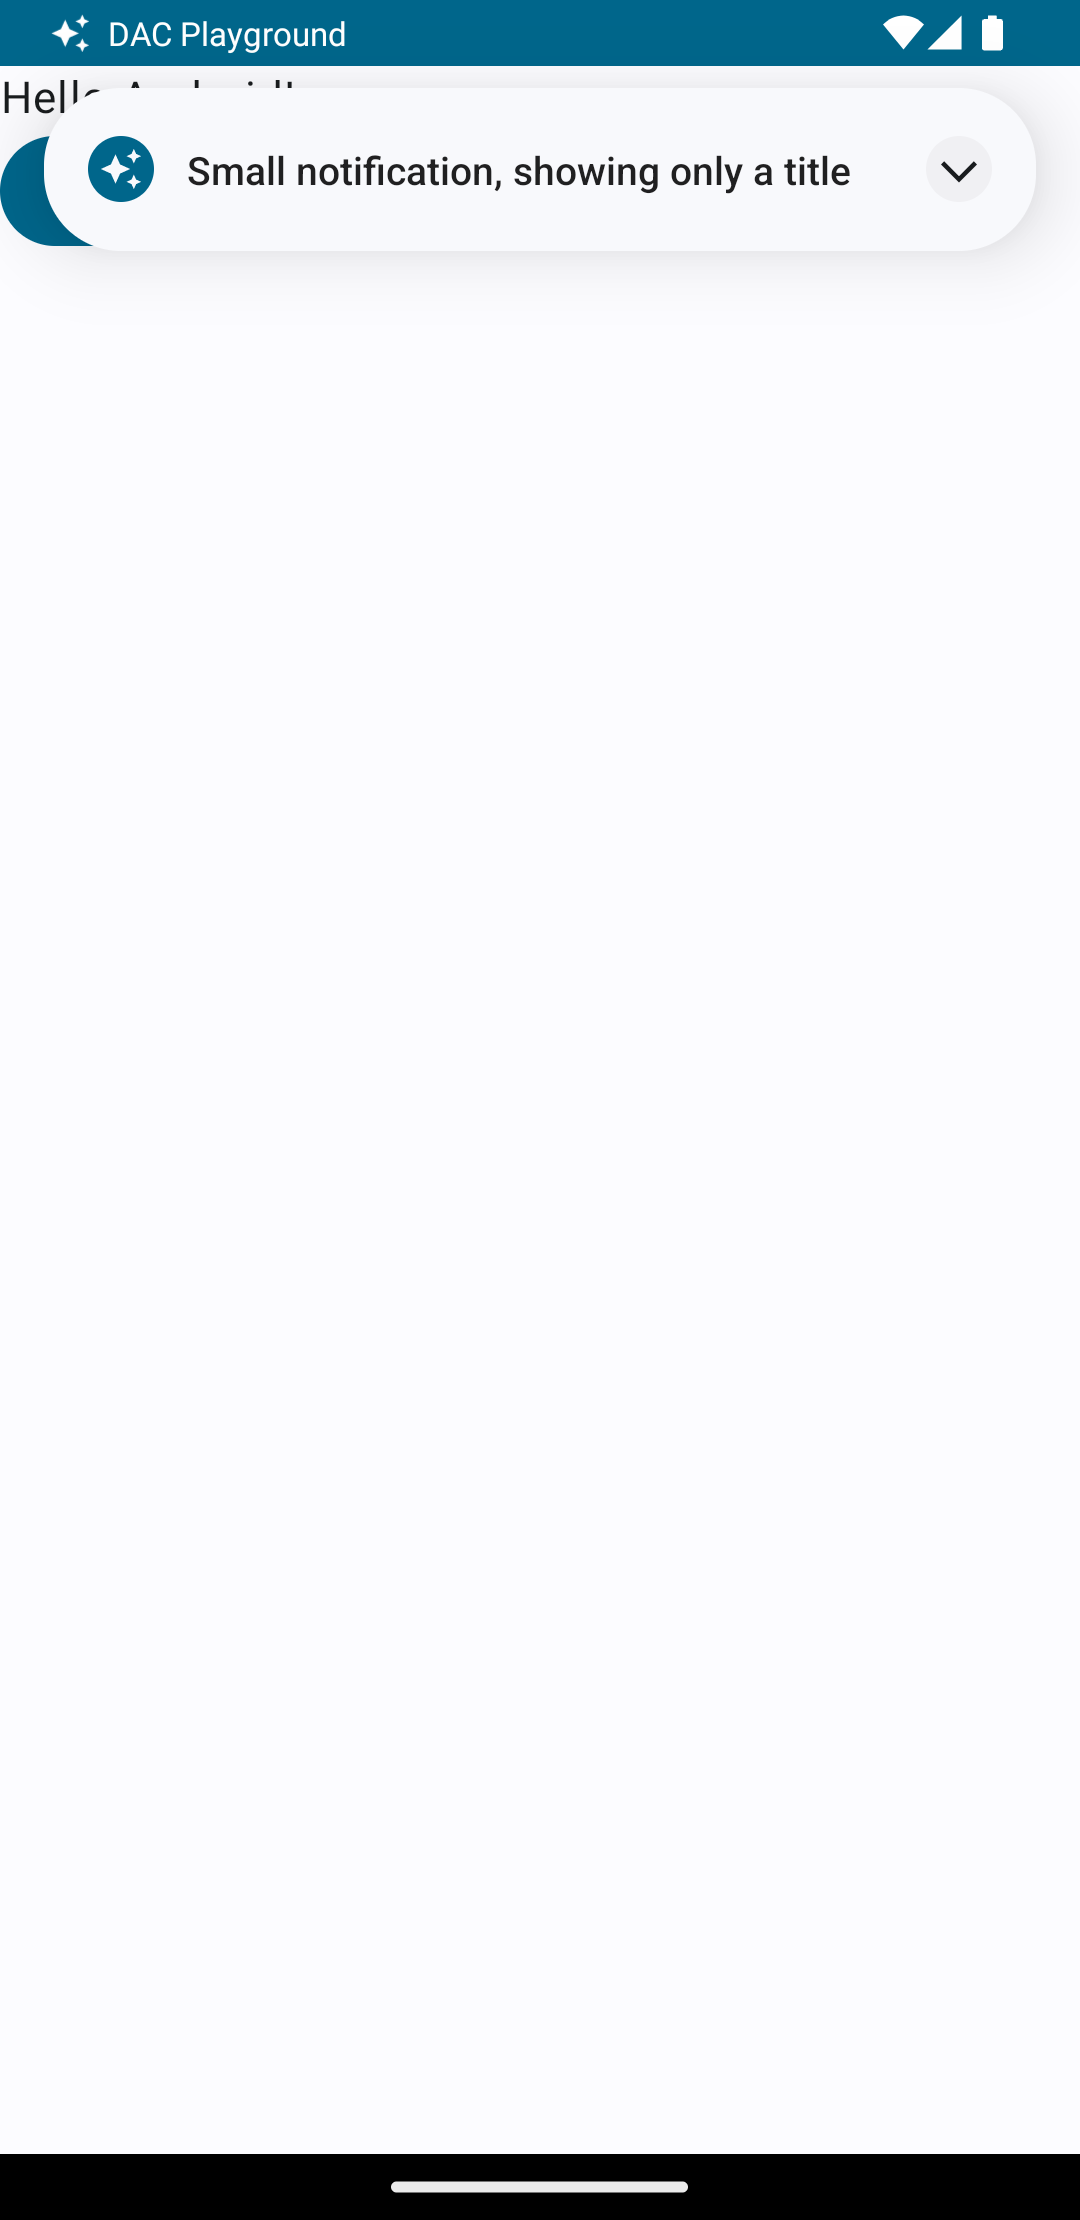
Bạn cần có bố cục small và large. Trong ví dụ này, bố cục small
có thể có dạng như sau:
<?xml version="1.0" encoding="utf-8"?>
<LinearLayout xmlns:android="http://schemas.android.com/apk/res/android"
    android:layout_width="match_parent"
    android:layout_height="wrap_content"
    android:orientation="vertical">

    <TextView
        android:id="@+id/notification_title"
        style="@style/TextAppearance.Compat.Notification.Title"
        android:layout_width="wrap_content"
        android:layout_height="0dp"
        android:layout_weight="1"
        android:text="Small notification, showing only a title" />
</LinearLayout>
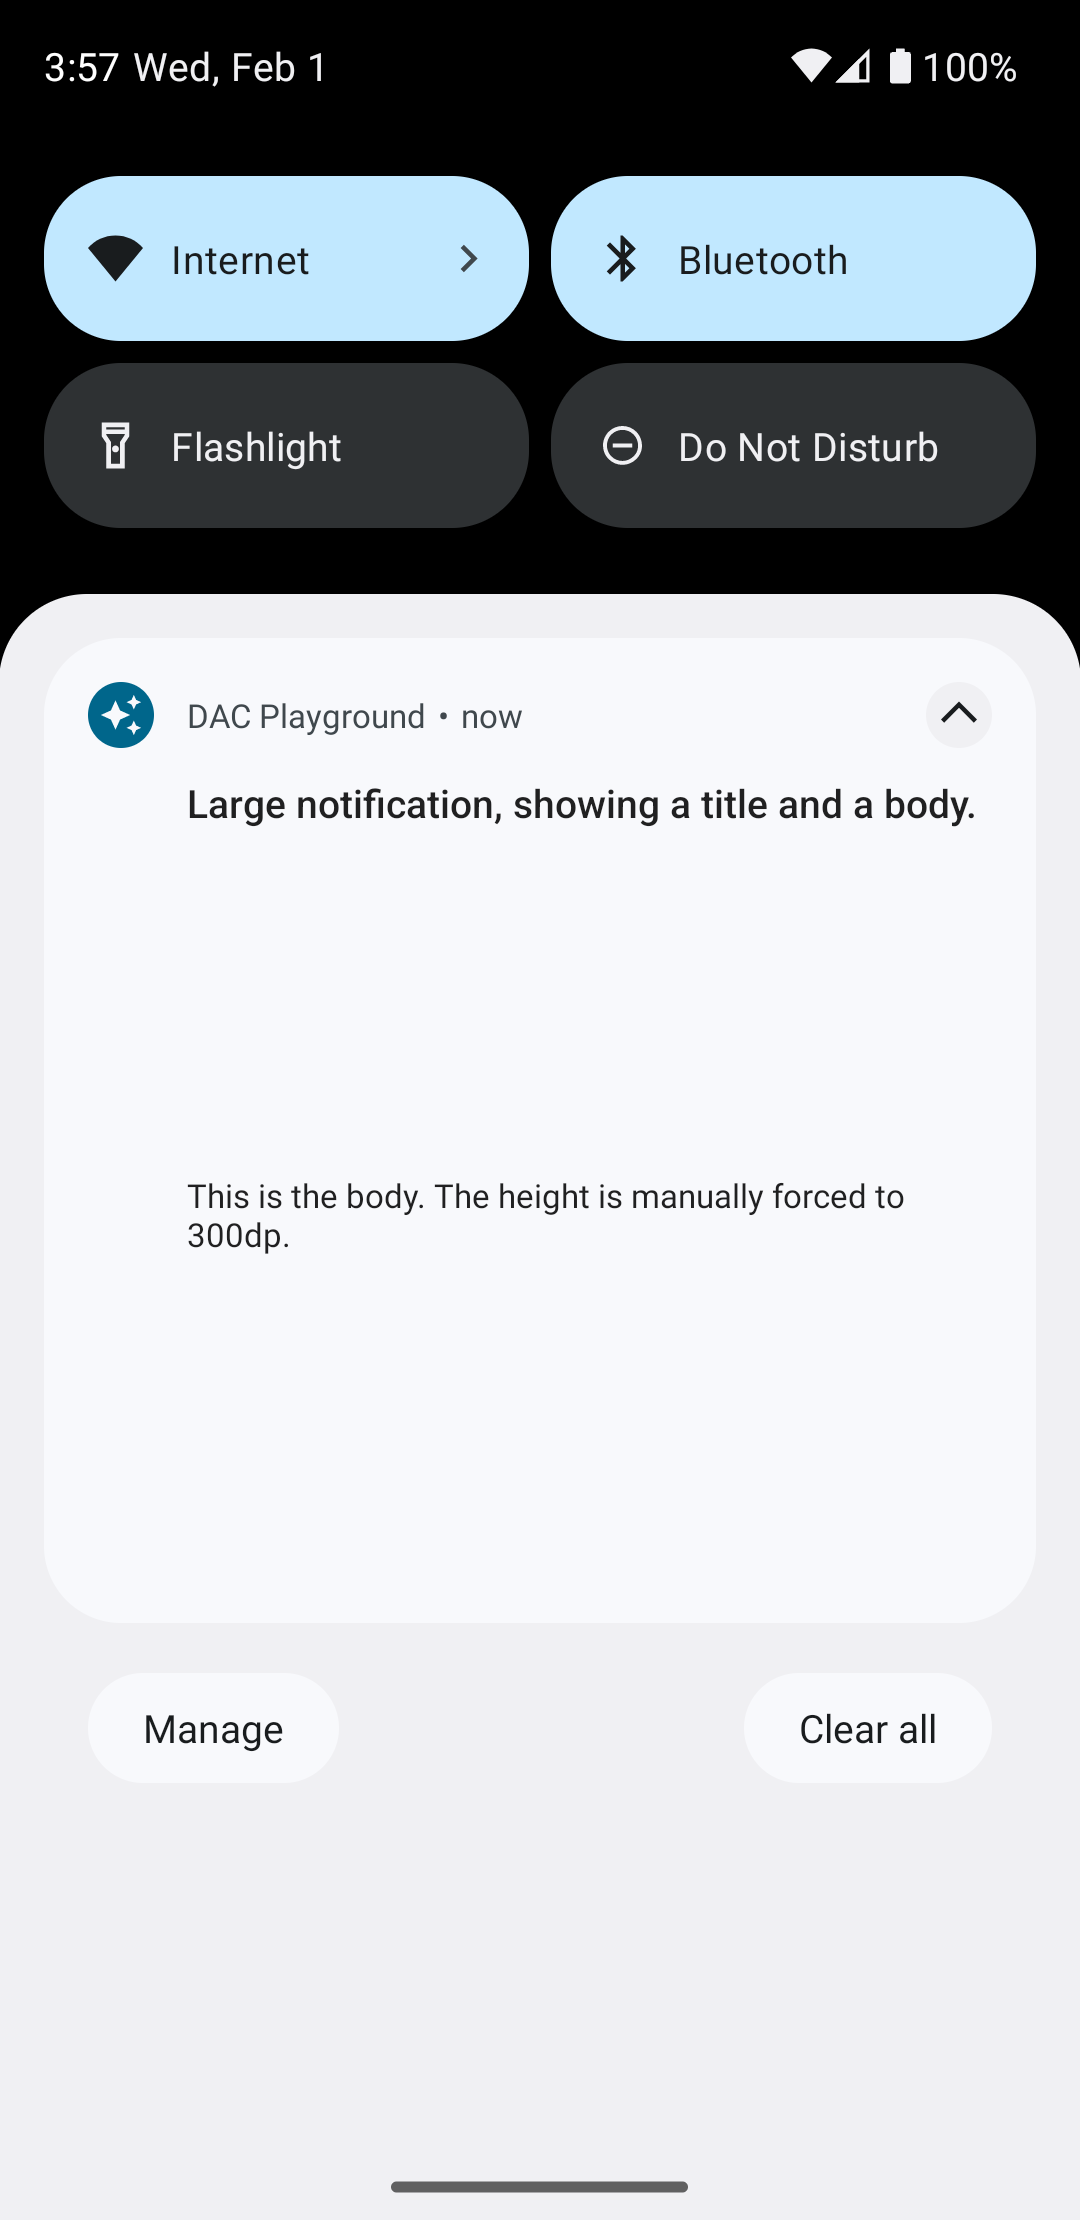
Và bố cục large có thể có dạng như sau:
<?xml version="1.0" encoding="utf-8"?>
<LinearLayout xmlns:android="http://schemas.android.com/apk/res/android"
    android:layout_width="match_parent"
    android:layout_height="300dp"
    android:orientation="vertical">

    <TextView
        android:id="@+id/notification_title"
        style="@style/TextAppearance.Compat.Notification.Title"
        android:layout_width="wrap_content"
        android:layout_height="wrap_content"
        android:layout_weight="1"
        android:text="Large notification, showing a title and a body." />

    <TextView
        android:id="@+id/notification_body"
        style="@style/TextAppearance.Compat.Notification.Line2"
        android:layout_width="wrap_content"
        android:layout_height="wrap_content"
        android:layout_weight="1"
        android:text="This is the body. The height is manually forced to 300dp." />
</LinearLayout>
Tạo và hiện thông báo
Sau khi bố cục đã sẵn sàng, bạn có thể sử dụng bố cục như trong ví dụ sau:
Kotlin
val notificationManager = getSystemService(Context.NOTIFICATION_SERVICE) as NotificationManager

// Get the layouts to use in the custom notification.
val notificationLayout = RemoteViews(packageName, R.layout.notification_small)
val notificationLayoutExpanded = RemoteViews(packageName, R.layout.notification_large)

// Apply the layouts to the notification.
val customNotification = NotificationCompat.Builder(context, CHANNEL_ID)
        .setSmallIcon(R.drawable.notification_icon)
        .setStyle(NotificationCompat.DecoratedCustomViewStyle())
        .setCustomContentView(notificationLayout)
        .setCustomBigContentView(notificationLayoutExpanded)
        .build()

notificationManager.notify(666, customNotification)
Java
NotificationManager notificationManager = (NotificationManager) getSystemService(Context.NOTIFICATION_SERVICE);

// Get the layouts to use in the custom notification
RemoteViews notificationLayout = new RemoteViews(getPackageName(), R.layout.notification_small);
RemoteViews notificationLayoutExpanded = new RemoteViews(getPackageName(), R.layout.notification_large);

// Apply the layouts to the notification.
Notification customNotification = new NotificationCompat.Builder(context, CHANNEL_ID)
        .setSmallIcon(R.drawable.notification_icon)
        .setStyle(new NotificationCompat.DecoratedCustomViewStyle())
        .setCustomContentView(notificationLayout)
        .setCustomBigContentView(notificationLayoutExpanded)
        .build();

notificationManager.notify(666, customNotification);
Xin lưu ý rằng màu nền của thông báo có thể khác nhau tuỳ theo thiết bị
và phiên bản. Áp dụng kiểu Thư viện hỗ trợ, chẳng hạn như
TextAppearance_Compat_Notification cho văn bản và
TextAppearance_Compat_Notification_Title cho tiêu đề trong bố cục tuỳ chỉnh,
như trong ví dụ sau. Các kiểu này thích ứng với các biến thể màu sắc để
bạn không cuối cùng có văn bản đen
trắng hoặc trắng trên nền trắng.
<TextView
    android:layout_width="wrap_content"
    android:layout_height="match_parent"
    android:layout_weight="1"
    android:text="@string/notification_title"
    android:id="@+id/notification_title"
    style="@style/TextAppearance.Compat.Notification.Title" />
Tránh đặt hình nền trên đối tượng RemoteViews vì văn bản của bạn
có thể trở nên không đọc được.
Khi bạn kích hoạt một thông báo trong khi người dùng đang sử dụng một ứng dụng, kết quả sẽ là tương tự như hình 1:
Khi nhấn vào mũi tên mở rộng, thông báo sẽ được mở rộng, như trong hình 2:

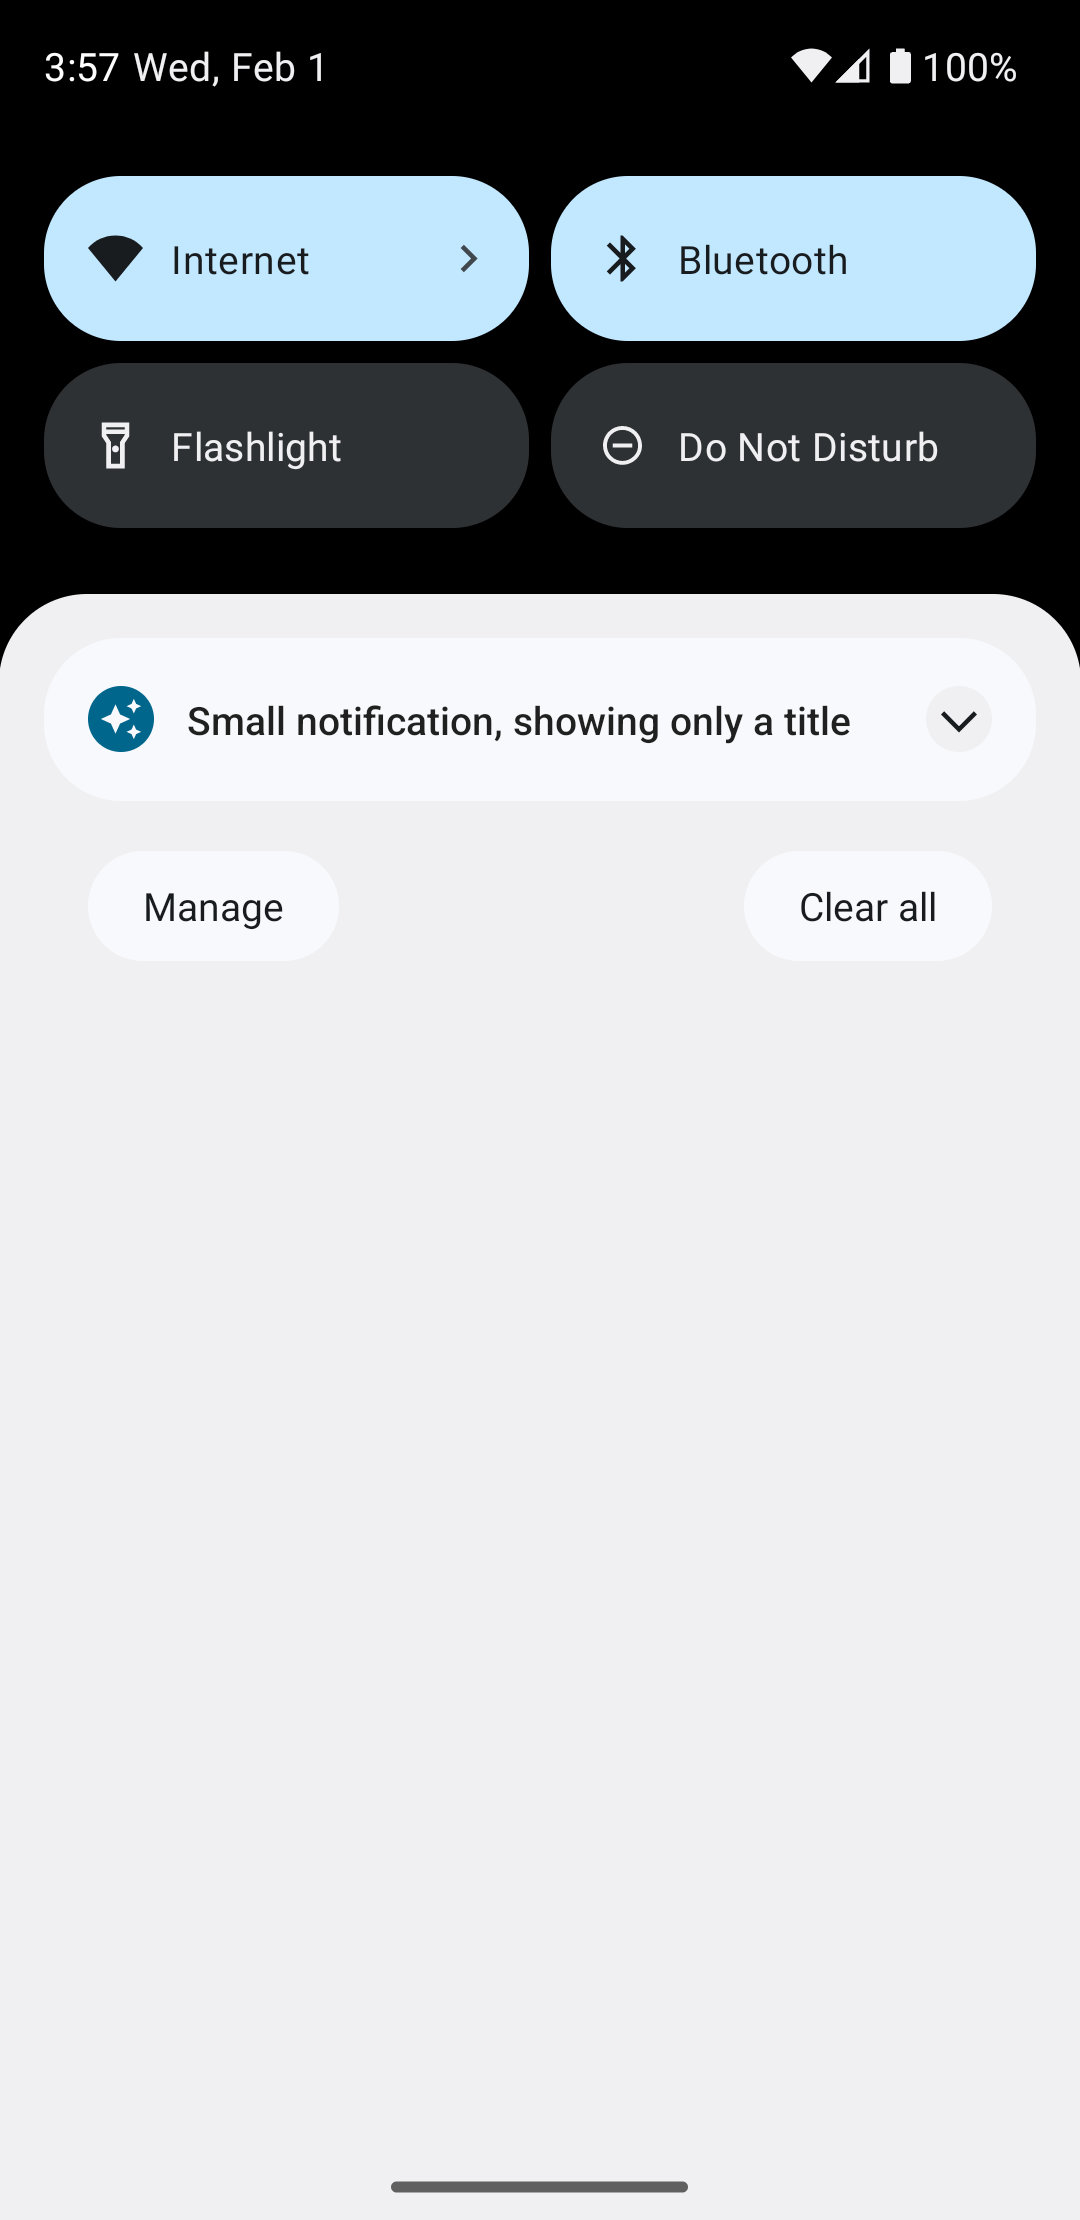
Sau khi hết thời gian chờ thông báo, thông báo chỉ xuất hiện trong thanh hệ thống như hình 3:
Khi nhấn vào mũi tên mở rộng, thông báo sẽ được mở rộng, như trong hình 4:
Tạo bố cục thông báo tuỳ chỉnh hoàn toàn
Nếu bạn không muốn trang trí thông báo của mình bằng thông báo chuẩn
biểu tượng và tiêu đề, hãy làm theo các bước trước đó nhưng không gọi setStyle().