
Pour optimiser l'affichage de vos notifications sur différentes versions d'Android, utilisez la notification standard modèle pour créer votre les notifications. Si vous souhaitez ajouter du contenu à votre notification, vous pouvez utiliser l'une des icônes de notification modèles de ML.
Toutefois, si les modèles système ne répondent pas à vos besoins, vous pouvez utiliser vos propres la mise en page de la notification.
Créer une mise en page personnalisée pour la zone de contenu
Si vous avez besoin d'une mise en page personnalisée, vous pouvez appliquer
NotificationCompat.DecoratedCustomViewStyle
à votre notification. Cette API vous permet de fournir une mise en page personnalisée pour le contenu.
zone normalement occupée par le titre et le contenu textuel, tout en continuant à utiliser les
pour l'icône de notification, le code temporel, le sous-texte et les boutons d'action.
Cette API fonctionne de la même manière que les modèles de notification extensibles, car elle s'appuie sur la notification de base comme suit:
- Créer une notification de base
par
NotificationCompat.Builder - Appeler
setStyle(), en lui transmettant une instanceNotificationCompat.DecoratedCustomViewStyle - Gonfler votre mise en page personnalisée en tant qu'instance de
RemoteViews - Appeler
setCustomContentView()pour définir la mise en page de la notification réduite. - Vous pouvez également appeler
setCustomBigContentView()pour définir une mise en page différente pour la notification développée.
Préparer les mises en page
Vous avez besoin d'une mise en page small et large. Dans cet exemple, la mise en page small
peut se présenter comme suit:
<?xml version="1.0" encoding="utf-8"?>
<LinearLayout xmlns:android="http://schemas.android.com/apk/res/android"
    android:layout_width="match_parent"
    android:layout_height="wrap_content"
    android:orientation="vertical">

    <TextView
        android:id="@+id/notification_title"
        style="@style/TextAppearance.Compat.Notification.Title"
        android:layout_width="wrap_content"
        android:layout_height="0dp"
        android:layout_weight="1"
        android:text="Small notification, showing only a title" />
</LinearLayout>
La mise en page large peut se présenter comme suit:
<?xml version="1.0" encoding="utf-8"?>
<LinearLayout xmlns:android="http://schemas.android.com/apk/res/android"
    android:layout_width="match_parent"
    android:layout_height="300dp"
    android:orientation="vertical">

    <TextView
        android:id="@+id/notification_title"
        style="@style/TextAppearance.Compat.Notification.Title"
        android:layout_width="wrap_content"
        android:layout_height="wrap_content"
        android:layout_weight="1"
        android:text="Large notification, showing a title and a body." />

    <TextView
        android:id="@+id/notification_body"
        style="@style/TextAppearance.Compat.Notification.Line2"
        android:layout_width="wrap_content"
        android:layout_height="wrap_content"
        android:layout_weight="1"
        android:text="This is the body. The height is manually forced to 300dp." />
</LinearLayout>
Créer et afficher la notification
Une fois les mises en page prêtes, vous pouvez les utiliser comme indiqué dans l'exemple suivant:
Kotlin
val notificationManager = getSystemService(Context.NOTIFICATION_SERVICE) as NotificationManager

// Get the layouts to use in the custom notification.
val notificationLayout = RemoteViews(packageName, R.layout.notification_small)
val notificationLayoutExpanded = RemoteViews(packageName, R.layout.notification_large)

// Apply the layouts to the notification.
val customNotification = NotificationCompat.Builder(context, CHANNEL_ID)
        .setSmallIcon(R.drawable.notification_icon)
        .setStyle(NotificationCompat.DecoratedCustomViewStyle())
        .setCustomContentView(notificationLayout)
        .setCustomBigContentView(notificationLayoutExpanded)
        .build()

notificationManager.notify(666, customNotification)
Java
NotificationManager notificationManager = (NotificationManager) getSystemService(Context.NOTIFICATION_SERVICE);

// Get the layouts to use in the custom notification
RemoteViews notificationLayout = new RemoteViews(getPackageName(), R.layout.notification_small);
RemoteViews notificationLayoutExpanded = new RemoteViews(getPackageName(), R.layout.notification_large);

// Apply the layouts to the notification.
Notification customNotification = new NotificationCompat.Builder(context, CHANNEL_ID)
        .setSmallIcon(R.drawable.notification_icon)
        .setStyle(new NotificationCompat.DecoratedCustomViewStyle())
        .setCustomContentView(notificationLayout)
        .setCustomBigContentView(notificationLayoutExpanded)
        .build();

notificationManager.notify(666, customNotification);
Sachez que la couleur d'arrière-plan de la notification peut varier d'un appareil à l'autre.
et ses versions. Appliquez les styles de la bibliothèque Support tels que
TextAppearance_Compat_Notification pour le texte et
TextAppearance_Compat_Notification_Title pour le titre dans votre mise en page personnalisée
comme illustré dans l'exemple suivant. Ces styles s'adaptent aux
variations de couleur afin que
vous ne vous retrouvez pas avec du texte
en noir sur noir ou blanc sur blanc.
<TextView
    android:layout_width="wrap_content"
    android:layout_height="match_parent"
    android:layout_weight="1"
    android:text="@string/notification_title"
    android:id="@+id/notification_title"
    style="@style/TextAppearance.Compat.Notification.Title" />
Évitez de définir une image d'arrière-plan pour votre objet RemoteViews, car votre texte
peuvent devenir illisibles.
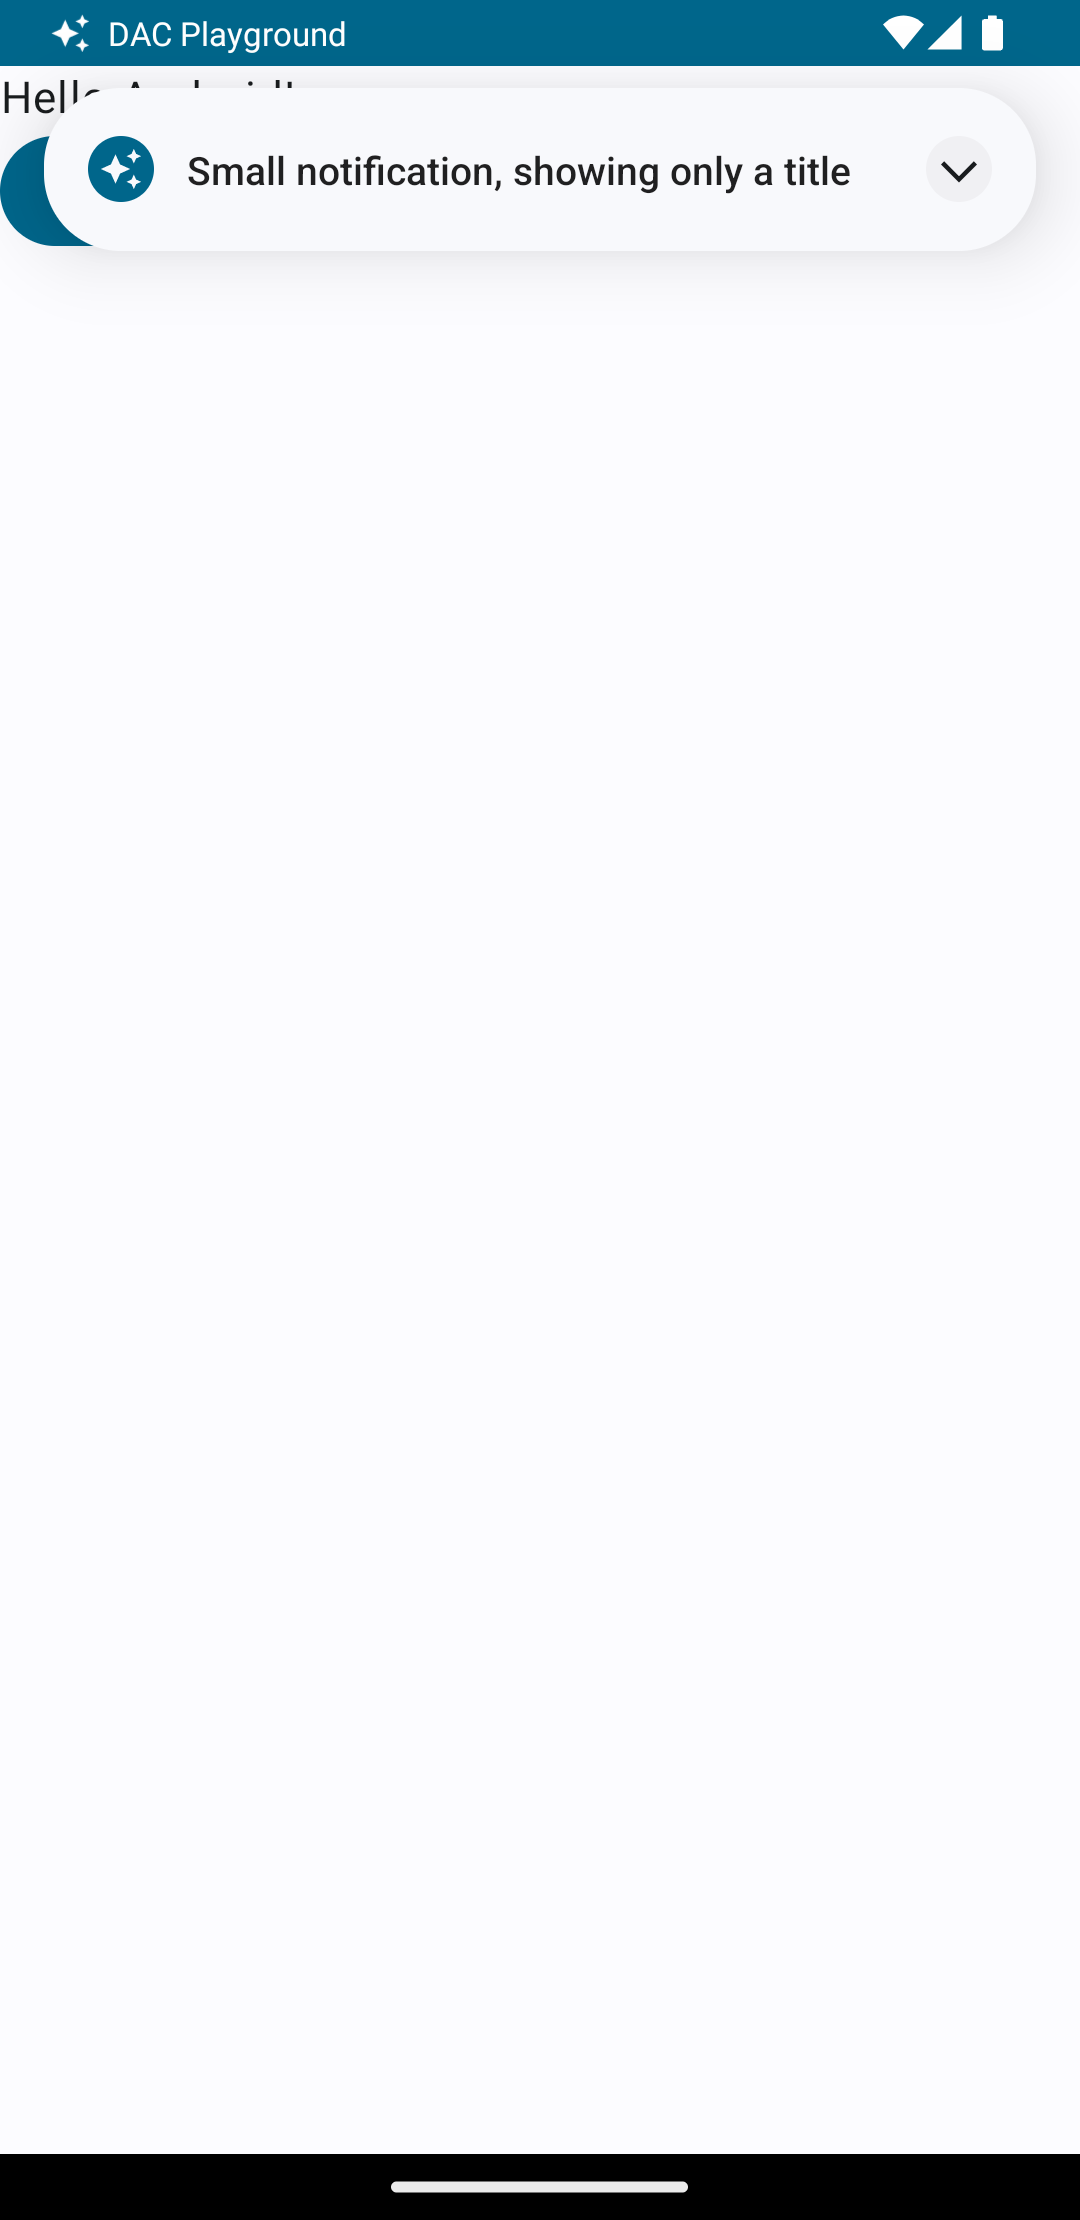
Lorsque vous déclenchez une notification alors que l'utilisateur utilise une application, le résultat est semblable à la figure 1:
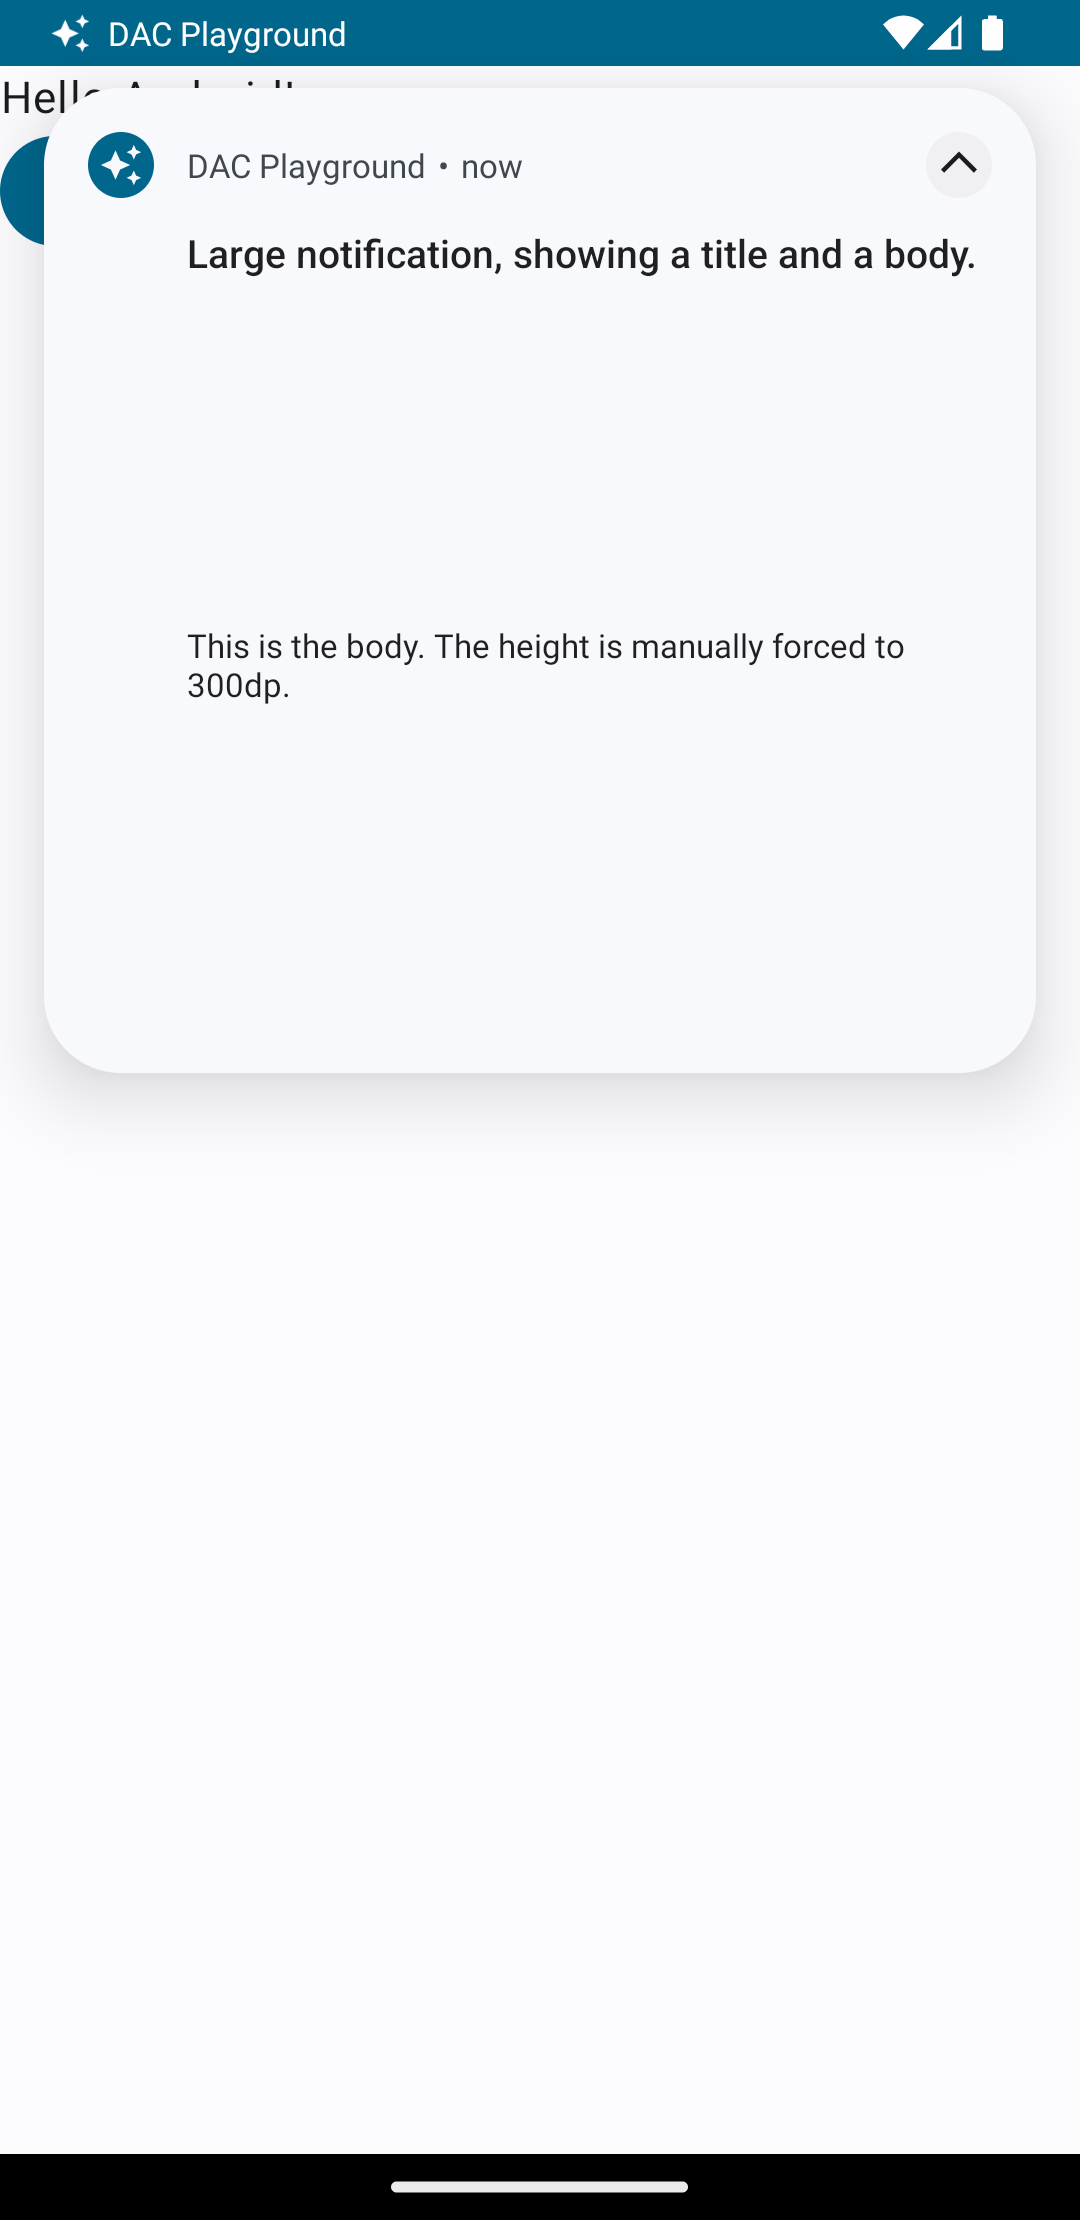
Appuyez sur la flèche de développement pour développer la notification, comme illustré dans la figure 2:
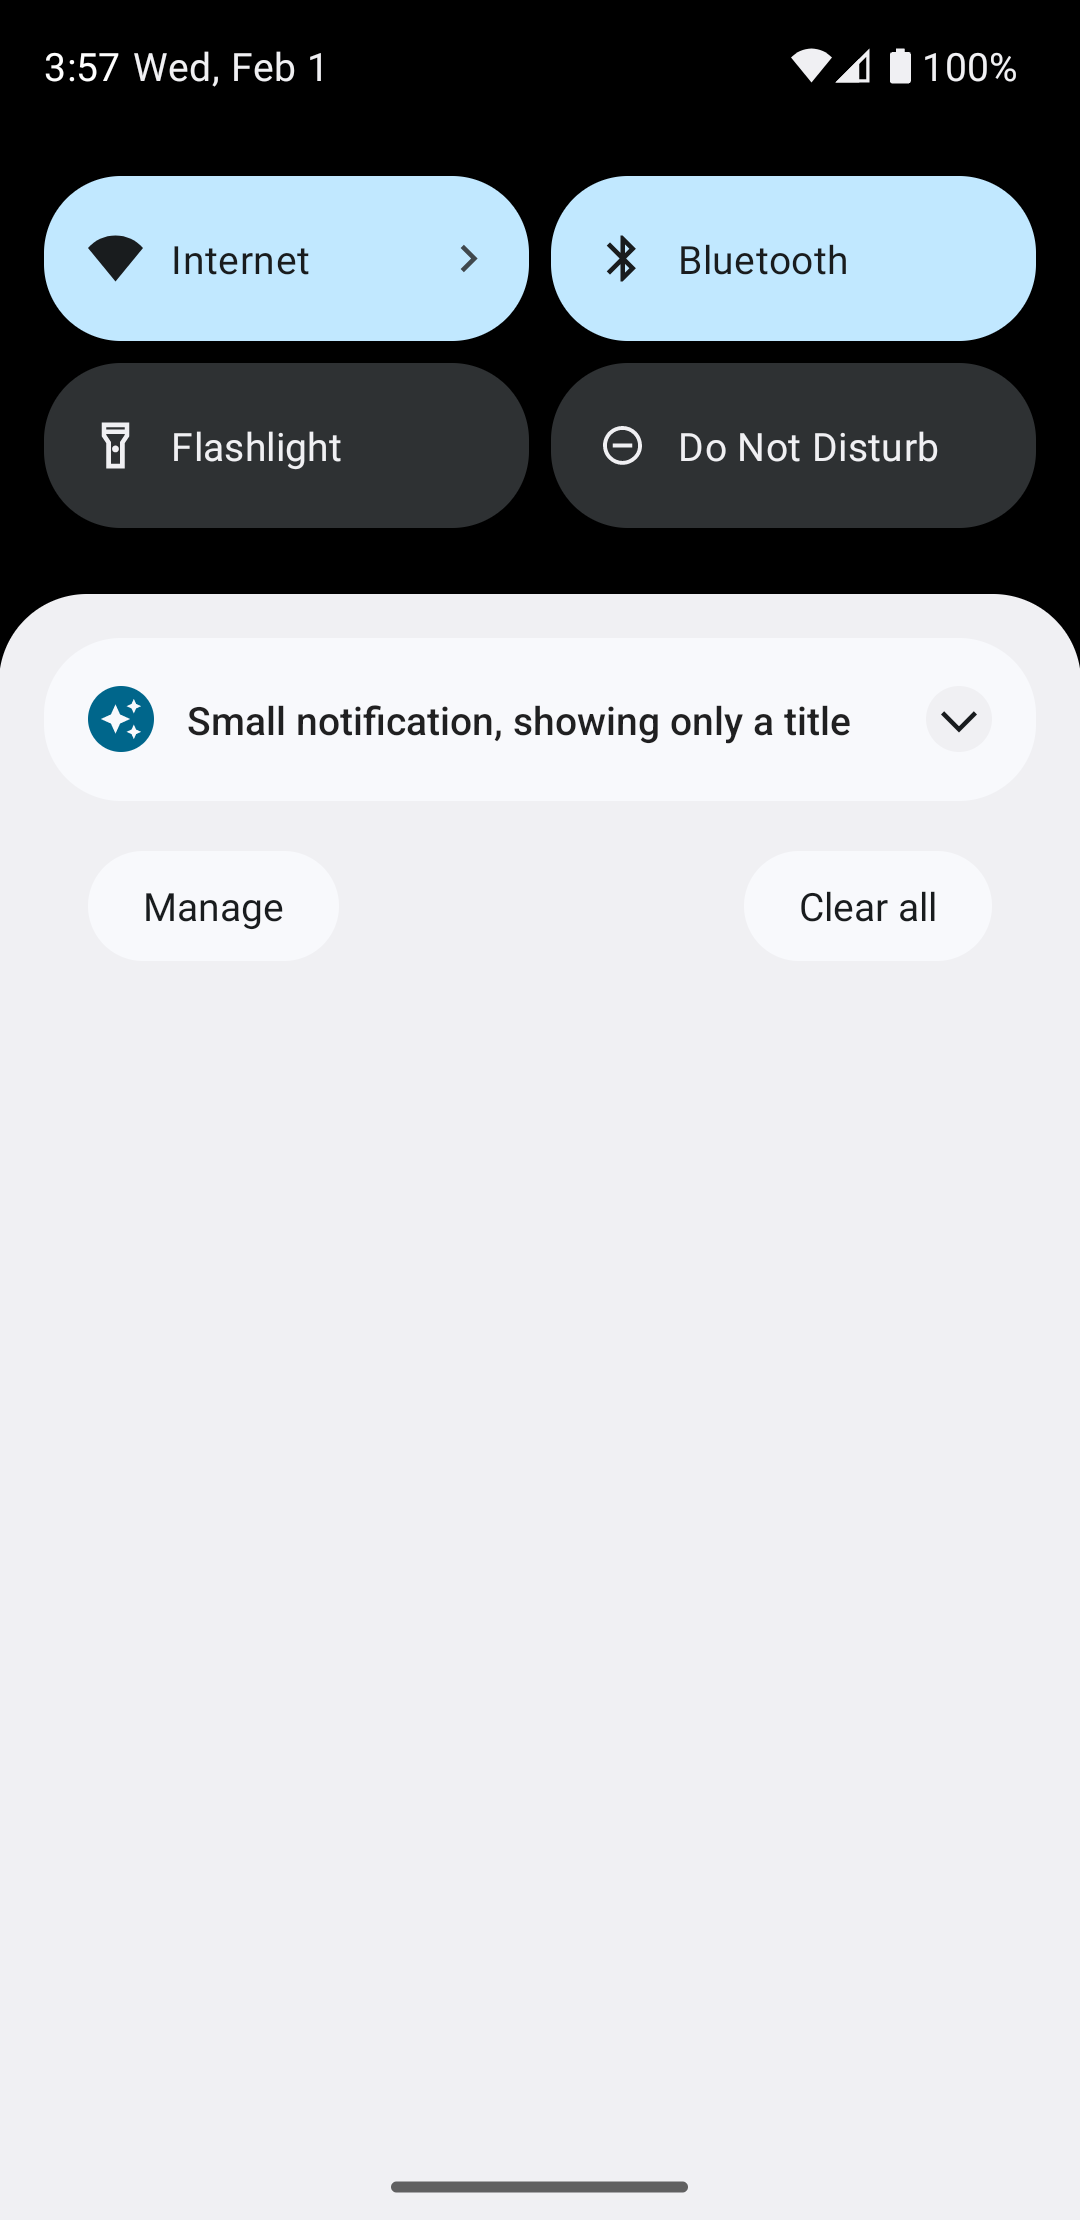
Une fois le délai d'expiration de la notification écoulé, la notification n'est visible que dans le qui ressemble à la figure 3:
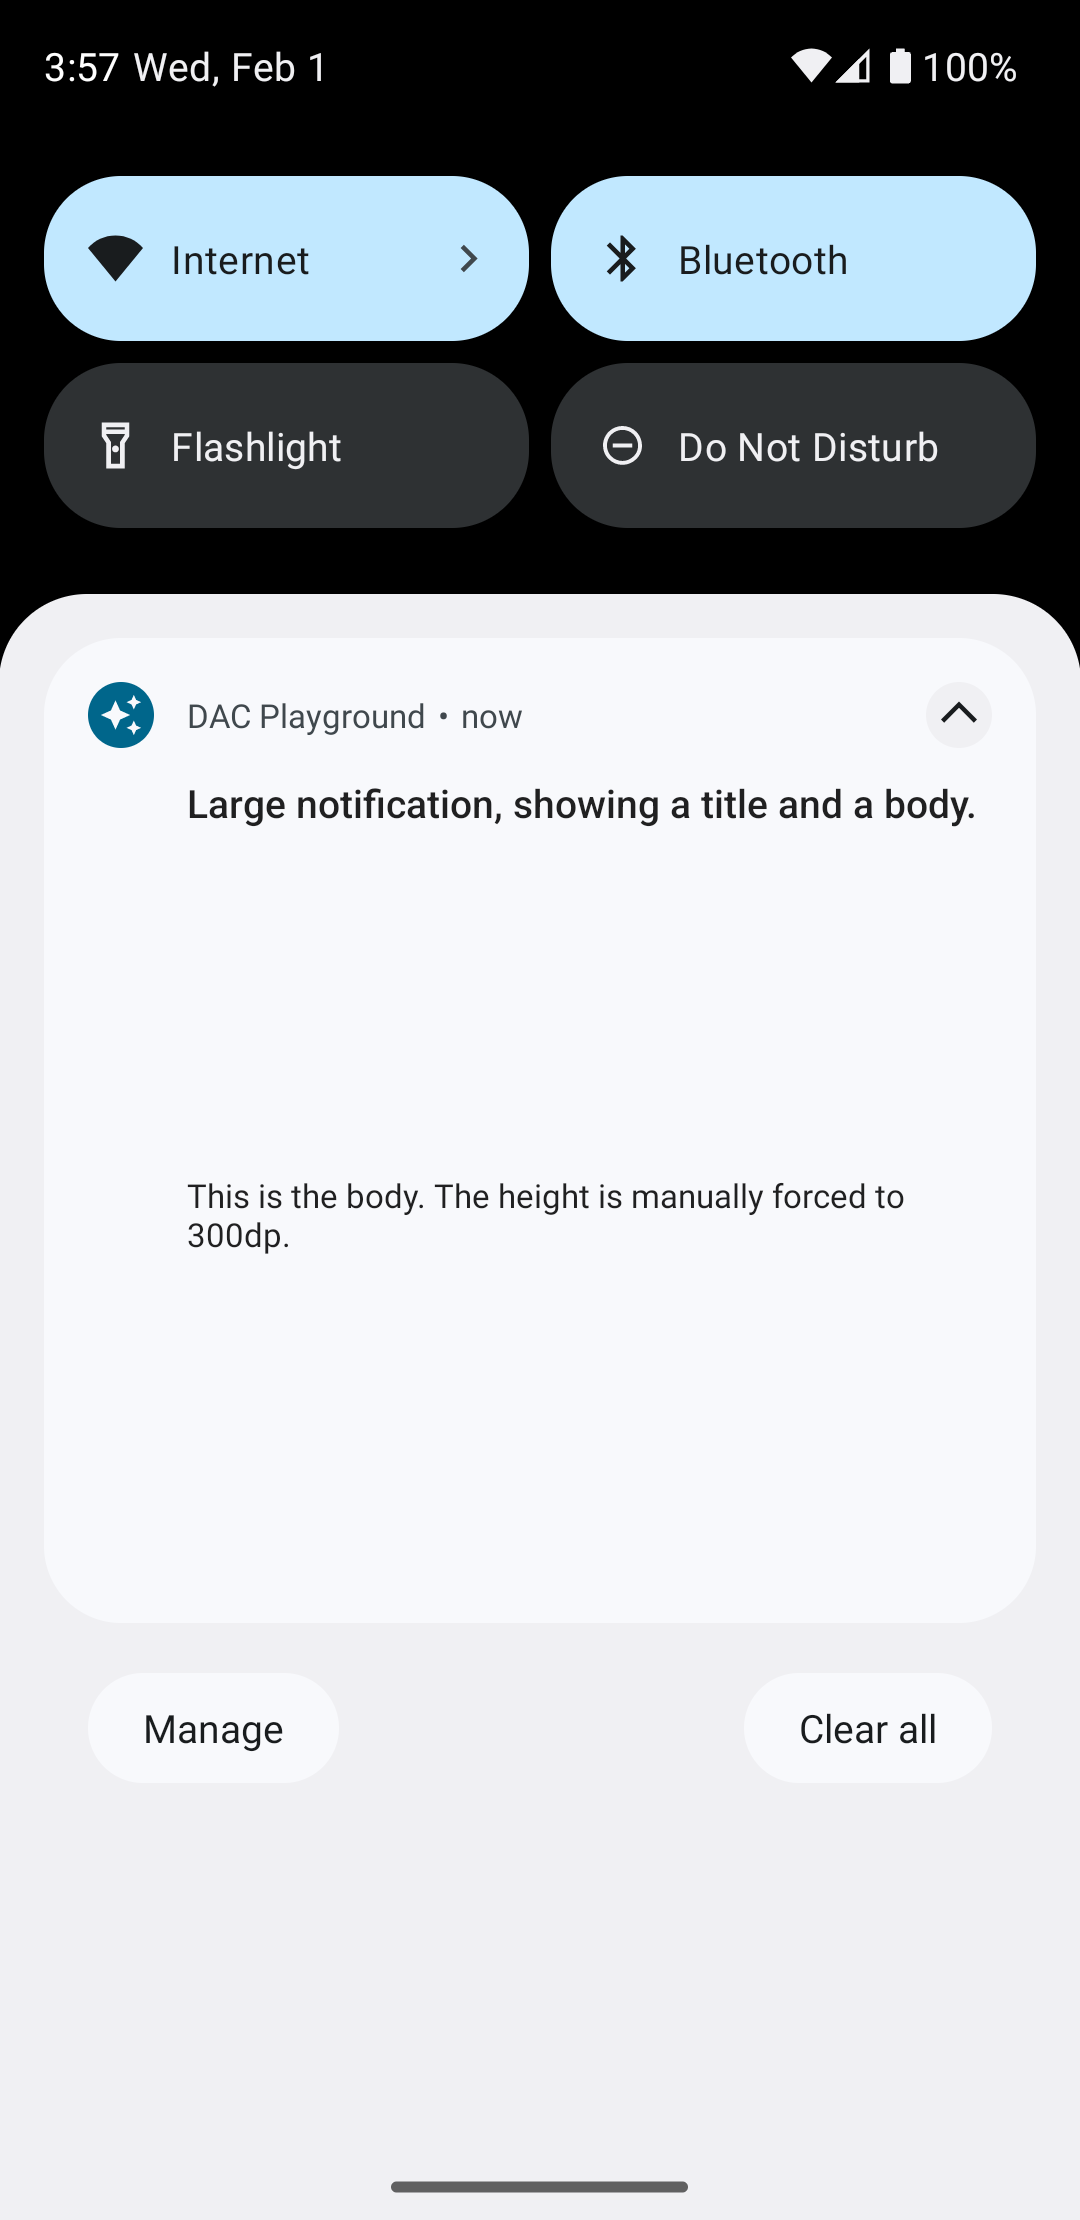
Appuyez sur la flèche de développement pour développer la notification, comme illustré dans la figure 4:
Créer une mise en page de notification entièrement personnalisée
Si vous ne souhaitez pas que votre notification
soit associée à la notification standard
et en-tête, suivez les étapes précédentes, mais n'appelez pas setStyle().