
本指南說明如何建立錶面、新增時間相關元素,以及支援使用者選取的相片 (包括多張相片庫)。如需其他功能,請參閱進階指南。
建立錶面
如要建立錶面,請在 Figma 中繪製影格,然後依下列方式設定:
將大小設為寬 450 個單位,高 450 個單位:
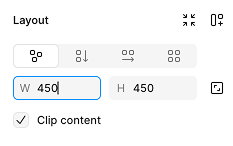
圖 1:Figma 的影格版面配置面板,顯示 450x450 的錶面 其他尺寸也可以,但建議使用 450x450,因為這是 Wear OS 錶面適用的尺寸,且匯出至 Watch Face Studio 時必須使用這個尺寸。
如要製作省電的錶面,請將影格的填滿顏色設為黑色:
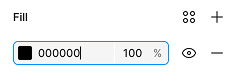
圖 2:影格填滿面板,顯示黑色填滿顏色 將影格名稱設為你希望的錶面名稱。這項資訊會顯示在使用者手錶上。
建立及設定影格後,開啟「錶面設計工具」外掛程式,然後選取剛建立的影格。錶面設計工具視窗會顯示即時預覽畫面。
在錶面中新增元素
在錶面上新增一些元素,讓使用者可以查看時間。
類比時間
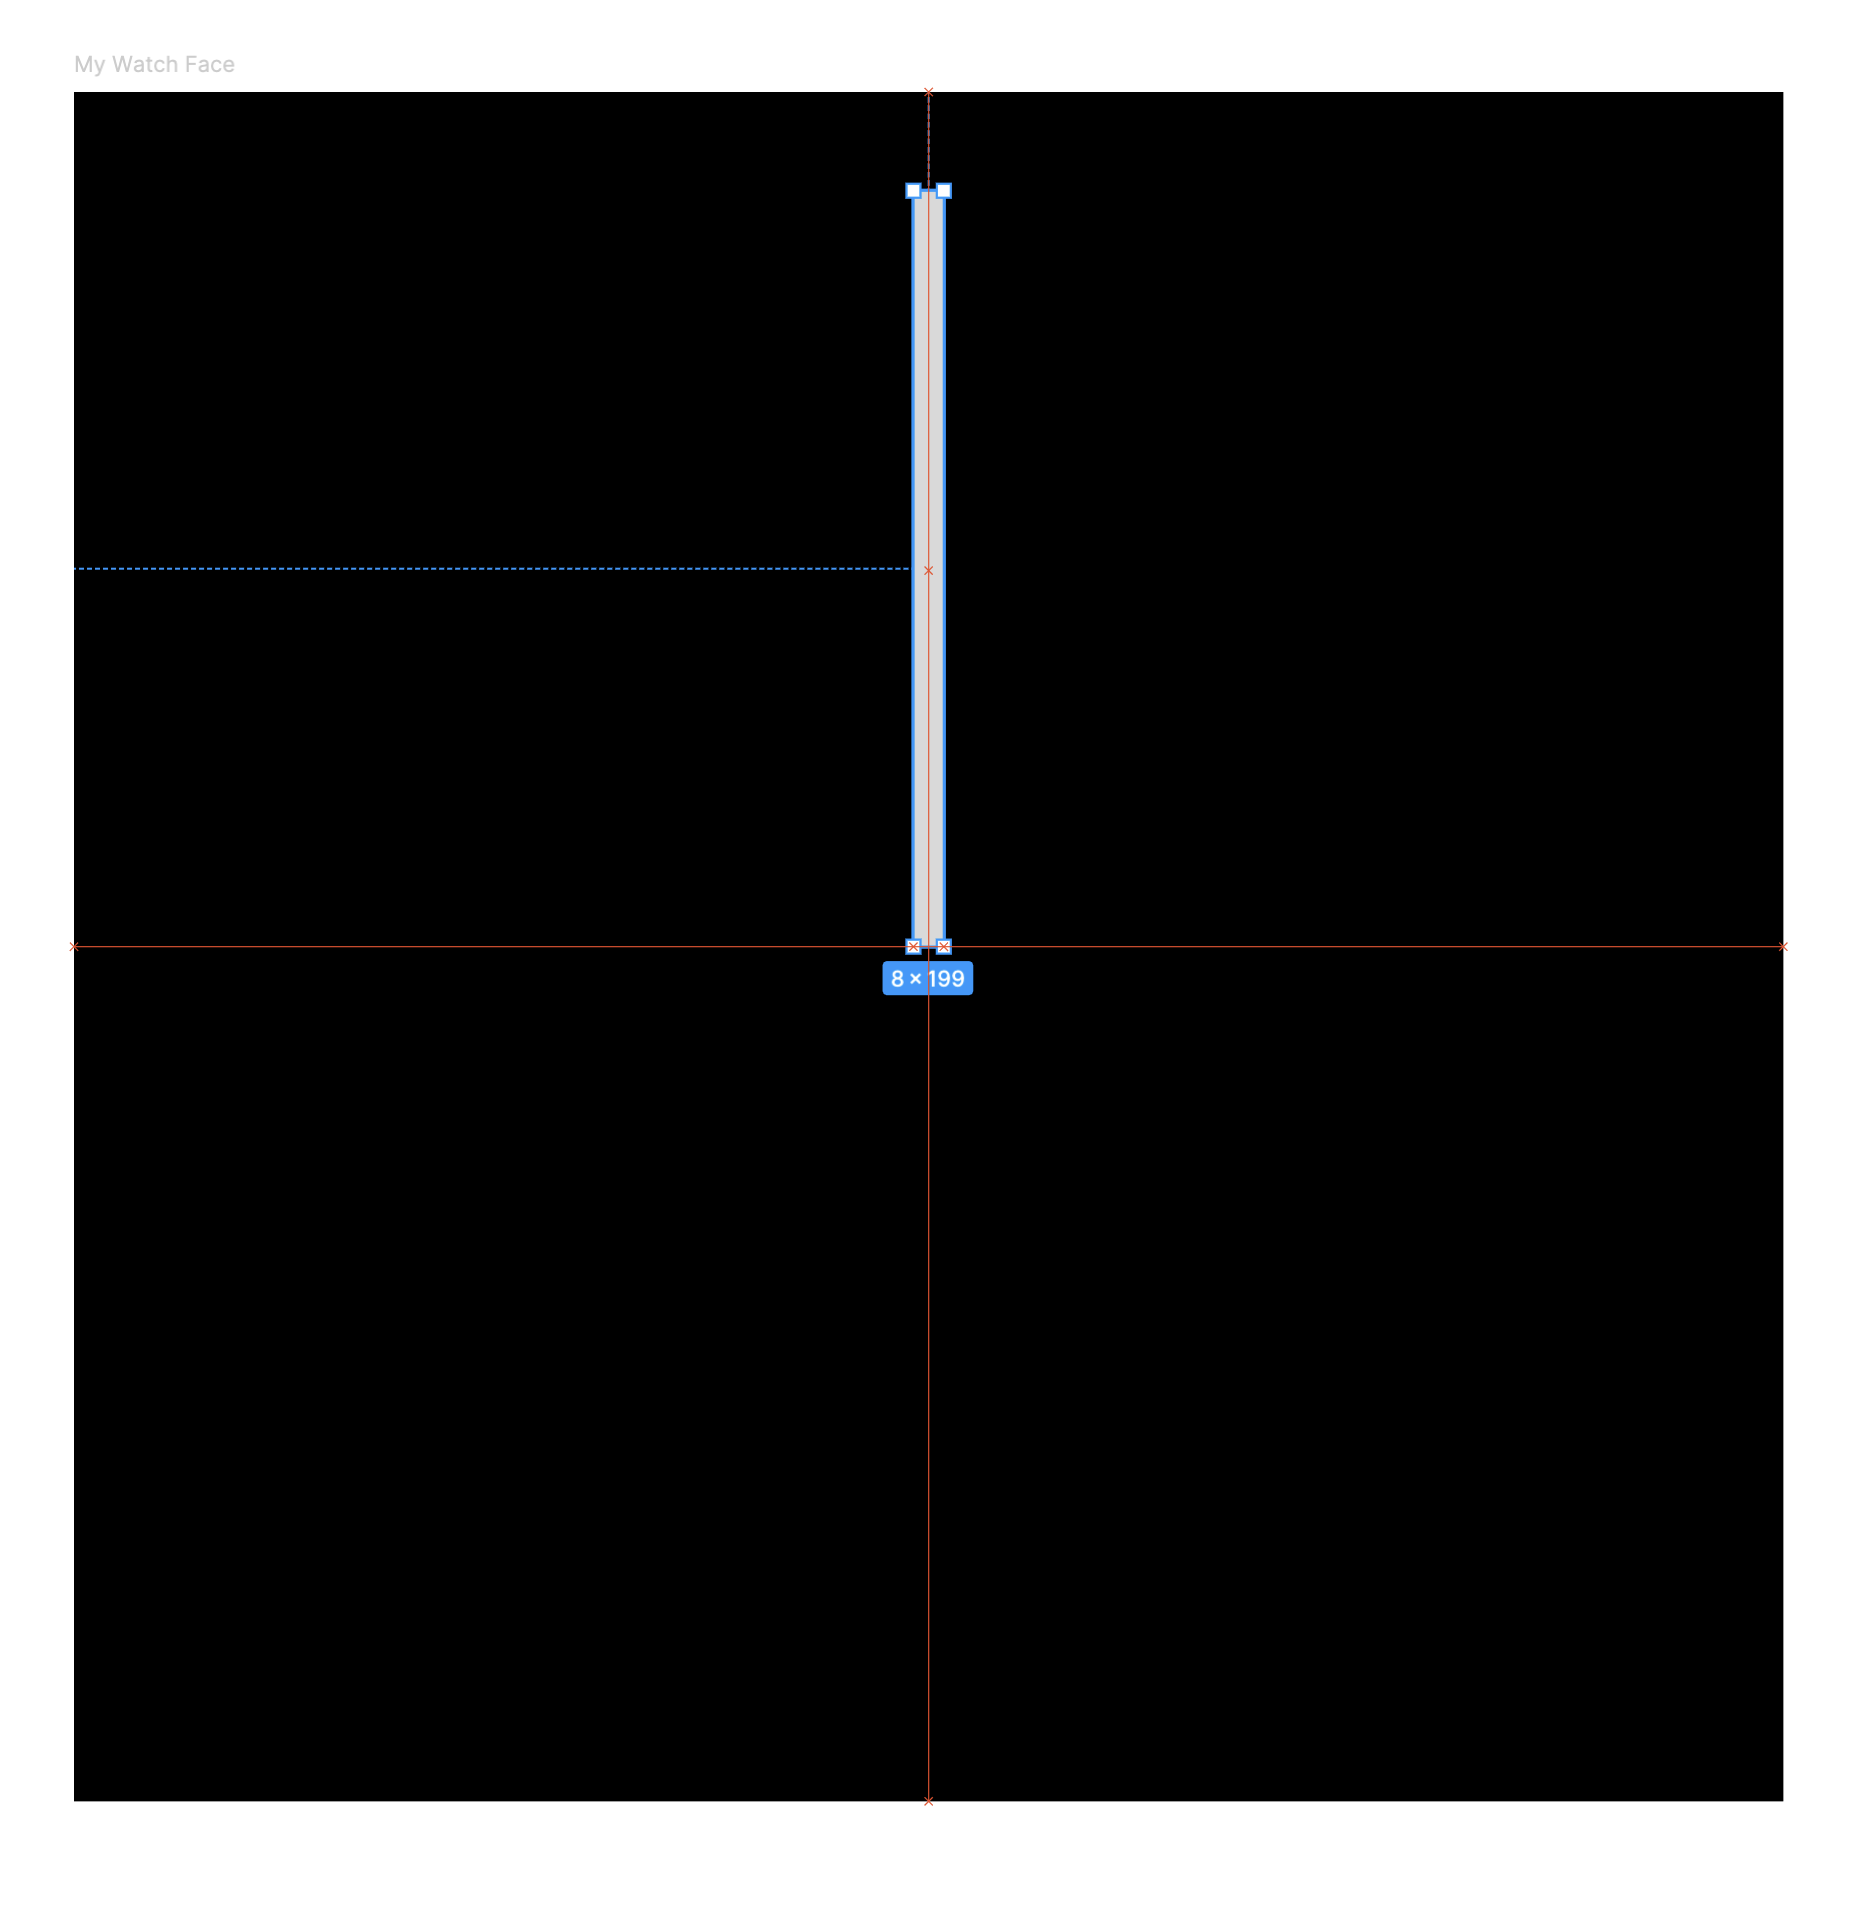
繪製矩形,做為手錶的秒針。
確認顯示新一分鐘的開頭時,矩形會水平置中,且底邊位於錶面中央,就像真實的時針一樣。根據預設,Figma 會啟用「貼齊幾何圖形」,顯示紅色輔助線,協助您對齊矩形:
接著,請告知 Watch Face Designer,這個圖層不只是裝飾用途。選取上一個步驟中繪製的矩形,然後前往「Watch Face Designer」(錶面設計工具) 視窗,將「Behavior」(行為) 從「Static」(靜態) 變更為「Second hand」(秒針)。
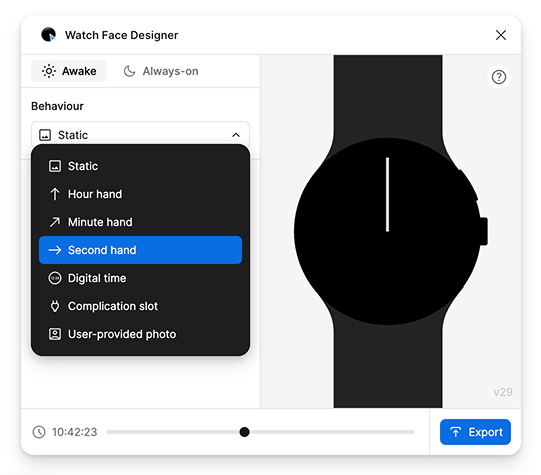
請注意,指針會開始每秒移動一次,模擬時鐘滴答聲。 您可以視需要調整轉動方式,並以類似於製作這個指針的方式,建立分針和時針。
如需有關子錶盤的建議,請參閱進階使用指南。
數位時間
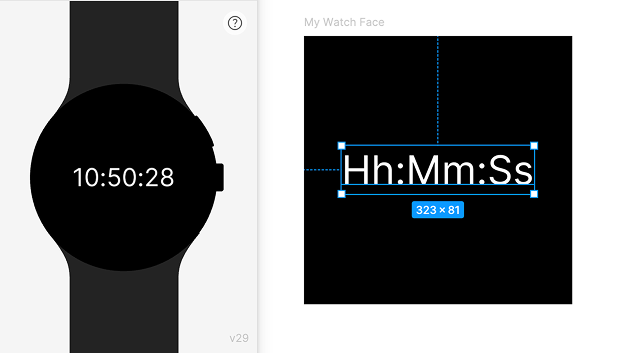
我們也可以使用數位格式顯示時間。如要這麼做,請在 Figma 中建立文字圖層。目前請輸入 Hh:Mm:Ss 做為圖層的文字內容。
在「錶面設計工具」視窗中,將文字的「行為」從「靜態」變更為「數位時間」。預覽畫面會顯示在實際裝置上的樣貌:
如要瞭解可使用的字元集,請參閱「錶面設計工具」視窗側欄中顯示的範本指南。舉例來說,a 代表目前時間是「上午」還是「下午」,您可以搭配「小時格式」顯示 12 小時制時間。
您可以選取 Figma 中的任何字型 (包括 Wear OS 不支援的字型),系統會自動匯出並將字型併入錶面。請注意,每種字型的重新發布授權條款都不盡相同。
預覽不同時間的畫面
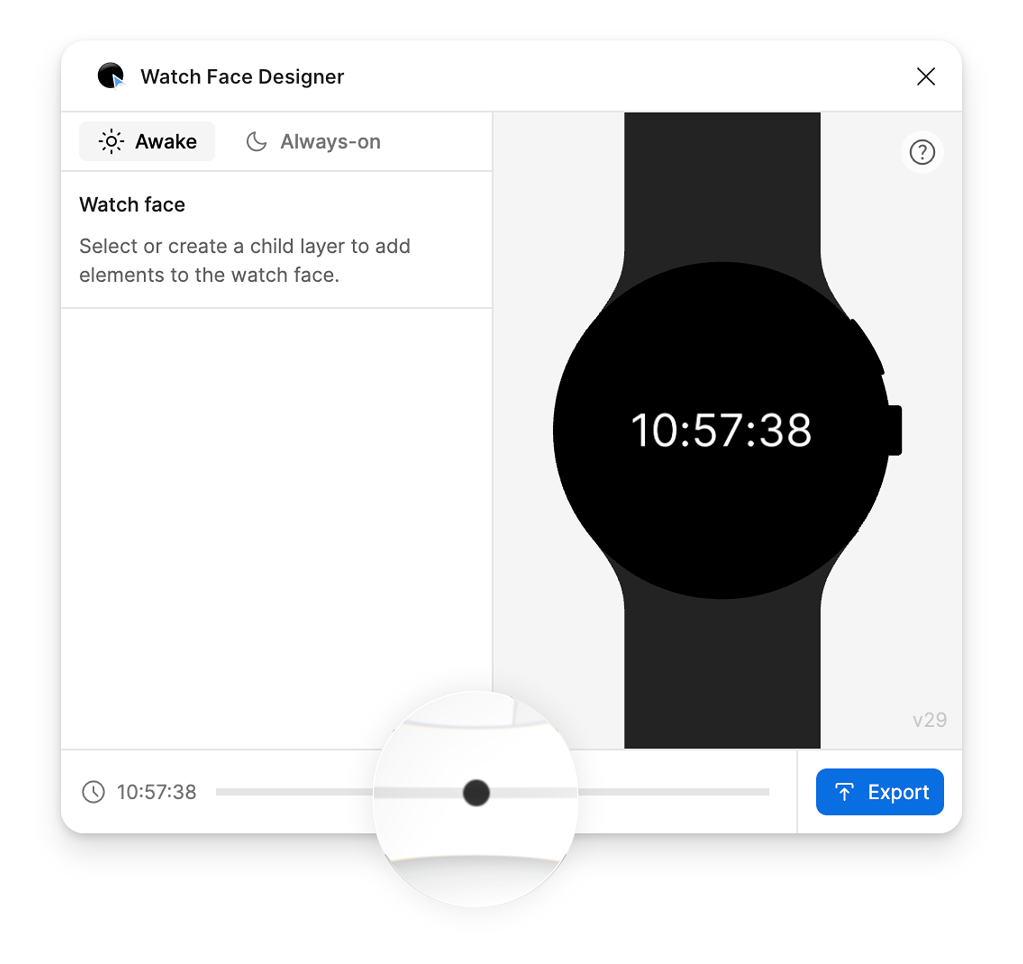
如要查看錶面在不同時段的樣貌,請拖曳「錶面設計工具」視窗底部的滑桿,調整預覽畫面顯示的時間:
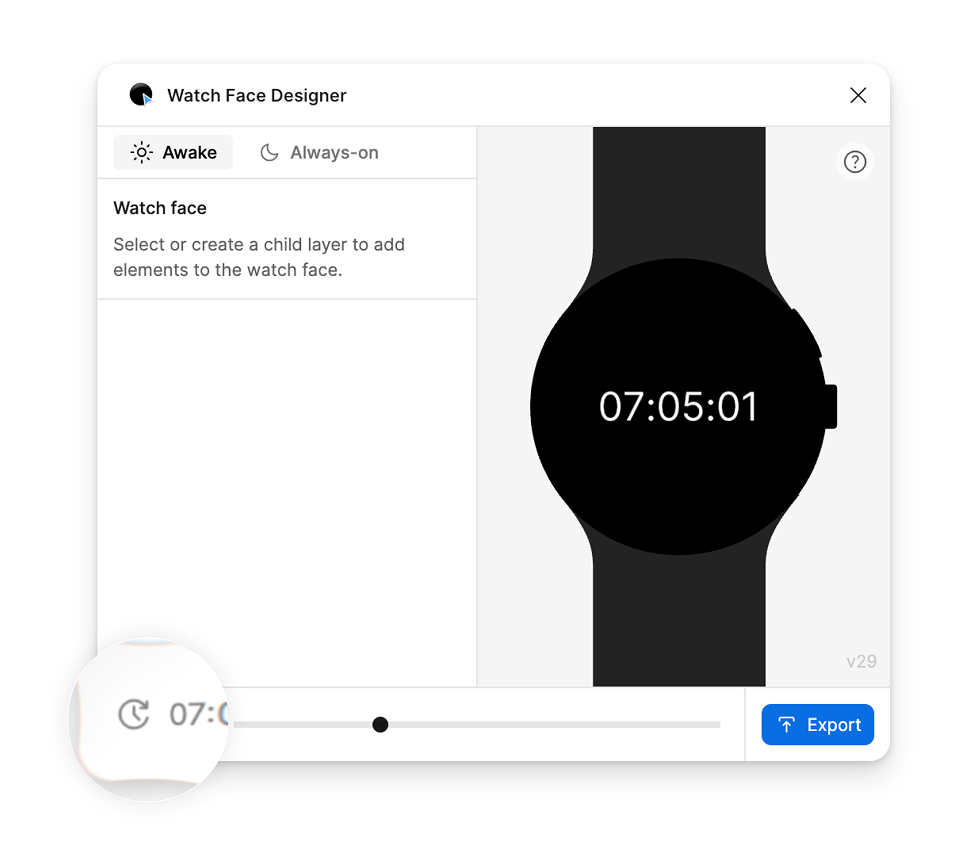
預覽不同時間的畫面後,如要將時間重設為目前時間,請選取左下角的「重設」按鈕:
加入使用者提供的相片
錶面可以包含自訂相片的插槽。這樣一來,使用者就能新增個人相片做為背景,同時顯示時間和您在設計中加入的任何其他元素。
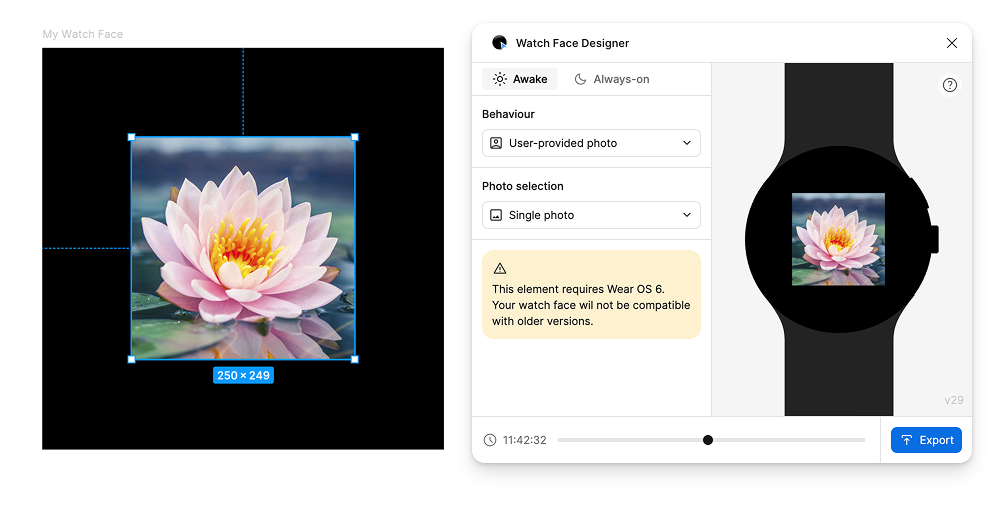
如要支援自訂相片,請在錶面中新增圖層,並將其「行為」設為「使用者提供的相片」。在本範例中,我們使用花朵的範例相片做為這個圖層的預設圖片。使用者尚未指派自己的相片,或選擇不使用自己的相片時,系統會改用這張圖片。
支援選取多張相片
錶面可以支援多選相片。在「錶面設計工具」中,這稱為「圖庫」:
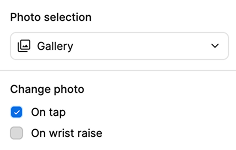
如果將「相片選取」設為「相簿」,使用者可以為這個位置選取多張相片,手錶會根據你選取的「變更相片」設定,在不同時間點輪播這些相片:
- 選取「輕觸時」後,使用者輕觸圖層時,相片就會變更。
- 選取「抬起手腕時」後,每當使用者抬起手腕,錶面就會變更一次。目前無法使用 Watch Face Designer 調整這項設定。進一步瞭解如何使用
changeAfterEvery屬性,透過錶面格式取得更進階的支援。
瞭解詳情
如要在實體裝置上預覽錶面,請參閱匯出指南。
如需更多選項和功能,請參閱進階用法指南。