
이 가이드에서는 Google이 내장된 Android Automotive 인스턴스를 설정하고 실행하는 방법을 설명합니다. 이 가이드에서는 탐색 및 음성 솔루션과 함께 사용할 서드 파티 Google API를 테스트하는 방법도 설명합니다.
이러한 API에 대해 자세히 알아보려면 내비게이션 앱 인텐트 구현 및 Android Automotive용 Google 지도 인텐트를 참고하세요.

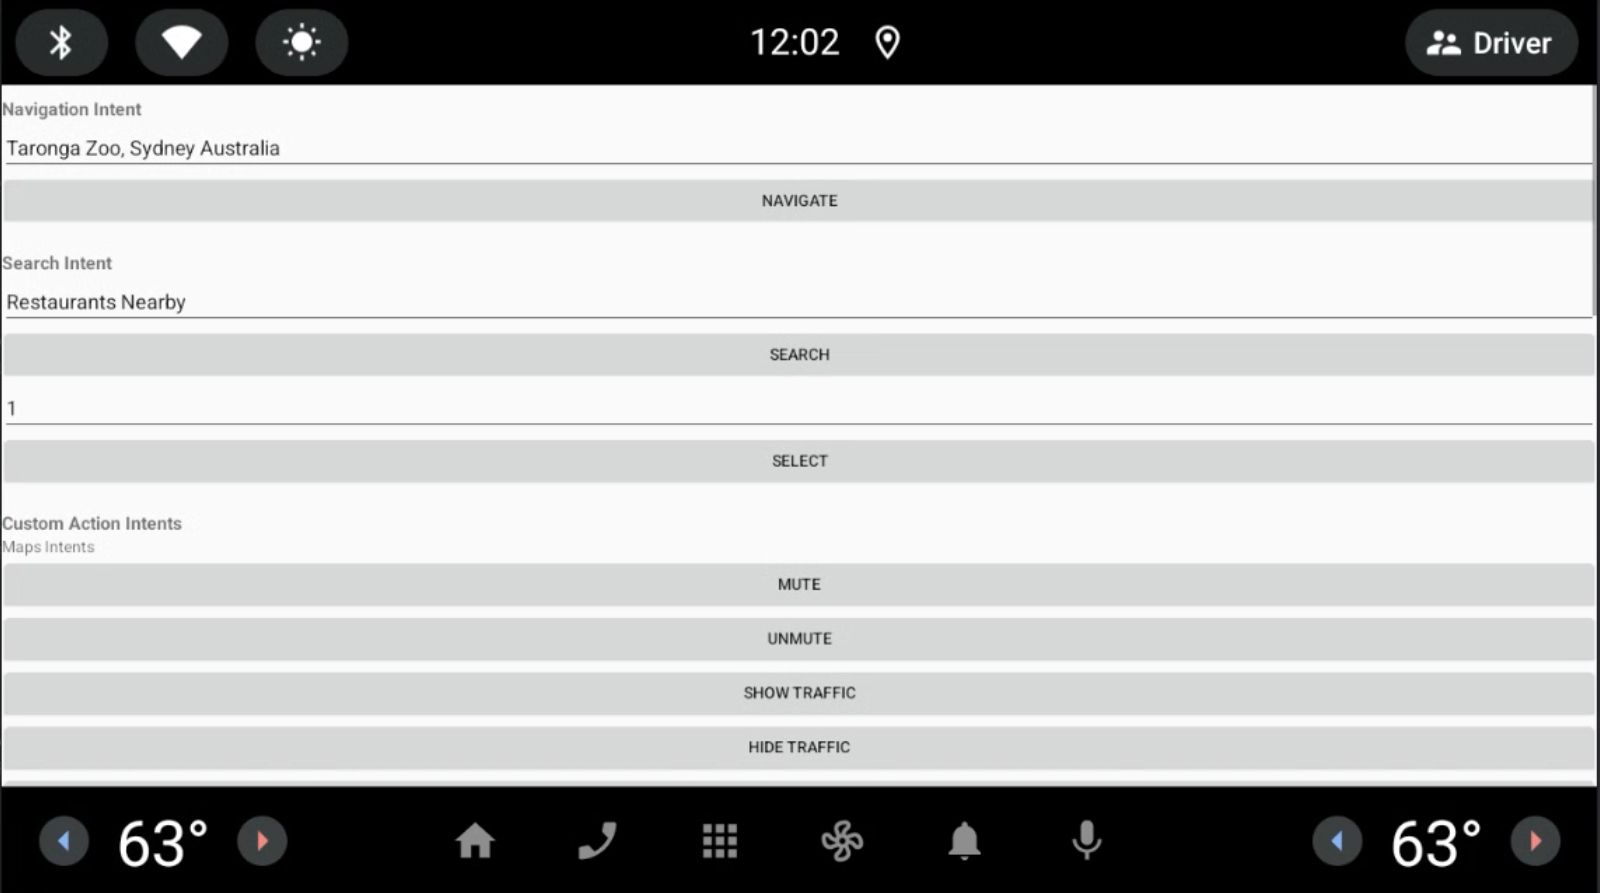
보시는 것처럼 세 가지 유형의 인텐트를 사용하여 어시스턴트 애플리케이션과 Google 지도 간의 상호작용을 설명할 수 있습니다. 탐색, 검색, 맞춤 작업입니다. 마찬가지로 이러한 인텐트는 Google 어시스턴트와 탐색 애플리케이션 간의 상호작용을 설명합니다.

이 콘텐츠에서는 Google 지도로 어시스턴트 애플리케이션의 인텐트를 테스트하는 방법을 설명합니다. 또한 Google 어시스턴트 또는 기타 어시스턴트 앱에서 인텐트를 수신하도록 내비게이션 애플리케이션을 통합하는 방법도 설명합니다.
설정
시작하려면 다음 단계를 따르세요.
- Android 스튜디오를 다운로드하여 설치합니다.
- Tools > Device Manager를 열고 Automotive (1408p landscape) with Google Play 이미지를 추가합니다.
- 에뮬레이터 이미지를 시작하고 Google Play에 로그인합니다. Google 어시스턴트를 검색하고 업데이트합니다.
- 데모 애플리케이션 프로젝트의 콘텐츠를 추출하고 Android 스튜디오에서 프로젝트를 엽니다 (파일 > 열기...).
- Run(실행) > Run automotive(자동차 실행)을 선택하여 에뮬레이터에 데모 애플리케이션을 설치하고 시작합니다.
데모
내비게이션 앱 인텐트 구현 및 Android Automotive용 Google 지도 인텐트에서는 실행할 수 있는 세 가지 유형의 인텐트(내비게이션, 검색, 맞춤 작업)를 설명합니다.
Google 지도에서 트리거된 작업을 실행합니다.
Google 어시스턴트에서 트리거된 인텐트의 수신자로 데모 애플리케이션을 지정하려면 다음 단계를 따르세요.
설정 > Google > Google 어시스턴트 > 기본 탐색 앱으로 이동합니다.
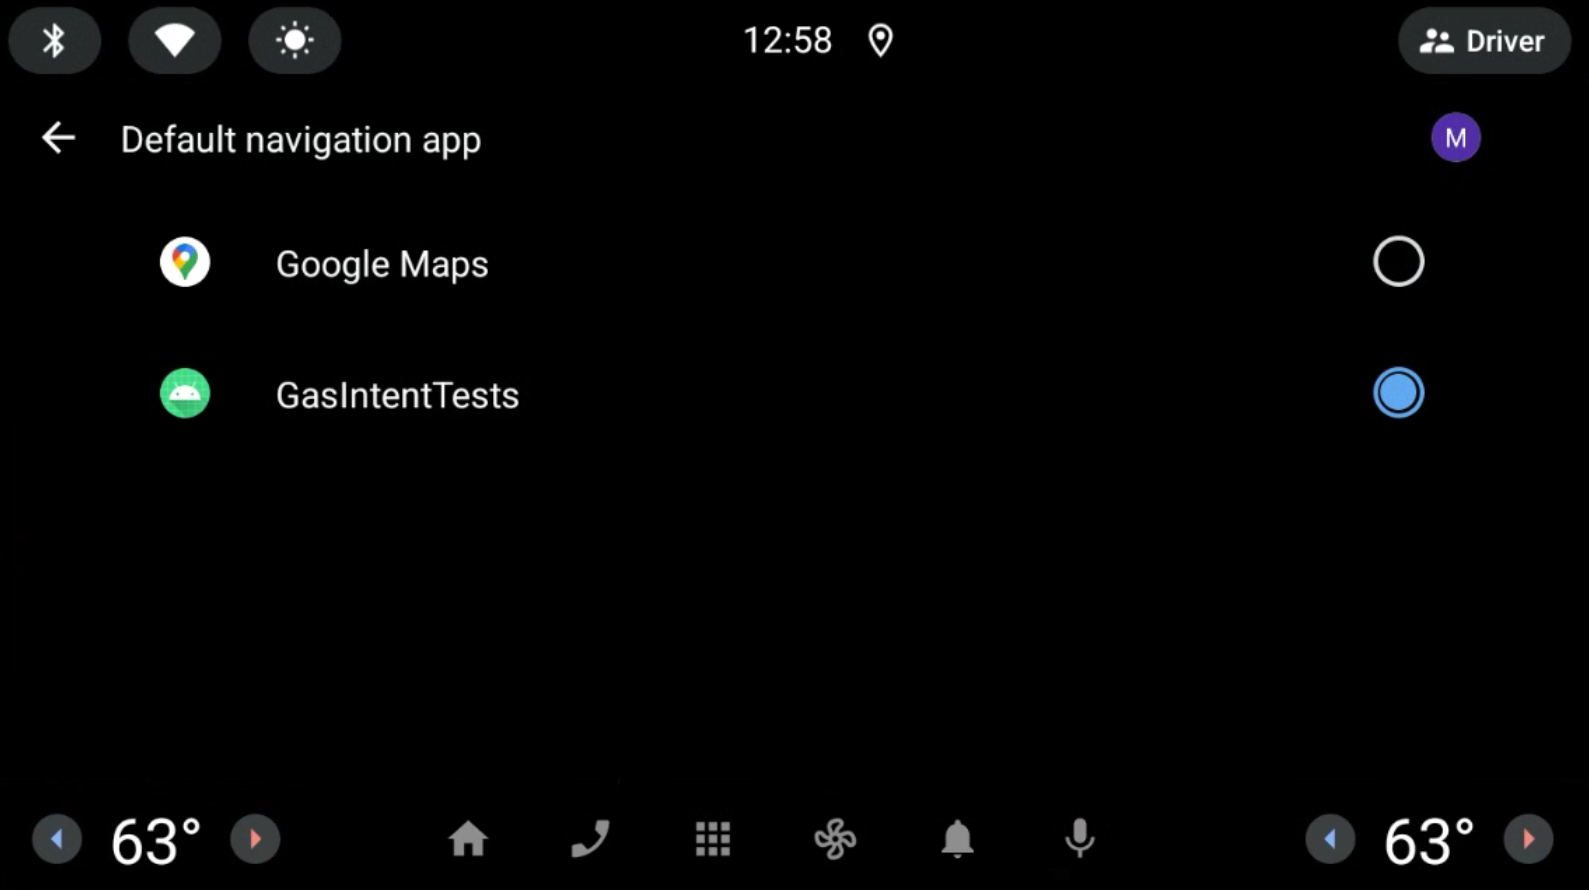
그림 1. 기본 내비게이션 앱을 선택합니다. 마이크 아이콘을 클릭하고 질문을 말합니다. 예를 들어 '근처 식당'입니다. 마이크가 예상대로 작동하지 않으면 확장 컨트롤, 설정, 도움말을 참고하세요. 인텐트 URI는 Google 어시스턴트에서 탐색 앱으로 전송되어 추가로 처리됩니다.
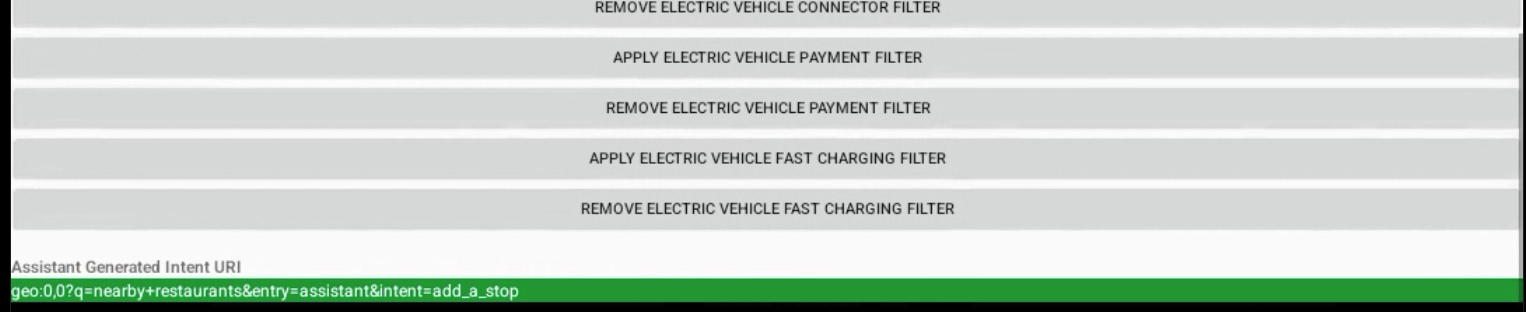
그림 2. Google 어시스턴트에서 생성된 인텐트의 출력입니다.
기술 세부정보
Android 디버그 브리지 (adb)를 사용하여 콘솔에서 인텐트를 트리거할 수 있습니다. 자세한 내용은 gas-intents-console-tests.txt를 참고하세요.
애플리케이션이 Google 어시스턴트로부터 인텐트를 수신할 수 있음을 지정하려면 탐색 애플리케이션의 AndroidManifest.xml 파일에 다음 코드를 포함하세요.
   <!-- Navigation Intent -->
    <intent-filter>
      <action android:name="androidx.car.app.action.NAVIGATE" />
      <category android:name="android.intent.category.DEFAULT"/>
      <data android:scheme="geo" />
    </intent-filter>

    <!-- Search Intent -->
    <intent-filter>
      <action android:name="android.intent.action.VIEW" />
      <category android:name="android.intent.category.DEFAULT"/>
      <data android:scheme="geo" />
    </intent-filter>

    <!-- Custom Action Intents -->
    <intent-filter>
      <action android:name="android.intent.action.VIEW" />
      <category android:name="android.intent.category.DEFAULT"/>
      <data android:scheme="geo.action" />
    </intent-filter>
앱을 설정 > Google > Google 어시스턴트 > 기본 탐색 앱에 추가하여 표시하고 선택할 수 있도록 하려면 다음을 추가하세요.
    <intent-filter>
        <action android:name="android.intent.action.MAIN" />
        <category android:name="android.intent.category.APP_MAPS" />
    </intent-filter>