The following are new features in Android Studio Iguana.
Patch releases
The following is a list of the patch releases in Android Studio Iguana and Android Gradle plugin 8.3.
Android Studio Iguana | 2023.2.1 Patch 2 and AGP 8.3.2 (April 2024)
This minor update includes these bug fixes.
Android Studio Iguana | 2023.2.1 Patch 1 and AGP 8.3.1 (March 2024)
This minor update includes these bug fixes.
IntelliJ IDEA 2023.2 platform update
Android Studio Iguana includes the IntelliJ IDEA 2023.2 updates, which improve the Studio IDE experience. For details on the changes, see the IntelliJ IDEA 2023.2 release notes.
Version control system integration in App Quality Insights
App Quality Insights now lets you navigate from a Crashlytics stack trace to the relevant code—at the point in time when the crash happened. AGP attaches git commit hash data to crash reports, which helps Android Studio navigate to your code and show how it was in the version where the issue occurred. When you view a crash report in App Quality Insights, you can choose to navigate to the line of code in your current git checkout or view a diff between the current checkout and the version of your codebase that generated the crash.
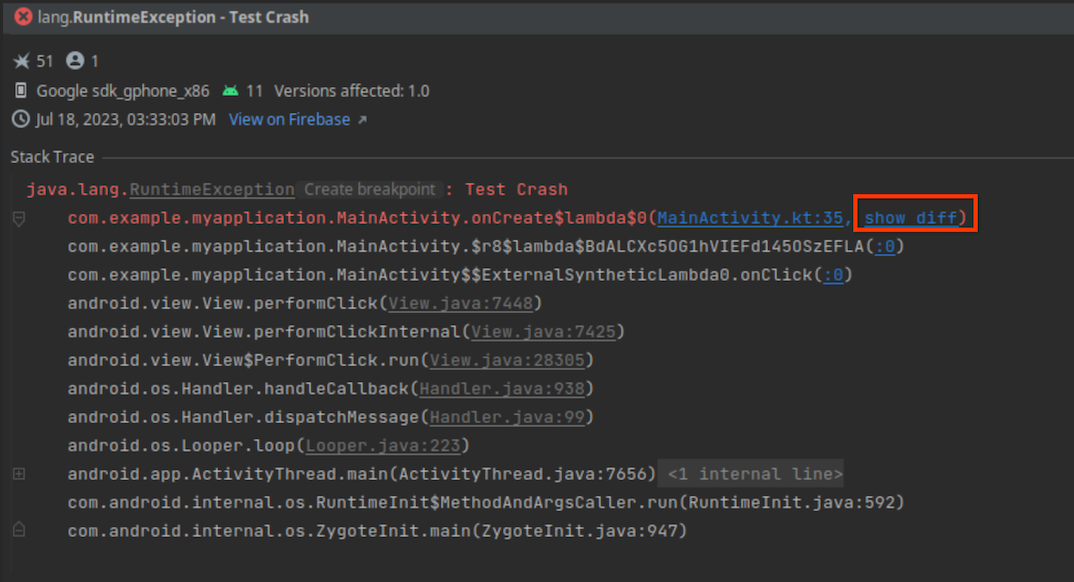
To integrate your version control system with App Quality Insights, you need the following minimum requirements:
- Latest Canary version of Android Studio Iguana
- Latest Alpha version of Android Gradle Plugin 8.3
- Crashlytics SDK v18.3.7 (or the Firebase Android Bill of Materials v32.0.0)
To use version control integration for a debuggable build type, enable the
vcsInfo flag in the module-level build file. For release (non-debuggable)
builds, the flag is enabled by default.
Kotlin
android {
  buildTypes {
    getByName("debug") {
      vcsInfo {
        include = true
      }
    }
  }
}
Groovy
android {
  buildTypes {
    debug {
      vcsInfo {
        include true
      }
    }
  }
}
Now, when you build your app and publish to Google Play, crash reports include the data necessary for the IDE to link to previous versions of your app from the stack trace.
View Crashlytics crash variants in App Quality Insights
To help you analyze the root causes of a crash, you can now use App Quality Insights to view events by issue variants, or groups of events that share similar stack traces. To view events in each variant of a crash report, select a variant from the dropdown. To aggregate information for all variants, select All.

Compose UI Check
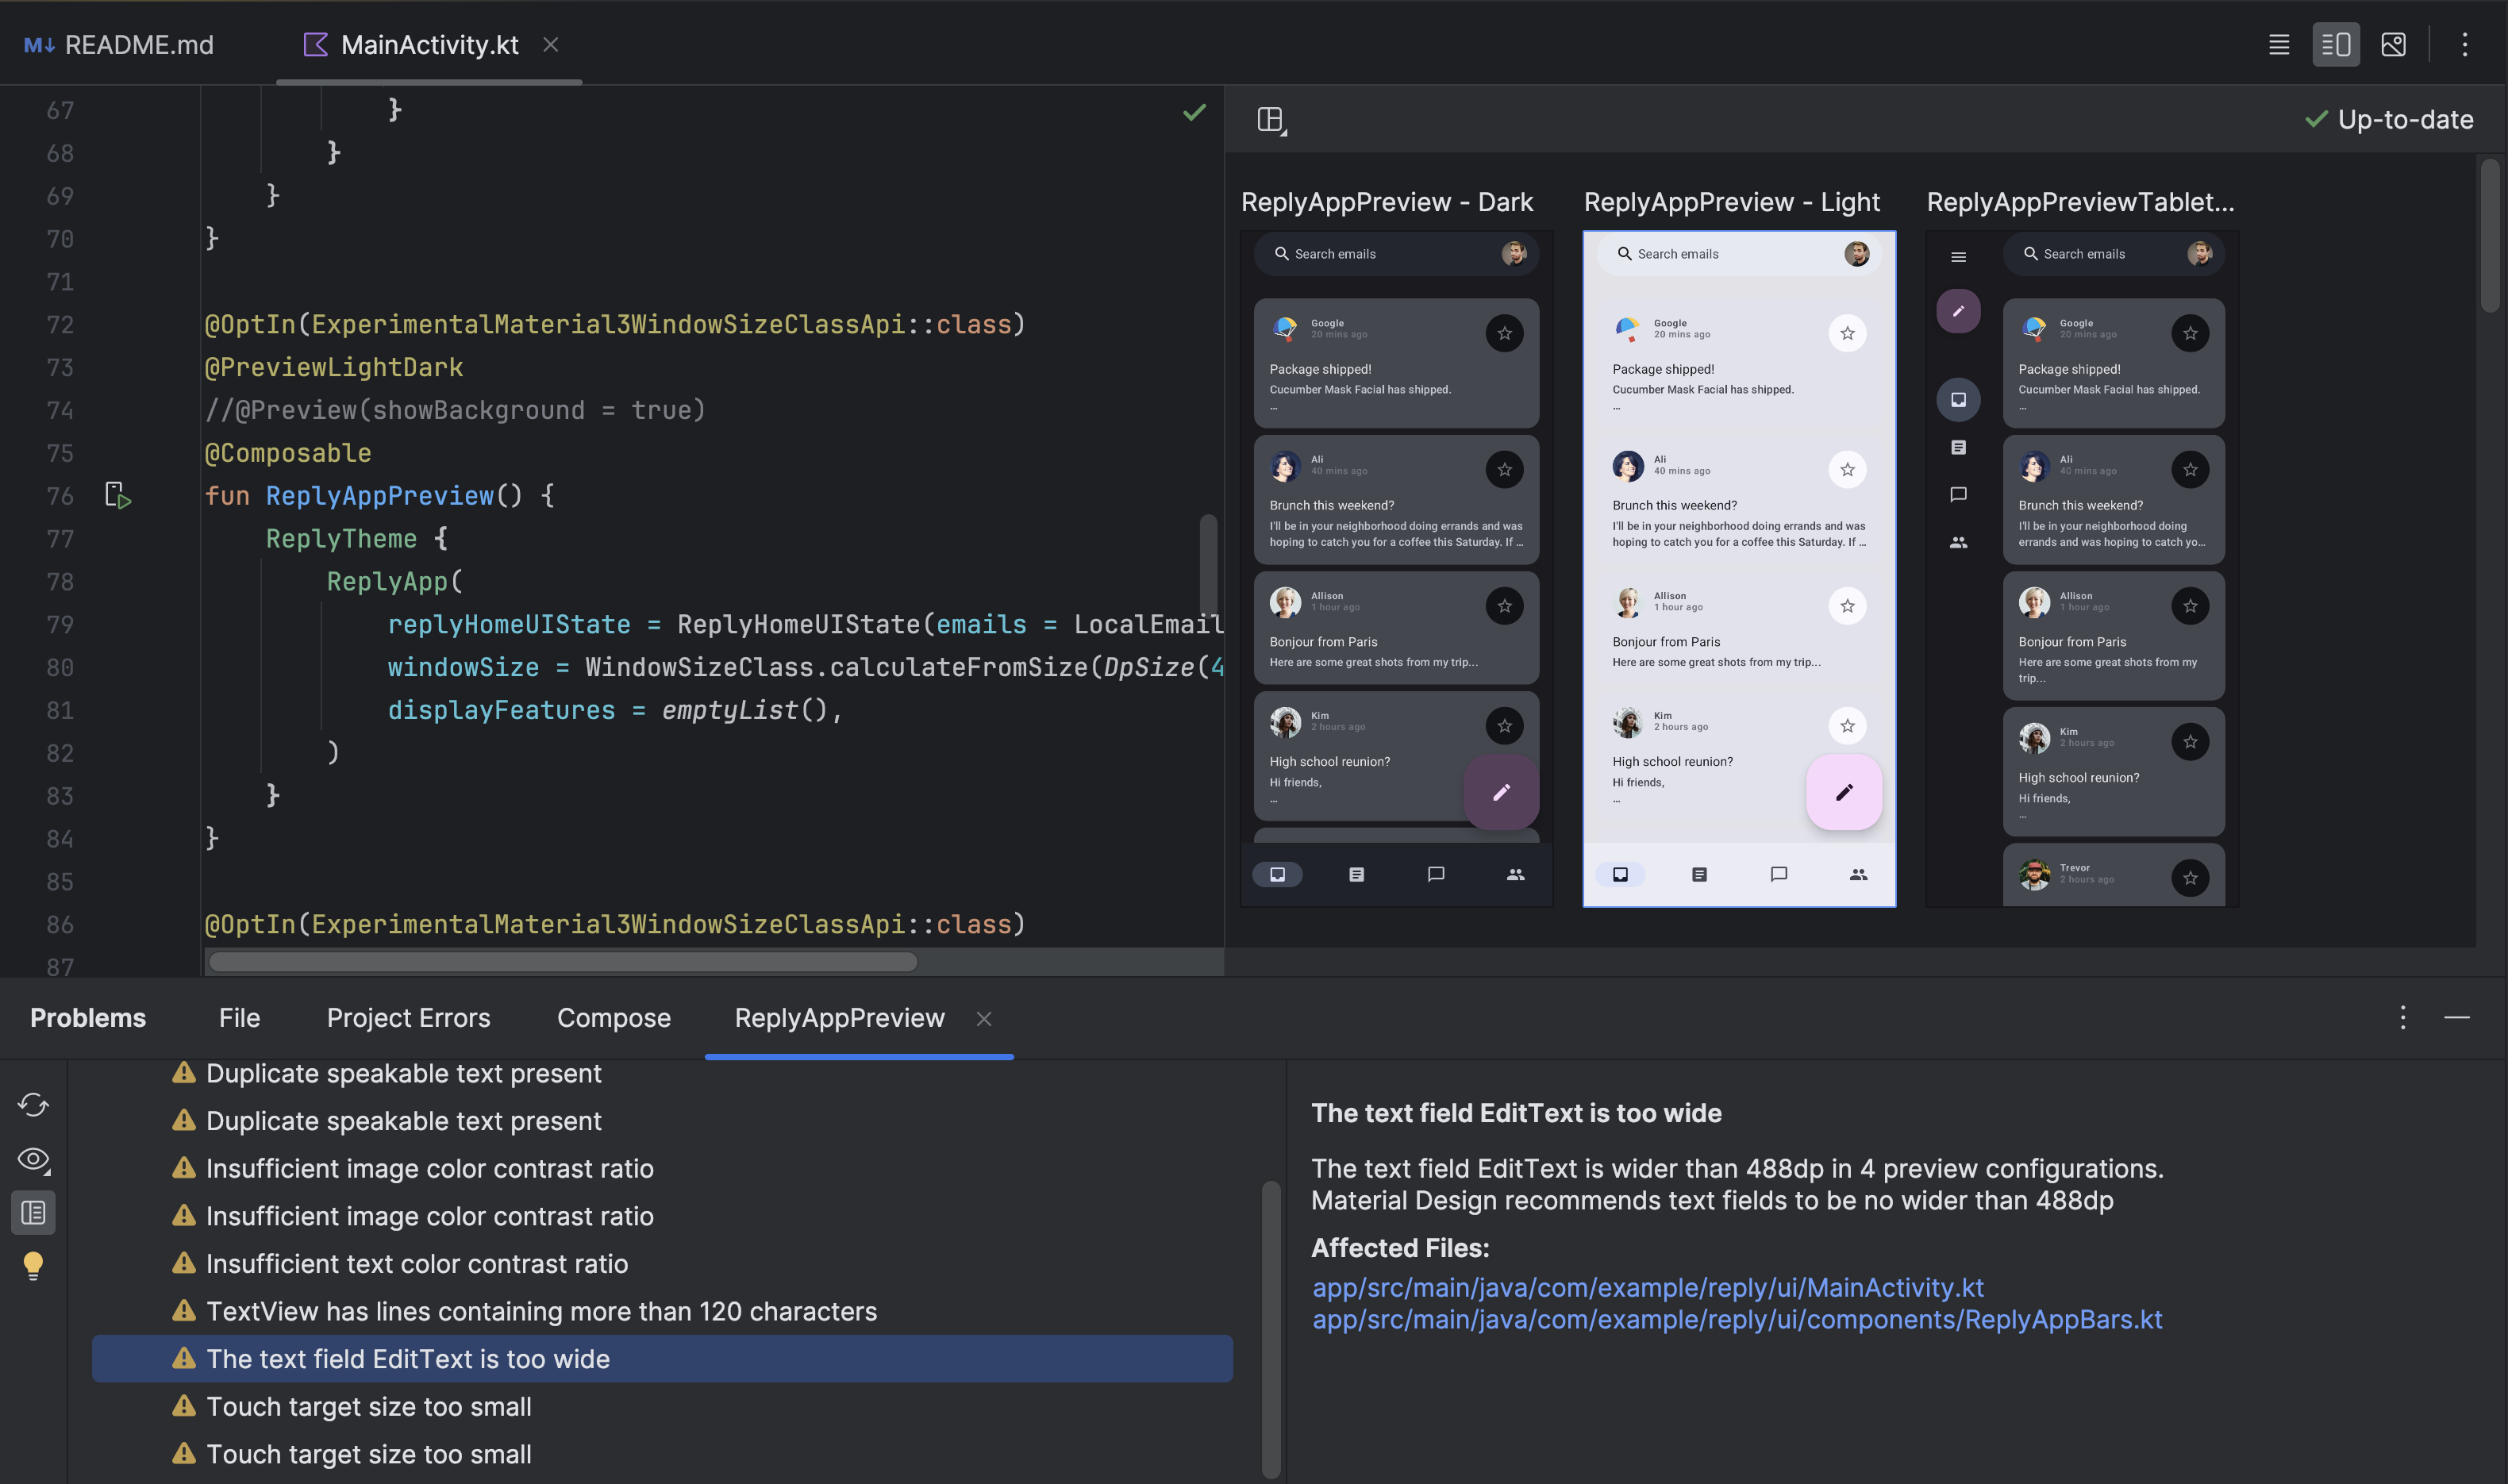
To help developers build more adaptive and accessible UIs in Jetpack Compose, Android Studio Iguana Canary 5 introduced a new UI Check mode in Compose Preview. This feature works similar to Visual linting and Accessibility checks integrations for views. When you activate Compose UI Check mode, Android Studio automatically audits your Compose UI and check for adaptive and accessibility issues across different screen sizes, such as text stretched on large screens or low color contrast. The mode highlights issues found in different preview configurations and lists them in the problems panel.
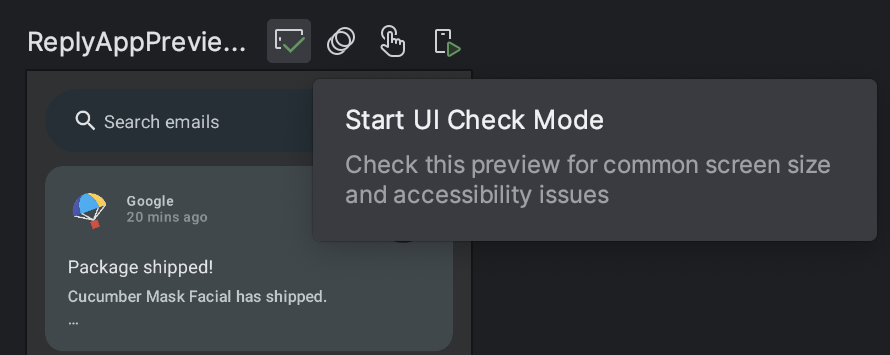
Try out this feature today by clicking on the UI Check button
![]() on Compose Preview and send your feedback:
on Compose Preview and send your feedback:
Known issues of UI Check Mode:
- Selected issue in the problem panel might lose focus
- "Suppress rule" doesn't work
Progressive Rendering for Compose Preview
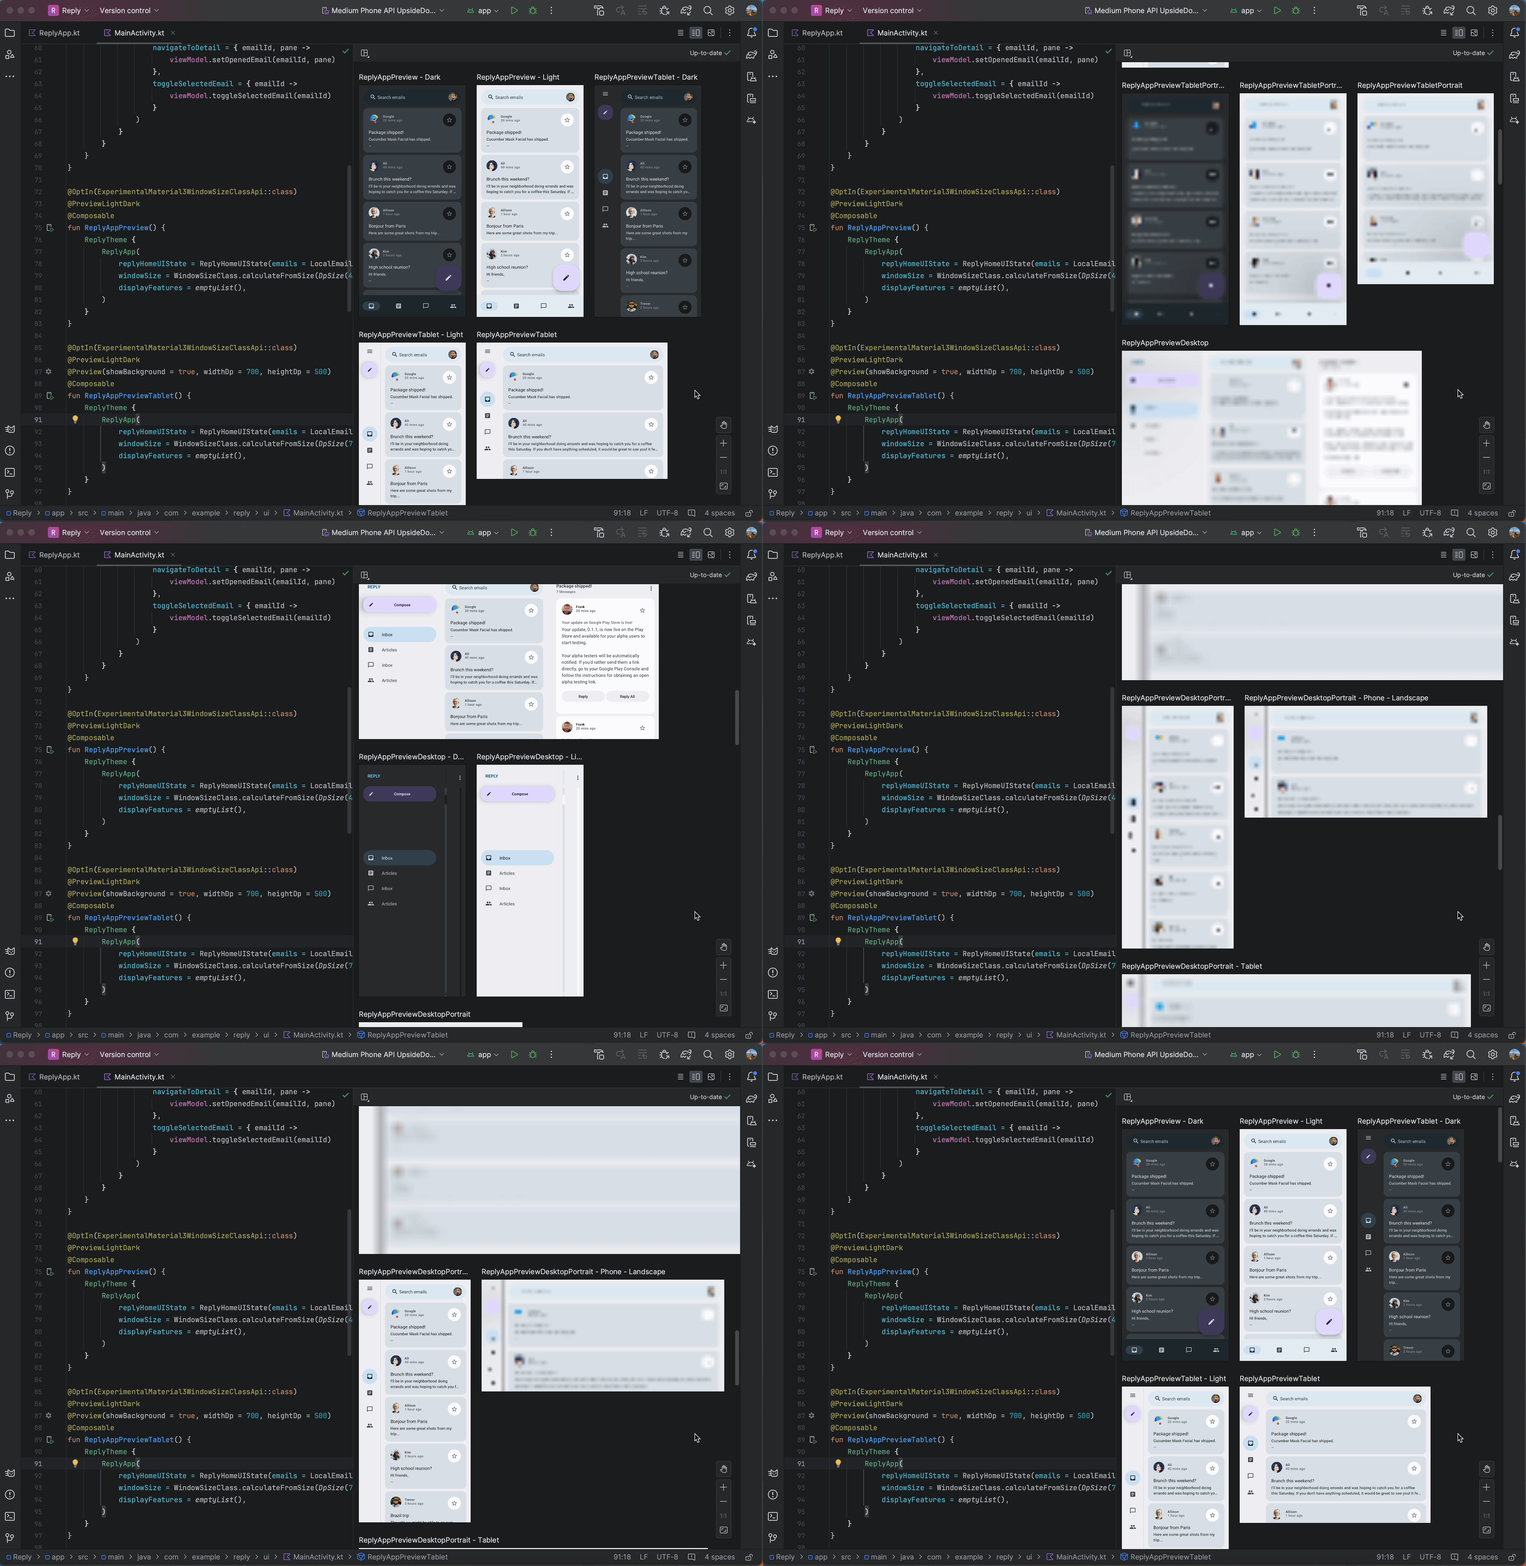
Android Studio Iguana Canary 3 introduces Progressive Rendering in Compose Preview. As part of a continual effort to make previews more performant, now for any preview that is out of view, we purposely decrease their render quality to save memory used.
This feature is developed with the goal to further improve the usability of Previews by being able to handle more previews at the same time in a file. Try it out today and submit your feedback.
Baseline Profiles module wizard
Starting with Android Studio Iguana, you can generate Baseline Profiles for your app using the Baseline Profile Generator template in the new module wizard (File > New > New Module).
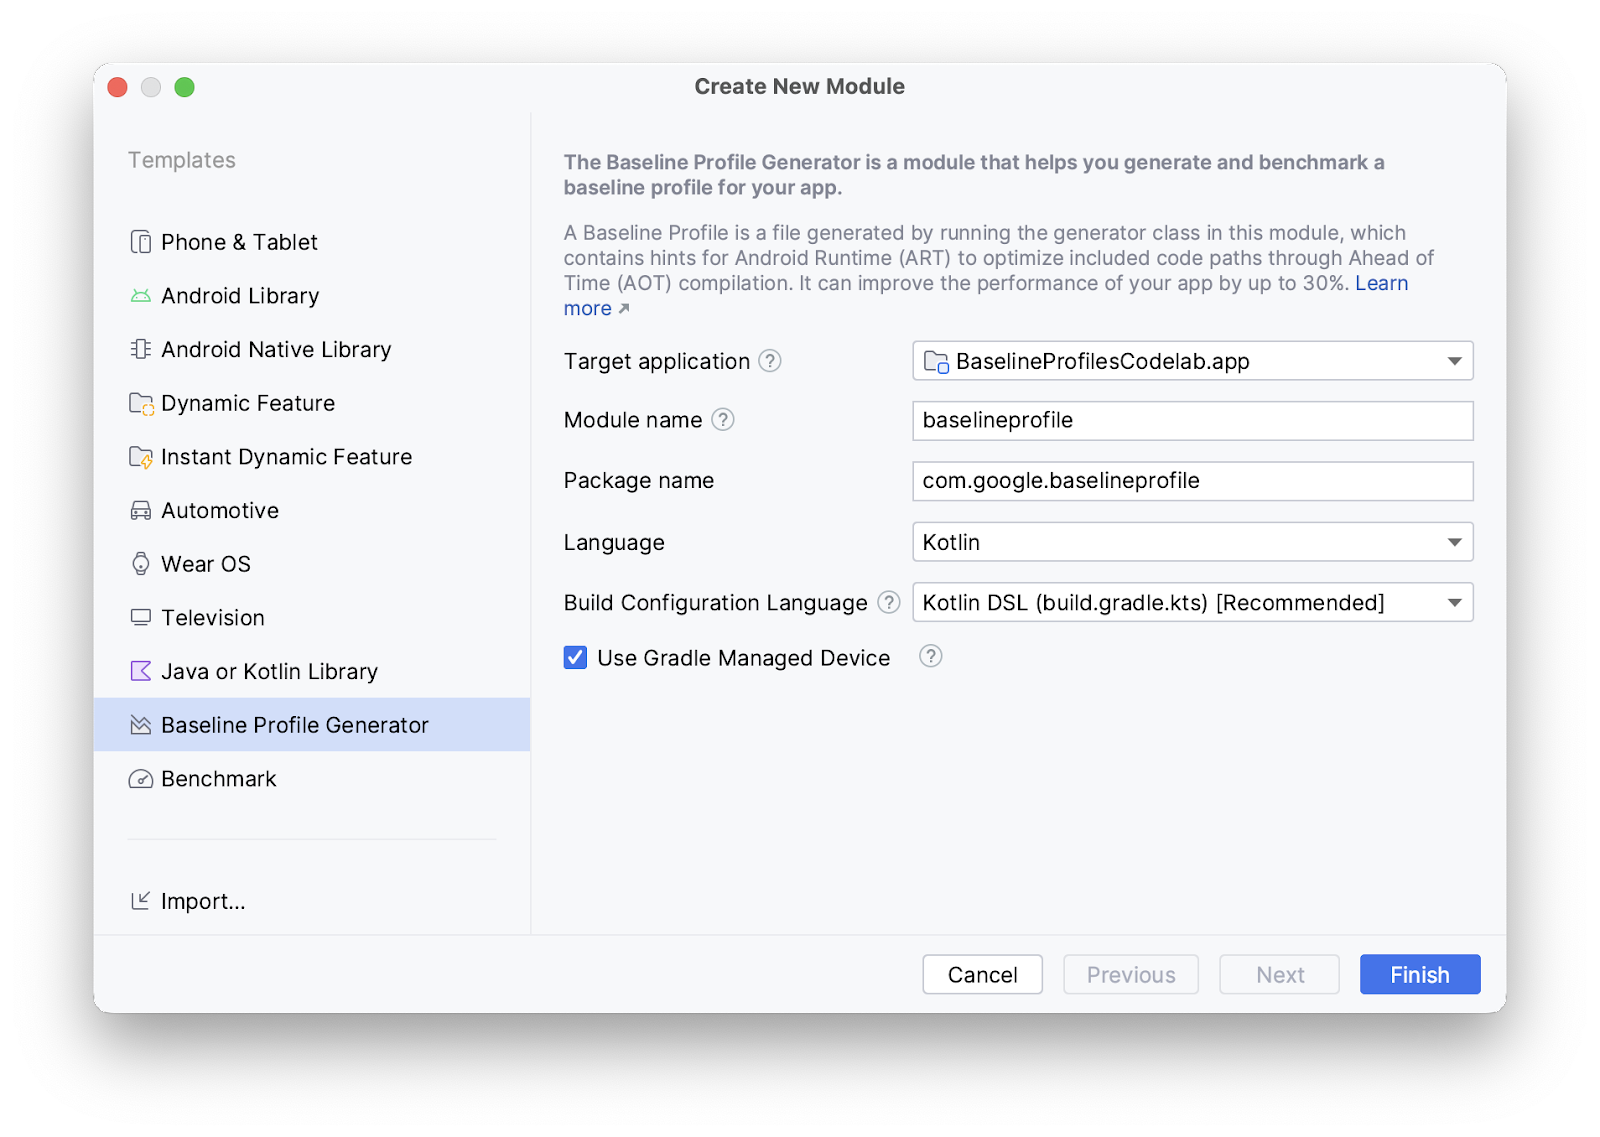
This template sets up your project so that it can support Baseline Profiles. It uses the new Baseline Profiles Gradle plugin, which automates the process of setting up your project in the required way with one Gradle task.
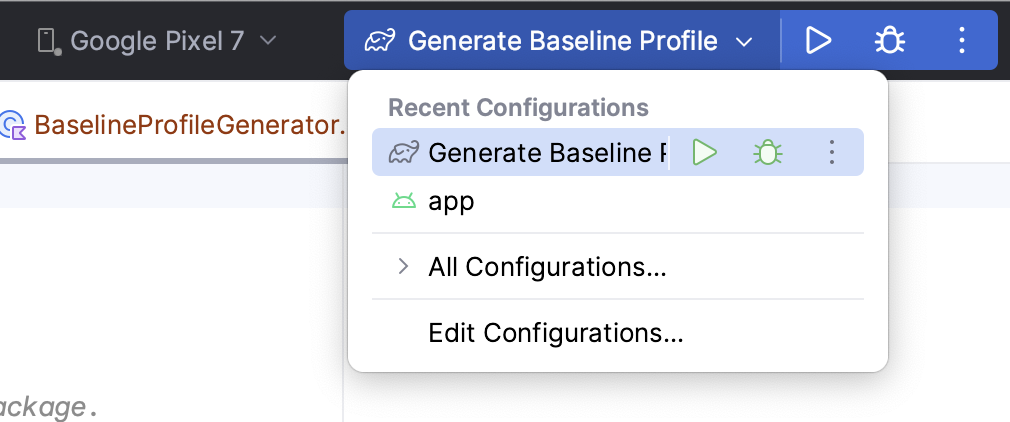
The template also creates a run configuration that lets you generate a Baseline Profile with one click from the Select Run/Debug Configuration drop-down list.
Test against configuration changes with the Espresso Device API
Use the Espresso Device API to test your app when the device undergoes common configuration changes, such as rotation and screen unfolding. The Espresso Device API lets you simulate these configuration changes on a virtual device and executes your tests synchronously, so only one UI action or assertion happens at a time and your test results are more reliable. Learn more about how to write UI tests with Espresso.
To use the Espresso Device API, you need the following:
- Android Studio Iguana or higher
- Android Gradle plugin 8.3 or higher
- Android Emulator 33.1.10 or higher
- Android virtual device that runs API level 24 or higher
Set up your project for the Espresso Device API
To set up your project so it supports the Espresso Device API, do the following:
To let the test pass commands to the test device, add the
INTERNETandACCESS_NETWORK_STATEpermissions to the manifest file in theandroidTestsource set:<uses-permission android:name="android.permission.INTERNET" /> <uses-permission android:name="android.permissions.ACCESS_NETWORK_STATE" />
Enable the
enableEmulatorControlexperimental flag in thegradle.propertiesfile:android.experimental.androidTest.enableEmulatorControl=true
Enable the
emulatorControloption in the module-level build script:Kotlin
  testOptions {
    emulatorControl {
      enable = true
    }
  }
Groovy
  testOptions {
    emulatorControl {
      enable = true
    }
  }
In the module-level build script, import the Espresso Device library into your project:
Kotlin
  dependencies {
    androidTestImplementation("androidx.test.espresso:espresso-device:3.6.1")
  }
Groovy
  dependencies {
    androidTestImplementation 'androidx.test.espresso:espresso-device:3.6.1'
  }
Test against common configuration changes
The Espresso Device API has multiple screen orientation and foldable states that you can use to simulate device configuration changes.
Test against screen rotation
Here's an example of how to test what happens to your app when the device screen rotates:
First, for a consistent starting state set the device to portrait mode:
  import androidx.test.espresso.device.action.ScreenOrientation
  import androidx.test.espresso.device.rules.ScreenOrientationRule
  ...
  @get:Rule
  val screenOrientationRule: ScreenOrientationRule = ScreenOrientationRule(ScreenOrientation.PORTRAIT)
Create a test that sets the device to landscape orientation during test execution:
  @Test
  fun myRotationTest() {
    ...
    // Sets the device to landscape orientation during test execution.
    onDevice().setScreenOrientation(ScreenOrientation.LANDSCAPE)
    ...
  }
After the screen rotates, check that the UI adapts to the new layout as expected:
  @Test
  fun myRotationTest() {
    ...
    // Sets the device to landscape orientation during test execution.
    onDevice().setScreenOrientation(ScreenOrientation.LANDSCAPE)
    composeTestRule.onNodeWithTag("NavRail").assertIsDisplayed()
    composeTestRule.onNodeWithTag("BottomBar").assertDoesNotExist()
  }
Test against screen unfolding
Here's an example of how to test what happens to your app if it's on a foldable device and the screen unfolds:
First, test with the device in the folded state by calling
onDevice().setClosedMode(). Make sure that your app's layout adapts to the compact screen width:@Test fun myUnfoldedTest() { onDevice().setClosedMode() composeTestRule.onNodeWithTag("BottomBar").assetIsDisplayed() composeTestRule.onNodeWithTag("NavRail").assetDoesNotExist() ... }
To transition to a fully unfolded state, call
onDevice().setFlatMode(). Check that the app’s layout adapts to the expanded size class:@Test fun myUnfoldedTest() { onDevice().setClosedMode() ... onDevice().setFlatMode() composeTestRule.onNodeWithTag("NavRail").assertIsDisplayed() composeTestRule.onNodeWithTag("BottomBar").assetDoesNotExist() }
Specify what devices your tests need
If you're running a test that performs folding actions on a device that isn't
foldable, the test usually fails. To execute only the tests that are relevant
to the running device, use the @RequiresDeviceMode annotation. The test runner
automatically skips running tests on devices that don't support the
configuration being tested. You can add the device requirement rule to each test
or an entire test class.
For example, to specify that a test should only be run on devices that support
unfolding to a flat configuration, add the following @RequiresDeviceMode code
to your test:
@Test
@RequiresDeviceMode(mode = FLAT)
fun myUnfoldedTest() {
  ...
}
