アプリのレイアウト
コレクションでコンテンツを整理
必要に応じて、コンテンツの保存と分類を行います。
Compose の方法を試す
Wear OS では、Wear OS 向け Jetpack Compose を UI ツールキットとして使用することをおすすめします。
さまざまなスマートウォッチの形状を処理する方法を理解したら、使用するサーフェスを決定します。
一般的なアプリのレイアウトには以下があります。
-
単一画面(最もシンプル): UI 要素は、スクロールせずに一度に表示可能な要素に限定されます。
-
垂直コンテナ(最も一般的): 画面の視認可能な領域外にもコンテンツが存在し、スクロールすることでアクセスできます。
-
その他のオプション: リスト、ページング、2D パンなどがあります。
以降では、これらのレイアウト タイプについて説明します。複数の画面が必要な場合は、レイアウト タイプを組み合わせて使用できます。
注: アクティビティでは、ComponentActivity
または FragmentActivity
(フラグメントを使用している場合)のいずれかから継承する必要があります。他のアクティビティ タイプでは、Wear OS に必要のないモバイル固有の UI 要素を使用します。
単一画面
スクロールせずに、1 つの画面にすべての要素を表示できます。つまり、配置できる要素の数が非常に少ないということです。
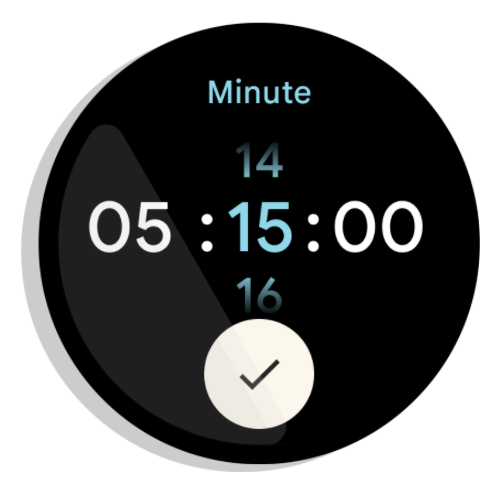
図 1. 単一画面レイアウトの例。
単一画面は、BoxInsetLayout
と ConstraintLayout
の組み合わせと適切に連携して要素を配置します。
垂直コンテナ
垂直コンテナは、最も一般的なアプリ レイアウトです。コンテンツの一部は画面に表示されませんが、スクロールすることでアクセスできます。
図 2 は、アプリのレイアウト全体を示しています。スマートウォッチの円形画面には、コンテンツの一部のみが表示されます。この例では、メインのコンテンツはコンテナ上部に表示され、その他のクリティカル ユーザー ジャーニー(CUJ)と設定はコンテナ下部に表示されています。これがコンテンツ レイアウトのベスト プラクティスです。
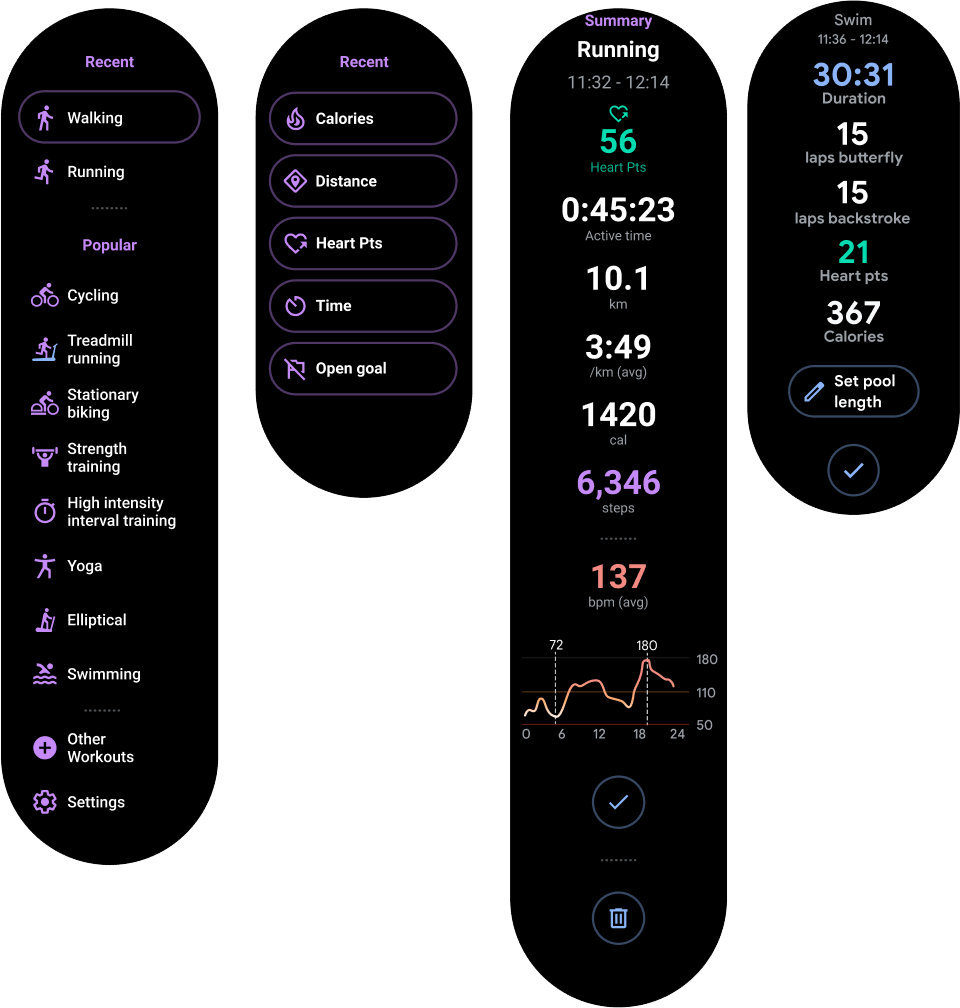
図 2. 垂直コンテナ レイアウトの例。
単一画面のアプリ レイアウトに使用した BoxInsetLayout
は使用しないでください。代わりに、NestedScrollView
内で ConstraintLayout
を使用します。ConstraintLayout
内に、アプリに最適なウィジェットを配置します。これにより、円形ディスプレイの両側にある余剰スペースを活用できます。
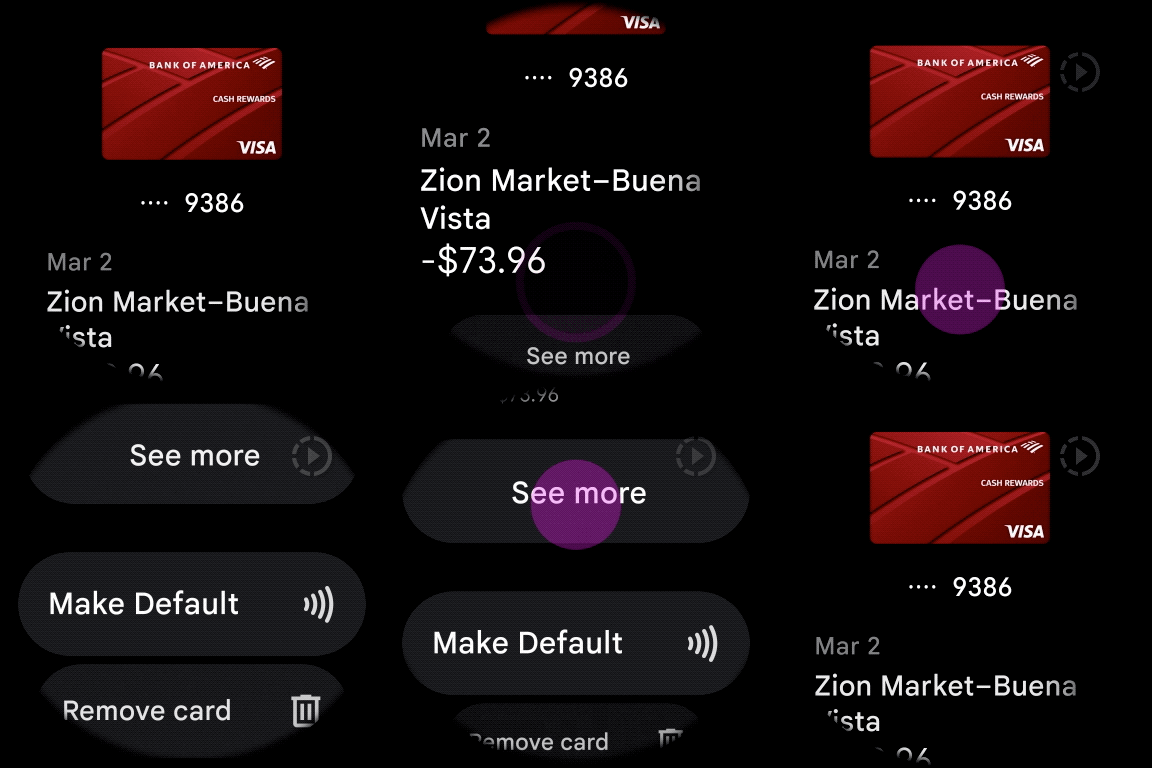
図 3. NestedScrollView
内の ConstraintLayout
に表示されたコンテンツ。
図 3 の例のように、垂直コンテナの上部と下部のコンテンツが、円形ディスプレイの上部と下部に収まるようにします。
注: 可能であれば、XML で android:scrollbars="vertical"
を設定して、NestedScrollView
にスクロール インジケーターを追加してください。これにより、利用可能なコンテンツが他にもあることをユーザーが把握し、すべてのコンテンツとの相対的な位置関係を確認できます。
アプリのレイアウトに関するその他のオプション
-
リスト: ウェアラブル サーフェス向けに最適化された
WearableRecyclerView
ウィジェットを使用して、大規模なデータセットを表示します。詳細については、Wear OS でリストを作成するをご覧ください。
-
水平方向のページ設定: 複数の兄弟画面を持つユースケースでは、水平方向のスワイプを使用します。水平方向のページ設定を使用する場合は、左端でのスワイプによる非表示をサポートする必要があります。
-
2D パン: 地図などのユースケースでは、ユーザーはさまざまな方向にドラッグしてパンできます。アクティビティが画面全体を占有する場合は、スワイプによる非表示を有効にします。
このページのコンテンツやコードサンプルは、コンテンツ ライセンスに記載のライセンスに従います。Java および OpenJDK は Oracle および関連会社の商標または登録商標です。
最終更新日 2025-07-26 UTC。
[[["わかりやすい","easyToUnderstand","thumb-up"],["問題の解決に役立った","solvedMyProblem","thumb-up"],["その他","otherUp","thumb-up"]],[["必要な情報がない","missingTheInformationINeed","thumb-down"],["複雑すぎる / 手順が多すぎる","tooComplicatedTooManySteps","thumb-down"],["最新ではない","outOfDate","thumb-down"],["翻訳に関する問題","translationIssue","thumb-down"],["サンプル / コードに問題がある","samplesCodeIssue","thumb-down"],["その他","otherDown","thumb-down"]],["最終更新日 2025-07-26 UTC。"],[],[],null,["# App layouts\n\nTry the Compose way \nJetpack Compose on Wear OS is the recommended UI toolkit for Wear OS. \n[Handle different screen sizes using Compose on Wear OS →](/training/wearables/compose/screen-size) \n\n\nAfter you understand how to\n[handle different watch shapes](/training/wearables/apps/layouts),\ndecide which surface you want to use.\n\n\nCommon app layouts include the following:\n\n- Single screen (simplest): UI elements are limited to what is visible at one time without scrolling.\n- Vertical container (most common): content exists beyond the viewable portion of the screen and is accessible by scrolling.\n- Other options: lists, paging, or 2D panning.\n\nThese layout types are described in the sections that follow.\nYou can use a combination of layout types if you need multiple screens.\n\n\n**Note:** For your activity, inherit from either a\n`ComponentActivity` or, if you use fragments, a `FragmentActivity`.\nThe other activity types use mobile-specific UI elements that you don't need for Wear OS.\n\nSingle screen\n-------------\n\n\nThe user sees all elements in a single screen without scrolling. This means you can include only\na small number of elements.\n\n\n**Figure 1.** An example of a single screen layout.\n\n\nSingle screens work well with a\n[BoxInsetLayout](/reference/androidx/wear/widget/BoxInsetLayout)\nin combination with a\n[ConstraintLayout](/reference/androidx/constraintlayout/widget/ConstraintLayout)\nto arrange your elements.\n\nVertical container\n------------------\n\n\nA vertical container is the most common type of app layout. Some content isn't\nvisible on the screen, but it is accessible by scrolling.\n\n\nFigure 2 shows several complete app layouts in which only a portion of the\ncontent can be seen on the circular screen of a watch. In these examples, the main\ncontent is in the top\nportion of the container, and other Critical User Journeys (CUJs) and settings are\nat the bottom. This is a best practice for laying out content.\n\n\n**Figure 2.** Examples of vertical container layouts.\n\nUnlike in a single screen app layout, don't use `BoxInsetLayout`. Instead, use\na `ConstraintLayout` inside a\n[NestedScrollView](/reference/androidx/core/widget/NestedScrollView).\nInside the `ConstraintLayout`, place whatever widgets make the most sense for\nyour app. This lets you take advantage of the extra space on the sides of a circular display.\n\n\n**Figure 3.** Content in a `ConstraintLayout` inside a\n`NestedScrollView`.\n\n\nMake sure the content at the top and bottom of your vertical container is small enough to fit in\nthe top and bottom of a circular display, as in the example in figure 3.\n\n**Note:**\nWhen possible, add a scroll indicator to your `NestedScrollView` by setting\n`android:scrollbars=\"vertical\"` in the XML. This helps users identify that there is\nmore content available and helps them see where they are in relation to all the content.\n\nOther options for app layouts\n-----------------------------\n\n- **Lists** : display large sets of data with the `WearableRecyclerView` widget optimized for Wearable surfaces. For more information, see [Create lists on Wear OS](/training/wearables/apps/lists).\n- **Horizontal paging** : for use cases with multiple sibling screens, use a [horizontal swipe](/guide/navigation/navigation-swipe-view-2). If you use horizontal paging, you must support swipe-to-dismiss for the left edge.\n- **2D Panning** : for use cases like maps, users can [drag to pan](/training/gestures/scale#pan) in different directions. Enable [swipe-to-dismiss](/training/wearables/apps/exit#swipe-to-dismiss) if your activity takes up the entire screen."]]