Eclipse のセットアップ(非推奨)
コレクションでコンテンツを整理
必要に応じて、コンテンツの保存と分類を行います。
Eclipse ADT プラグインはサポートが終了しています。Android Studio に移行し、ndk-build または CMake を使用してアプリのネイティブ ソースをコンパイル、ビルド、パッケージ化することをおすすめします。ndk-build との互換性により、ネイティブ プロジェクトを Eclipse から Android Studio に簡単に移行できます。Android の公式 IDE でのネイティブ開発について詳しくは、プロジェクトへの C / C++ コードへの追加に関するガイドをご覧ください。
インストール
NDK をインストールして設定する手順は次のとおりです。
- Android SDK コマンドライン ツールを入手してインストールします。
- NDK をダウンロードします。開発プラットフォームに合った適切なバージョンをダウンロードしてください。解凍したディレクトリは、ローカル ドライブのどこにでも配置できます。
PATH
環境変数を、NDK が格納されているディレクトリの場所に更新します。
アプリをビルドするときに NDK を使用するには、Eclipse が NDK の場所を認識している必要があります。次の手順に沿って、NDK の場所を設定します。
- Android SDK の一部としてインストールされている Eclipse を起動します。
- [Window] > [Preferences] を開きます。
- [Preferences] ウィンドウの左側のペインで、[Android] を選択します。
[Android] セクションが展開され、サブセクションが表示されます。
- [NDK] を選択します。[Preferences] ウィンドウの右側のペインで、NDK が含まれるディレクトリを参照します。
- [OK] をクリックして [Package Explorer] の表示に戻ります。
検証
Eclipse
NDK をインストールして正しくセットアップし、Eclipse を正しく設定したことを確認する手順は次のとおりです。
- 他の Android プロジェクトと同様に、hello-jni サンプルを
<ndk>/samples/
から読み込みます。
- [Project Explorer] ペインで、プロジェクト名(HelloJni)を右クリックします。コンテキスト メニューが表示されます。
- コンテキスト メニューから [Android Tools] > [Add Native Support] を選択します。[Add Android Native Support] ウィンドウが表示されます。
- デフォルト ライブラリ名(「hello-jni」)に同意し、[Finish] をクリックします。
- アプリをビルドして実行します。
コマンドライン
コマンドラインからビルドする手順は次のとおりです。
- プロジェクトのルート ディレクトリに移動します。
- ndk-build を実行して、アプリのネイティブ コンポーネントをビルドします。そのためには、コマンド プロンプトで「
ndk-build
」と入力します。
- Java で書かれた通常の Android アプリと同様に、プロジェクトをビルドしてインストールします。詳細については、ビルドを設定するガイドとコマンドラインから Gradle を実行するガイドをご覧ください。
NDK を正常にインストールして設定すると、ターゲット デバイスの画面は図 1 のように表示されます。
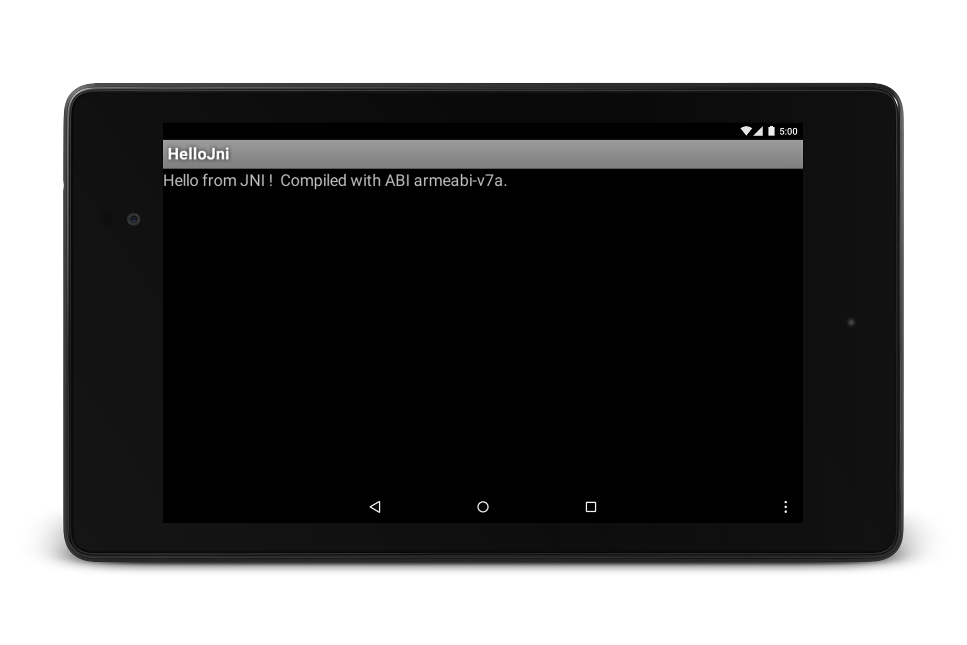
図 1. 正常に起動されたターゲット デバイスの画面
特に記載のない限り、このページのコンテンツはクリエイティブ・コモンズの表示 4.0 ライセンスにより使用許諾されます。コードサンプルは Apache 2.0 ライセンスにより使用許諾されます。詳しくは、Google Developers サイトのポリシーをご覧ください。Java は Oracle および関連会社の登録商標です。
最終更新日 2025-07-26 UTC。
[[["わかりやすい","easyToUnderstand","thumb-up"],["問題の解決に役立った","solvedMyProblem","thumb-up"],["その他","otherUp","thumb-up"]],[["必要な情報がない","missingTheInformationINeed","thumb-down"],["複雑すぎる / 手順が多すぎる","tooComplicatedTooManySteps","thumb-down"],["最新ではない","outOfDate","thumb-down"],["翻訳に関する問題","translationIssue","thumb-down"],["サンプル / コードに問題がある","samplesCodeIssue","thumb-down"],["その他","otherDown","thumb-down"]],["最終更新日 2025-07-26 UTC。"],[],[],null,["# Setup Eclipse (DEPRECATED)\n\n**The Eclipse ADT plugin is no longer supported** . We recommend [migrating to Android Studio](/studio/intro/migrate) to compile,\nbuild, and package your app's native sources using [ndk-build](/ndk/guides/ndk-build) or [CMake](https://cmake.org/). Compatibility with ndk-build makes it easy\nto migrate your native projects from Eclipse to Android Studio. To learn more\nabout native development with the official IDE for Android, read [Add C and C++ Code to Your\nProject](/studio/projects/add-native-code).\n\nInstallation\n------------\n\nTo install and configure the NDK, follow these steps:\n\n1. Get and install the [Android SDK command line tools](/studio#downloads).\n2. [Download the NDK](/ndk/downloads), making sure to download the correct version for your development platform. You may place the unzipped directory anywhere on your local drive.\n3. Update your `PATH` environment variable with the location of the directory that contains the NDK.\n\nConfiguring Eclipse\n-------------------\n\nEclipse must know where the NDK is in order to use it when building your app. Follow these steps\nto set the location of the NDK.\n\n1. Launch Eclipse, which is installed as part of the Android SDK.\n2. Open **Window** \\\u003e **Preferences**.\n3. In the pane on the left side of the *Preferences* window, select *Android* . The *Android* section expands, revealing a number of subsections.\n4. Select **NDK** . In the pane on the right side of the *Preferences* window, browse to the directory that contains the NDK.\n5. Click **OK** to return to the *Package Explorer* display.\n\nVerification\n------------\n\n### Eclipse\n\nTo confirm that you have installed the NDK, set it up correctly, and properly configured Eclipse,\nfollow these steps:\n\n1. Import the hello-jni sample from `\u003cndk\u003e/samples/`, as you would any other Android project.\n2. In the *Project Explorer* pane, right-click the project name (*HelloJni*). A context menu appears.\n3. From the context menu, select **Android Tools** \\\u003e **Add Native Support** . The *Add Android Native Support* window appears.\n4. Accept the default library name (\"hello-jni\"), and click **Finish**.\n5. Build and execute the application.\n\n### Command line\n\nFollow these steps to build from the command line:\n\n1. Change to the root directory of your project.\n2. Execute ndk-build to build the native component of your app. do this by typing `ndk-build` at the command prompt.\n3. Build and install your project as you would a regular Android app written in Java. For more information, see [Configure Your Build](/studio/build) and [Run Gradle from the Command Line](/studio/build/building-cmdline).\n\nIf you have successfully installed and configured the NDK, the screen on your target device looks\nas shown in Figure 1.\n\n\n**Figure 1.** Target-device screen after successful launch."]]