Jetpack XR SDK có một số tính năng và thay đổi không tương thích với một số phiên bản Android Studio thấp hơn. Để có trải nghiệm phát triển tốt nhất khi phát triển cho Android XR, hãy sử dụng bản dựng Canary mới nhất của Android Studio. Các phiên bản khác có thể không có công cụ Android XR. Hãy nhớ rằng bạn có thể giữ nguyên phiên bản Android Studio hiện có, vì bạn có thể cài đặt song song nhiều phiên bản.
Cài đặt Android Studio
Hoàn tất các bước sau để tải xuống và định cấu hình Android Studio cho Android XR:
Đóng mọi phiên bản Android Studio mà bạn đã cài đặt.
Tải bản dựng Canary mới nhất của Android Studio xuống, giải nén vào vị trí bạn muốn rồi chạy ứng dụng.
Làm theo hướng dẫn cài đặt trong trình hướng dẫn.
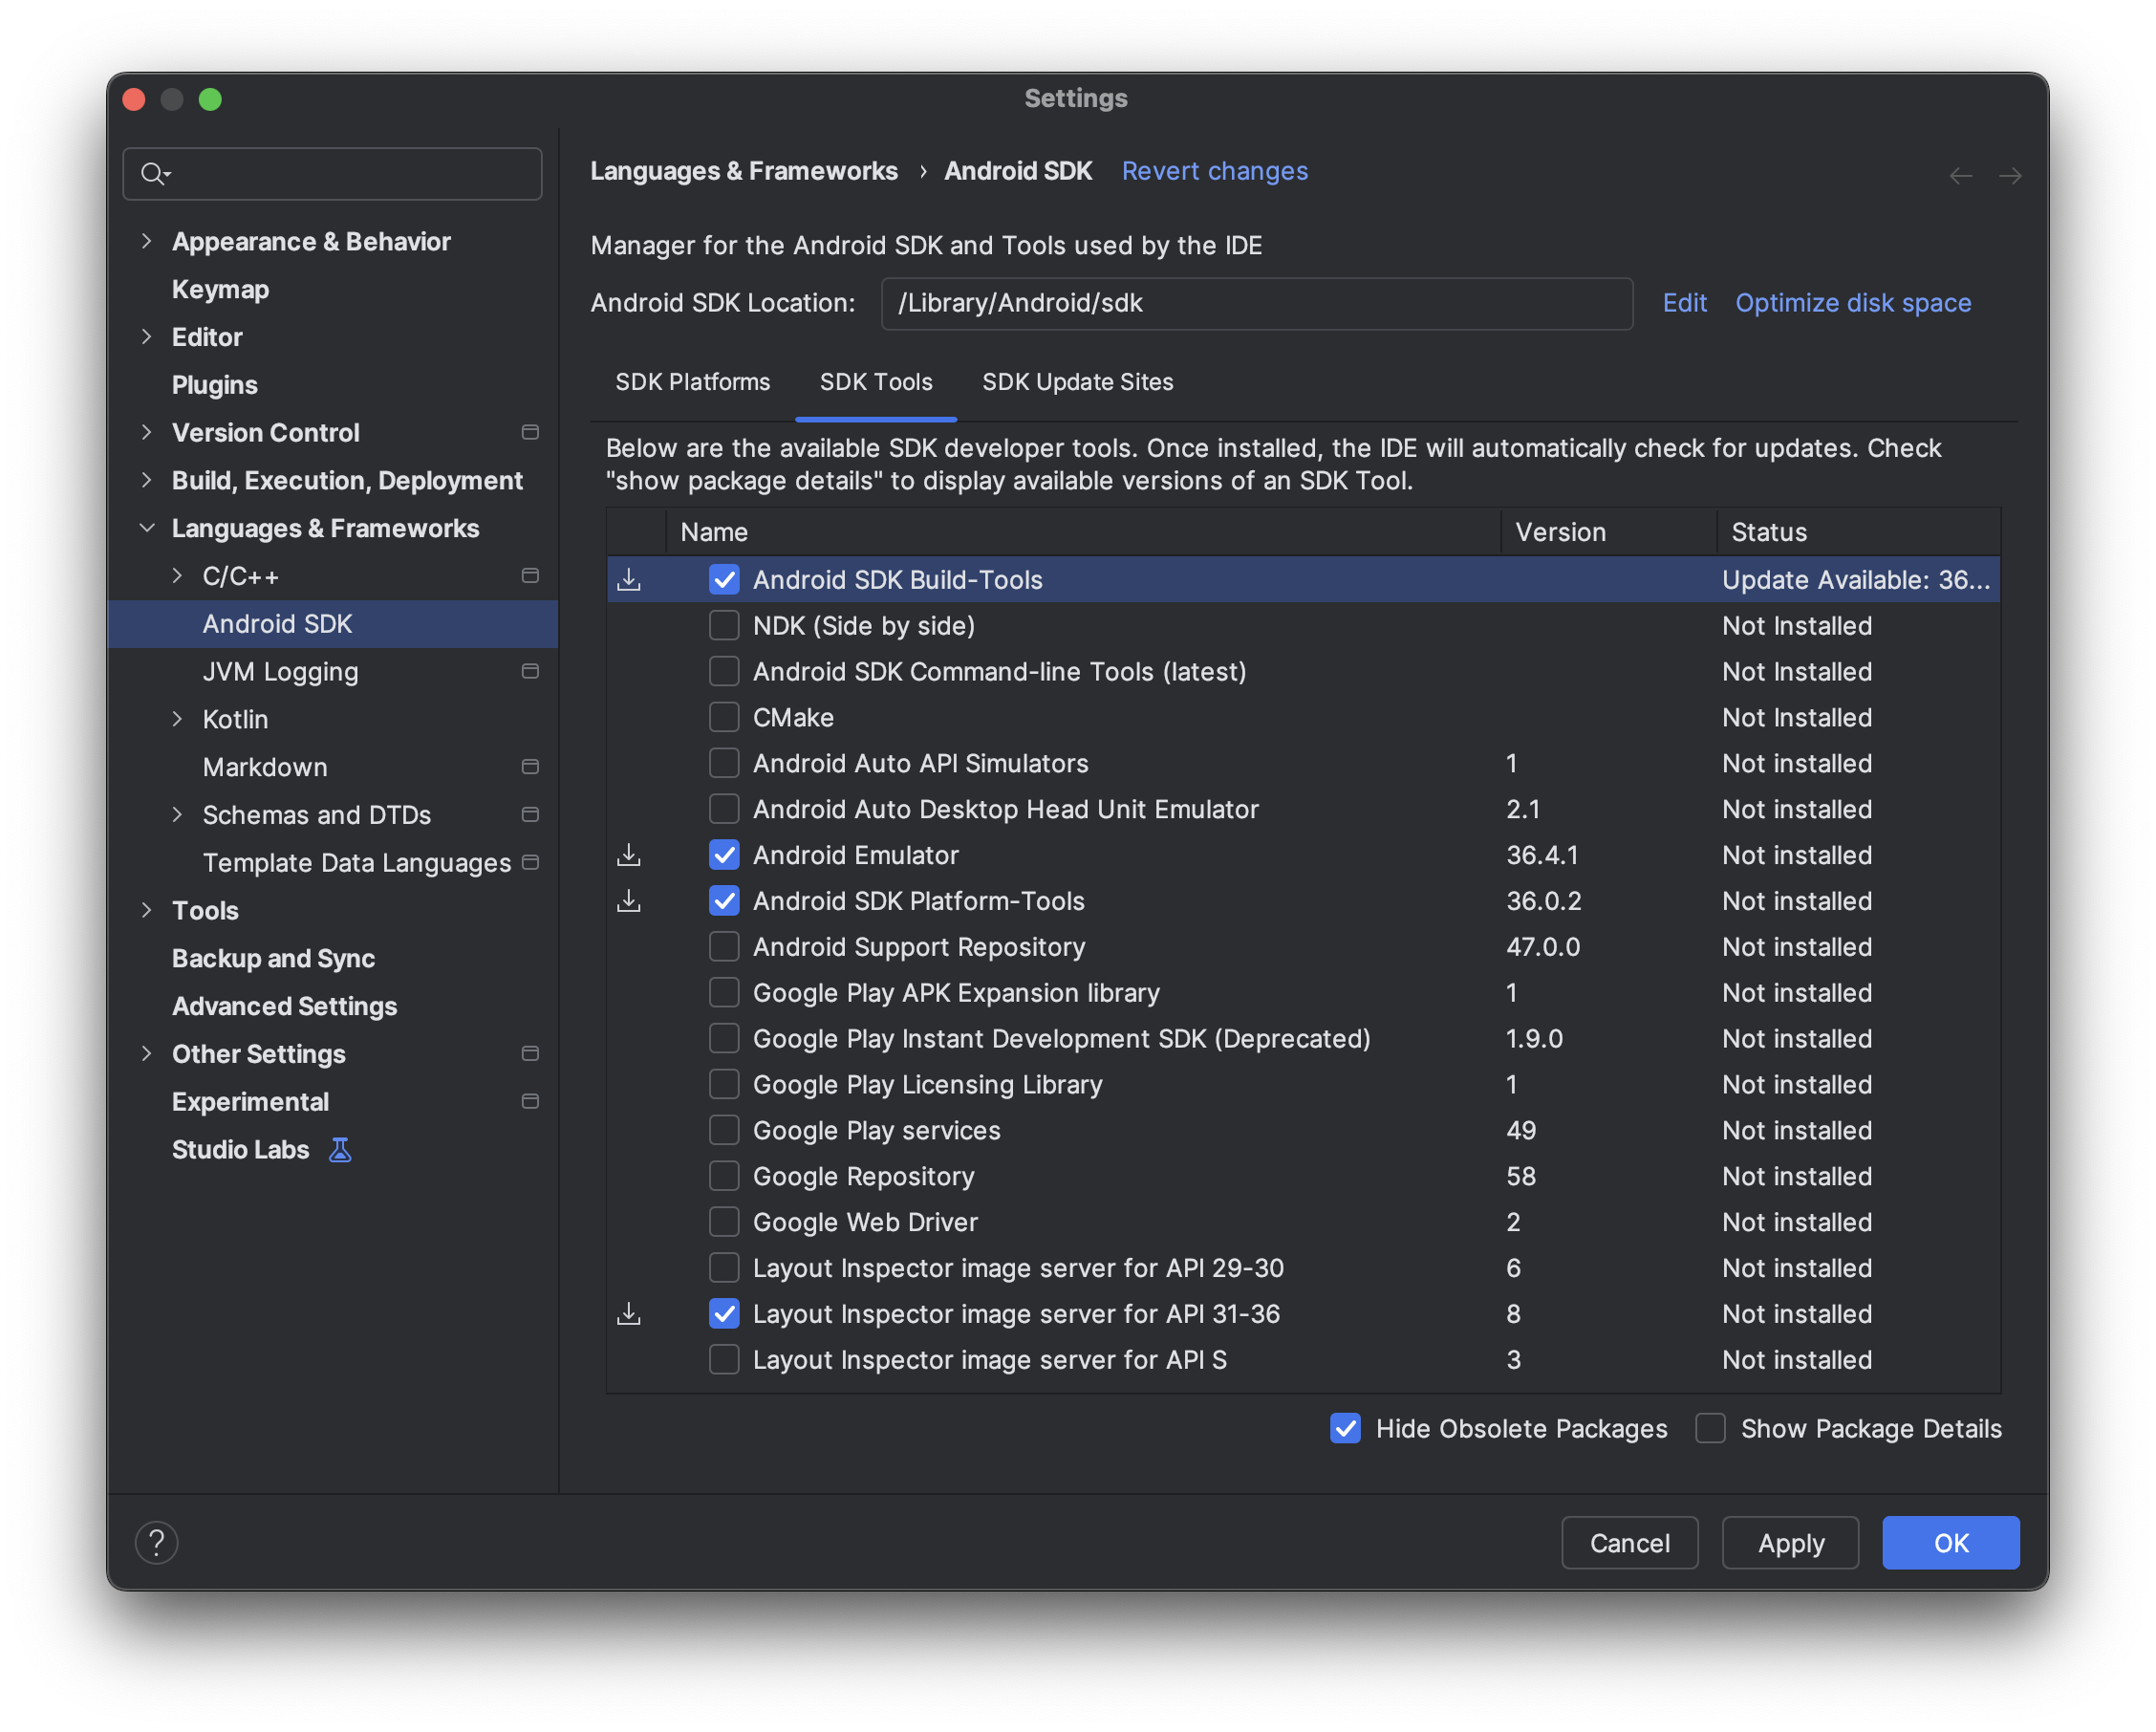
Trong hộp thoại Welcome to Android Studio (Chào mừng bạn đến với Android Studio), hãy nhấp vào More Actions (Thao tác khác), rồi chọn SDK Manager (Trình quản lý SDK).

Trong phần cài đặt SDK Android, hãy nhấp vào thẻ Bộ công cụ SDK, rồi chọn phiên bản mới nhất của các công cụ sau:
- Công cụ xây dựng SDK Android
- Trình mô phỏng Android
- Android SDK Platform-Tools
- Layout Inspector cho API 31 – 36
Tạo thiết bị ảo để chạy trên Trình mô phỏng Android XR
Để xem giao diện và hành vi của ứng dụng trên nhiều loại thiết bị XR, bạn có thể chạy ứng dụng trên các thiết bị XR ảo trong Trình mô phỏng Android XR. Hãy xem các trang sau đây để biết thông tin về cách thiết lập trình mô phỏng cho nhiều loại thiết bị XR ảo:
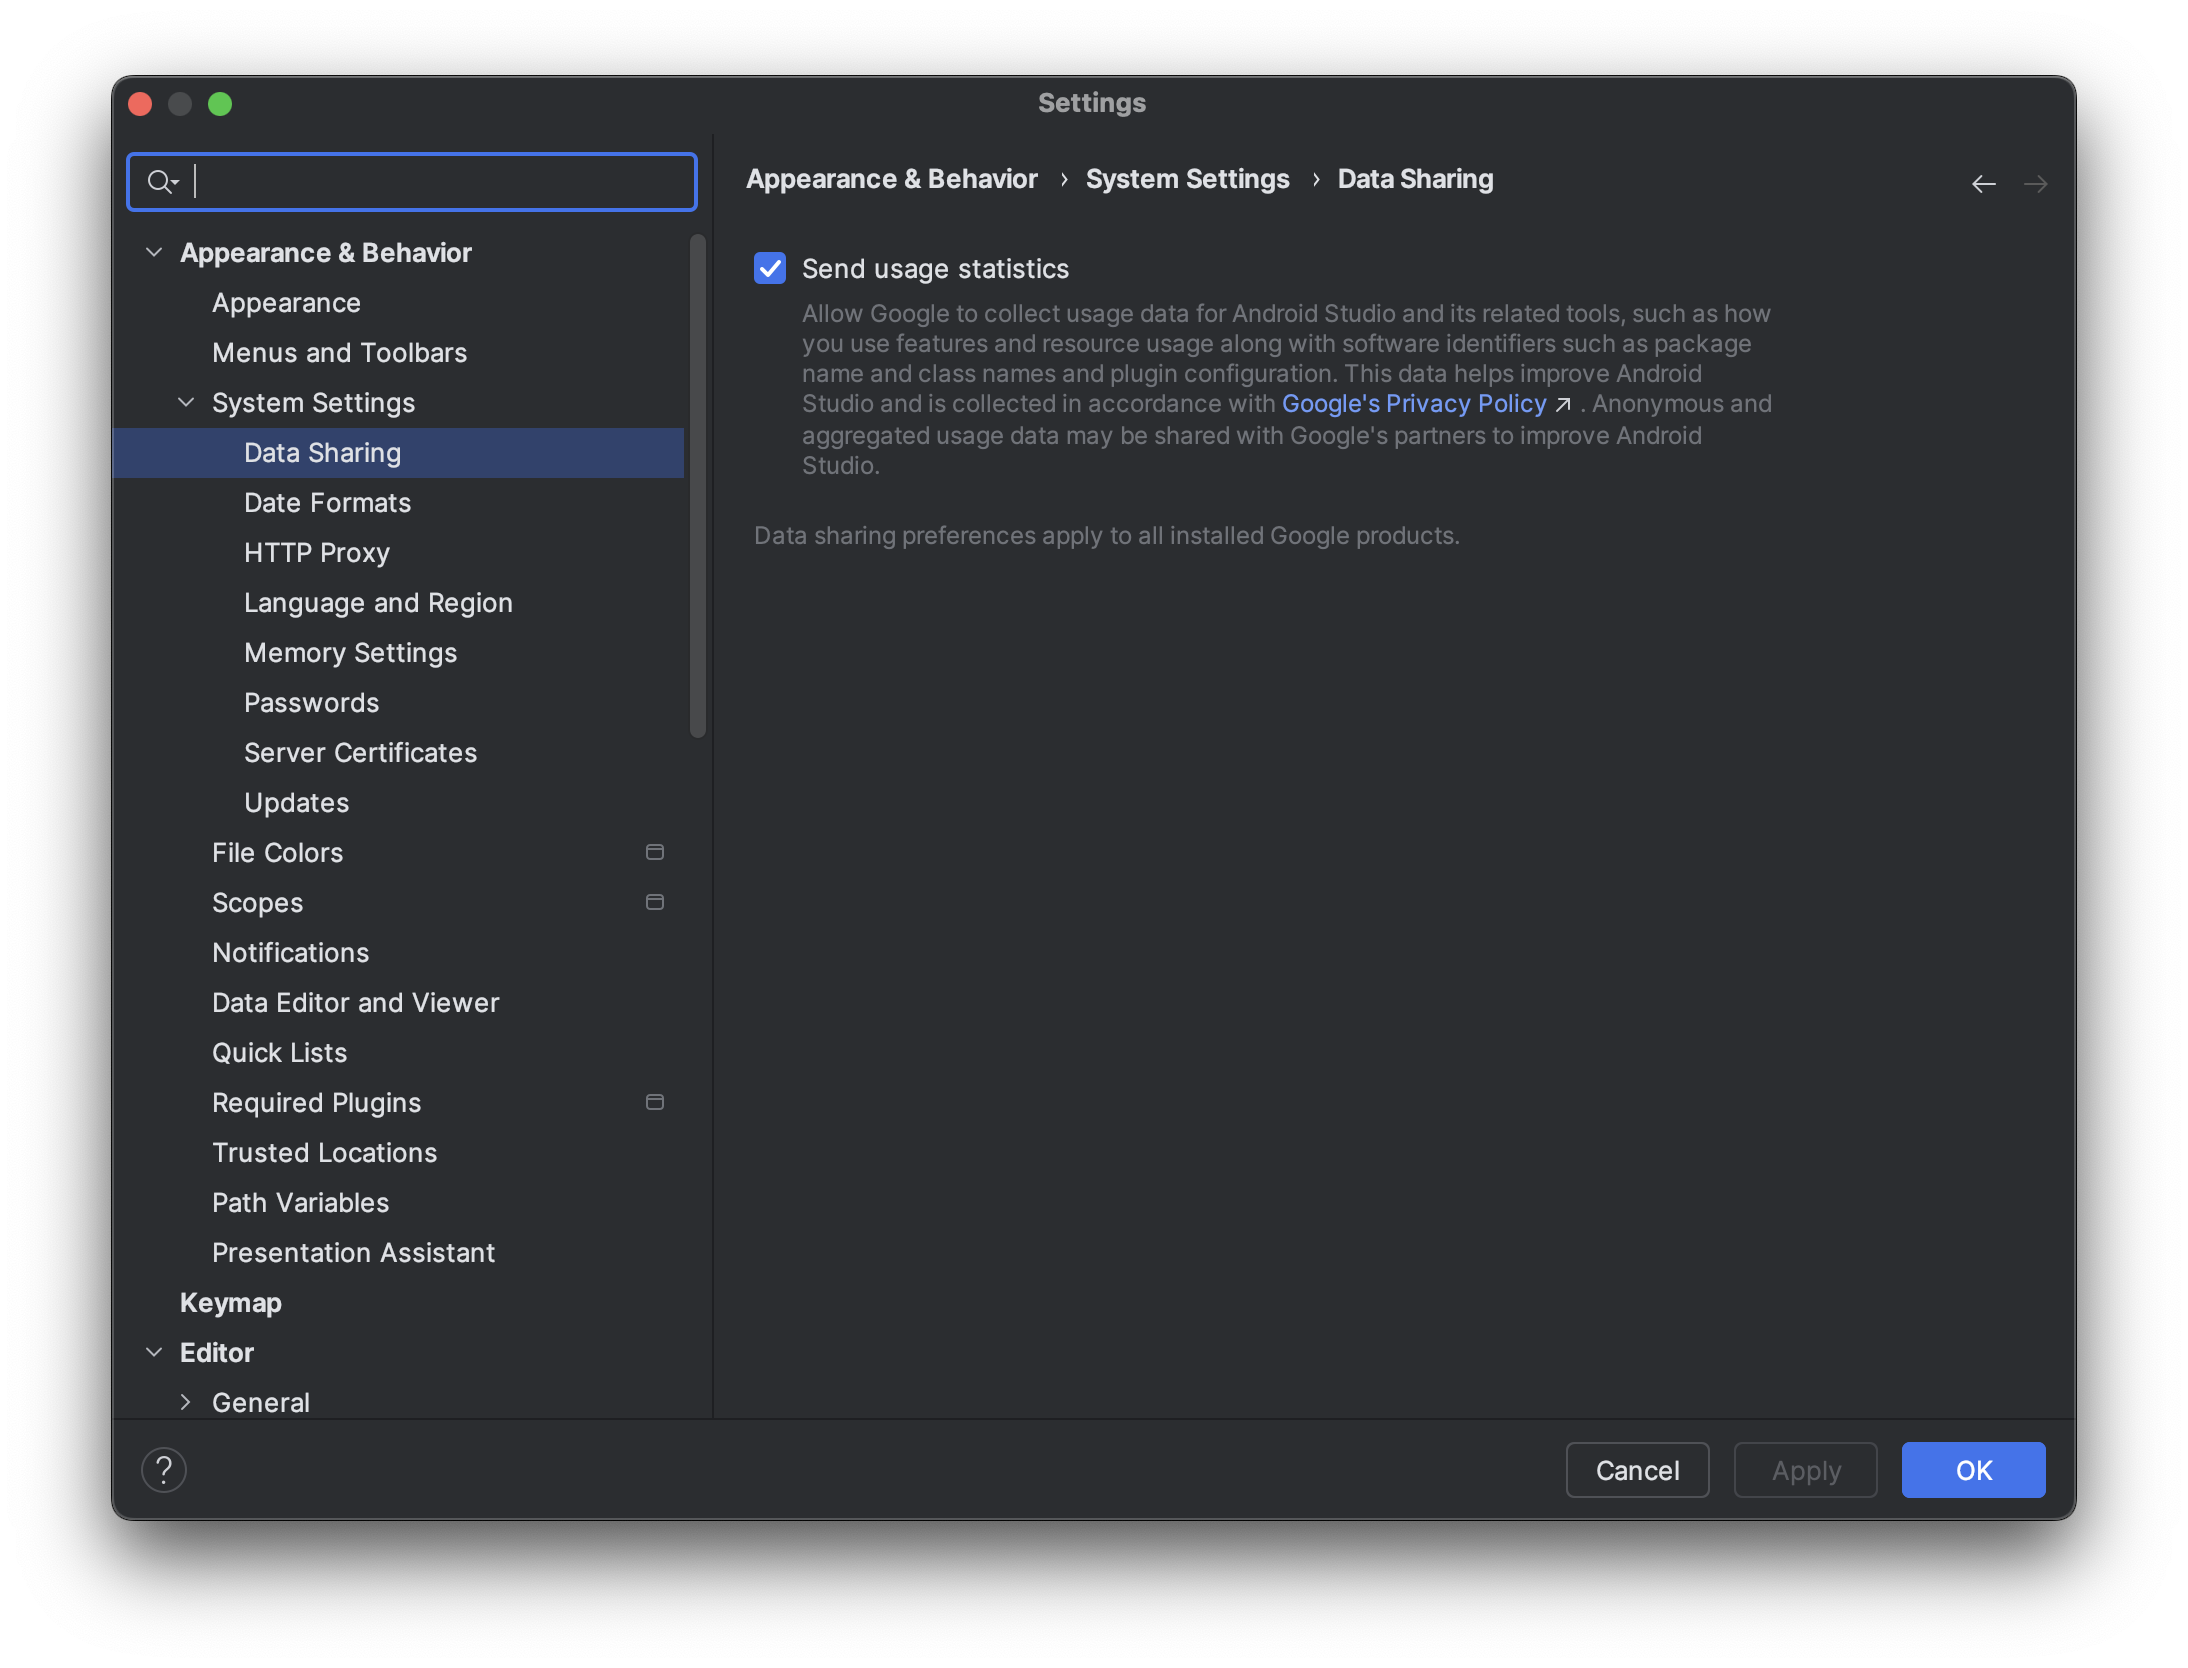
Bật số liệu thống kê về việc sử dụng để giúp cải thiện Android Studio cho XR (không bắt buộc)
Vì đây là bản dựng Canary của Android Studio, nên nhiều tính năng vẫn đang trong quá trình phát triển. Hãy cân nhắc việc bật số liệu thống kê về việc sử dụng và gửi ý kiến phản hồi để giúp chúng tôi cải thiện những công cụ này.
Cách bật tính năng số liệu thống kê về việc sử dụng:
- Nhấp vào Settings (Cài đặt) > Appearance & Behavior (Giao diện và hành vi) > System Settings (Cài đặt hệ thống) > Data Sharing (Chia sẻ dữ liệu).
Chọn Gửi số liệu thống kê sử dụng.