Android Studio に MotionLayout レイアウト タイプのビジュアル デザイン エディタが追加され、アニメーションの作成とプレビューが簡単になりました。
Motion Editor は、Android アプリのアニメーションの基盤である MotionLayout ライブラリの要素を操作するシンプルなインターフェースを提供します。Android Studio を使用しない場合、これらの要素を作成および変更するには、XML リソース ファイル内の制約を手動で編集する必要があります。Motion Editor では、この XML を生成できます。また、開始状態と終了状態、キーフレーム、遷移、タイムラインがサポートされます。
Motion Editor を使用するには:
- ConstraintLayout を作成します。
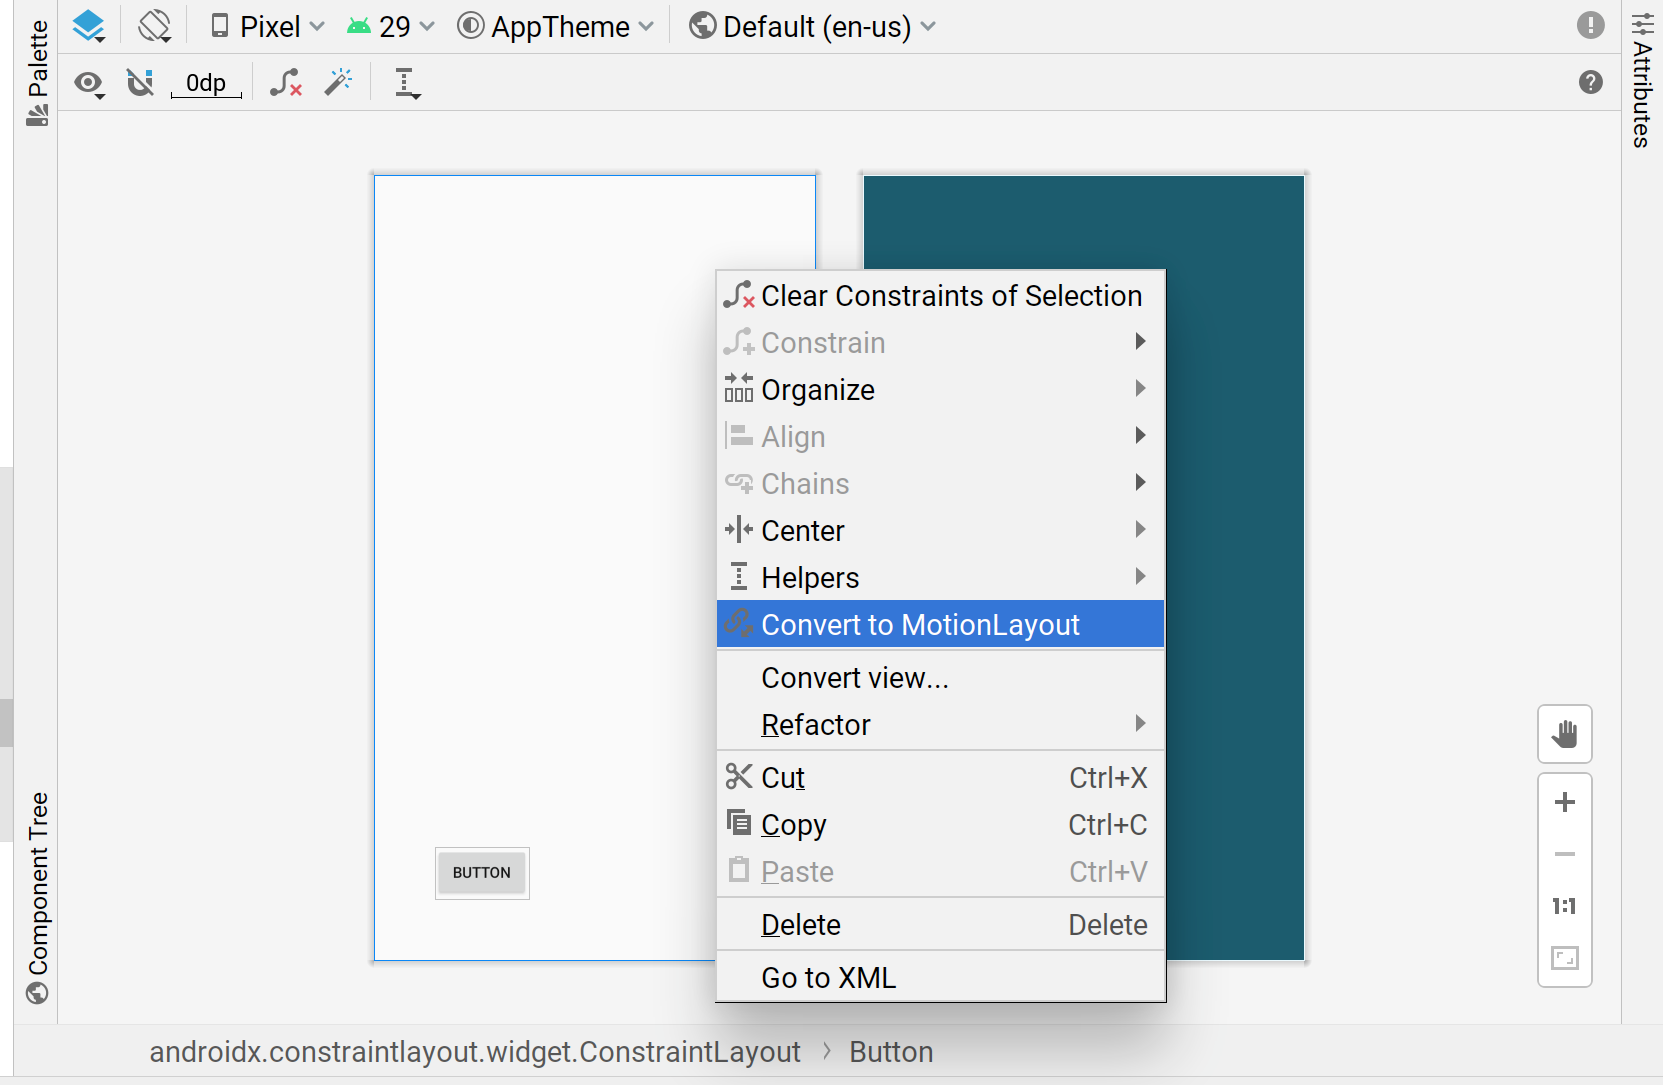
- Layout Editor でプレビューを右クリックします。
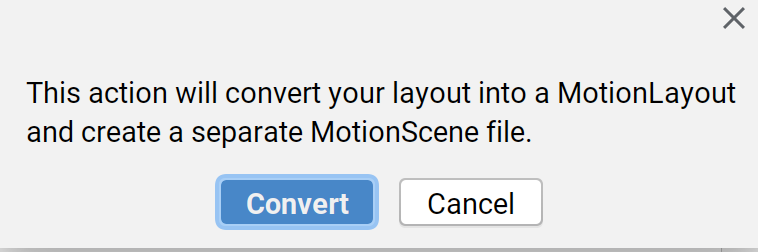
- [Convert to MotionLayout] をクリックします。
Android Studio によって ConstraintLayout が MotionLayout に変換されると、モーション シーン ファイル(レイアウト ファイル名の末尾に _scene が付加された .xml ファイル)も、XML を格納するディレクトリに追加されます。
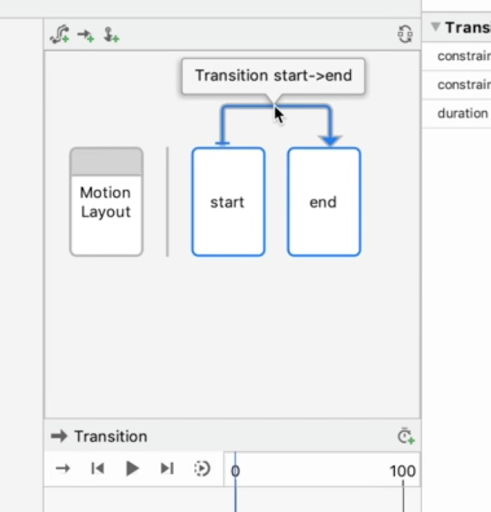
次に、MotionLayout がルート レイアウトになり、Motion Editor の UI に表示されます。レイアウトには、開始の ConstraintSet、終了の ConstraintSet、開始から終了までの遷移がすでに含まれています。
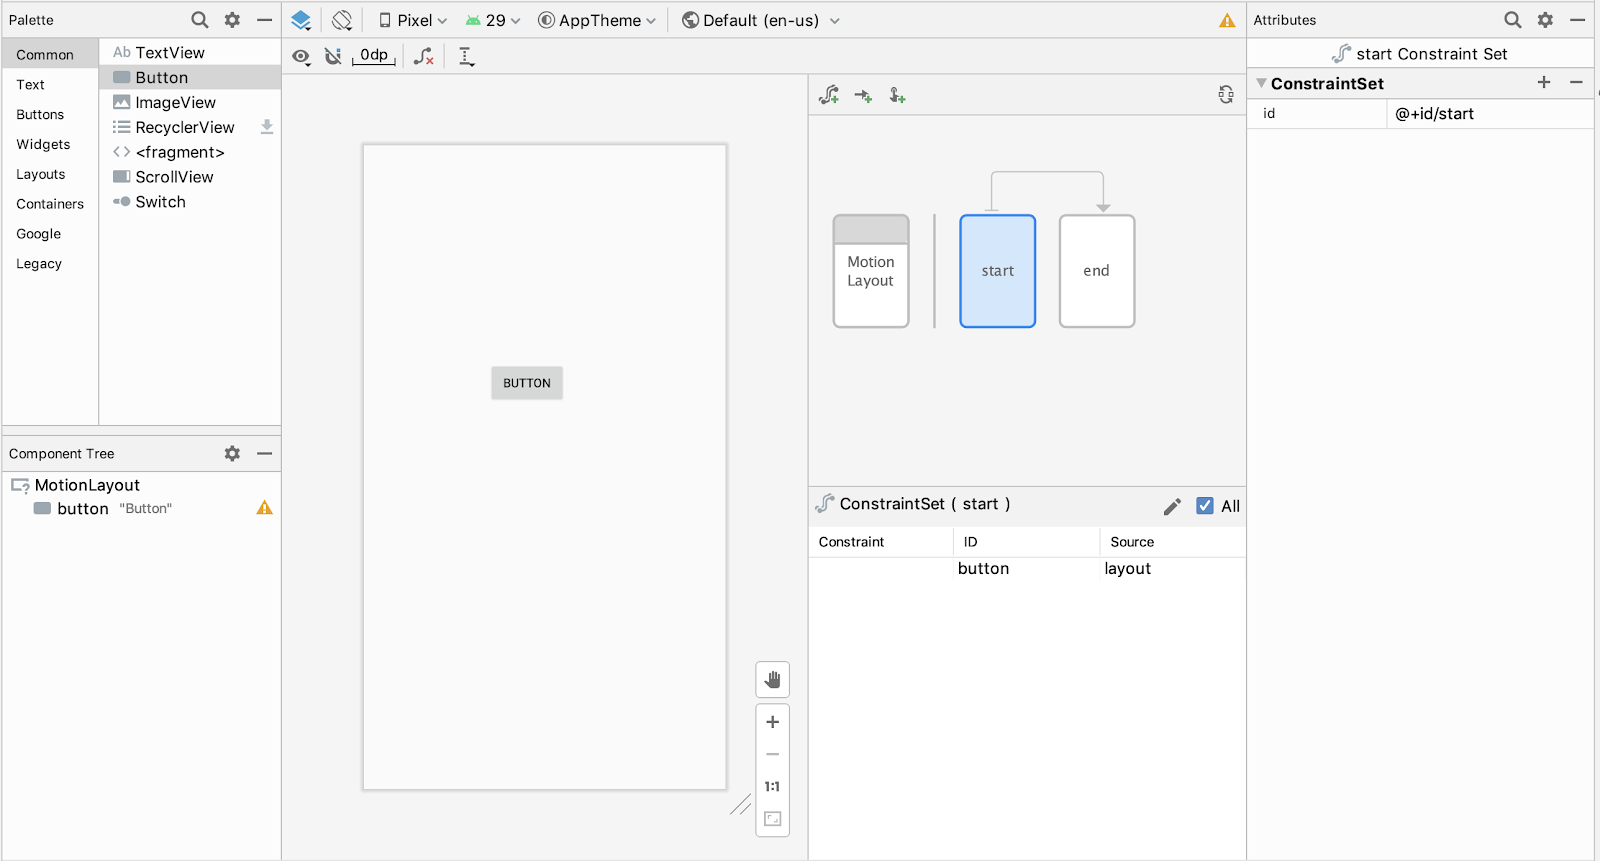
概要グラフィックを使用すると、ConstraintSet または Transition を選択し、選択パネルでコンポーネントを選択できます。
その後、ConstraintLayout を編集するのと同様に、開始または終了の ConstraintSet の制約と属性を編集できます。
グラフに対してさらに要素を作成する場合は、作成アイコンを使用して、ConstraintSet、Transition、または OnClick / OnSwipe ジェスチャーをすばやく作成できます。
![]()
キーフレームを追加するには、まず Transition の矢印をクリックします。
次に [Transition] タイムライン ペインで、右上隅をクリックして [KeyPosition] を選択します。
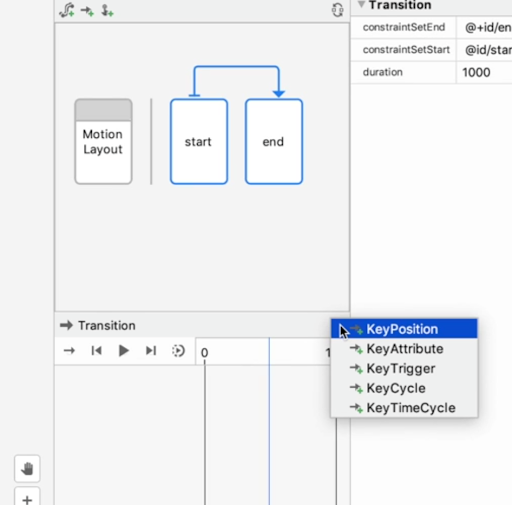
キーフレームの属性を設定するダイアログが開きます。
属性パネルの遷移に OnClick ハンドラと OnSwipe ハンドラを追加することもできます。
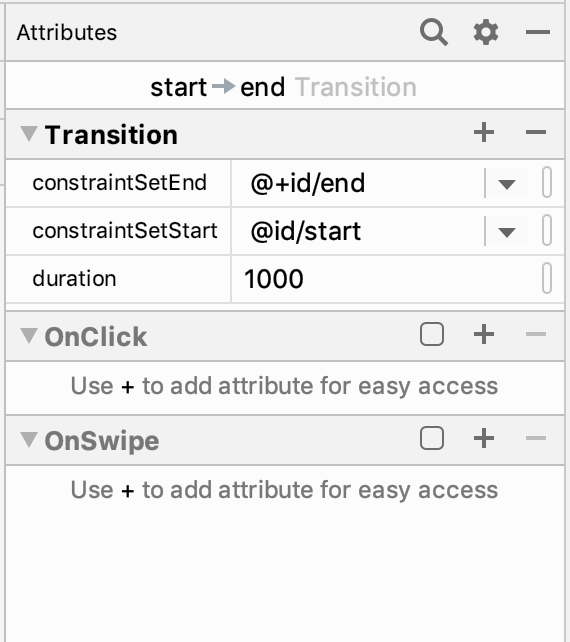
追加すると、ターゲット コンポーネントやドラッグ方向など、クリックの属性を設定するダイアログが開きます。
Motion Editor では、デザイン サーフェス上のアニメーションのプレビューがサポートされます。アニメーションが選択されている場合、タイムラインの上にある再生ボタン ![]() をクリックして、アニメーションをプレビューできます。
をクリックして、アニメーションをプレビューできます。