
Credential Manager是建議使用的 Jetpack API,可在 Android 應用程式中交換憑證。Credential Manager API 可簡化各種外型規格的憑證交換程序,適用於驗證和授權等使用情境。您也可以使用 Credential Manager 處理數位憑證,並在新 Android 裝置上還原使用者憑證。
Credential Manager 功能
Credential Manager 透過提供一系列強大功能,簡化了登入程序並提升安全性,包括:
- 支援各種驗證機制:讓使用者透過下列方式註冊或登入應用程式:
- 密碼金鑰
- 使用 Google 登入和其他同盟登入機制
- 「密碼」
- 數位憑證
- 跨裝置憑證還原:與「還原憑證」整合,讓使用者在新裝置上順利開始使用您的應用程式。
- 與憑證提供者完美整合:支援憑證提供者,包括 Google 密碼管理工具等密碼管理工具。
- 憑證管理:可更新使用者憑證的中繼資料,確保應用程式和憑證供應商的憑證一致。
- WebView 相容性:適用於使用 WebView 的應用程式。
- 自動填入整合:與自動填入功能整合,在自動填入 UI 中顯示憑證。
使用 Credential Manager 的好處
採用 Credential Manager 可為應用程式和使用者帶來多項主要優勢:
- 提升安全性:密碼金鑰可提升安全性,保護使用者免於網路釣魚攻擊。
- 支援各種板型規格:這些 API 適用於各種 Android 板型規格,包括行動裝置、Android XR 和 Wear OS 裝置。
- 簡化各種用途的驗證程序:數位憑證 (例如數位駕照、公司 ID 和國民身分證) 可用於各種用途的驗證,包括需要電話號碼驗證的用途。
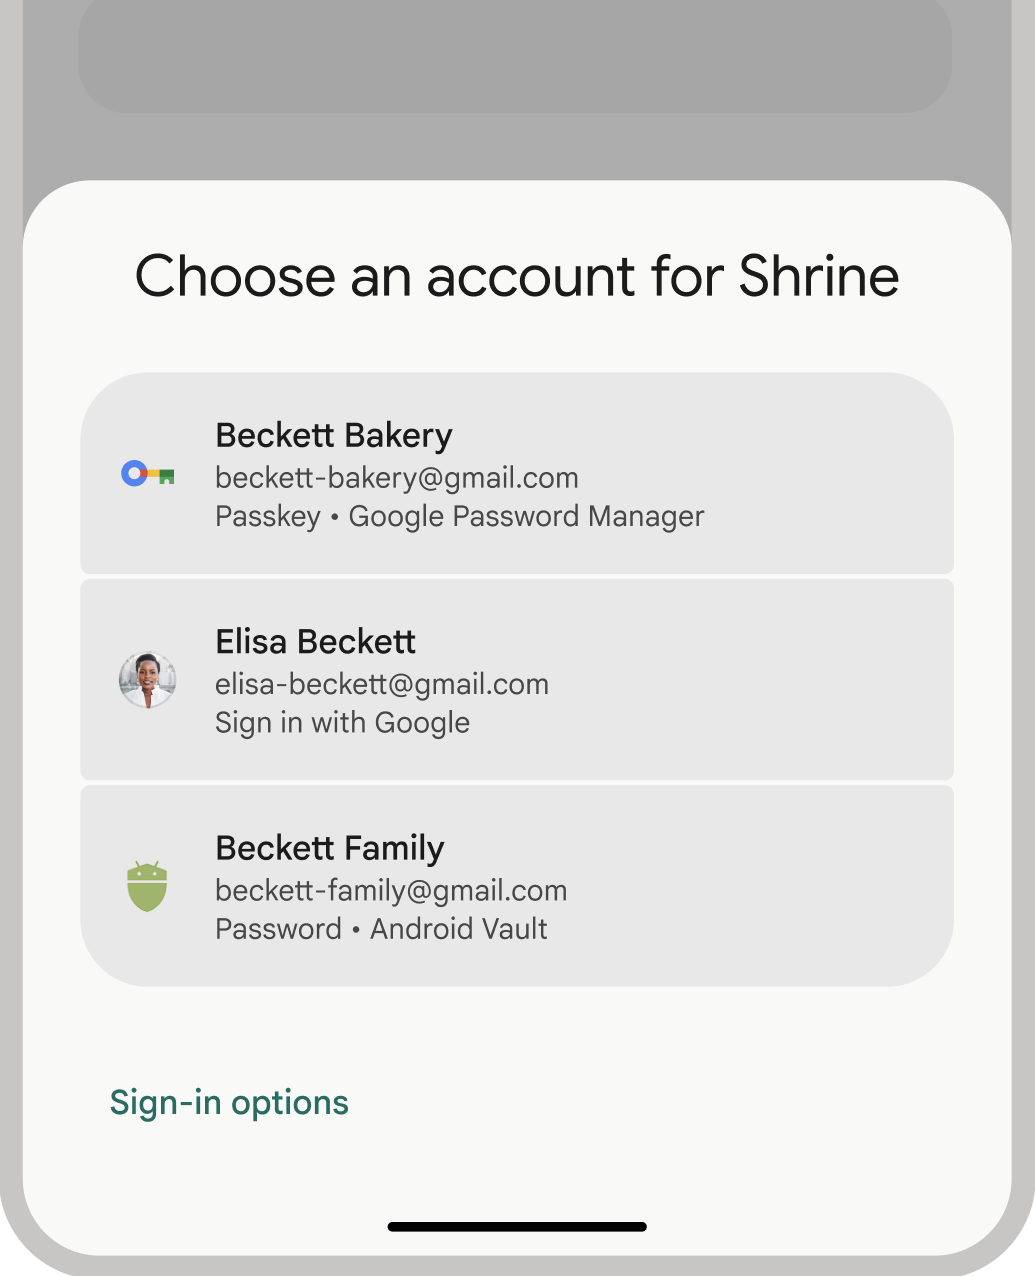
- 提升使用者體驗:Credential Manager 的統一介面可為使用者提供熟悉且一致的體驗,並加快註冊和登入速度。底部功能表 UI 會與應用程式內容一起顯示,因此使用者在登入期間仍會留在應用程式情境中。下圖顯示 Credential Manager 的內建 UI:
驗證術語
需要驗證使用者身分的實體稱為「信賴方」。驗證工作流程通常包含下列元件:
- 依賴方用戶端應用程式:用戶端 (在本例中為 Android 應用程式),負責處理使用者介面,以建立及使用密碼金鑰。
- 信賴方伺服器:應用程式伺服器,可協助建立、儲存及驗證密碼金鑰。
- 憑證提供者:儲存及提供使用者憑證的元件,例如 Google 密碼管理工具。請注意,FIDO 說明文件將憑證供應商稱為憑證管理員。
憑證儲存空間
憑證提供者 (例如 Google 密碼管理工具) 可為使用者提供集中式安全位置,方便管理裝置上的憑證,進一步簡化驗證程序。如要以憑證提供者身分與 Credential Manager 整合,請參閱「以憑證提供者身分實作驗證」。
如要進一步瞭解 Google 密碼管理工具如何保護憑證安全,請參閱「Google 密碼管理工具中的密碼金鑰安全性」。
改用 Credential Manager
Credential Manager 的目標是取代舊版 Android 驗證 API 和本機 FIDO2 憑證。如要進一步瞭解如何遷移至 Credential Manager,請參閱下列指南: