Cómo publicar desde Watch Face Designer en Google Play
Organiza tus páginas con colecciones
Guarda y categoriza el contenido según tus preferencias.
En esta guía, se explica cómo publicar en Google Play la cara de reloj que creaste con Watch Face Designer.
Accede a tu cuenta de desarrollador en Google Play
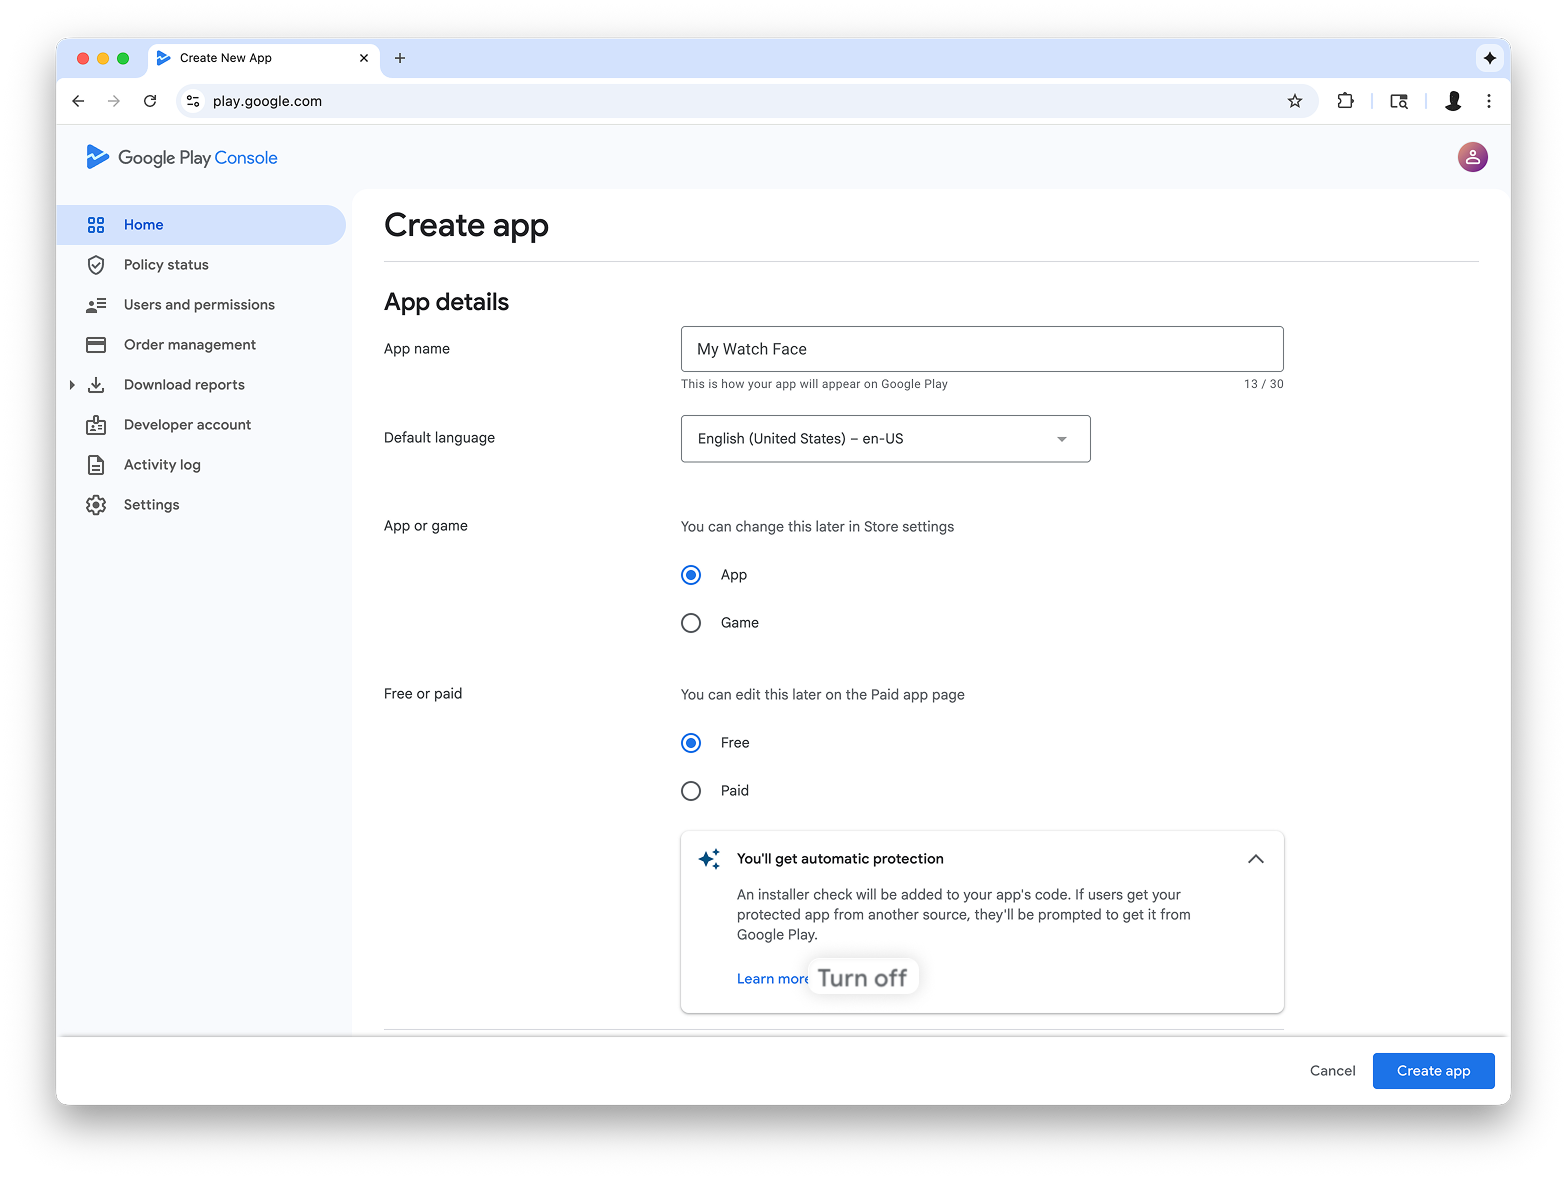
Accede a Google Play Console y presiona "Crear app" en el panel.
Durante el flujo de trabajo de "crear app", desactiva la protección automática cuando se te solicite; de lo contrario, tendrás problemas para firmar el paquete más adelante. La protección automática no es relevante para las caras del reloj porque no tienen código.
Figura 1: La pantalla Crear app en Play Console
Agrega compatibilidad con el factor de forma de Wear OS
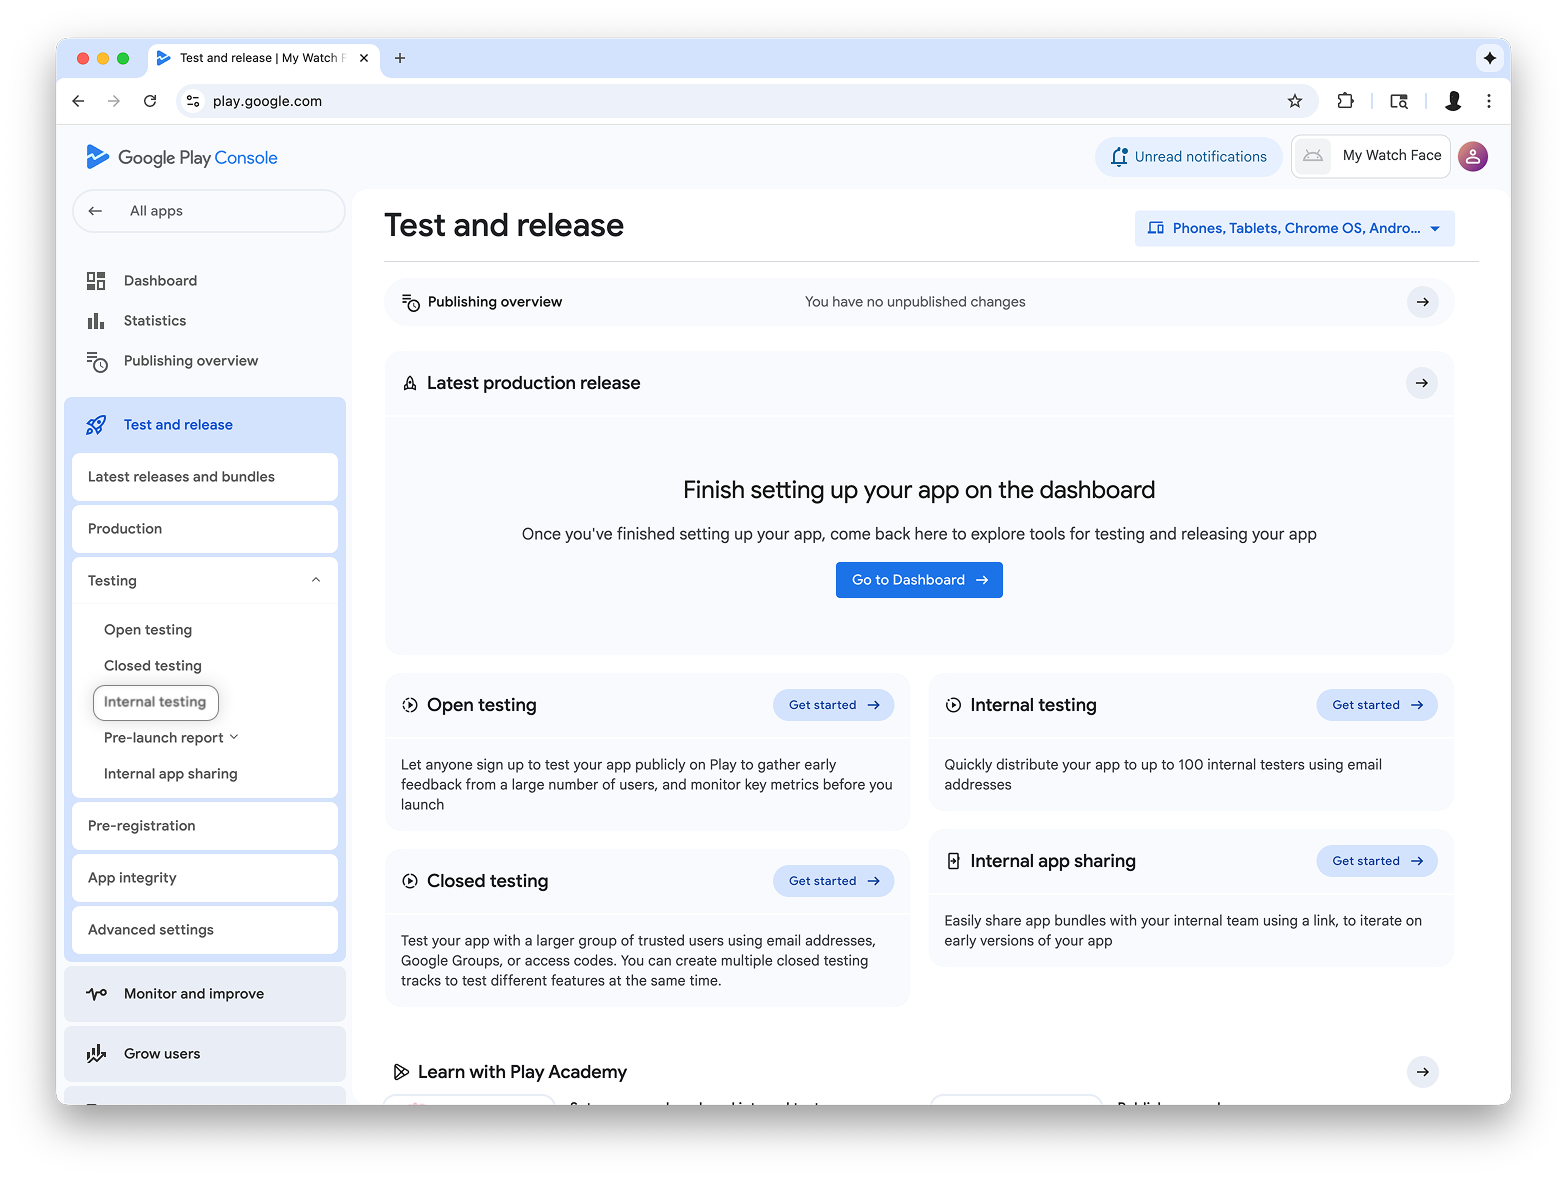
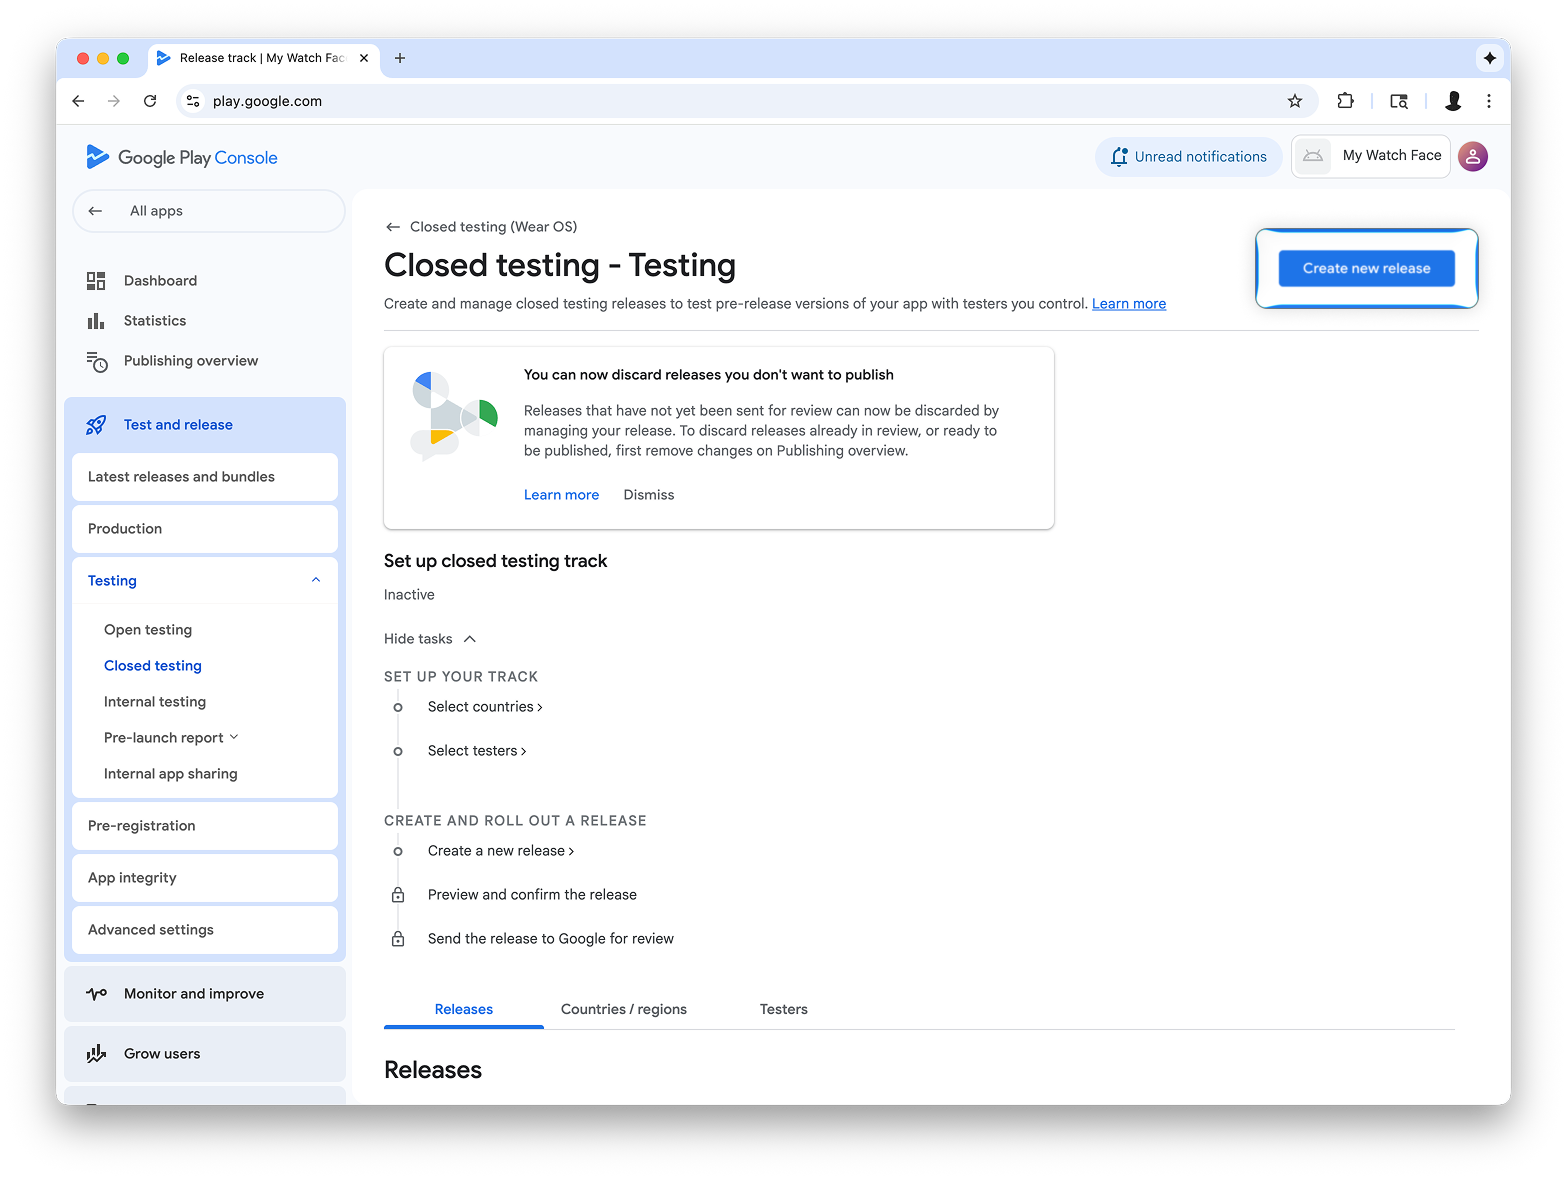
Después de crear tu app, navega a Pruebas y lanzamiento > Pruebas > Pruebas internas:
Figura 2: La pantalla Test and release
en Play Console
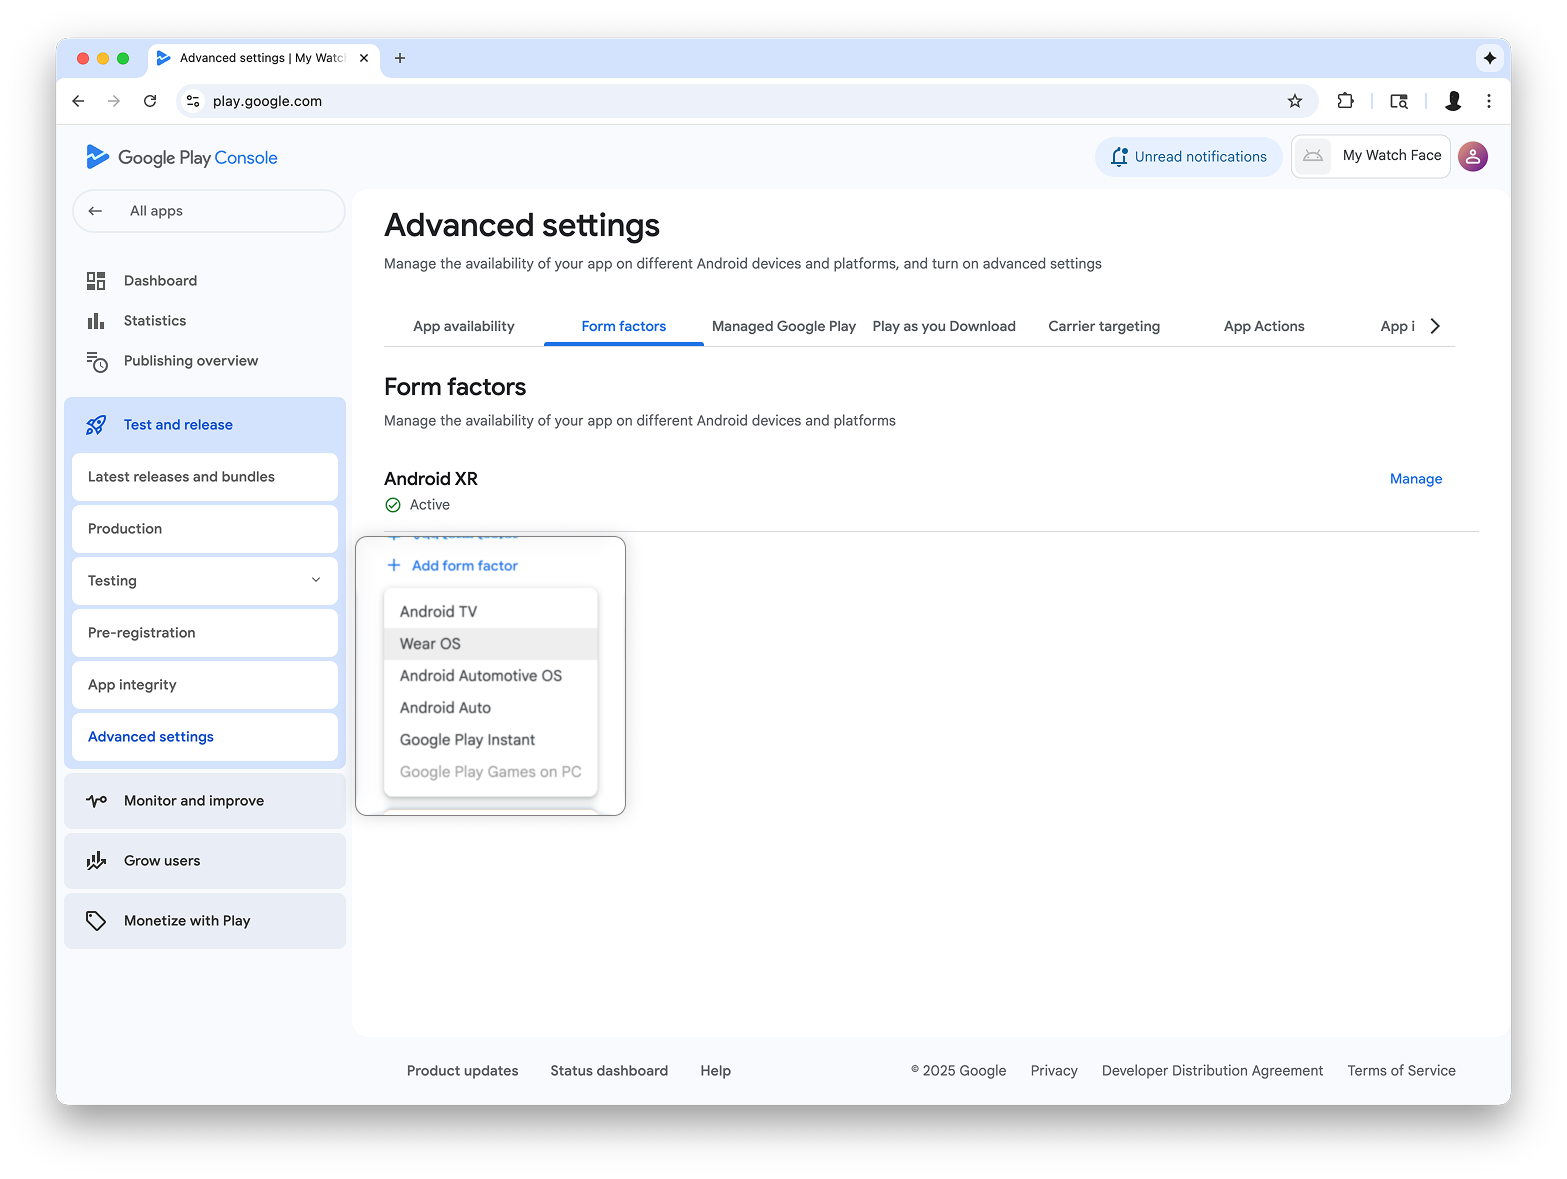
En el menú desplegable de la parte superior derecha de la página, selecciona Administrar factores de forma y agrega Wear OS como factor de forma para tu app:
Figura 3: Selección de la opción Administrar factores de forma (izquierda) y, luego, adición de Wear OS en la pestaña Factores de forma en la pantalla Configuración avanzada (derecha)
Crea una versión en el segmento de pruebas internas
Vuelve al menú de pruebas internas y crea un segmento de pruebas internas solo para Wear OS. Luego, crea una versión:
Figura 4: Selecciona el botón Crear pista (izquierda) y, luego, en la siguiente pantalla, selecciona el botón Crear lanzamiento nuevo (derecha).
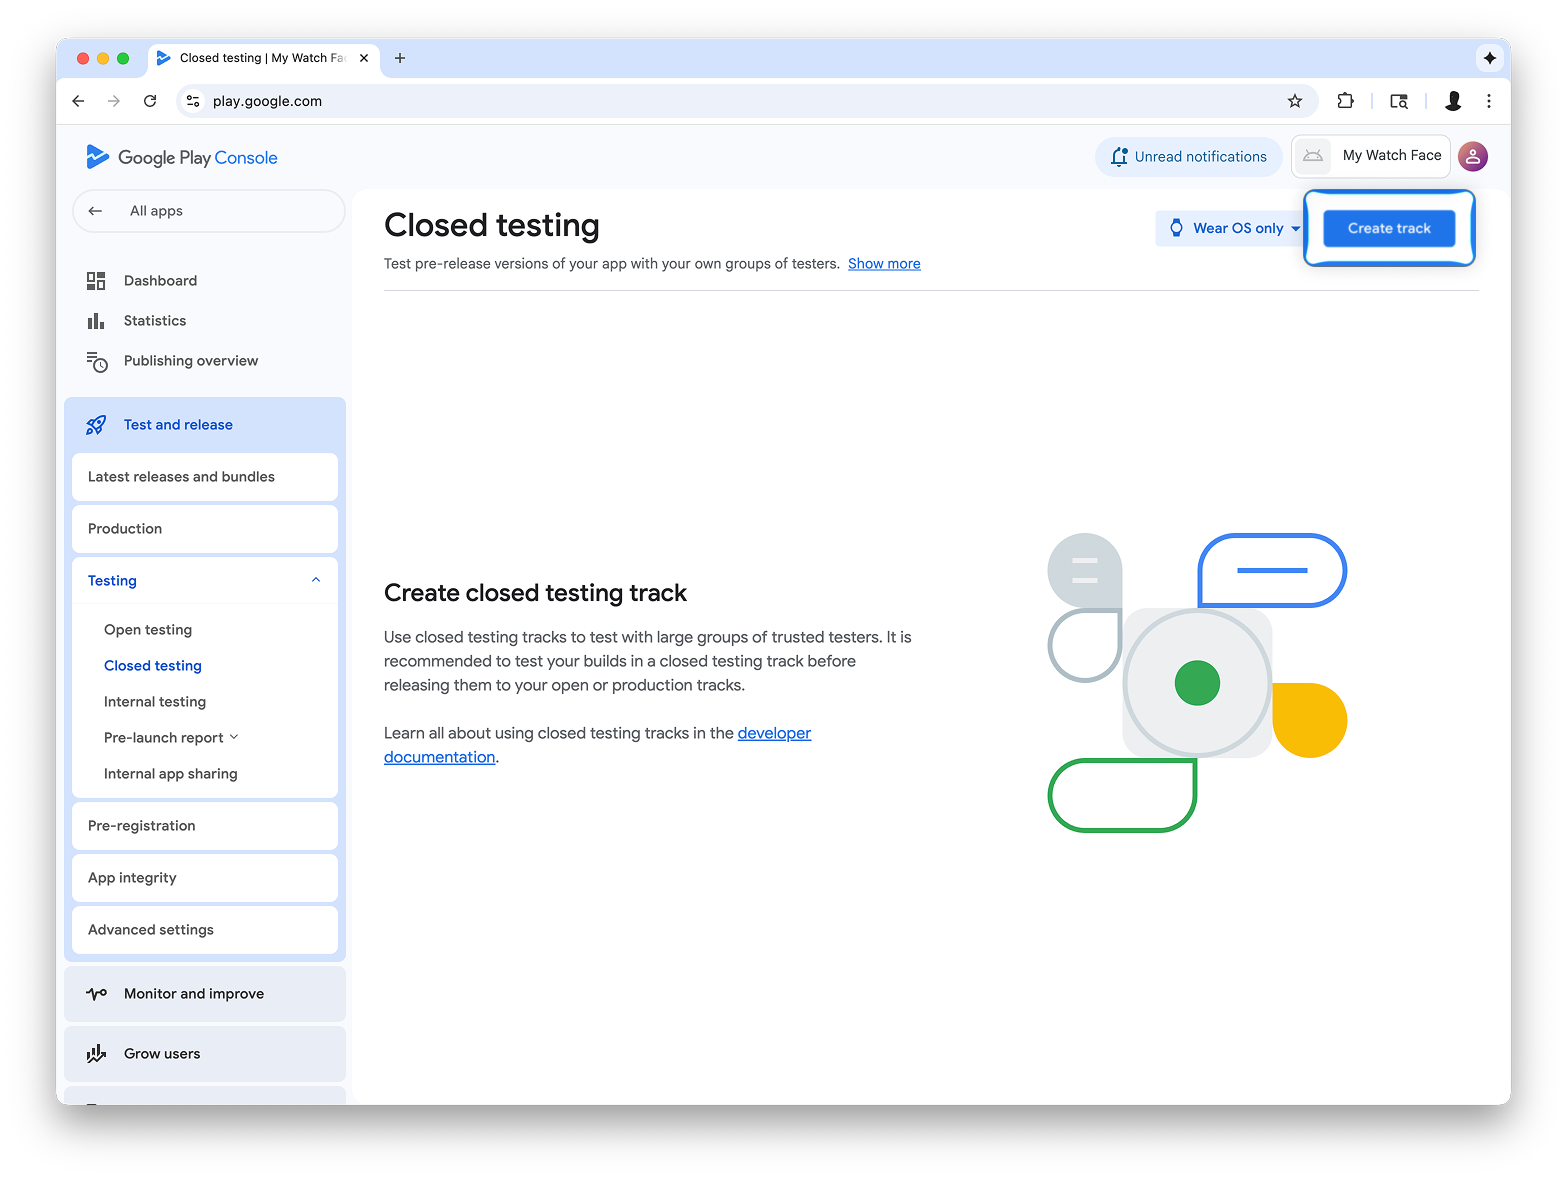
En la pantalla Crear versión de prueba cerrada, selecciona Elegir clave de firma.
Figura 5: Selecciona el botón Elegir clave de firma (izquierda) y, luego, en el cuadro de diálogo que aparece, selecciona Usar la clave generada por Google (derecha).
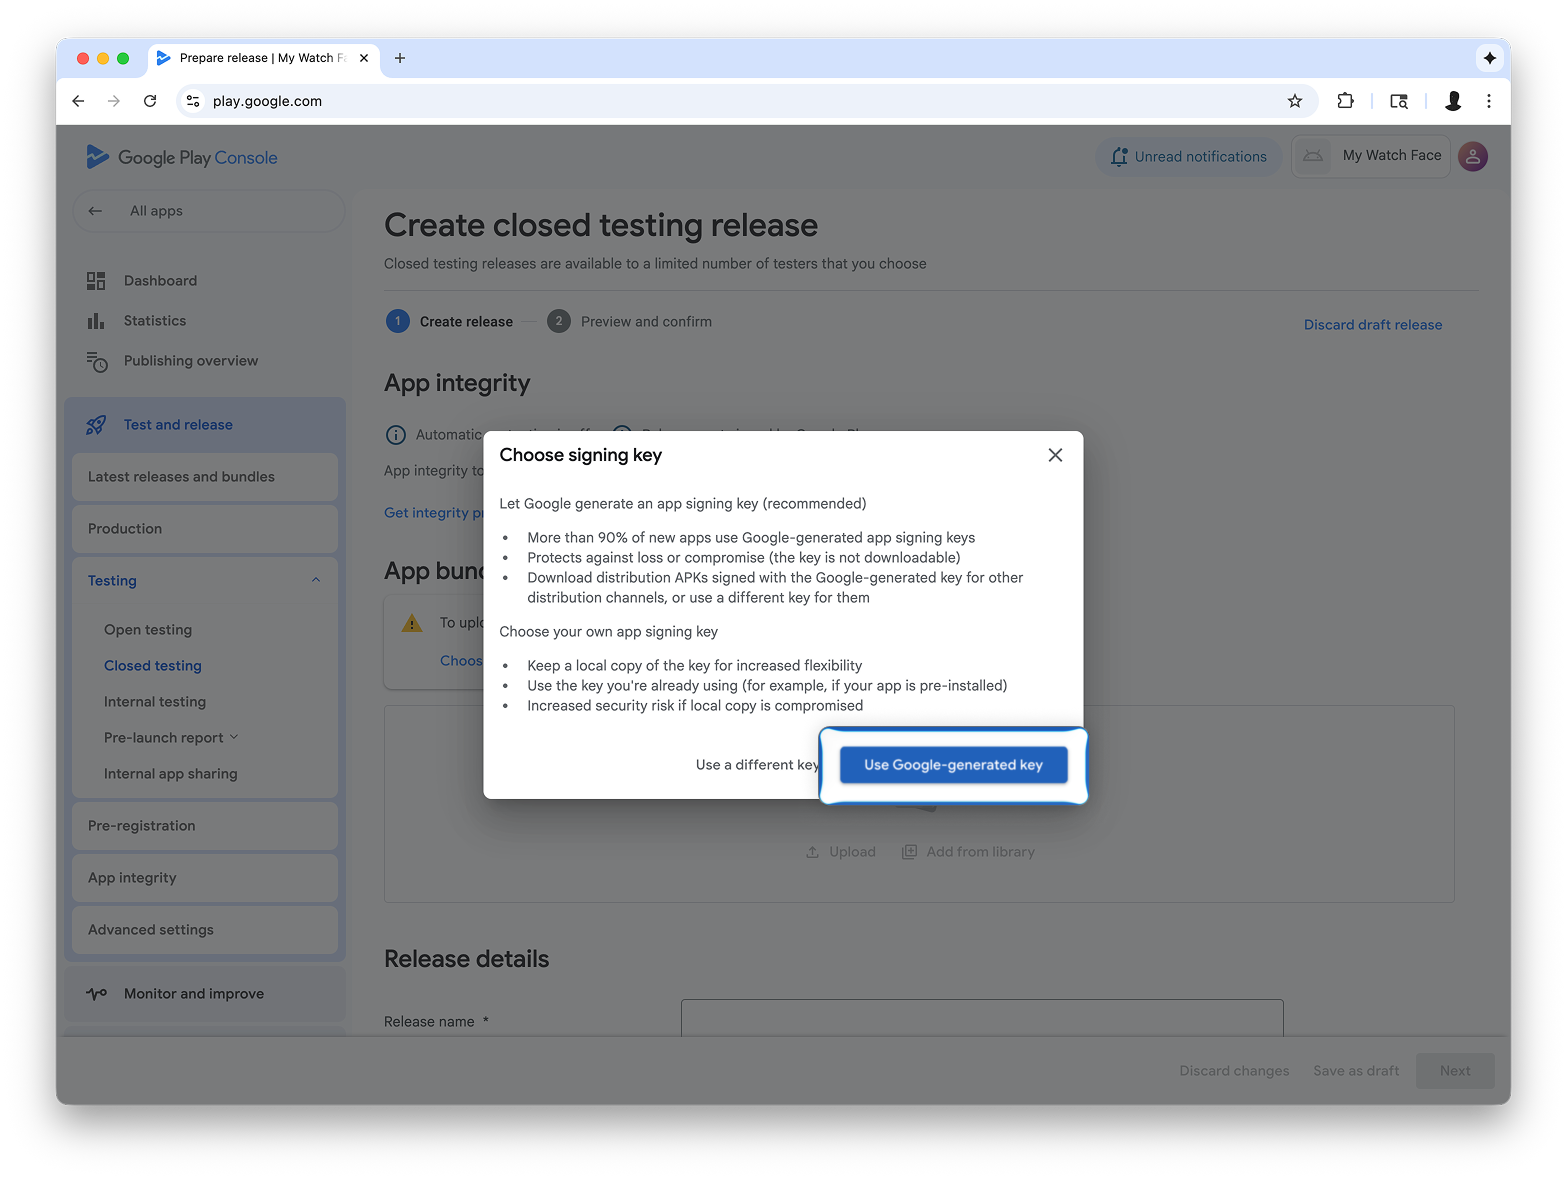
Arrastra el archivo AAB desde Watch Face Designer a la sección Cargar y continúa con la creación de la versión en el segmento de pruebas.
El contenido y las muestras de código que aparecen en esta página están sujetas a las licencias que se describen en la Licencia de Contenido. Java y OpenJDK son marcas registradas de Oracle o sus afiliados.
Última actualización: 2025-08-27 (UTC)
[[["Fácil de comprender","easyToUnderstand","thumb-up"],["Resolvió mi problema","solvedMyProblem","thumb-up"],["Otro","otherUp","thumb-up"]],[["Falta la información que necesito","missingTheInformationINeed","thumb-down"],["Muy complicado o demasiados pasos","tooComplicatedTooManySteps","thumb-down"],["Desactualizado","outOfDate","thumb-down"],["Problema de traducción","translationIssue","thumb-down"],["Problema con las muestras o los códigos","samplesCodeIssue","thumb-down"],["Otro","otherDown","thumb-down"]],["Última actualización: 2025-08-27 (UTC)"],[],[],null,["This guide explains how to publish your watch face, created using\nWatch Face Designer, to Google Play.\n| **Note:** Before you begin, [export your watch face using the Google Play option](/training/wearables/watch-face-designer/export#google-play) so that you have an Android App Bundle (AAB) file ready.\n\nSign into your developer account in Google Play\n\nSign in to Google Play Console and press 'Create App' on the dashboard.\n| **Note:** If you don't have a Google Play Console developer account, [follow the\n| official guide to create one](https://support.google.com/googleplay/android-developer/answer/6112435). This includes paying a registration fee.\n\nDuring the \"create app,\" workflow, **turn off automatic protection when\nprompted**; otherwise, you'll have issues signing the bundle later. Automatic\nprotection isn't relevant to watch faces because they don't have any code.\n**Figure 1** : The **Create app** screen in the Play Console\n\nAdd support for the Wear OS form factor\n\nAfter you've created your app, navigate to **Test and release \\\u003e Testing \\\u003e\nInternal testing**:\n**Figure 2** : The **Test and release** screen in the Play Console\n\nIn the drop-down in the top right of the page, select **Manage form factors**,\nand add Wear OS as a form factor for your app:\n**Figure 3** : Selecting the **Manage form\nfactors** option (left), then adding Wear OS on the **Form factors** tab on the **Advanced settings** screen (right)\n\nCreate a release on the internal testing track\n\nReturn to the internal testing menu and create a Wear OS-only internal testing\ntrack. Then, create a release:\n**Figure 4** : Select the **Create track** button (left), then on the next screen, select the **Create new release** button (right).\n\nOn the **Create closed testing release** screen, select **Choose signing key**.\n| **Caution:** In the **Choose signing key** dialog that appears, select **Use Google-generated key**:\n**Figure 5** : Select the **Choose signing\nkey** button (left), then in the dialog that appears, select **Use\nGoogle-generated key** (right).\n\nDrag-and-drop the AAB file from Watch Face Designer into the **Upload** section,\nand proceed with creating the release on the testing track.\n\nNext steps\n\nFrom here, follow official Google Play documentation on [trying out apps in the\ntesting track](https://support.google.com/googleplay/answer/7003180) and [promoting releases to production](https://support.google.com/googleplay/android-developer/answer/9859348), which makes your\napp visible to everyone on Google Play."]]