

摺疊式裝置使用者會尋找視覺證據,確認應用程式是否充分利用大型內螢幕。如果商店資訊只提供手機螢幕截圖,可能會讓使用者認為應用程式會被拉長或出現黑邊,進而降低轉換率。
在 Google Play 管理中心,您可以上傳三到八張摺疊式螢幕截圖,涵蓋常見的 1:1 和 4:3 內螢幕顯示比例,以及至少一張 10:16 外螢幕顯示比例的直向螢幕截圖。
為協助您快速上手,您可以使用 Android CLI 和 Android Emulator,擷取手機、摺疊式裝置、平板電腦和電腦板型規格的螢幕截圖,並符合 Play 管理中心要求的尺寸和顯示比例。
請按照本指南完成下列工作:
- 建立符合 Google Play 規定板型規格的模擬器設定檔。
- 建立螢幕截圖的輸出目錄。
- 擷取手機、摺疊式裝置、平板電腦和電腦的螢幕截圖。
- 確認螢幕截圖尺寸,並排解常見問題。
向代理提問
Follow https://d.android.com/google/play/requirements/screenshots-android-cli to build my app and use the Android CLI to capture all required Google Play Store screenshots across phone, foldable (1:1 and 4:3), tablet, and desktop into ./play_screenshots建立模擬器設定檔
下表列出 Google Play 管理中心各螢幕截圖專區,對應的 Android Emulator 設定檔、姿勢、螢幕方向和輸出解析度:
| Play 管理中心專區 | 必要的螢幕截圖 | 允許的顯示比例和邊界 | Android CLI 設定檔 (create、start 和 stop) |
姿勢和方向 | 輸出解析度 (像素) |
|---|---|---|---|---|---|
| 電話 | 2 到 8 張 (如要宣傳,至少 4 張 1080p 以上;遊戲至少 3 張 16:9 或 9:16) | 最高 2.3:1 (9:16、16:9、20:9),320 至 3,840 像素 | medium_phone |
直向或橫向 | 1080 x 2400 (20:9) 或 2400 x 1080 |
| 手機 (9:16 或 16:9) | 選用 (遊戲宣傳則為 3 張以上) | 9:16 或 16:9,320 至 3,840 px | foldable_1_1 |
摺疊 (adb emu fold)、直向或橫向 | 1053 x 1872 (9:16) 或 1872 x 1053 (16:9) |
| 摺疊式 (1:1 展開) | 至少 1 張 (上傳 3 到 8 張摺疊式裝置螢幕截圖時) | 1:1 (320 至 3,840 像素) | foldable_1_1 |
展開 (adb emu unfold) | 2106 x 2106 (1:1) |
| 摺疊式裝置 (4:3 展開) | 至少 1 張 (上傳 3 到 8 張摺疊式裝置螢幕截圖時) | 4:3 (寬度 427 至 3,840 像素) | foldable_4_3 |
展開 (adb emu unfold),橫向 | 2688 x 2016 (4:3) |
| 摺疊式裝置 (4:3 摺疊直向) | 至少 1 張 (上傳 3 到 8 張摺疊式裝置螢幕截圖時) | 10:16 (寬度 320 至 2,400 像素) | foldable_4_3 |
摺疊 (adb emu fold),直向 | 1260 x 2016 (10:16) |
| 摺疊式裝置 (4:3 摺疊橫向) | 選用 (最多可額外提供 5 張摺疊式裝置螢幕截圖) | 16:10 (寬度 512 至 3,840 像素) | foldable_4_3 |
折疊 (adb emu fold),橫向 | 2016 x 1260 (16:10) |
| 平板電腦 (7 吋和 10 吋) | 每種最多 8 個 | 最高 2.3:1 (16:10、10:16、16:9、9:16),1,080 至 3,840 像素 | medium_tablet |
橫向或直向 | 2560 x 1600 (16:10) 或 1600 x 2560 |
| 筆記型電腦和桌上型電腦 (Chromebook 和桌上型電腦) | 4 到 8 | 16:9 (寬度 1,920 至 7,680 像素) 或 9:16 (寬度 1,080 至 4,320 像素) | create:large_desktop 或 medium_desktop;start 和 stop:desktop_large 或 desktop_medium |
橫向 | 1920 x 1080 (16:9) 或 3840 x 2160 (16:9) |
執行擷取指令時,請注意下列選項:
- 在乾淨的擷取畫面中省略
--annotate:請勿將--annotate或-a傳遞至android screen capture,因為這會在 PNG 檔案上繪製定界框和數字標籤。 - 區分並行模擬器:同時執行多個模擬器時,請使用
--device=serial搭配android,或-s serial搭配adb提供裝置序號,以便區分模擬器。
設定虛擬裝置
確認 Android Emulator 和 Android CLI 為最新版本。建立輸出目錄,並為目標板型規格建立 AVD:
確認 Android Emulator 為 37.3.10 以上版本:
android sdk update emulator確認
android為最新版本:android update建立輸出目錄:
mkdir -p play_screenshots/phone play_screenshots/foldable play_screenshots/tablet play_screenshots/desktop建立虛擬裝置。這會自動安裝任何缺少的 SDK
emulator、platform-tools和系統映像檔套件:android emulator create medium_phone android emulator create foldable_1_1 android emulator create foldable_4_3 android emulator create medium_tablet android emulator create large_desktop
擷取手機螢幕截圖
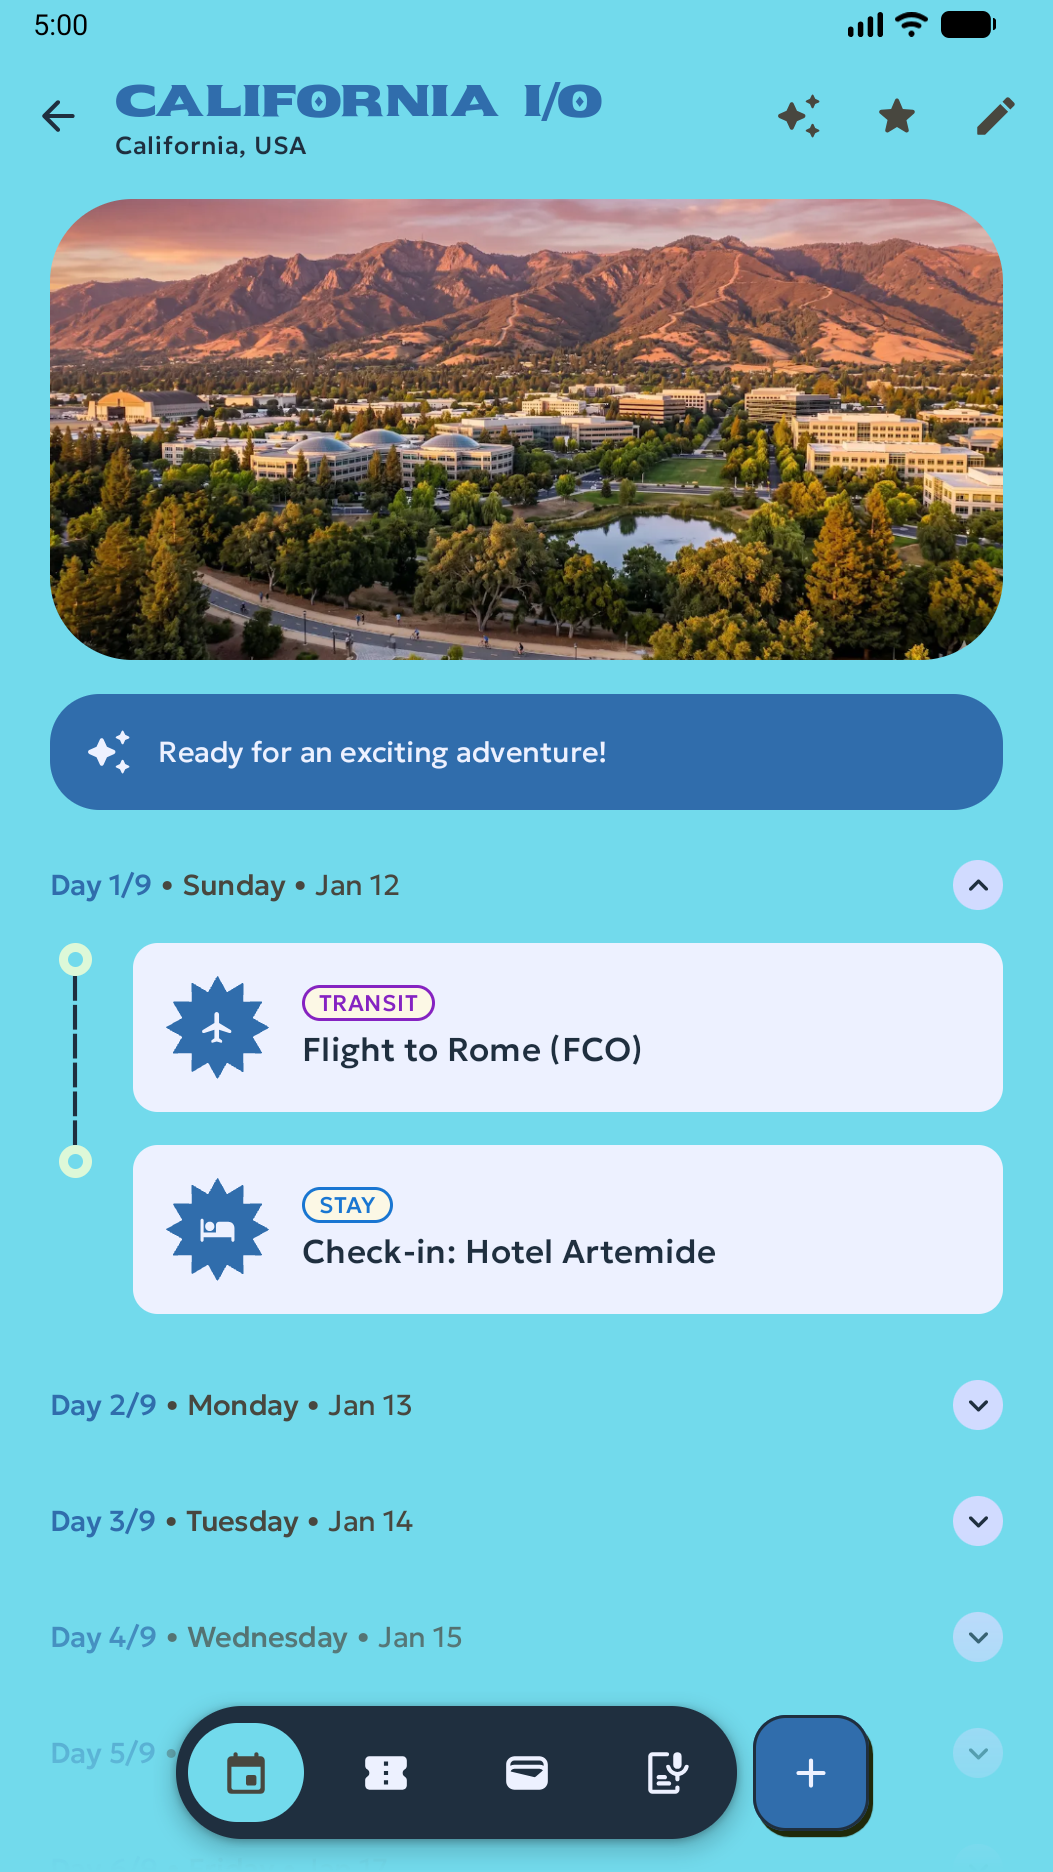
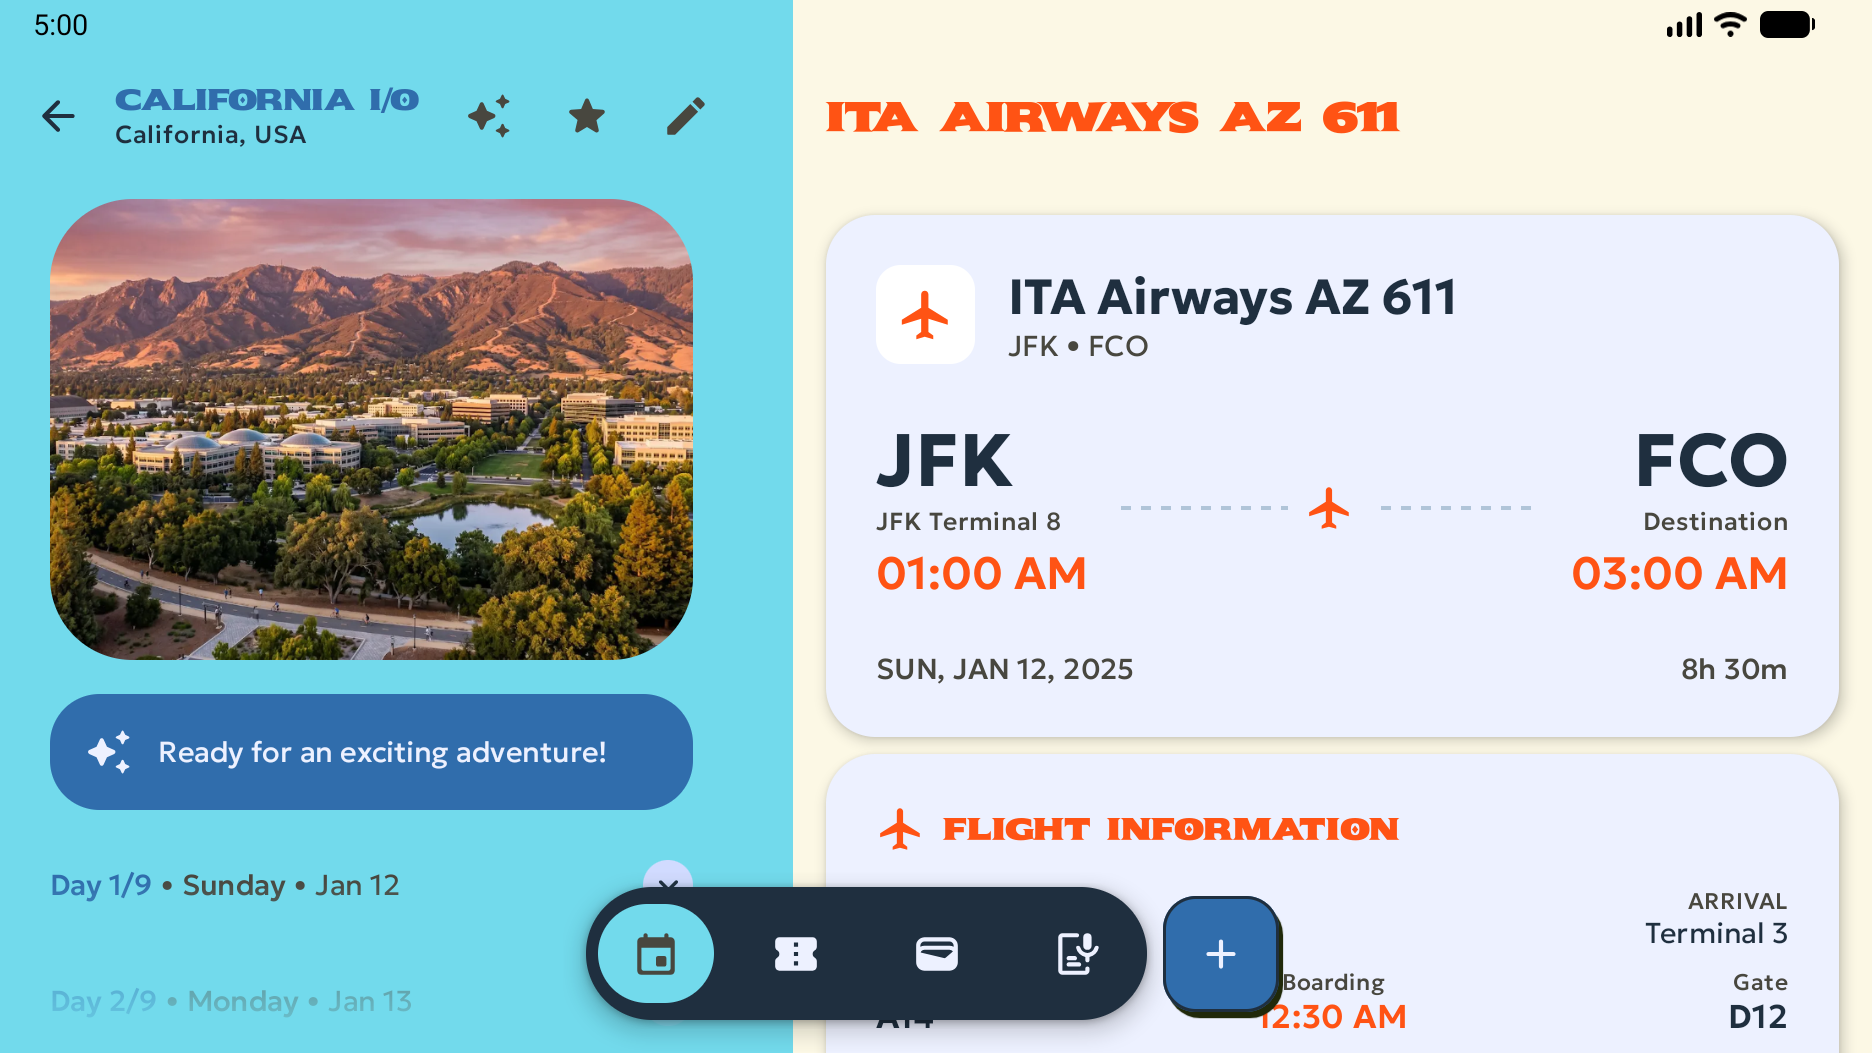
啟動 medium_phone、部署應用程式,並擷取直向 (1080 x 2400 像素) 和橫向 (2400 x 1080 像素) 螢幕截圖:
android emulator start medium_phone
android run ./app/build/outputs/apk/debug/app-debug.apk

# Portrait
adb shell wm user-rotation lock 0
android screen capture --output=play_screenshots/phone/phone_portrait_1.png

# Landscape
adb shell wm user-rotation lock 1
sleep 2
android screen capture --output=play_screenshots/phone/phone_landscape_1.png

android emulator stop medium_phone
以下圖片顯示從模擬器擷取的原始直向和橫向手機螢幕截圖範例:
擷取摺疊式裝置螢幕截圖
使用 foldable_1_1 和 foldable_4_3 設定檔,擷取內外螢幕的原始 UI 螢幕截圖。搭配使用 adb shell screencap 和 adb shell dumpsys SurfaceFlinger --display-id,指定內螢幕或外螢幕。
擷取 1:1 展開和 9:16 摺疊螢幕截圖
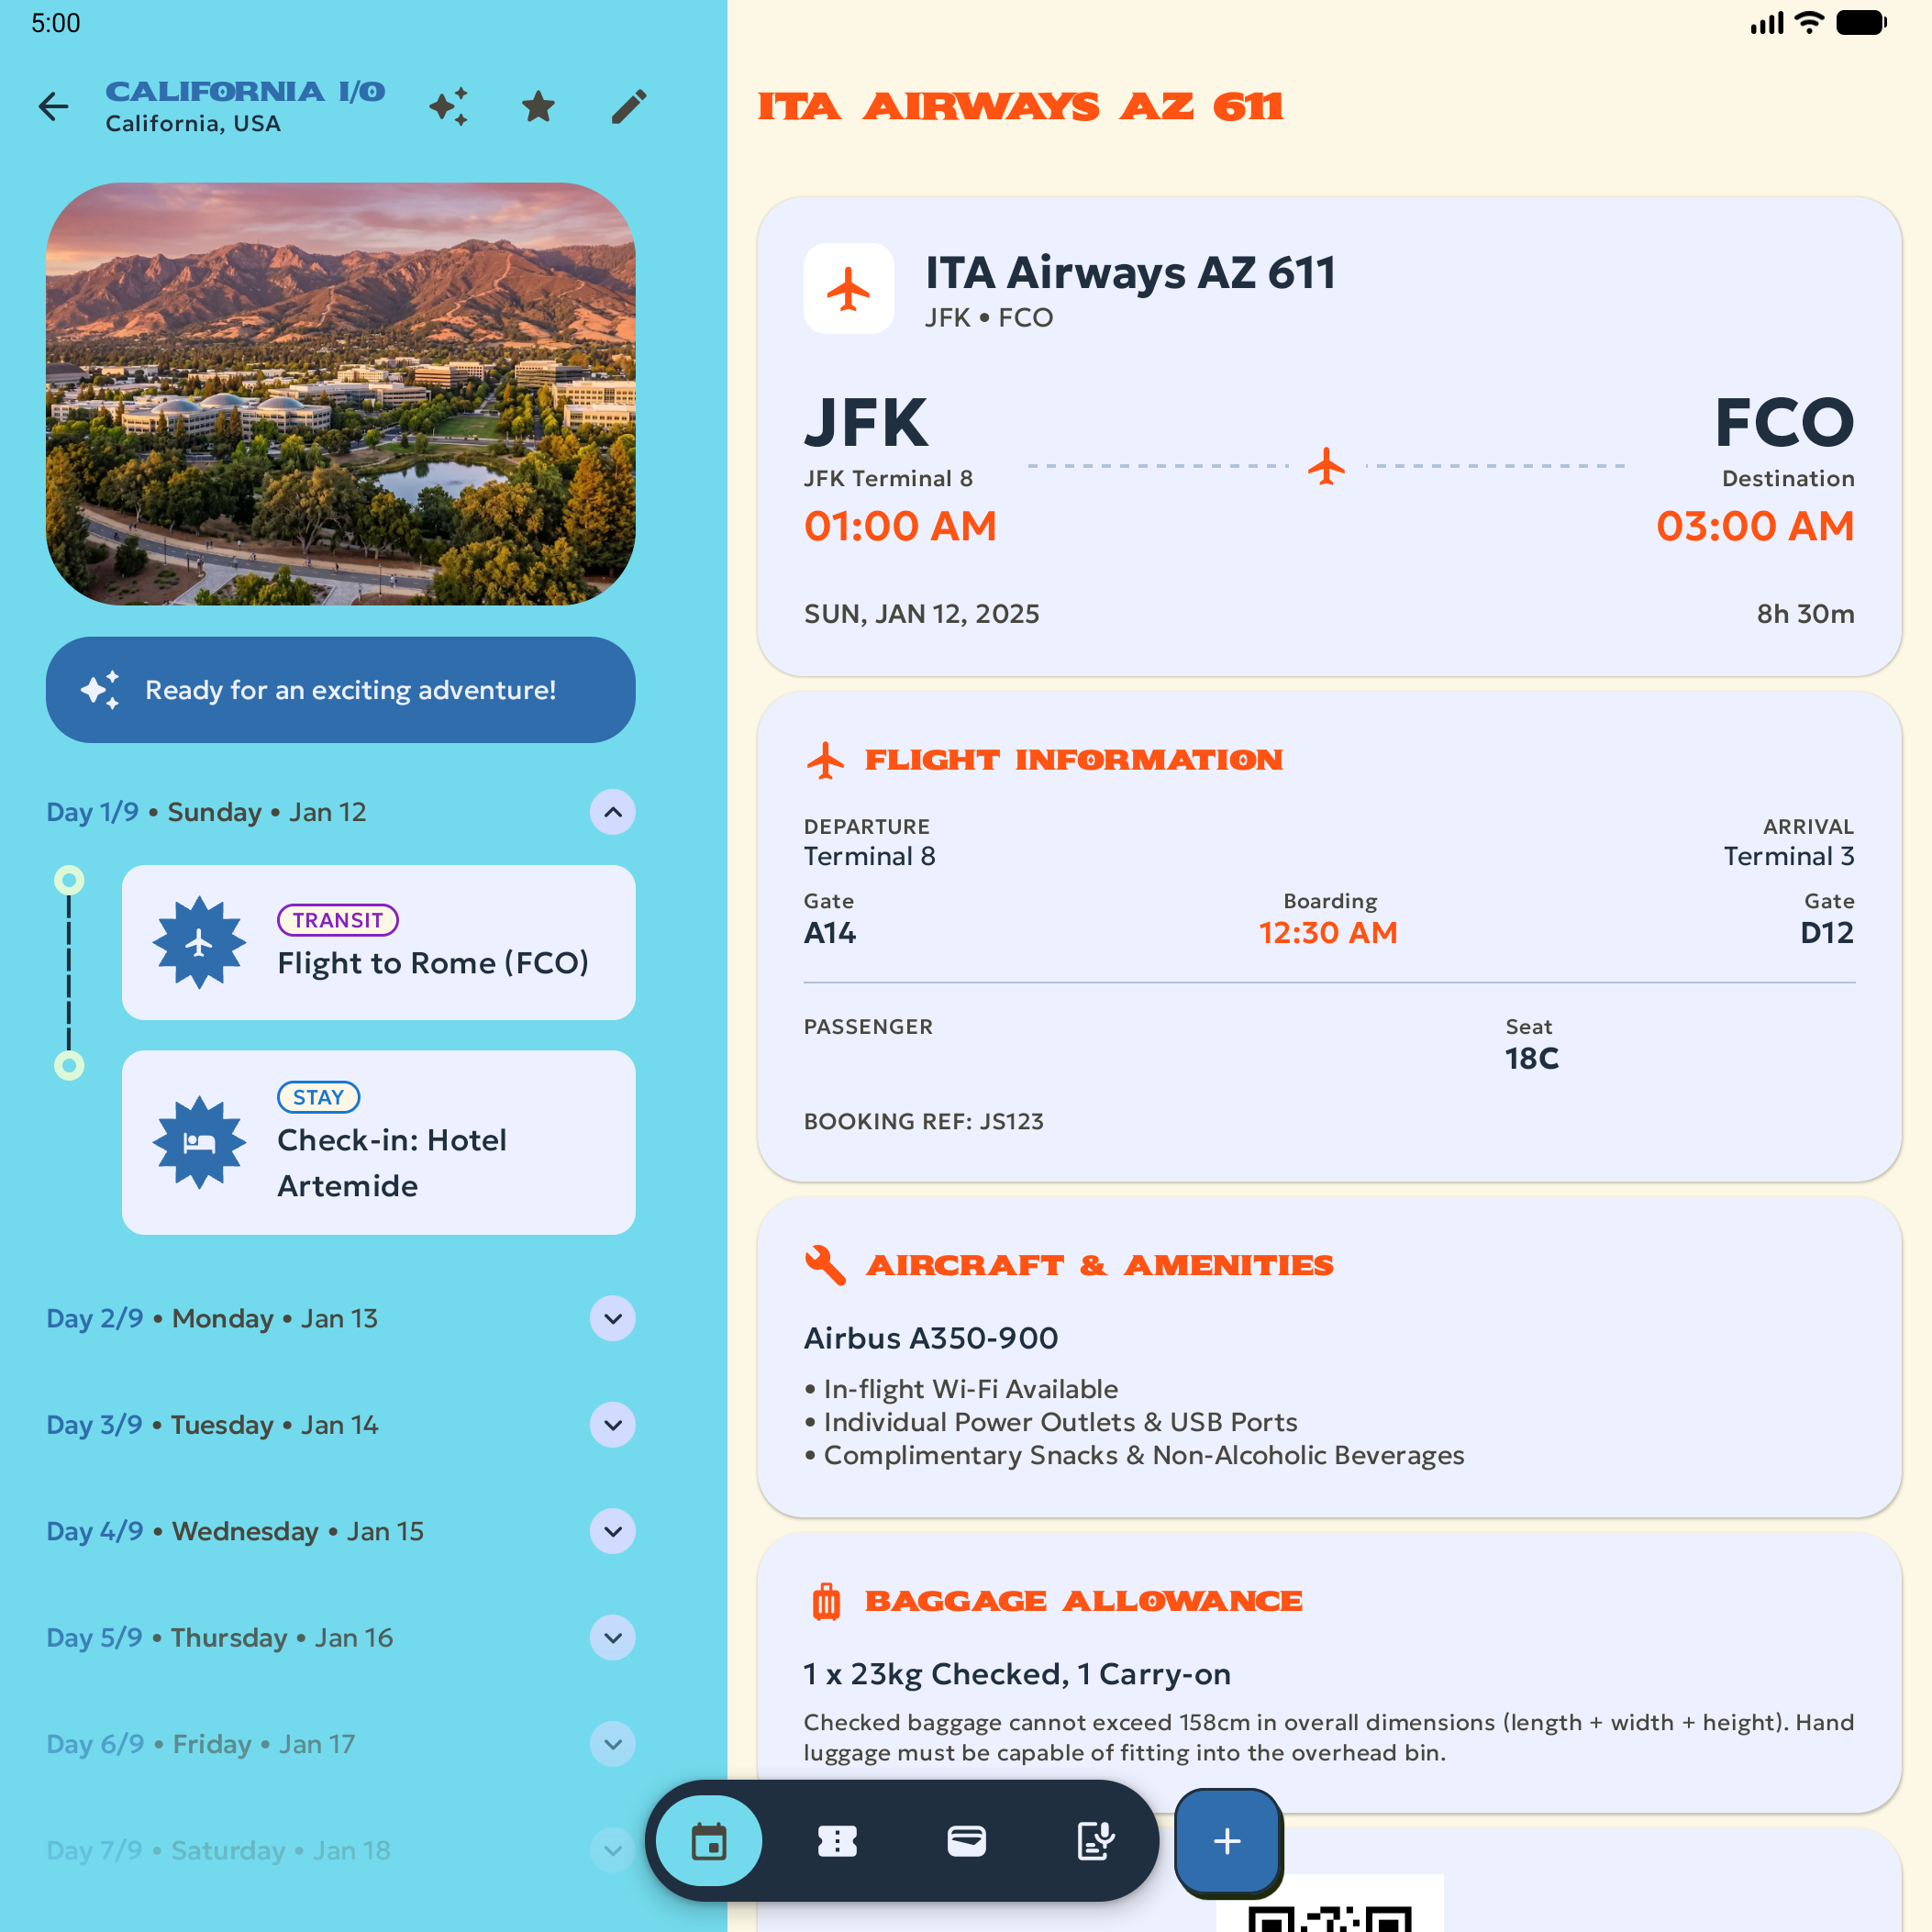
啟動 foldable_1_1,擷取摺疊式裝置區段的 1:1 展開螢幕截圖 (2106 x 2106 像素),以及手機區段的 9:16 摺疊螢幕截圖 (1053 x 1872 像素,選用)。
輸出目錄會與接受各螢幕截圖的 Play 管理中心部分相符,而非擷取螢幕截圖的模擬器設定檔。「折疊式裝置」部分只接受 1:1、4:3、10:16 和 16:10 的螢幕截圖,因此折疊式 foldable_1_1 外螢幕的 9:16 螢幕截圖會儲存在 phone/ 中,以便上傳到「手機」部分。摺疊後的 foldable_4_3 外螢幕為 10:16,符合「摺疊式裝置」部分的要求,因此這些螢幕截圖會儲存在 foldable/ 中。
執行下列指令:
android emulator start foldable_1_1
android run ./app/build/outputs/apk/debug/app-debug.apk

# Keep the screen on when the emulator is folded
adb shell settings put system fold_lock_behavior_setting stay_awake_on_fold_key

# 1:1 unfolded inner display
adb emu unfold
sleep 2
adb shell screencap -d "$(adb shell dumpsys SurfaceFlinger --display-id | awk 'NR==1 {print $2}')" -p > play_screenshots/foldable/foldable_1_1_unfolded.png

# Optional: 9:16 folded outer display - this is suitable for uploading to the
# Play Console's Phone section so is saved in the phone/ directory.
adb emu fold

# Turn the screen on and dismiss the lock screen
adb shell input keyevent KEYCODE_WAKEUP
adb shell wm dismiss-keyguard

sleep 2
adb shell screencap -d "$(adb shell dumpsys SurfaceFlinger --display-id | awk 'NR==2 {print $2}')" -p > play_screenshots/phone/phone_9_16_folded_portrait.png

android emulator stop foldable_1_1
下圖是原始 1:1 展開內螢幕螢幕截圖範例:
擷取 4:3 展開和摺疊螢幕截圖
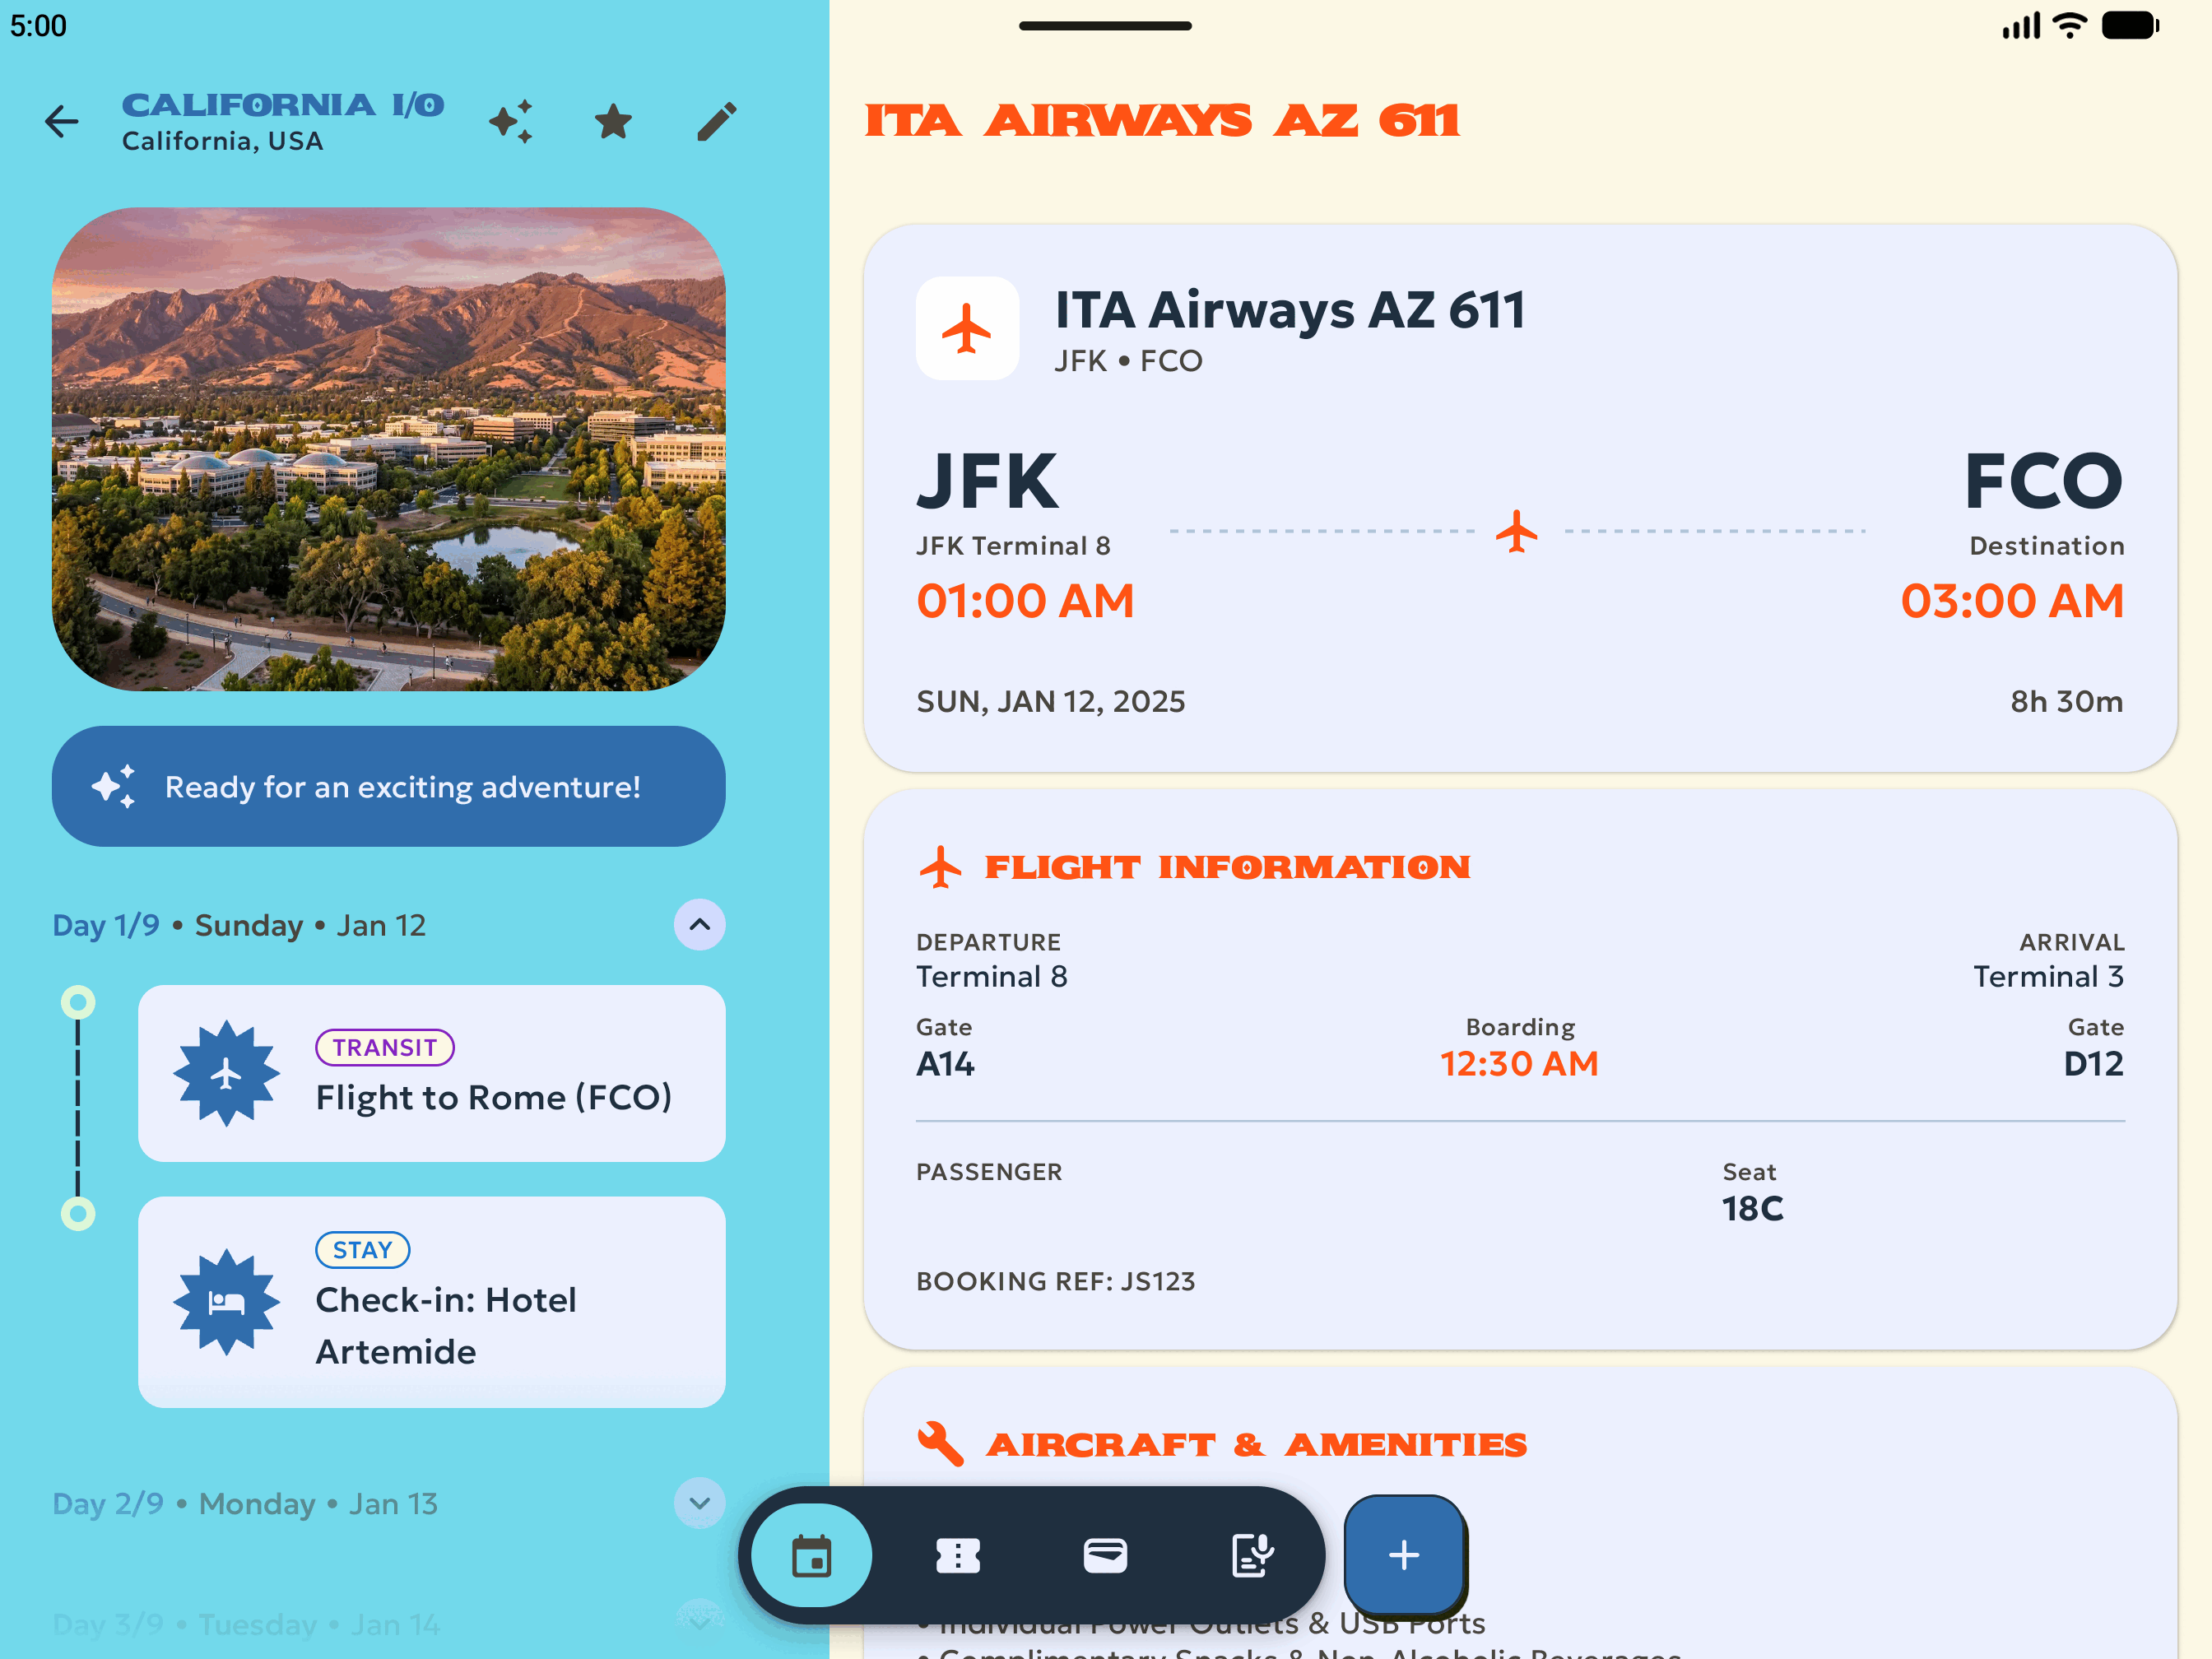
啟動 foldable_4_3,擷取 4:3 展開橫向螢幕截圖 (2688 x 2016 像素)、10:16 摺疊直向螢幕截圖 (1260 x 2016 像素),以及選用的 16:10 摺疊橫向螢幕截圖 (2016 x 1260 像素):
android emulator start foldable_4_3
android run ./app/build/outputs/apk/debug/app-debug.apk

# Keep the screen on when the emulator is folded
adb shell settings put system fold_lock_behavior_setting stay_awake_on_fold_key

# 4:3 unfolded landscape inner display
adb emu unfold
adb shell wm user-rotation lock 0
sleep 2
adb shell screencap -d "$(adb shell dumpsys SurfaceFlinger --display-id | awk 'NR==1 {print $2}')" -p > play_screenshots/foldable/foldable_4_3_unfolded_landscape.png

# 10:16 folded portrait outer display
adb emu fold

# Turn the screen on and dismiss the lock screen
adb shell input keyevent KEYCODE_WAKEUP
adb shell wm dismiss-keyguard
sleep 2
adb shell screencap -d "$(adb shell dumpsys SurfaceFlinger --display-id | awk 'NR==2 {print $2}')" -p > play_screenshots/foldable/foldable_4_3_folded_portrait.png

# Optional: 16:10 folded landscape outer display
adb shell wm user-rotation lock 1
sleep 2
adb shell screencap -d "$(adb shell dumpsys SurfaceFlinger --display-id | awk 'NR==2 {print $2}')" -p > play_screenshots/foldable/foldable_4_3_folded_landscape.png

android emulator stop foldable_4_3
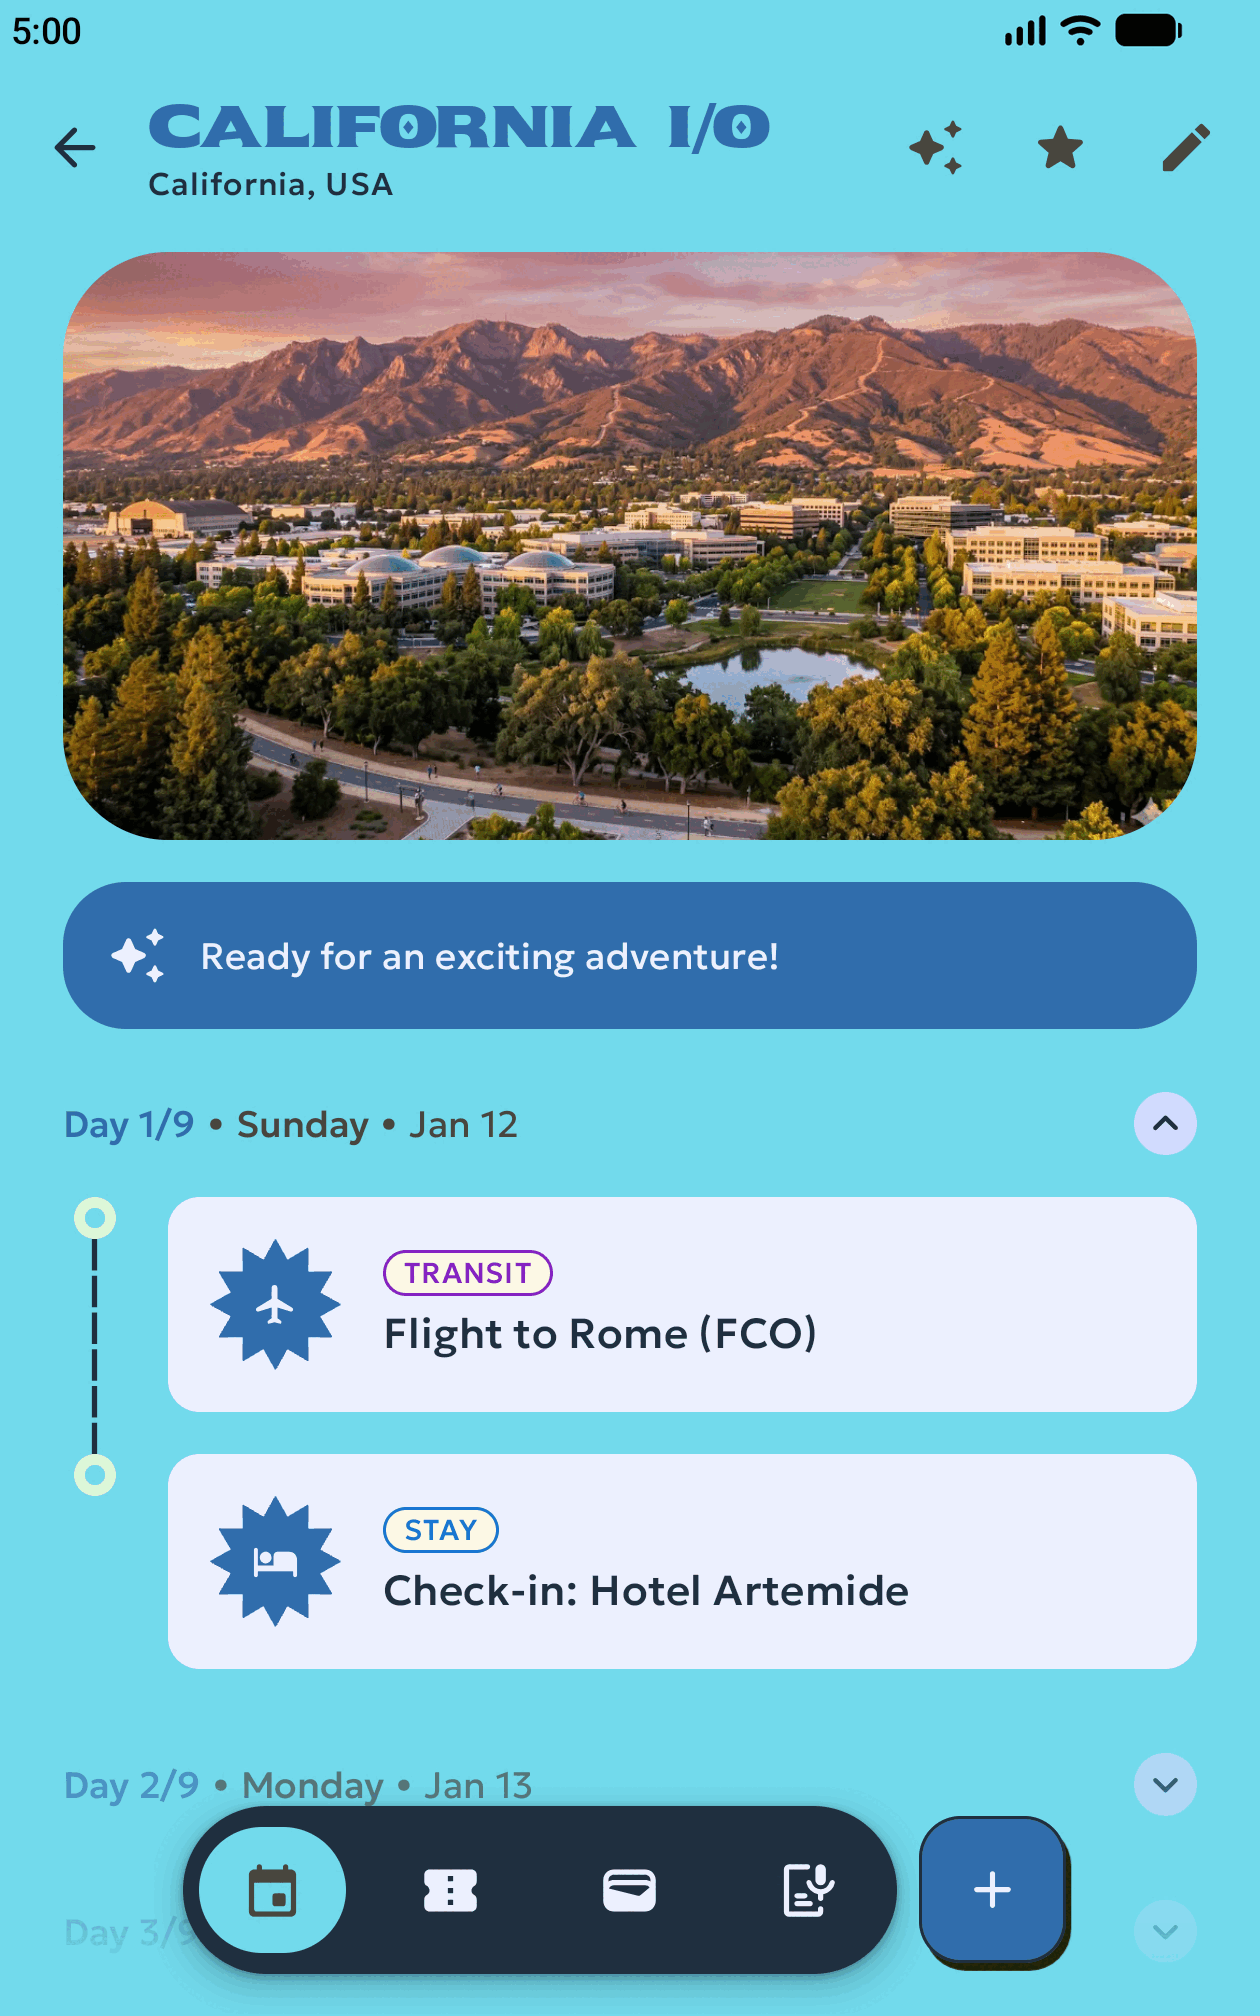
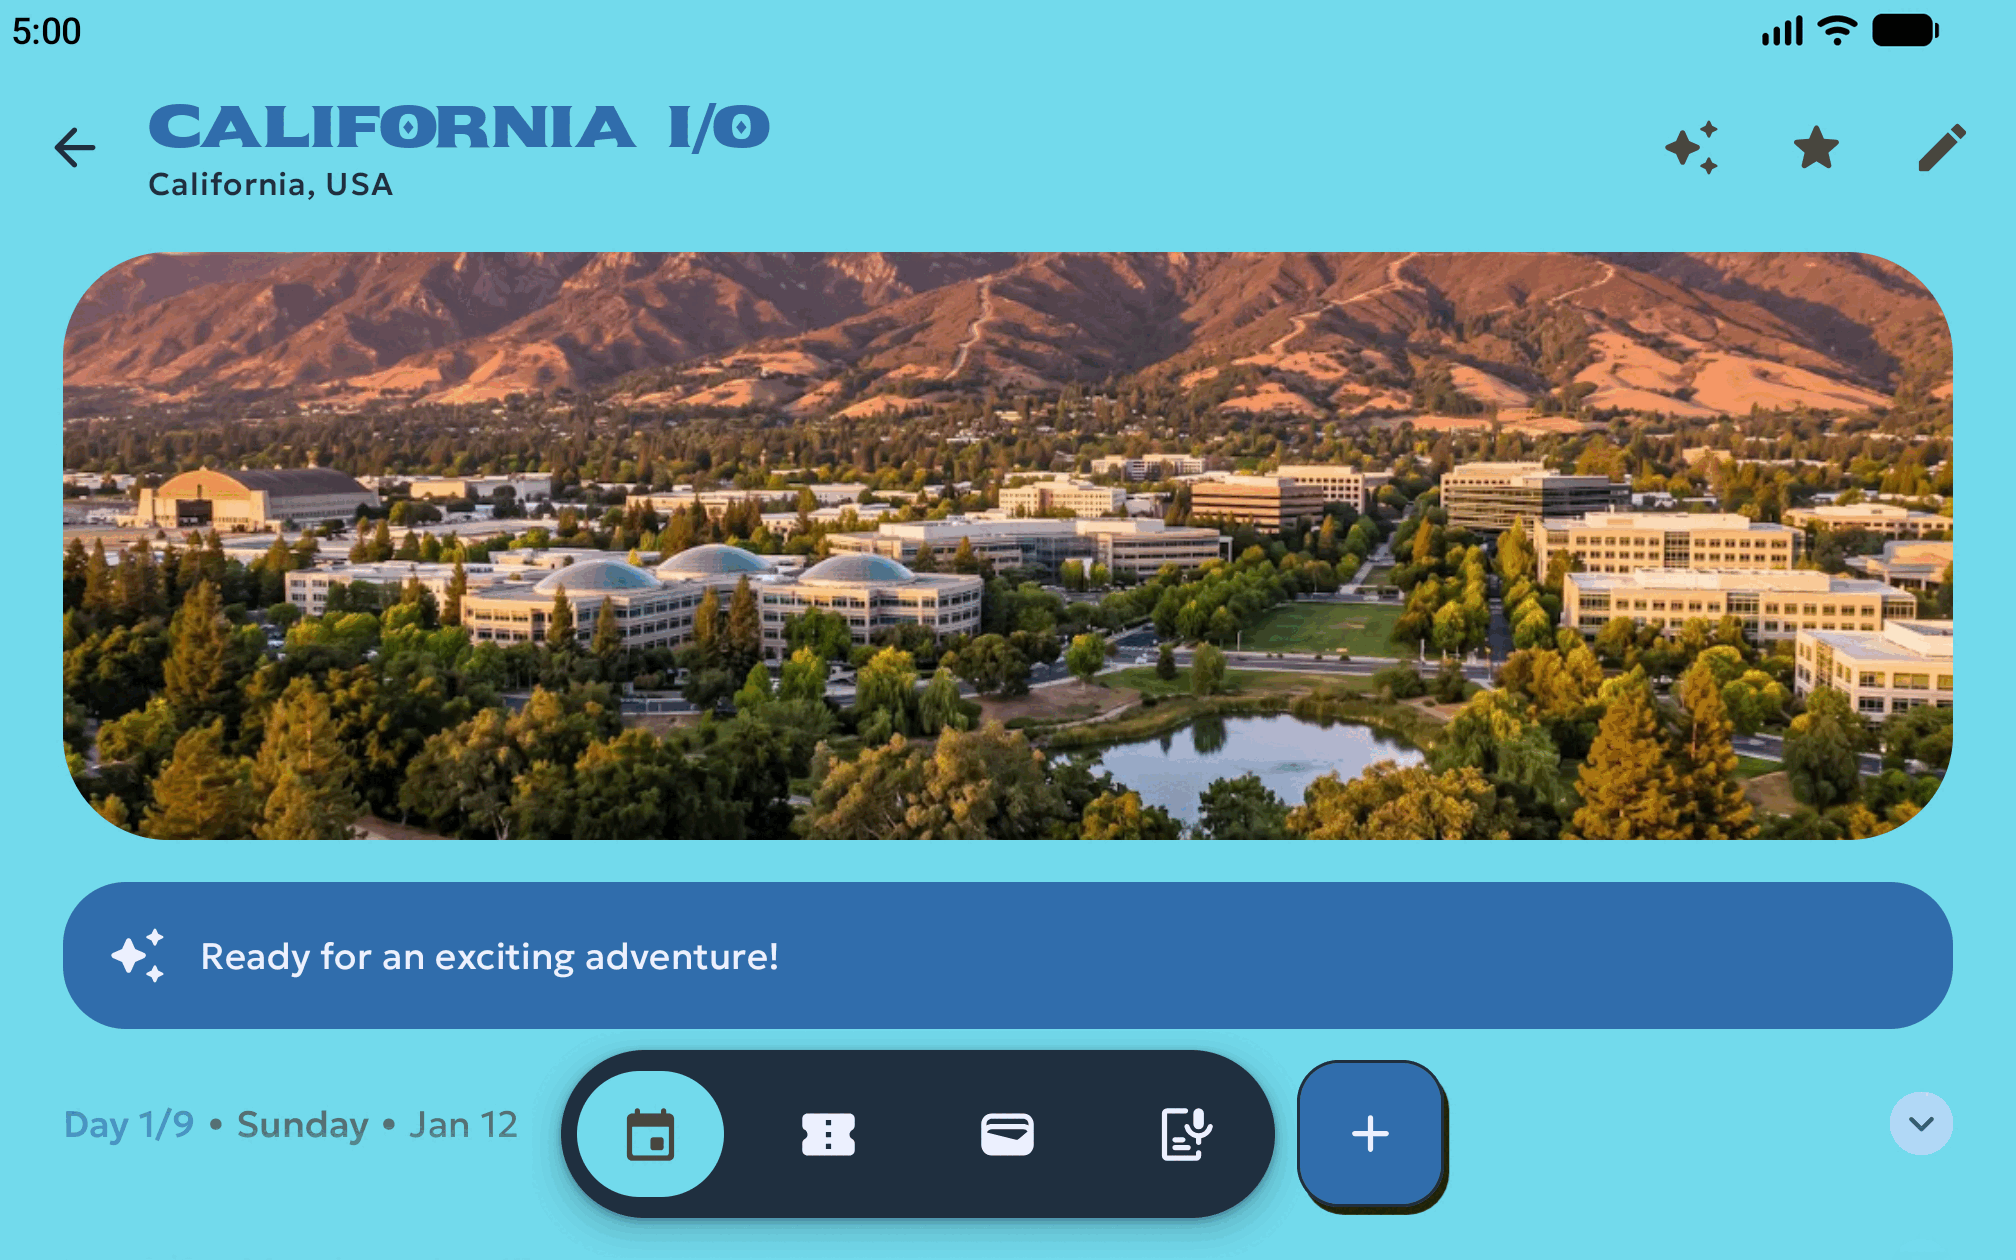
下圖顯示在 foldable_4_3 狀態下擷取的原始螢幕截圖範例:
擷取平板電腦和電腦螢幕截圖
使用 medium_tablet 和 desktop_large 擷取大螢幕和電腦螢幕截圖:
在
medium_tablet(2560 x 1600 像素) 上擷取 16:10 平板電腦螢幕截圖,這類螢幕截圖同時適用於 Play 管理中心的 7 吋和 10 吋平板電腦專區:android emulator start medium_tablet android run ./app/build/outputs/apk/debug/app-debug.apk sleep 2 android screen capture --output=play_screenshots/tablet/tablet_landscape_1.png android emulator stop medium_tablet在
desktop_large上擷取 16:9 Chromebook 和電腦螢幕截圖 (1920 x 1080 像素),使用large_desktop設定檔建立):android emulator start desktop_large android run ./app/build/outputs/apk/debug/app-debug.apk android screen capture --output=play_screenshots/desktop/desktop_1.png android emulator stop desktop_large
驗證螢幕截圖並排解問題
擷取螢幕截圖後,請確認每個檔案都符合 Google Play 管理中心的尺寸和 8 MB 檔案大小限制:
file play_screenshots/*/*.png
確認每張圖片都顯示完整載入的 UI,且不含系統對話方塊,然後將原始擷取畫面傳送給設計團隊,或在 Google Play 管理中心的「拓展」>「商店發布」>「商店資訊」下方,上傳符合規定的素材資源。
下表說明如何解決常見的擷取和上傳問題:
| 問題 | 原因 | 修正 |
|---|---|---|
執行 android emulator start 時顯示「Device large_desktop doesn't exist」 |
android emulator create large_desktop 會將 AVD ID 設為 desktop_large。 |
執行 android emulator start desktop_large (或 medium_desktop 的 desktop_medium)。 |
| Play 管理中心拒絕摺疊式裝置螢幕截圖,並顯示無效尺寸錯誤 | 摺疊式裝置專區已上傳一張 foldable_1_1 摺疊螢幕截圖 (1053 x 1872 像素,9:16)。 | 將摺疊式裝置 1:1 摺疊 (9:16 或 16:9) 螢幕截圖移至「手機」部分;將 1:1、4:3、10:16 和 16:10 螢幕截圖保留在「摺疊式裝置」部分。 |
| Play 管理中心回報「請依據 1:1、4:3 及 10:16 顯示比例,各上傳至少 1 張螢幕截圖」 | 缺少三個必要摺疊式裝置顯示比例的其中一個。 | 確認 play_screenshots/foldable/ 至少包含一個 2106 x 2106 (1:1)、一個 2688 x 2016 (4:3) 和一個 1260 x 2016 (10:16) PNG 檔案。 |
| Play 管理中心拒絕電腦螢幕截圖尺寸 | 螢幕截圖是在 small_desktop (1366 x 768 像素) 上擷取。 | 重新建立 AVD,並在 large_desktop (1920 x 1080 像素) 或 medium_desktop (3840 x 2160 像素) 上擷取螢幕截圖。 |
連結多個模擬器會導致 android screen capture 或 ADB 失敗 |
多個 AVD 執行時,系統會省略 --device。 |
將 --device=serial 傳遞至 Android 指令,並將 -s serial 傳遞至 ADB 指令,或使用 android emulator stop 停止未使用的 AVD。 |