
The Play Billing Library returns a BillingResult response to let you
know the outcome of an action that was triggered. For more
information, see handling BillingResult response codes. Before you
deploy your app to the production environment, you can test your app's various
response flows by using the Response Simulator.
Response Simulator
When you integrate your app with the Play Billing Library, it can be difficult
to test all of the BillingResponseCode flows, because you don't have much
control over the communication between the Play Store and Play's backend.
The Response Simulator feature in the Play Billing Lab app lets you
configure error code responses for the Play Billing Library to test various complex
error scenarios.
Enable billing overrides testing for the Play Billing Library
To enable communication between the Response Simulator and your app,
you must enable billing overrides testing for the Play Billing Library
from within your app. To do this, add the following metadata tags to your app's
AndroidManifest.xml file.
<manifest ... >
  <application ... >
    ...
     <meta-data
      android:name="com.google.android.play.largest_release_audience.NONPRODUCTION"
      android:value="" />
    <meta-data
      android:name="com.google.android.play.billingclient.enableBillingOverridesTesting"
      android:value="true" />
  </application>
</manifest>When you deploy your app to the production environment, you should either
use a separate AndroidManifest.xml file that doesn't include these
metadata tags or ensure that you've removed these tags from the
AndroidManifest.xml file.
Simulate Play Billing Library errors
To simulate Play Billing Library errors, first, configure the response codes in the Play Billing Lab app, and then test your app.
Configure a response code
In the Play Billing Lab app, sign in with a license tester account for your app. This displays the Play Billing Lab Dashboard including the Response Simulator card.
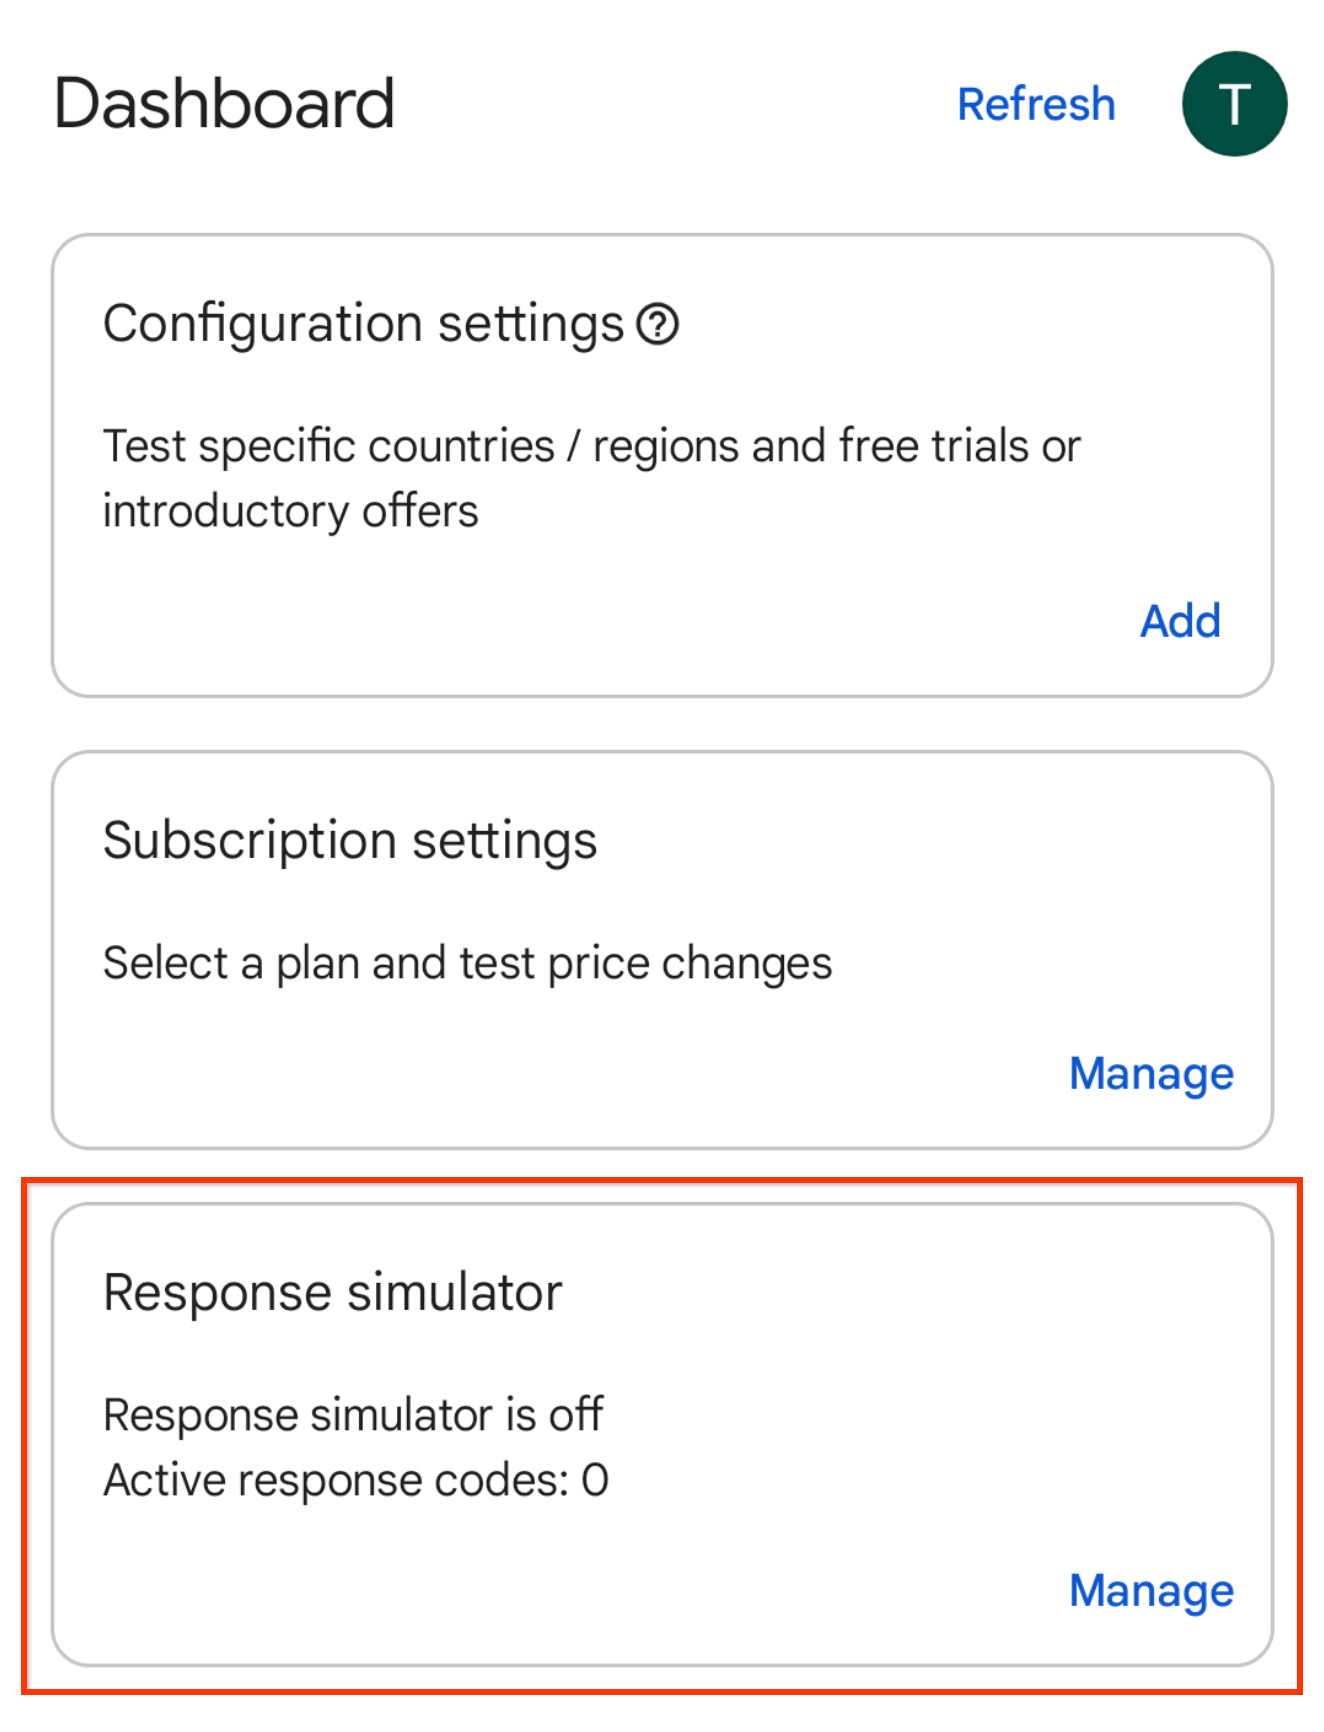
Figure 1. Response Simulator card. Click Manage on the Response Simulator card. This shows the Response Simulator screen.
When prompted, allow notifications from Play Billing Lab to see the connection status of your app.
Enable the Simulate Play Billing Library responses switch, if it isn't already enabled.
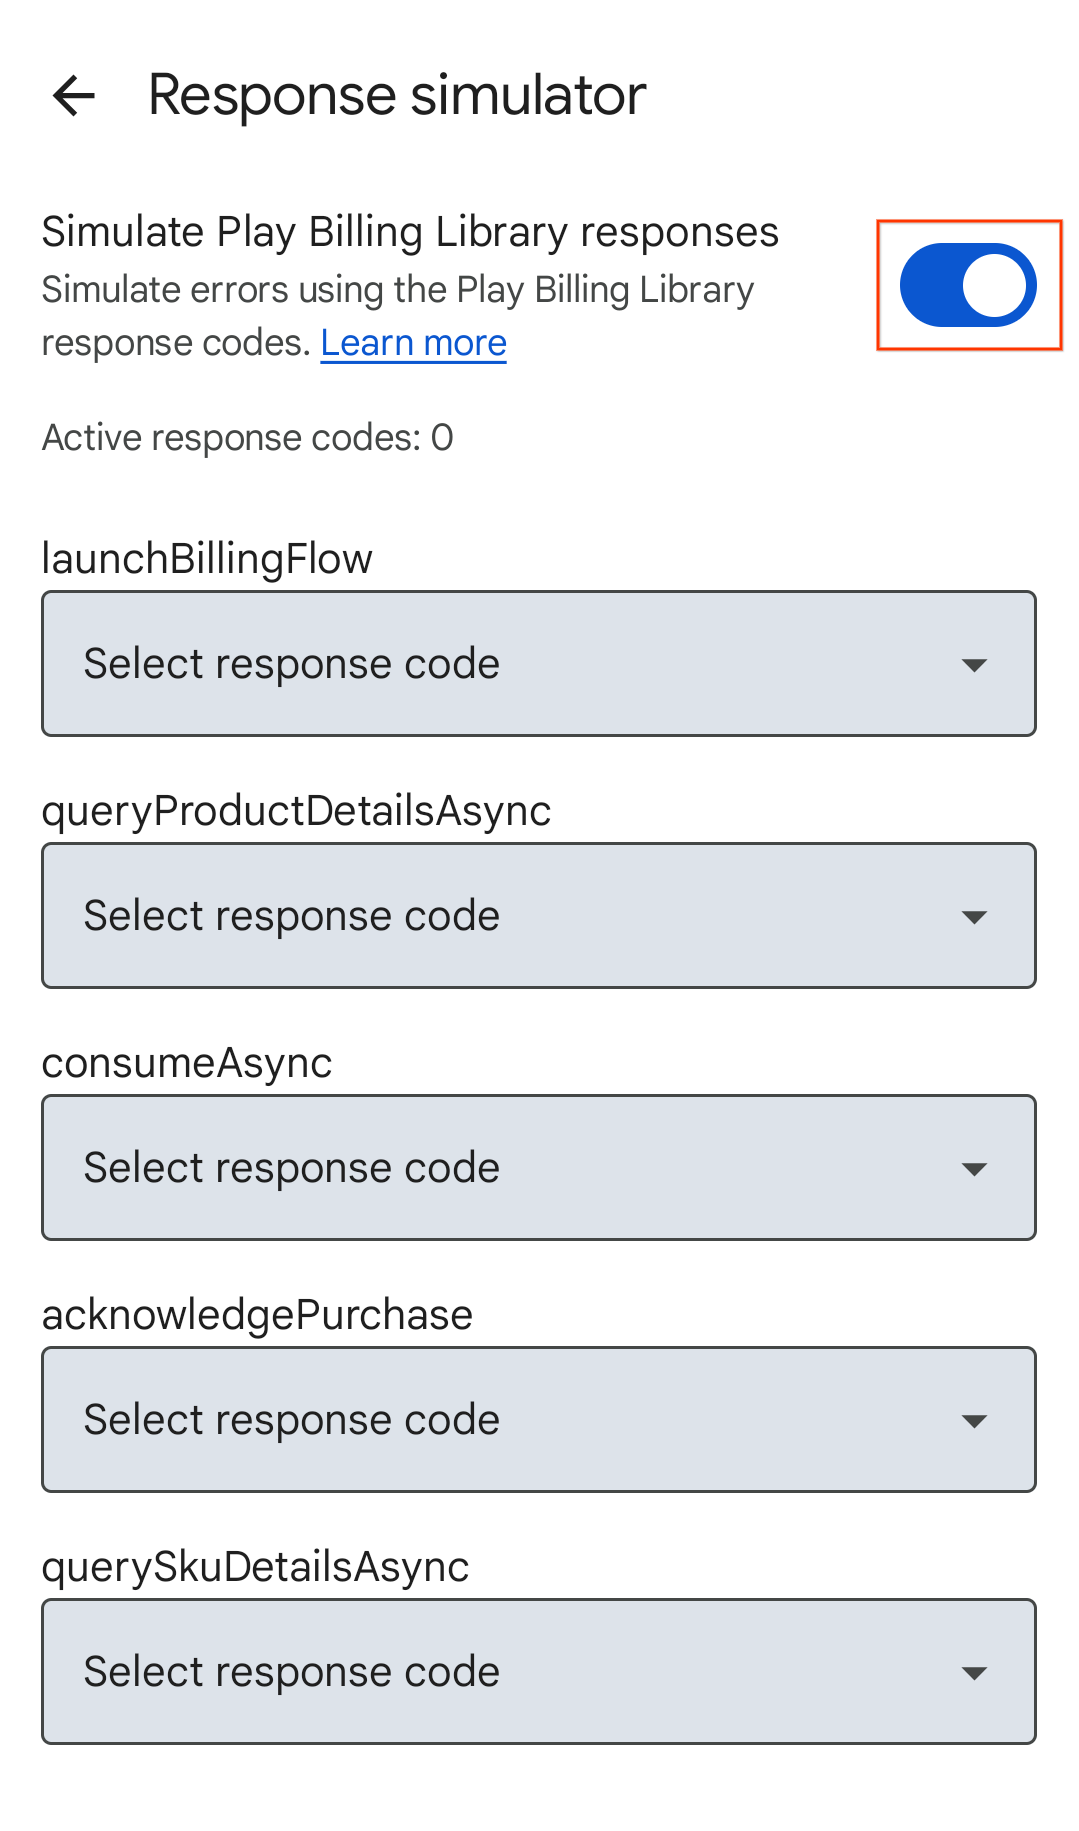
Figure 2. Simulate Play Billing Library responses switch. Select a response code for the Play Billing Library APIs that you want to test. Your selections are automatically saved, and the Response Simulator is ready to send the selected response codes to your app.
Test your app's error handling
Open your app.
- If you have allowed notifications from Play Billing Lab, you will see the Play Billing Lab notification icon in your device's status bar which indicates a successful connection to the Response Simulator.
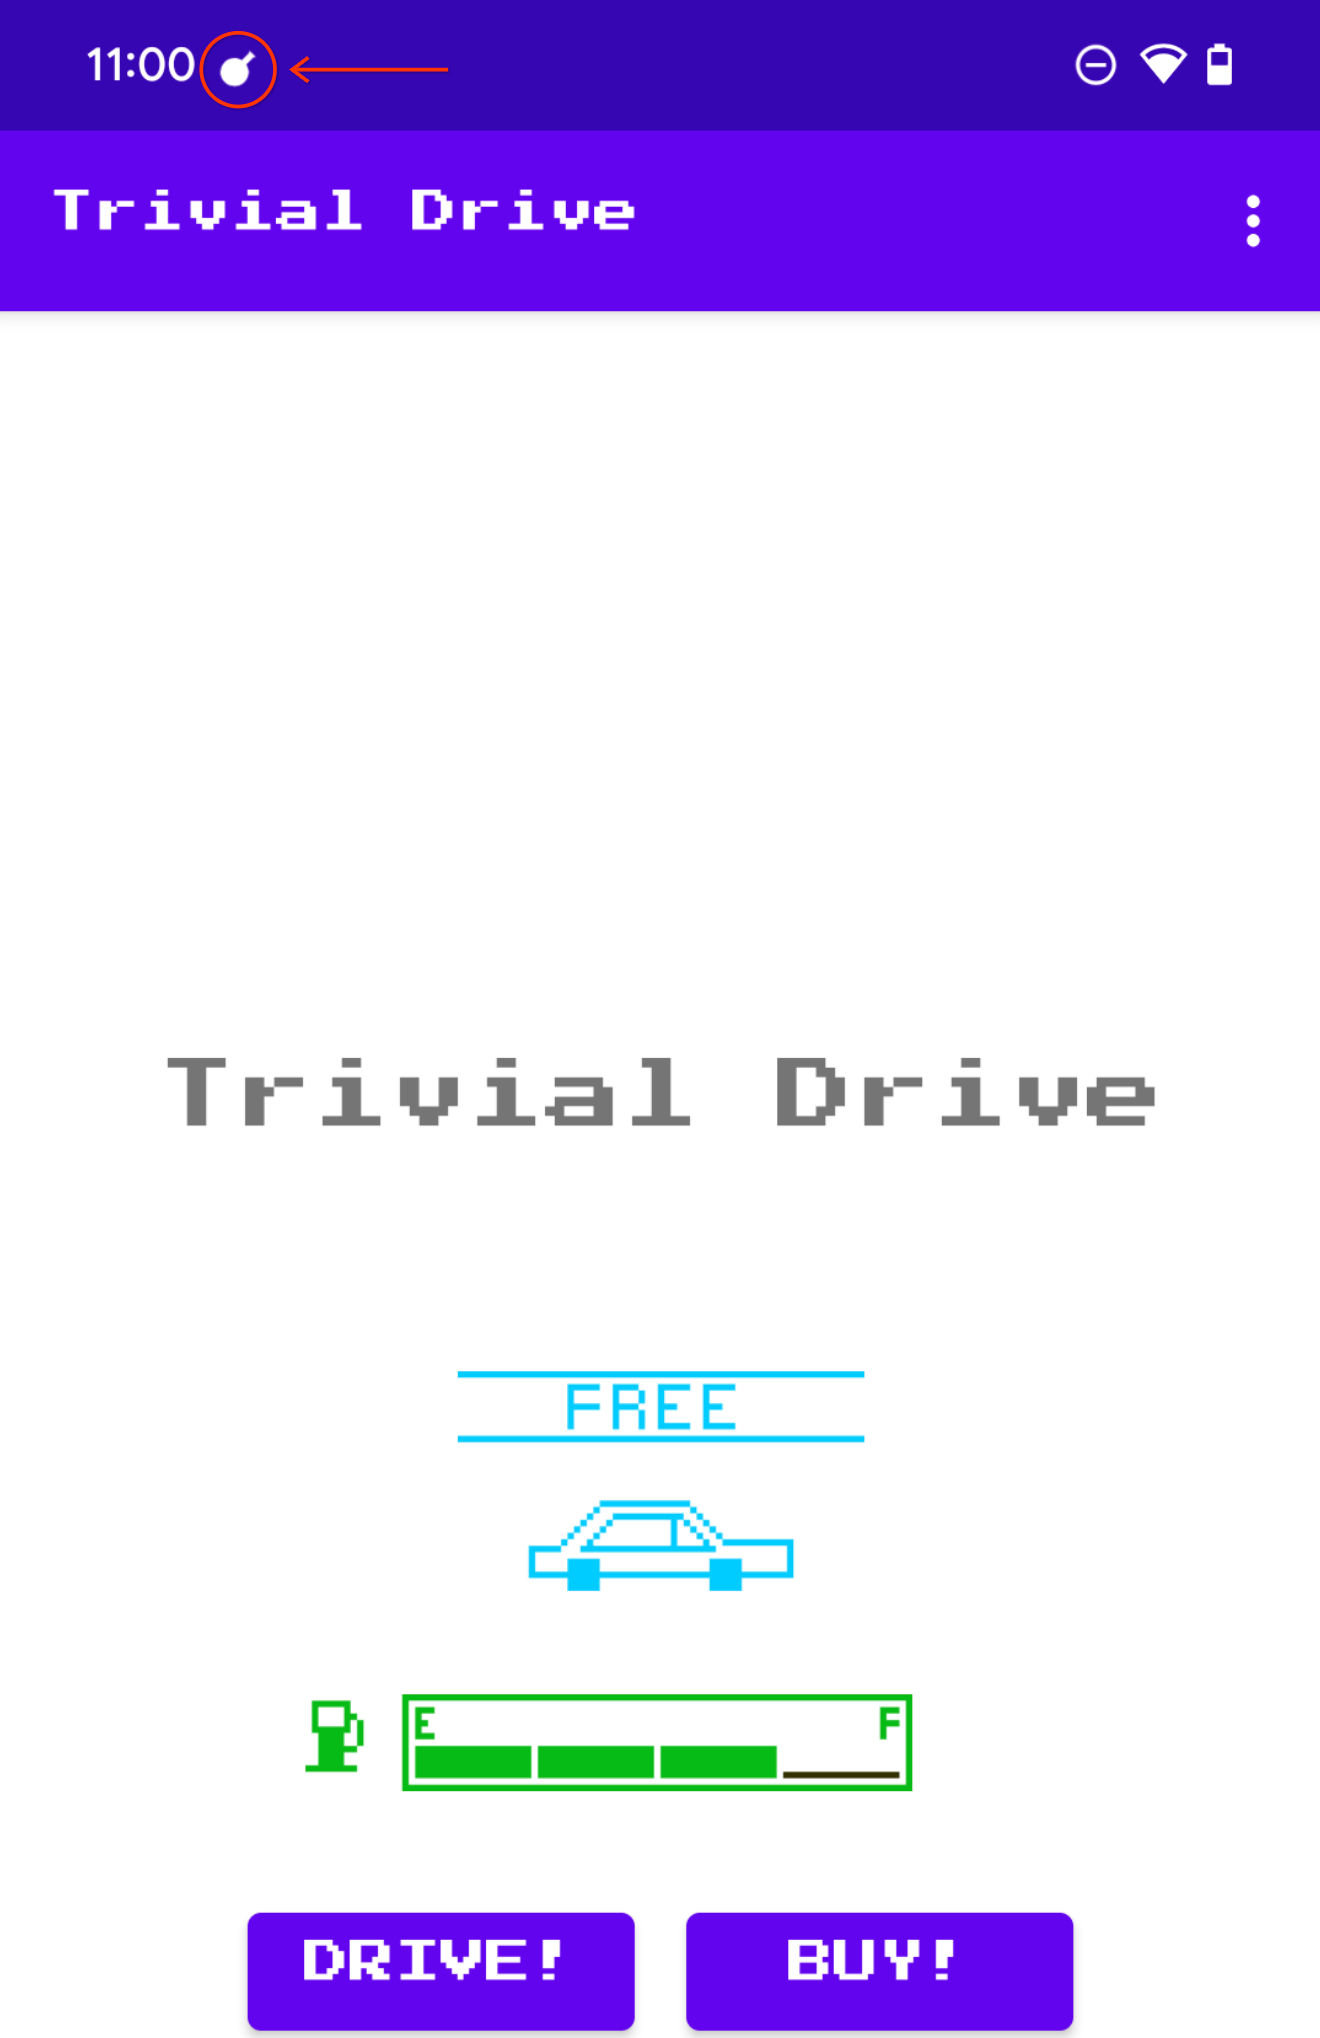
Figure 3. Play Billing Lab icon indicating successful connection. Trigger the Play Billing Library API method you want to test. For example, if you want to test the
launchBillingFlow, initiate an in-app purchase flow.