應用程式版面配置
透過集合功能整理內容
你可以依據偏好儲存及分類內容。
試試 Compose 的方式
建議您使用 Wear OS 版 Jetpack Compose,這是 Wear OS 的推薦 UI 工具包。
瞭解如何處理不同的手錶形狀後,請決定要使用何種錶面。
常見的應用程式版面配置如下:
-
單一畫面 (最簡單):不必捲動畫面即可看到所有 UI 元素。
-
垂直容器 (最常用):超出螢幕可見部分的內容,需捲動畫面查看。
-
其他版面配置類型:清單、分頁或 2D 平移。
後續章節將說明這些版面配置類型。如果您需要多個螢幕畫面,可以結合使用各種版面配置類型。
注意:如果是活動,請從 ComponentActivity
繼承,如果您使用片段,則從 FragmentActivity
繼承。其他活動類型使用的是行動裝置專用的 UI 元素,Wear OS 不需要這類元素。
單一畫面
使用者不用捲動畫面,就能在單一畫面中看到所有元素。這表示您只能加入少量元素。
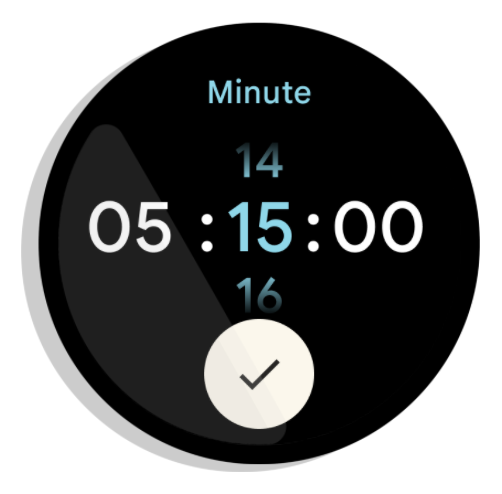
圖 1. 單一畫面版面配置示例。
單一畫面很適合搭配使用 BoxInsetLayout
結合 ConstraintLayout
來排列元素。
垂直容器
垂直容器是最常見的應用程式版面配置類型。部分內容不會顯示在畫面上,但只要捲動畫面即可查看。
圖 2 顯示幾種完整的應用程式版面配置,其中只有部分內容可以在智慧手錶的圓形螢幕上顯示。在這些示例中,主要內容位於容器頂端部分,其他關鍵使用者歷程 (CUJ) 和設定則位於容器底部。這是配置內容的最佳做法。
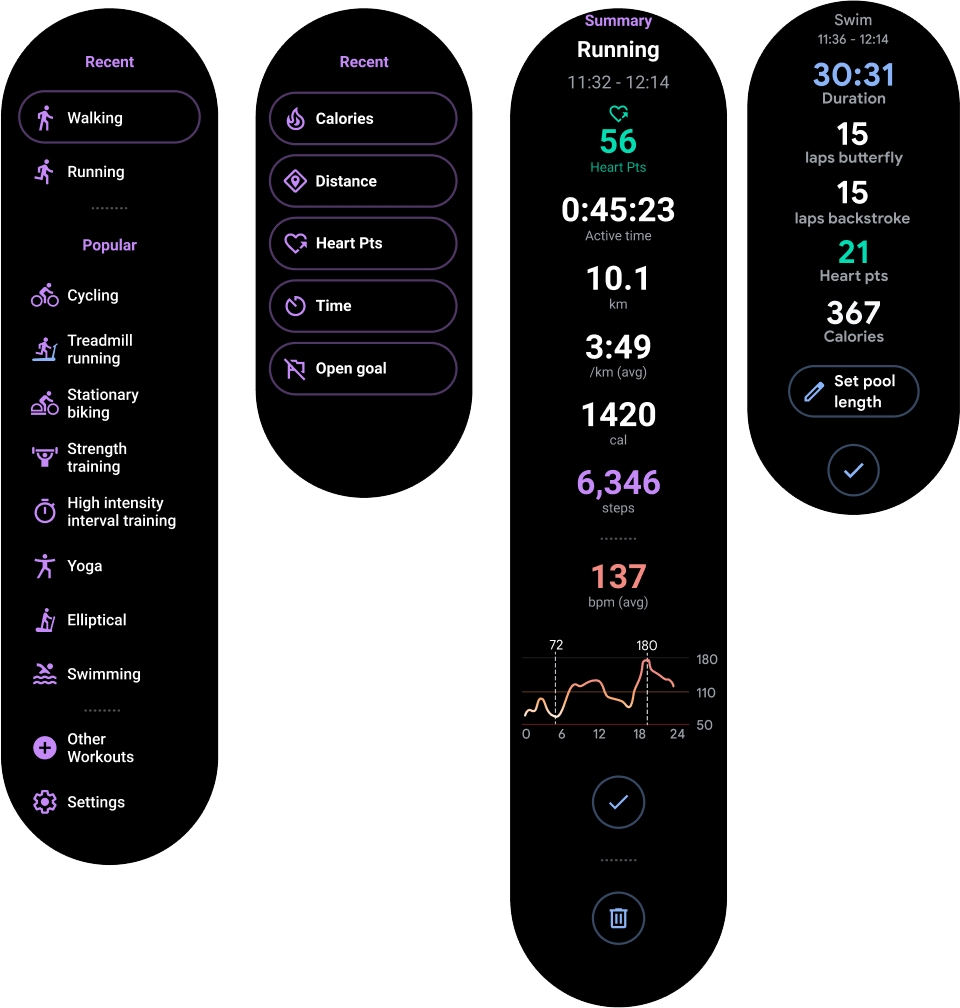
圖 2:垂直容器版面配置示例。
與單一畫面的應用程式版面配置不同,請不要使用 BoxInsetLayout
,改為在 NestedScrollView
中使用 ConstraintLayout
。請在 ConstraintLayout
中放置任何最適合您應用程式的小工具。這麼做可讓您充分利用圓形螢幕側邊的額外空間。
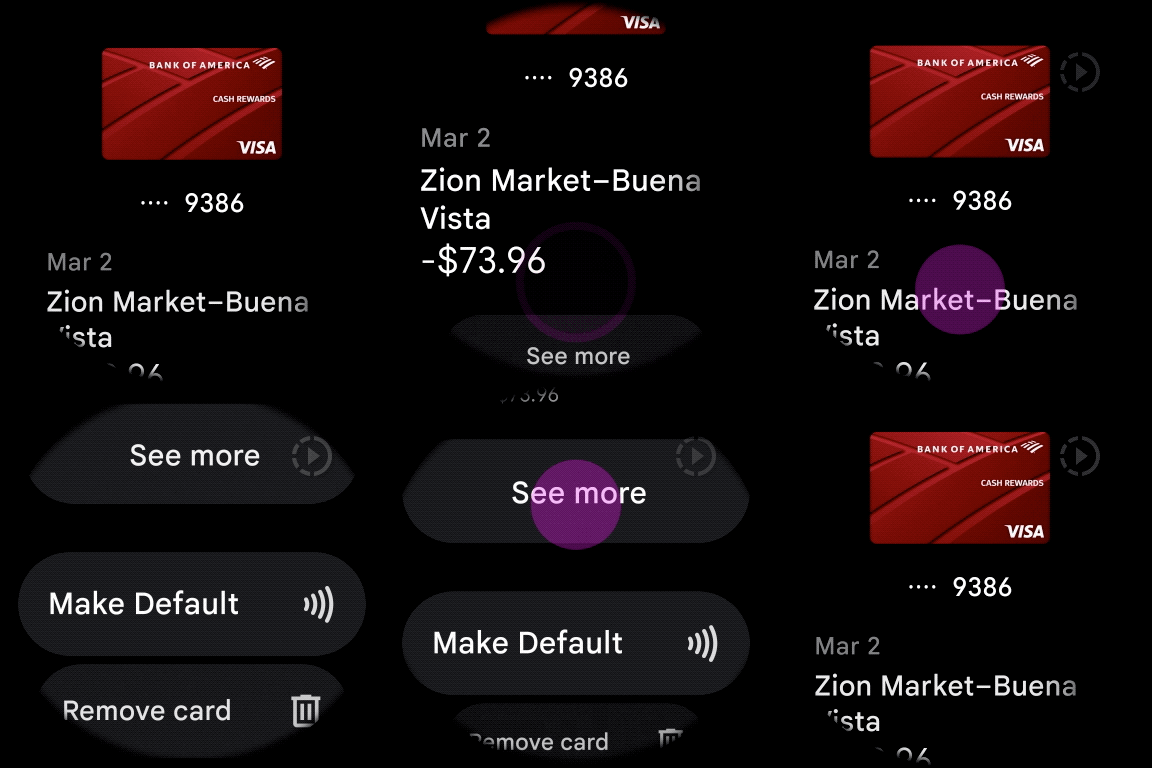
圖 3:NestedScrollView
內的 ConstraintLayout
中的內容。
請確保垂直容器中位於頂端及底部的內容夠小,以符合圓形螢幕的頂端及底部畫面,如圖 3 示例所示。
注意:請盡可能在 XML 中設定 android:scrollbars="vertical"
,將捲動指標新增到 NestedScrollView
。這麼做可讓使用者知道往下還有更多內容,並協助他們瞭解目前已讀取的內容,屬於所有內容中的哪個部分。
應用程式版面配置的其他選項
-
清單:透過針對穿戴式裝置介面最佳化的
WearableRecyclerView
小工具顯示大量資料。詳情請參閱「在 Wear OS 上建立清單」。
-
水平分頁:如果應用程式的用途會顯示多個同層畫面,請使用水平滑動功能。如果您使用水平分頁,則必須支援從左側邊緣滑動關閉的功能。
-
2D 平移:適用於地圖這類用途。使用者可以將畫面往不同方向拖曳平移。如果您的活動會佔據整個螢幕畫面,請啟用滑動關閉功能。
這個頁面中的內容和程式碼範例均受《內容授權》中的授權所規範。Java 與 OpenJDK 是 Oracle 和/或其關係企業的商標或註冊商標。
上次更新時間:2025-07-26 (世界標準時間)。
[[["容易理解","easyToUnderstand","thumb-up"],["確實解決了我的問題","solvedMyProblem","thumb-up"],["其他","otherUp","thumb-up"]],[["缺少我需要的資訊","missingTheInformationINeed","thumb-down"],["過於複雜/步驟過多","tooComplicatedTooManySteps","thumb-down"],["過時","outOfDate","thumb-down"],["翻譯問題","translationIssue","thumb-down"],["示例/程式碼問題","samplesCodeIssue","thumb-down"],["其他","otherDown","thumb-down"]],["上次更新時間:2025-07-26 (世界標準時間)。"],[],[],null,["# App layouts\n\nTry the Compose way \nJetpack Compose on Wear OS is the recommended UI toolkit for Wear OS. \n[Handle different screen sizes using Compose on Wear OS →](/training/wearables/compose/screen-size) \n\n\nAfter you understand how to\n[handle different watch shapes](/training/wearables/apps/layouts),\ndecide which surface you want to use.\n\n\nCommon app layouts include the following:\n\n- Single screen (simplest): UI elements are limited to what is visible at one time without scrolling.\n- Vertical container (most common): content exists beyond the viewable portion of the screen and is accessible by scrolling.\n- Other options: lists, paging, or 2D panning.\n\nThese layout types are described in the sections that follow.\nYou can use a combination of layout types if you need multiple screens.\n\n\n**Note:** For your activity, inherit from either a\n`ComponentActivity` or, if you use fragments, a `FragmentActivity`.\nThe other activity types use mobile-specific UI elements that you don't need for Wear OS.\n\nSingle screen\n-------------\n\n\nThe user sees all elements in a single screen without scrolling. This means you can include only\na small number of elements.\n\n\n**Figure 1.** An example of a single screen layout.\n\n\nSingle screens work well with a\n[BoxInsetLayout](/reference/androidx/wear/widget/BoxInsetLayout)\nin combination with a\n[ConstraintLayout](/reference/androidx/constraintlayout/widget/ConstraintLayout)\nto arrange your elements.\n\nVertical container\n------------------\n\n\nA vertical container is the most common type of app layout. Some content isn't\nvisible on the screen, but it is accessible by scrolling.\n\n\nFigure 2 shows several complete app layouts in which only a portion of the\ncontent can be seen on the circular screen of a watch. In these examples, the main\ncontent is in the top\nportion of the container, and other Critical User Journeys (CUJs) and settings are\nat the bottom. This is a best practice for laying out content.\n\n\n**Figure 2.** Examples of vertical container layouts.\n\nUnlike in a single screen app layout, don't use `BoxInsetLayout`. Instead, use\na `ConstraintLayout` inside a\n[NestedScrollView](/reference/androidx/core/widget/NestedScrollView).\nInside the `ConstraintLayout`, place whatever widgets make the most sense for\nyour app. This lets you take advantage of the extra space on the sides of a circular display.\n\n\n**Figure 3.** Content in a `ConstraintLayout` inside a\n`NestedScrollView`.\n\n\nMake sure the content at the top and bottom of your vertical container is small enough to fit in\nthe top and bottom of a circular display, as in the example in figure 3.\n\n**Note:**\nWhen possible, add a scroll indicator to your `NestedScrollView` by setting\n`android:scrollbars=\"vertical\"` in the XML. This helps users identify that there is\nmore content available and helps them see where they are in relation to all the content.\n\nOther options for app layouts\n-----------------------------\n\n- **Lists** : display large sets of data with the `WearableRecyclerView` widget optimized for Wearable surfaces. For more information, see [Create lists on Wear OS](/training/wearables/apps/lists).\n- **Horizontal paging** : for use cases with multiple sibling screens, use a [horizontal swipe](/guide/navigation/navigation-swipe-view-2). If you use horizontal paging, you must support swipe-to-dismiss for the left edge.\n- **2D Panning** : for use cases like maps, users can [drag to pan](/training/gestures/scale#pan) in different directions. Enable [swipe-to-dismiss](/training/wearables/apps/exit#swipe-to-dismiss) if your activity takes up the entire screen."]]