
As you test your app, use the Android XR Emulator to extend your testing capacity beyond your physical test devices. You can use the emulator controls to help you test how your app behaves in common scenarios with audio glasses and display glasses. See the following sections for details about running your virtual Android XR devices in the emulator and the emulator controls you can use.
Run your app on the emulator
To run your app on the emulator, follow these steps:
In the Android Studio Device Manager, find the phone AVD that you created to act as a host device for the glasses AVD, and click Start .

In the Android Studio Device Manager, find the glasses AVD that you created and click Start.

To launch your app in the emulator, select the phone AVD from the target device drop-down menu in the Android Studio main toolbar, and then click Run.

Use emulator controls for glasses
Use the emulator controls to help you test how your app behaves in common scenarios with audio glasses and display glasses. See the following sections for details on each of the controls you can use.
Provide touchpad input
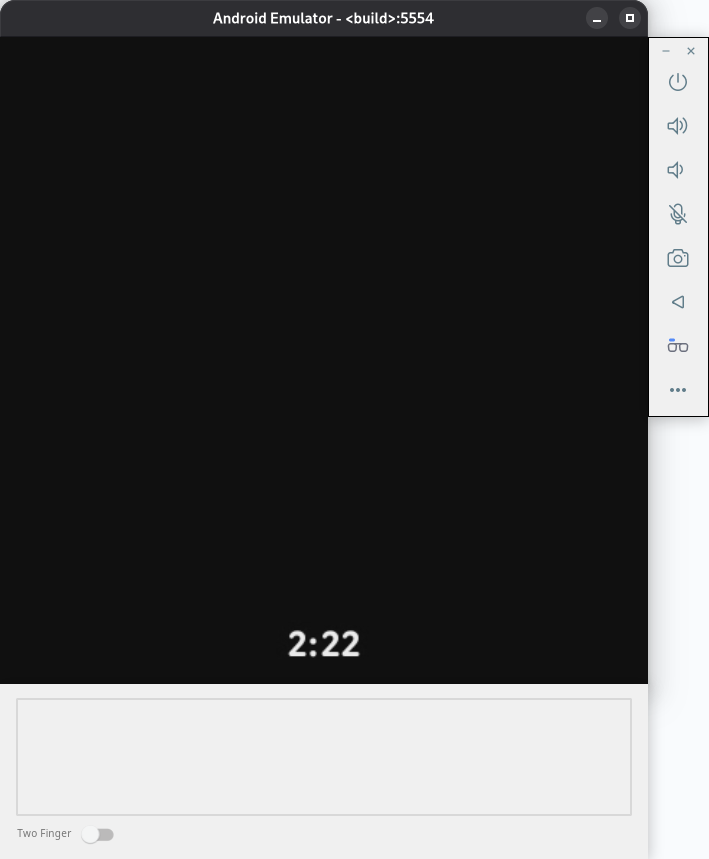
Because audio glasses and display glasses don't have a touchscreen, interactions use a touchpad on the physical device. For the Android XR Emulator, you can find the touchpad just below the display area.
Use your computer's mouse within the touchpad area to simulate touch, and enable Two Finger mode to perform two-finger gestures.
The right side of the emulator touchpad area represents the area on a real device that is towards the front of the glasses (where the lenses are), while the left side represents the area on a real device that is towards the back of the glasses (where the glasses rest on your ears). Knowing this orientation is important when simulating gestures such as swiping forward or backward.
Provide voice input
To toggle the microphone, select Microphone from the emulator controls. This connects and sends input to the emulator using the default microphone input device from your computer. This has the same effect as using the Virtual microphone uses host audio input option in the emulator extended controls.
While the microphone is on, speak to use hotwords and issue commands.

Simulate audio glasses
While you test your app for display glasses, you'll need to simulate a pair of audio glasses so that your app can support both audio glasses and display glasses.
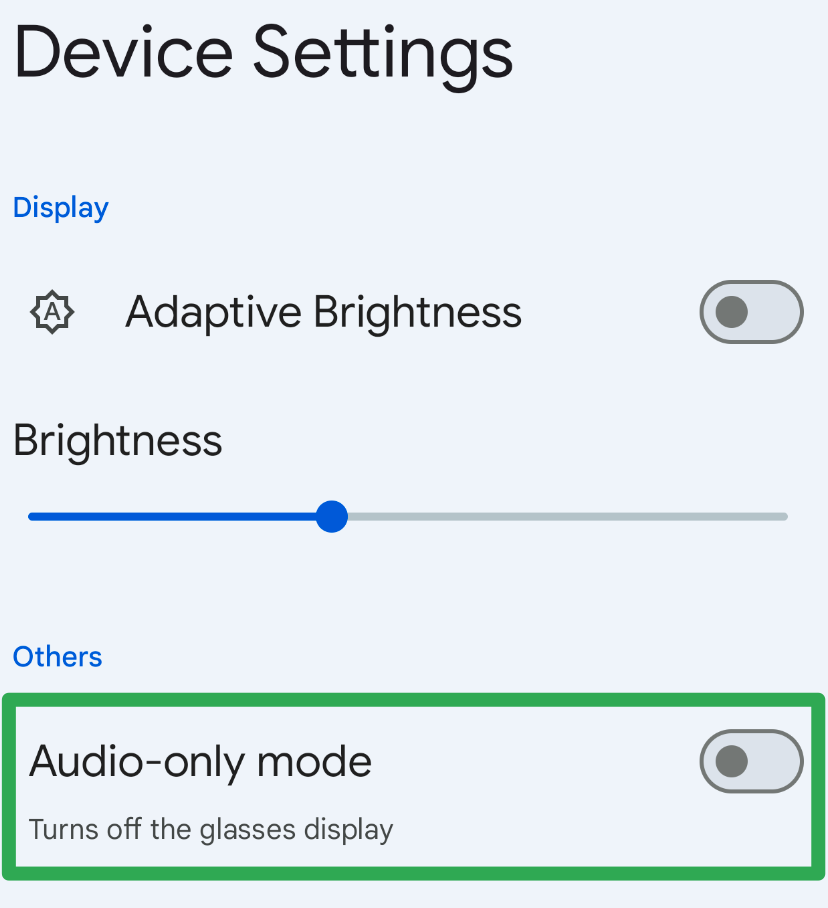
To help you test for these use cases, the Glasses app lets you enable Audio-only mode:
In the phone emulator, open the Glasses app.

Tap Device Settings, and then toggle Audio-only mode.
Stop the phone emulator and the glasses emulator.
In the Android Studio Device Manger, find the phone AVD and click Cold Boot in the overflow menu.
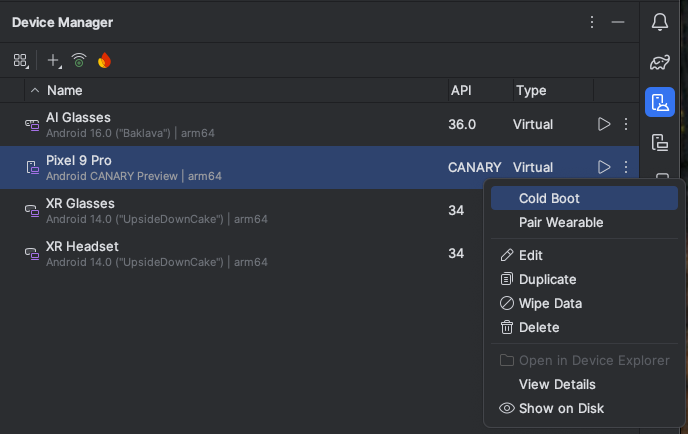
Follow the other steps to relaunch the glasses emulator and run your app.
Disable the display snooze timeout
Display timeout behavior is an important consideration when developing your app's experiences for audio glasses and display glasses. For this reason, we recommend leaving the default behavior while performing your usual app testing. However, for cases where the display timeout interferes with your testing, you can disable the default behavior using the following ADB command:
adb shell dumpsys activity service com.google.android.glasses.core/com.google.android.projection.core.app.service.AndroidProjectionCoreService preferences_set pref_automatic_snooze_timeout false
To restore the default display timeout behavior, run the following ADB command:
adb shell dumpsys activity service com.google.android.glasses.core/com.google.android.projection.core.app.service.AndroidProjectionCoreService preferences_set pref_automatic_snooze_timeout true
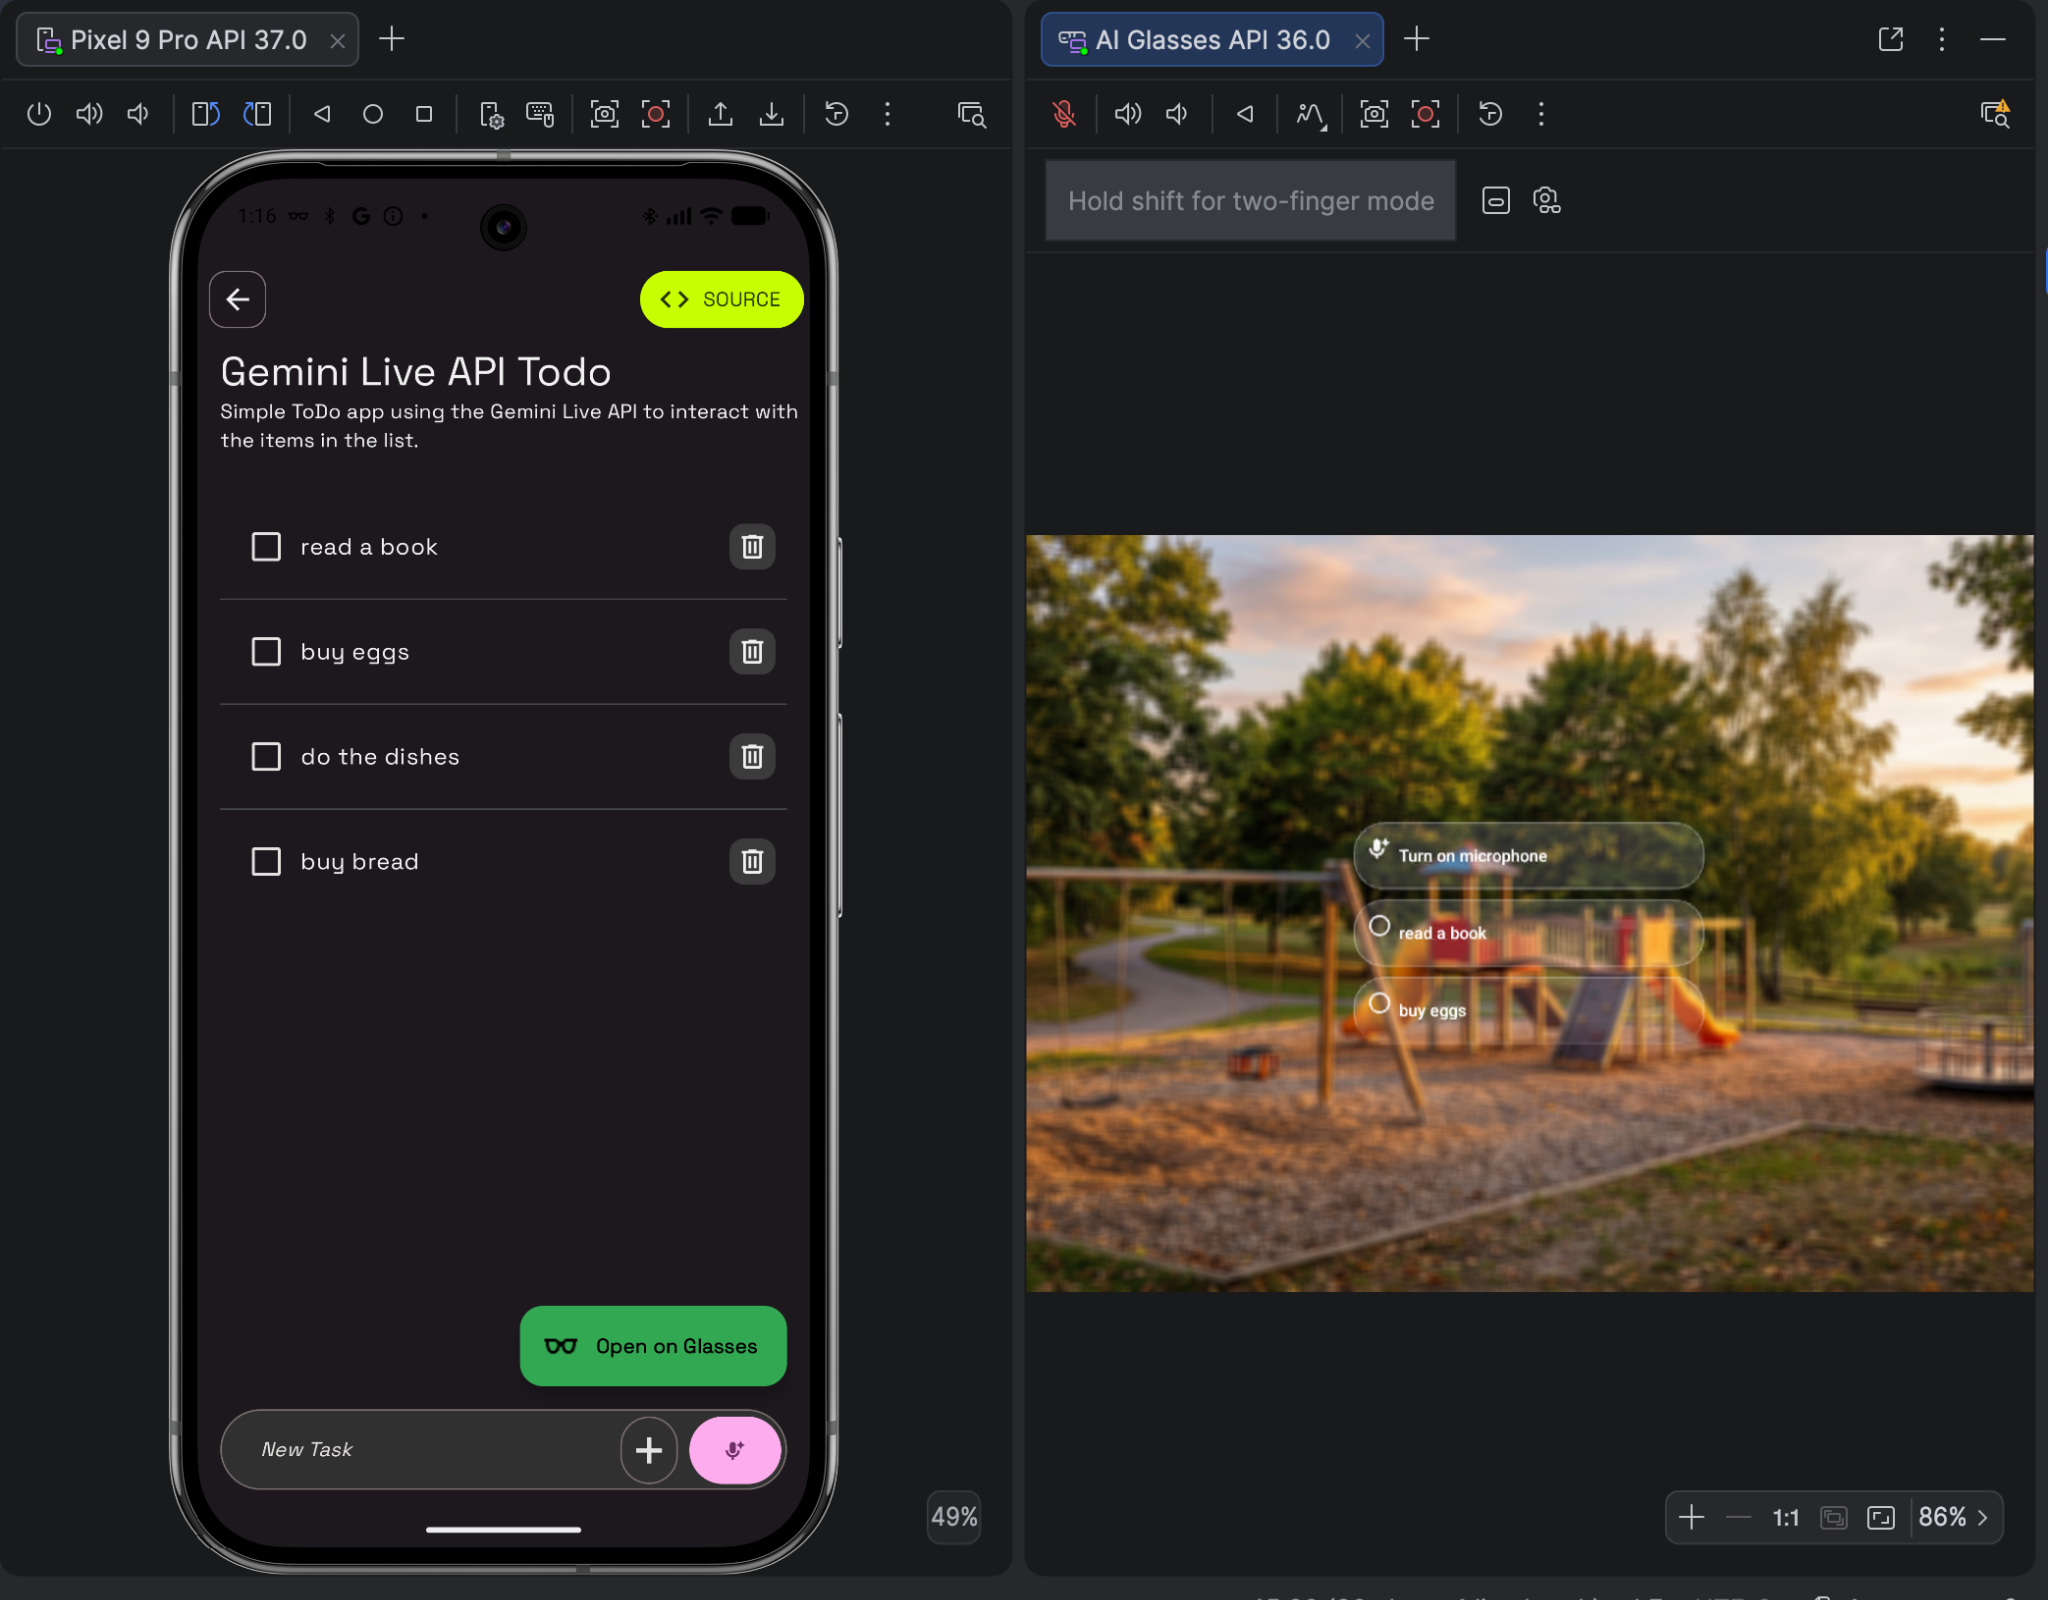
Use Gemini Live
Follow these steps to trigger Gemini Live in the glasses emulator:
Before you try and use Gemini Live, update the Google app to the latest version (minimum required version is 16.46.63) on the phone emulator:
- On the phone emulator, open the Google Play Store app.
Search for "Google" and select the Google app.
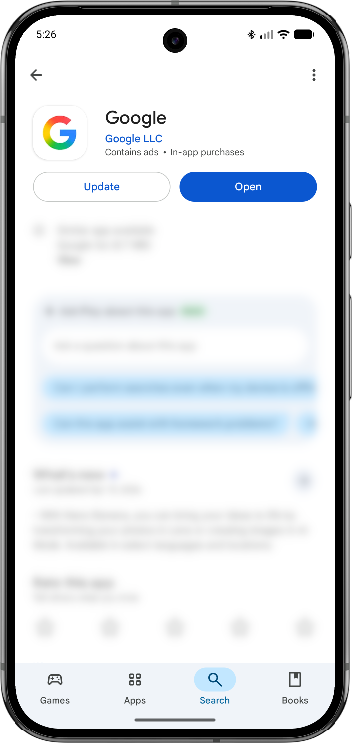
Select Update.
Trigger Gemini Live from the glasses emulator, by touching & holding the touchpad for about 2 seconds.
The first time, this will trigger a set of permission requests on your phone emulator. Grant all the required permissions, and then touch & hold the touchpad on the glasses emulator for about 2 seconds again.
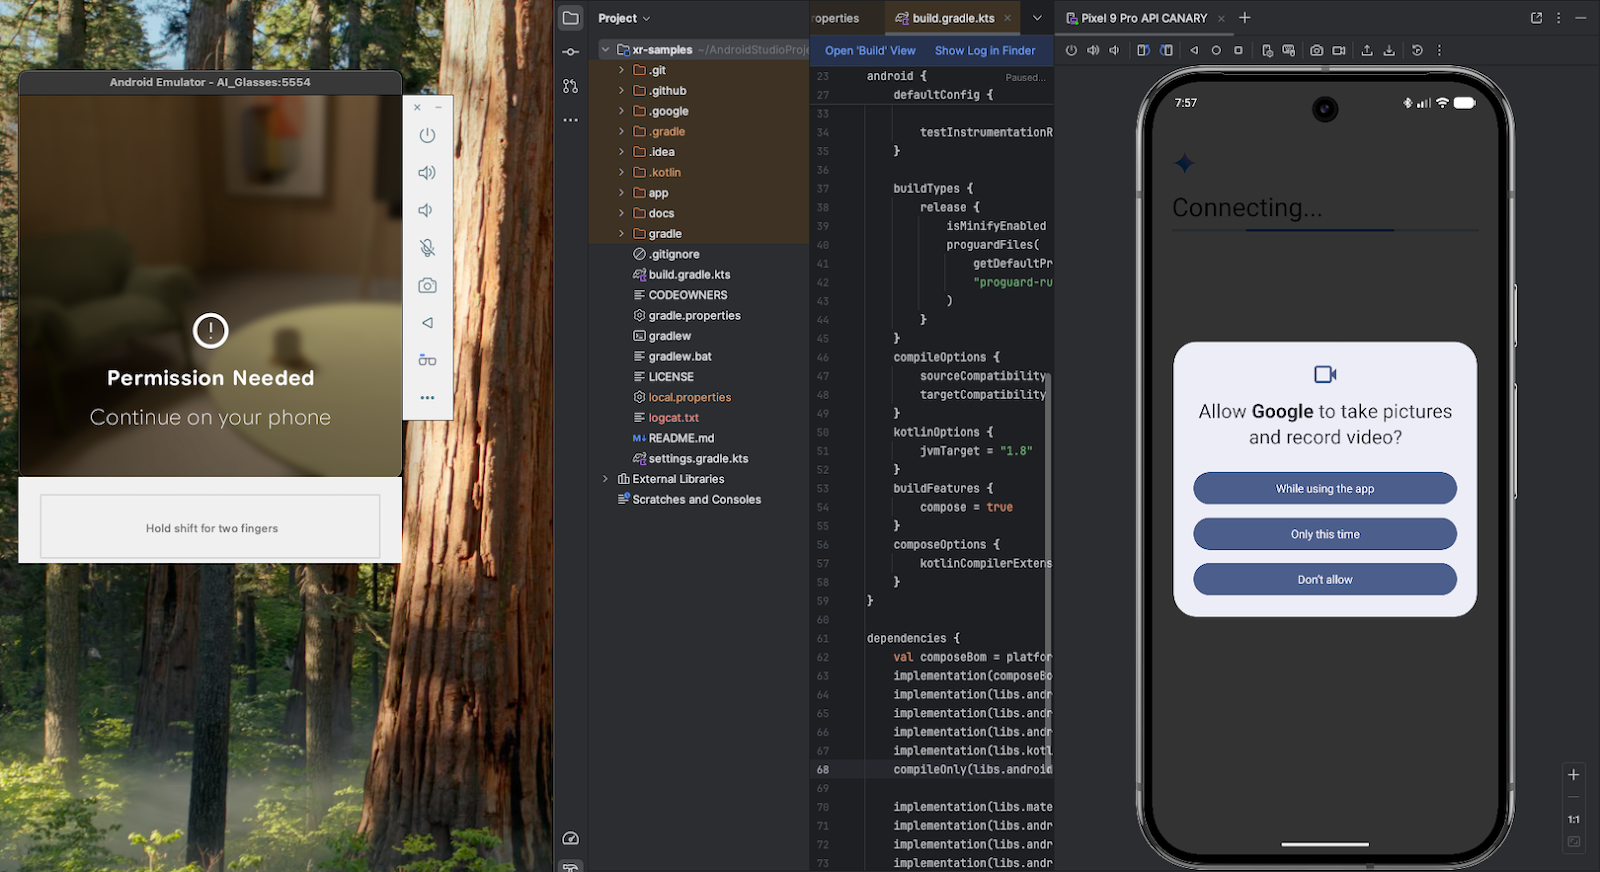
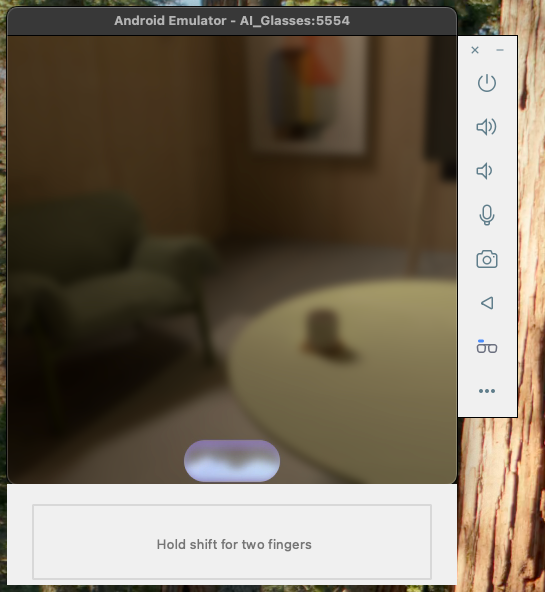
When Gemini live is active and listening, you'll see this on the glasses emulator:
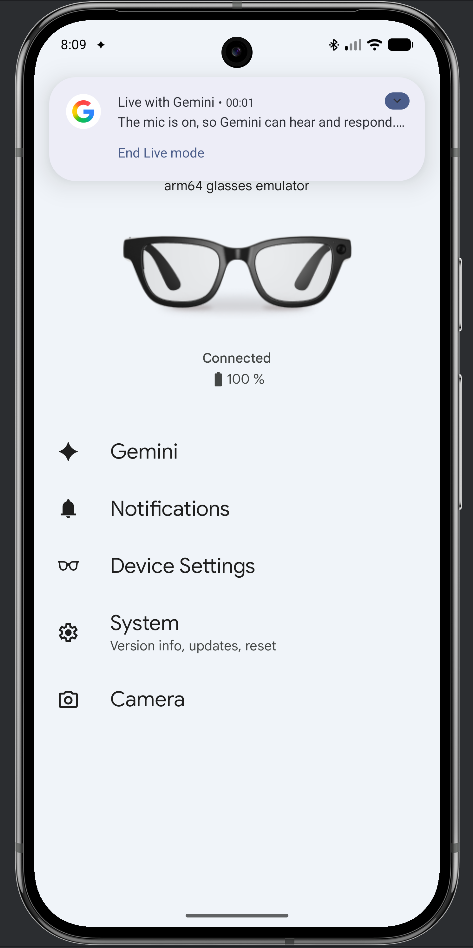
Check that the host microphone input is active on the glasses emulator by looking at the phone emulator. You should see a notification like the following one:
Use custom photo environments
You can test using photos of real environments to help you evaluate how your augmented experiences would render in those scenarios using Jetpack Compose Glimmer.
While the default theme is pre-optimized for light and dark environments, brand-specific customizations require careful re-testing. Test carefully so that your UI maintains high visibility and contrast on optical see-through displays, regardless of the user's environment.
To use a custom still image as the background within the emulator:
- Select Environments from the emulator controls.
In the drop-down menu, select Custom Environment.
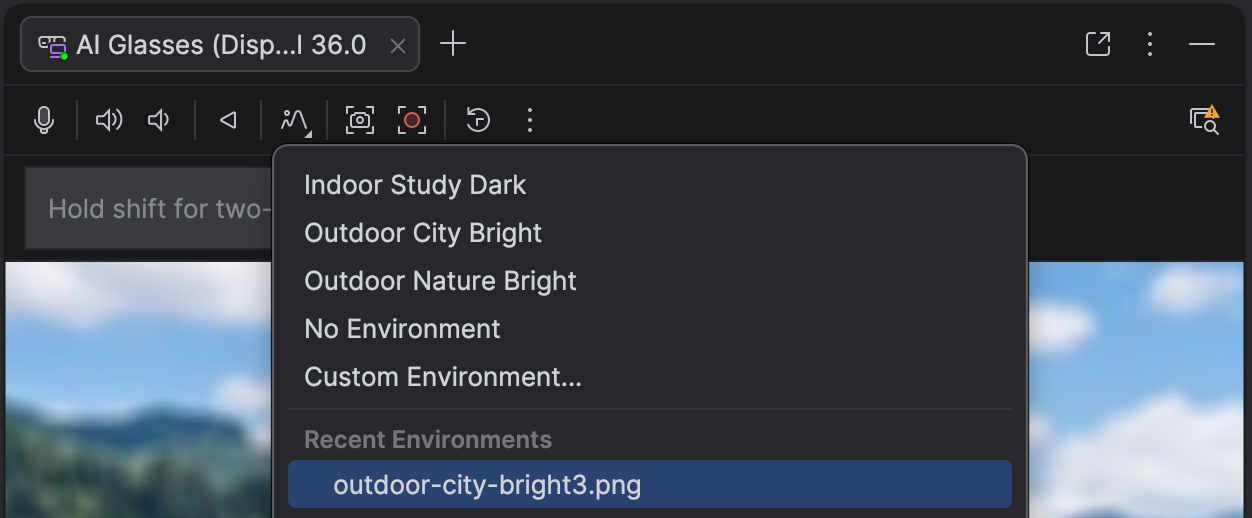
Pick an image to use or select a previously-used image from the Recent Environments list.
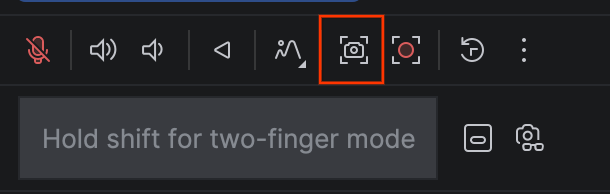
Capture a screenshot
To capture the visual output of your app running within the emulator, you can take screenshots.
To do this, click Take screenshot in the emulator controls.
This functions the same as taking screenshots for other virtual devices in the Android XR Emulator, and saves the captured screenshot as a PNG file.
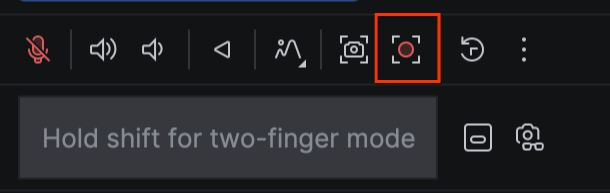
Capture a screen recording
To capture a screen recording of your app running within the emulator:
Click Record Screen in the emulator controls.
Select "Show taps" if you want to highlight user interactions.
After you've captured what you need, click Stop recording.
A preview appears, and you can save the file to your computer.
Capture photos or videos
Camera capture features in the Android XR Emulator aren't available yet.