

In Jetpack Compose Glimmer, a Button is an interactive component that's
optimized for display glasses input, offering clear visual feedback through its
states to guide user actions.
Buttons are built on the Jetpack Compose Glimmer surface system, which automatically handles physical properties like borders and depth.
The standard button contains a text label and optional icons. You can use it for primary or secondary actions. There are also specialized buttons, such as icon buttons and toggle buttons, which are defined as separate components in Jetpack Compose Glimmer.
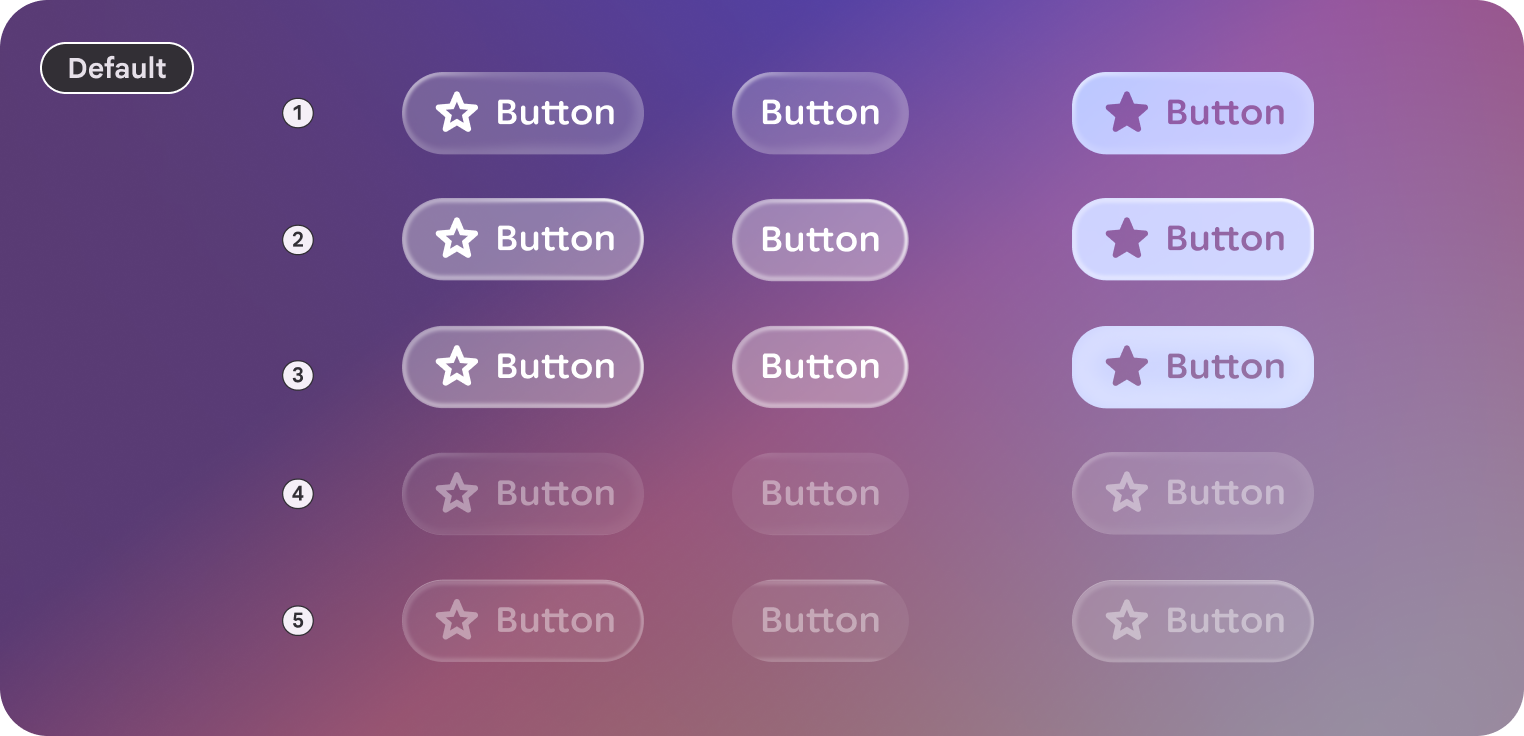
Default
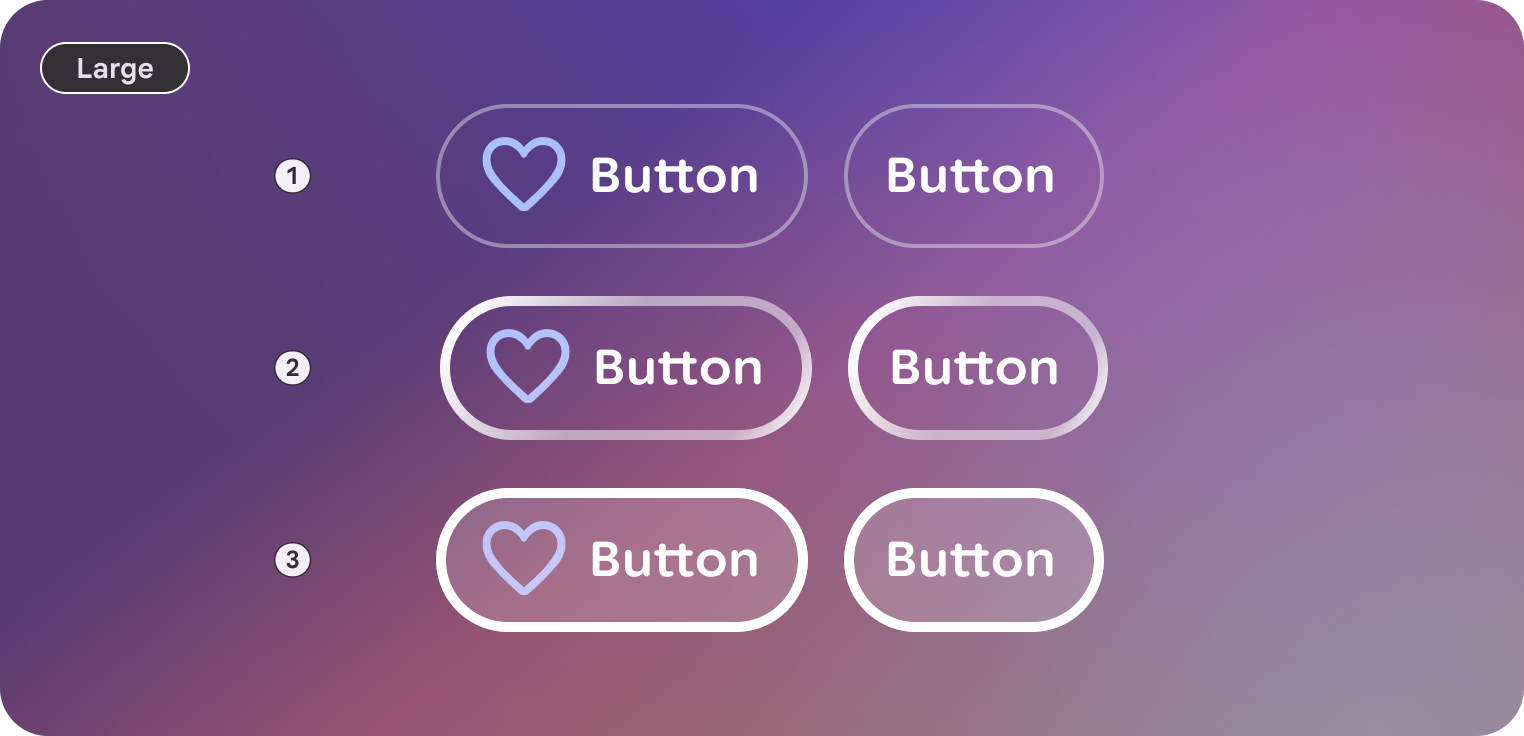
Large
Anatomy
A button consists of a container and a label, with optional leading and trailing icons.
| Part | Description |
|---|---|
Container |
The background surface of the button. |
Label |
The text describing the action. |
Icon (optional) |
Leading or trailing visual indicators. |
Sizes
Jetpack Compose Glimmer buttons support two size variants. These affect the minimum height and internal padding.
| Size | Minimum height | Default usage |
|---|---|---|
Medium |
48.dp |
Standard actions and lists (default). |
Large |
72.dp |
High-emphasis actions or primary screen entry points. |
States
Buttons in Jetpack Compose Glimmer change their appearance to communicate their state.
- Enabled: The default state for an interactive button.
- Focused: When focused, the button applies a
GlimmerTheme.depthEffectLevels.level1and a focused border highlight. - Pressed: When activated, a semi-transparent white overlay is applied to the surface.
- Disabled: The button doesn't respond to input and its visual appearance is adjusted.
Button defaults
The following defaults apply to standard buttons:
- By default, buttons use
GlimmerTheme.typography.bodySmall. Make sure that text within buttons is concise and clearly describes the action. - The default shape for a button is
GlimmerTheme.shapes.large. This consistent rounding helps users identify buttons across the display glasses interface.
Example: Button with text and icons
A basic button includes only a text label, but you can also add icons to the
start (using leadingIcon) or end (using trailingIcon) of the text to provide
additional context.
The following code creates a button with both a leading and trailing icon:
Button( onClick = { /* Handle navigation or action */ }, leadingIcon = { Icon(FavoriteIcon, contentDescription = null) }, trailingIcon = { Icon(SendIcon, contentDescription = null) } ) { Text("Text Label", style = GlimmerTheme.typography.titleSmall) }
Button groups
The ButtonGroup composable lets you group buttons into a scrollable row
that acts as a focus controller. As the user scrolls, focus automatically moves
to highlight the button corresponding to the current scroll position.
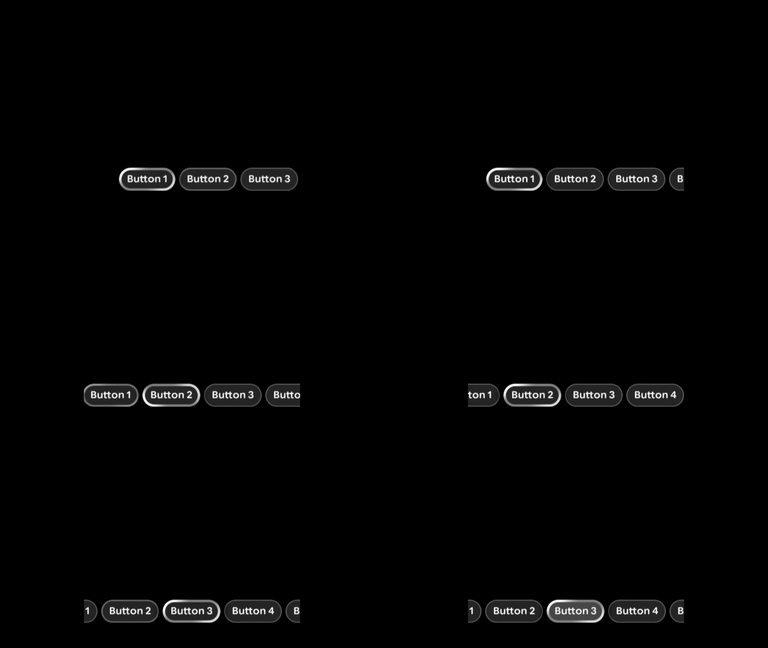
Example: Button groups
ButtonGroup(modifier = Modifier.fillMaxWidth()) { Button(onClick = {}) { Text("Button 1") } Button(onClick = {}) { Text("Button 2") } Button(onClick = {}) { Text("Button 3") } Button(onClick = {}) { Text("Button 4") } Button(onClick = {}) { Text("Button 5") } }
Focus control in button groups
You can move the focus to any button in a group to manually control the selection.
Customize and control scrolling behavior using the ButtonGroup state:
- Declare the state with
rememberButtonGroupState. - Pass it to the
ButtonGroupcomposable. - Call
animateScrollToItem(orscrollToItemfor instant scrolling) to scroll to a specific item and automatically move focus to it.
The following code moves the focus from one button to another upon click:
val scope = rememberCoroutineScope() val state = rememberButtonGroupState() ButtonGroup(modifier = Modifier.fillMaxWidth(), state = state) { Button(onClick = { scope.launch { state.animateScrollToItem(1) } }) { Text("Select last item") } Button(onClick = { scope.launch { state.animateScrollToItem(0) } }) { Text("Select first item") } }