
Gemini in Android Studio is uniquely equipped to help you make your Android app UI vision a reality, using Jetpack Compose and following Android best practices. This page describes the general steps to creating an app UI with Gemini. For more information about image attachment and other ideas for how to use the feature, see Attach an image to your query.
To generate a UI with Gemini, follow these general steps:
Create a mockup of the app UI that you want. A wireframe or basic design works best. You can export a PNG from a design tool or even use a hand-drawn image.
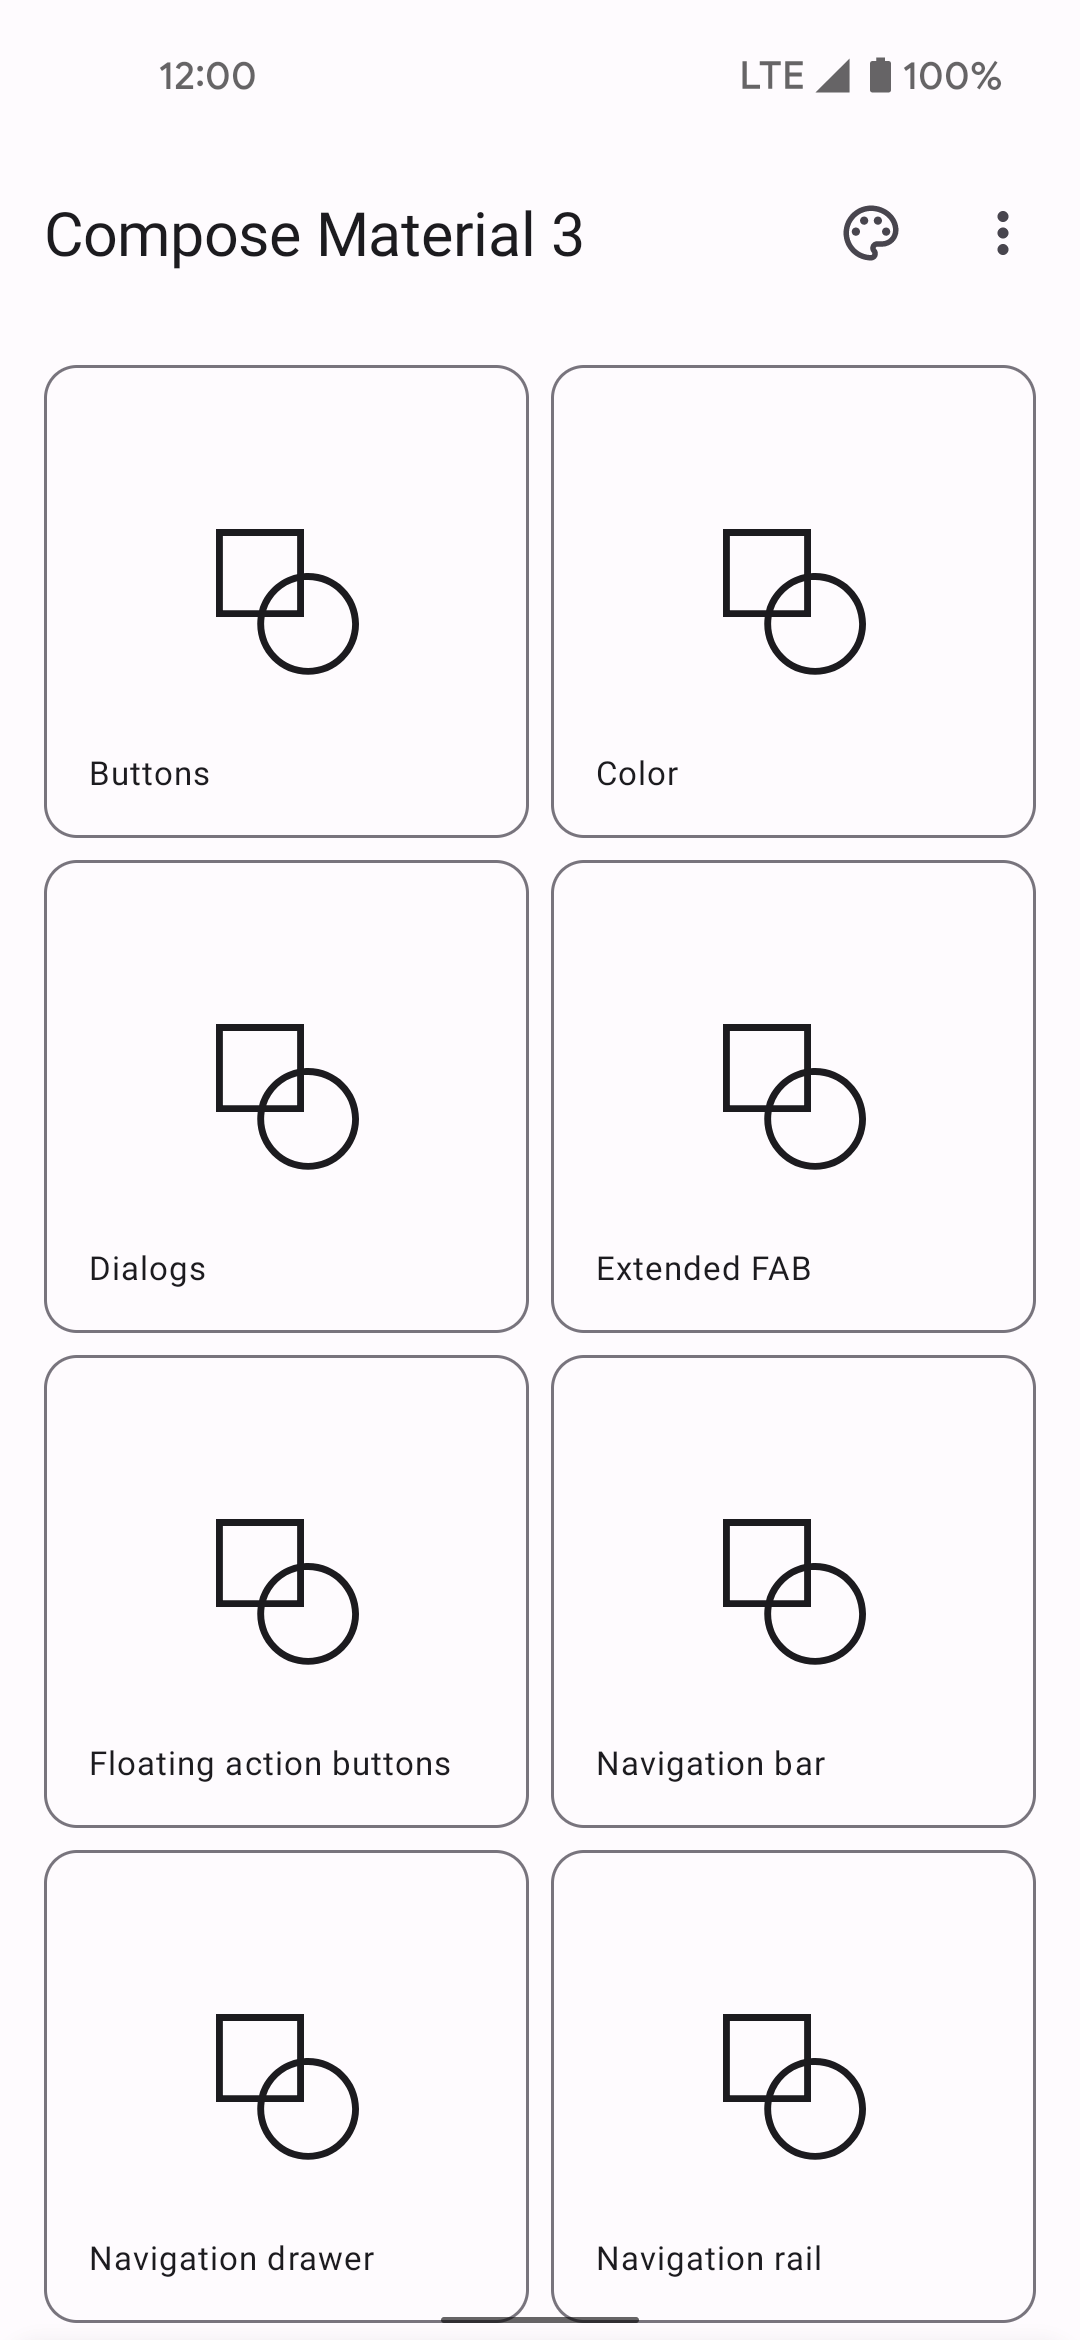
Figure 1: A hand-drawn wireframe of an app user interface. Attach the image to your query by clicking the Attach image file button
 .
.In the chat field, ask Gemini to generate the UI code, for example "Generate Jetpack Compose code for the image provided." When you submit the query and image, Gemini suggests code to create the proposed UI. Gemini usually provides the code for the Compose preview too, so you can quickly visualize the UI once you import it into your project—if it doesn't, ask it to generate Compose the previews.
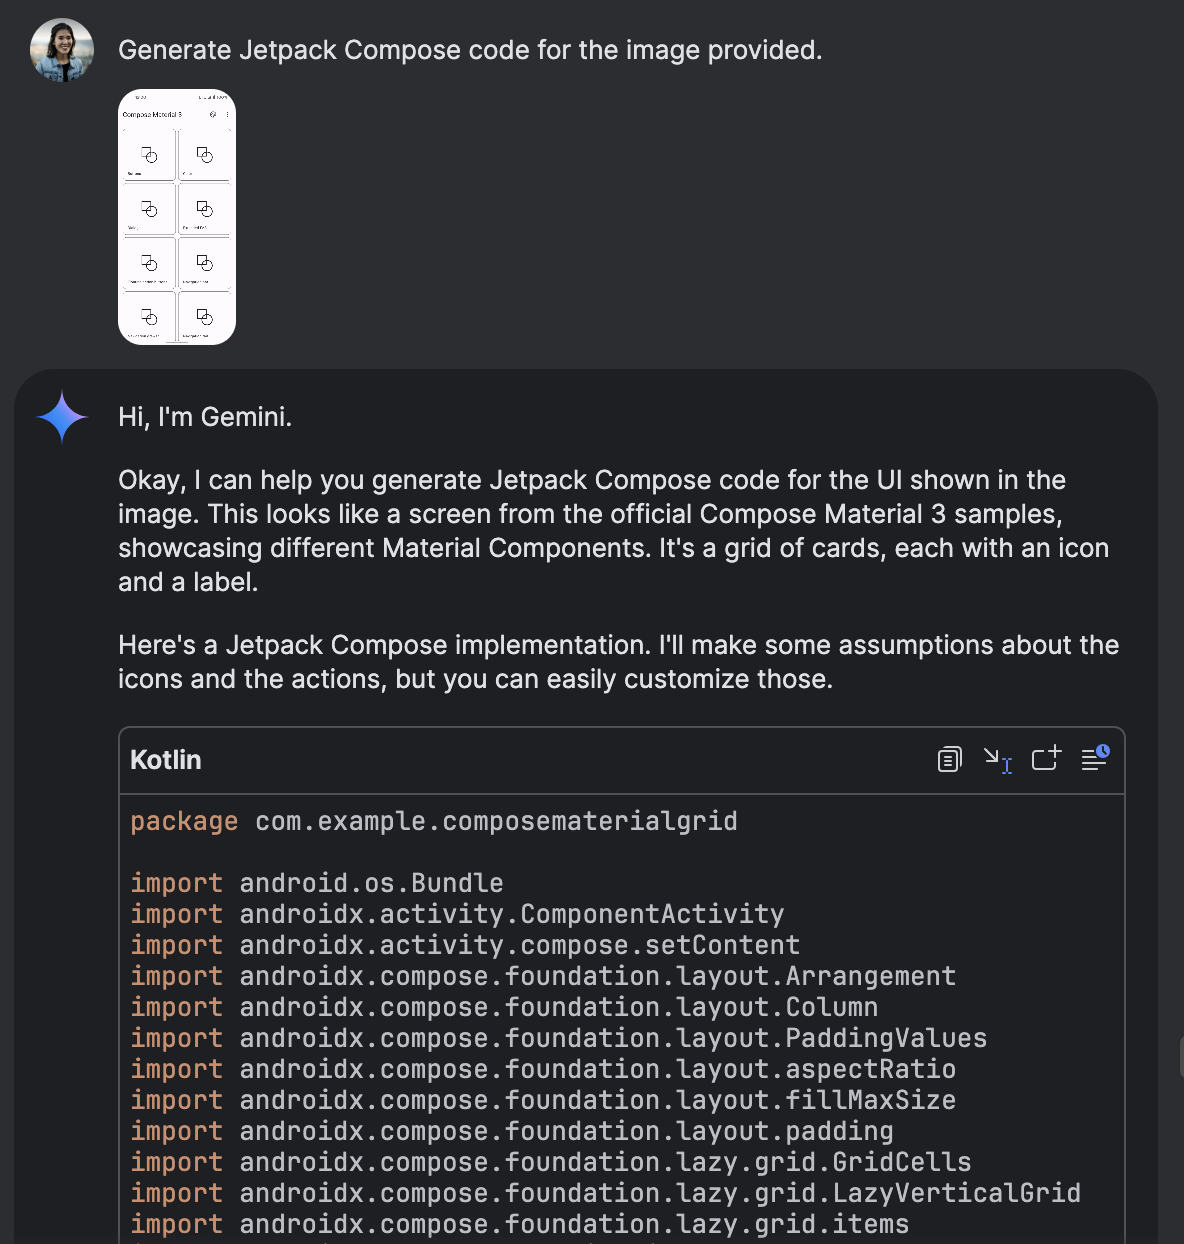
Figure 2: Gemini generating Jetpack Compose code from an attached image. Once you import the code and can see the Compose preview in the preview panel, you can iterate on the UI by clicking directly on the preview and asking Gemini to transform it.
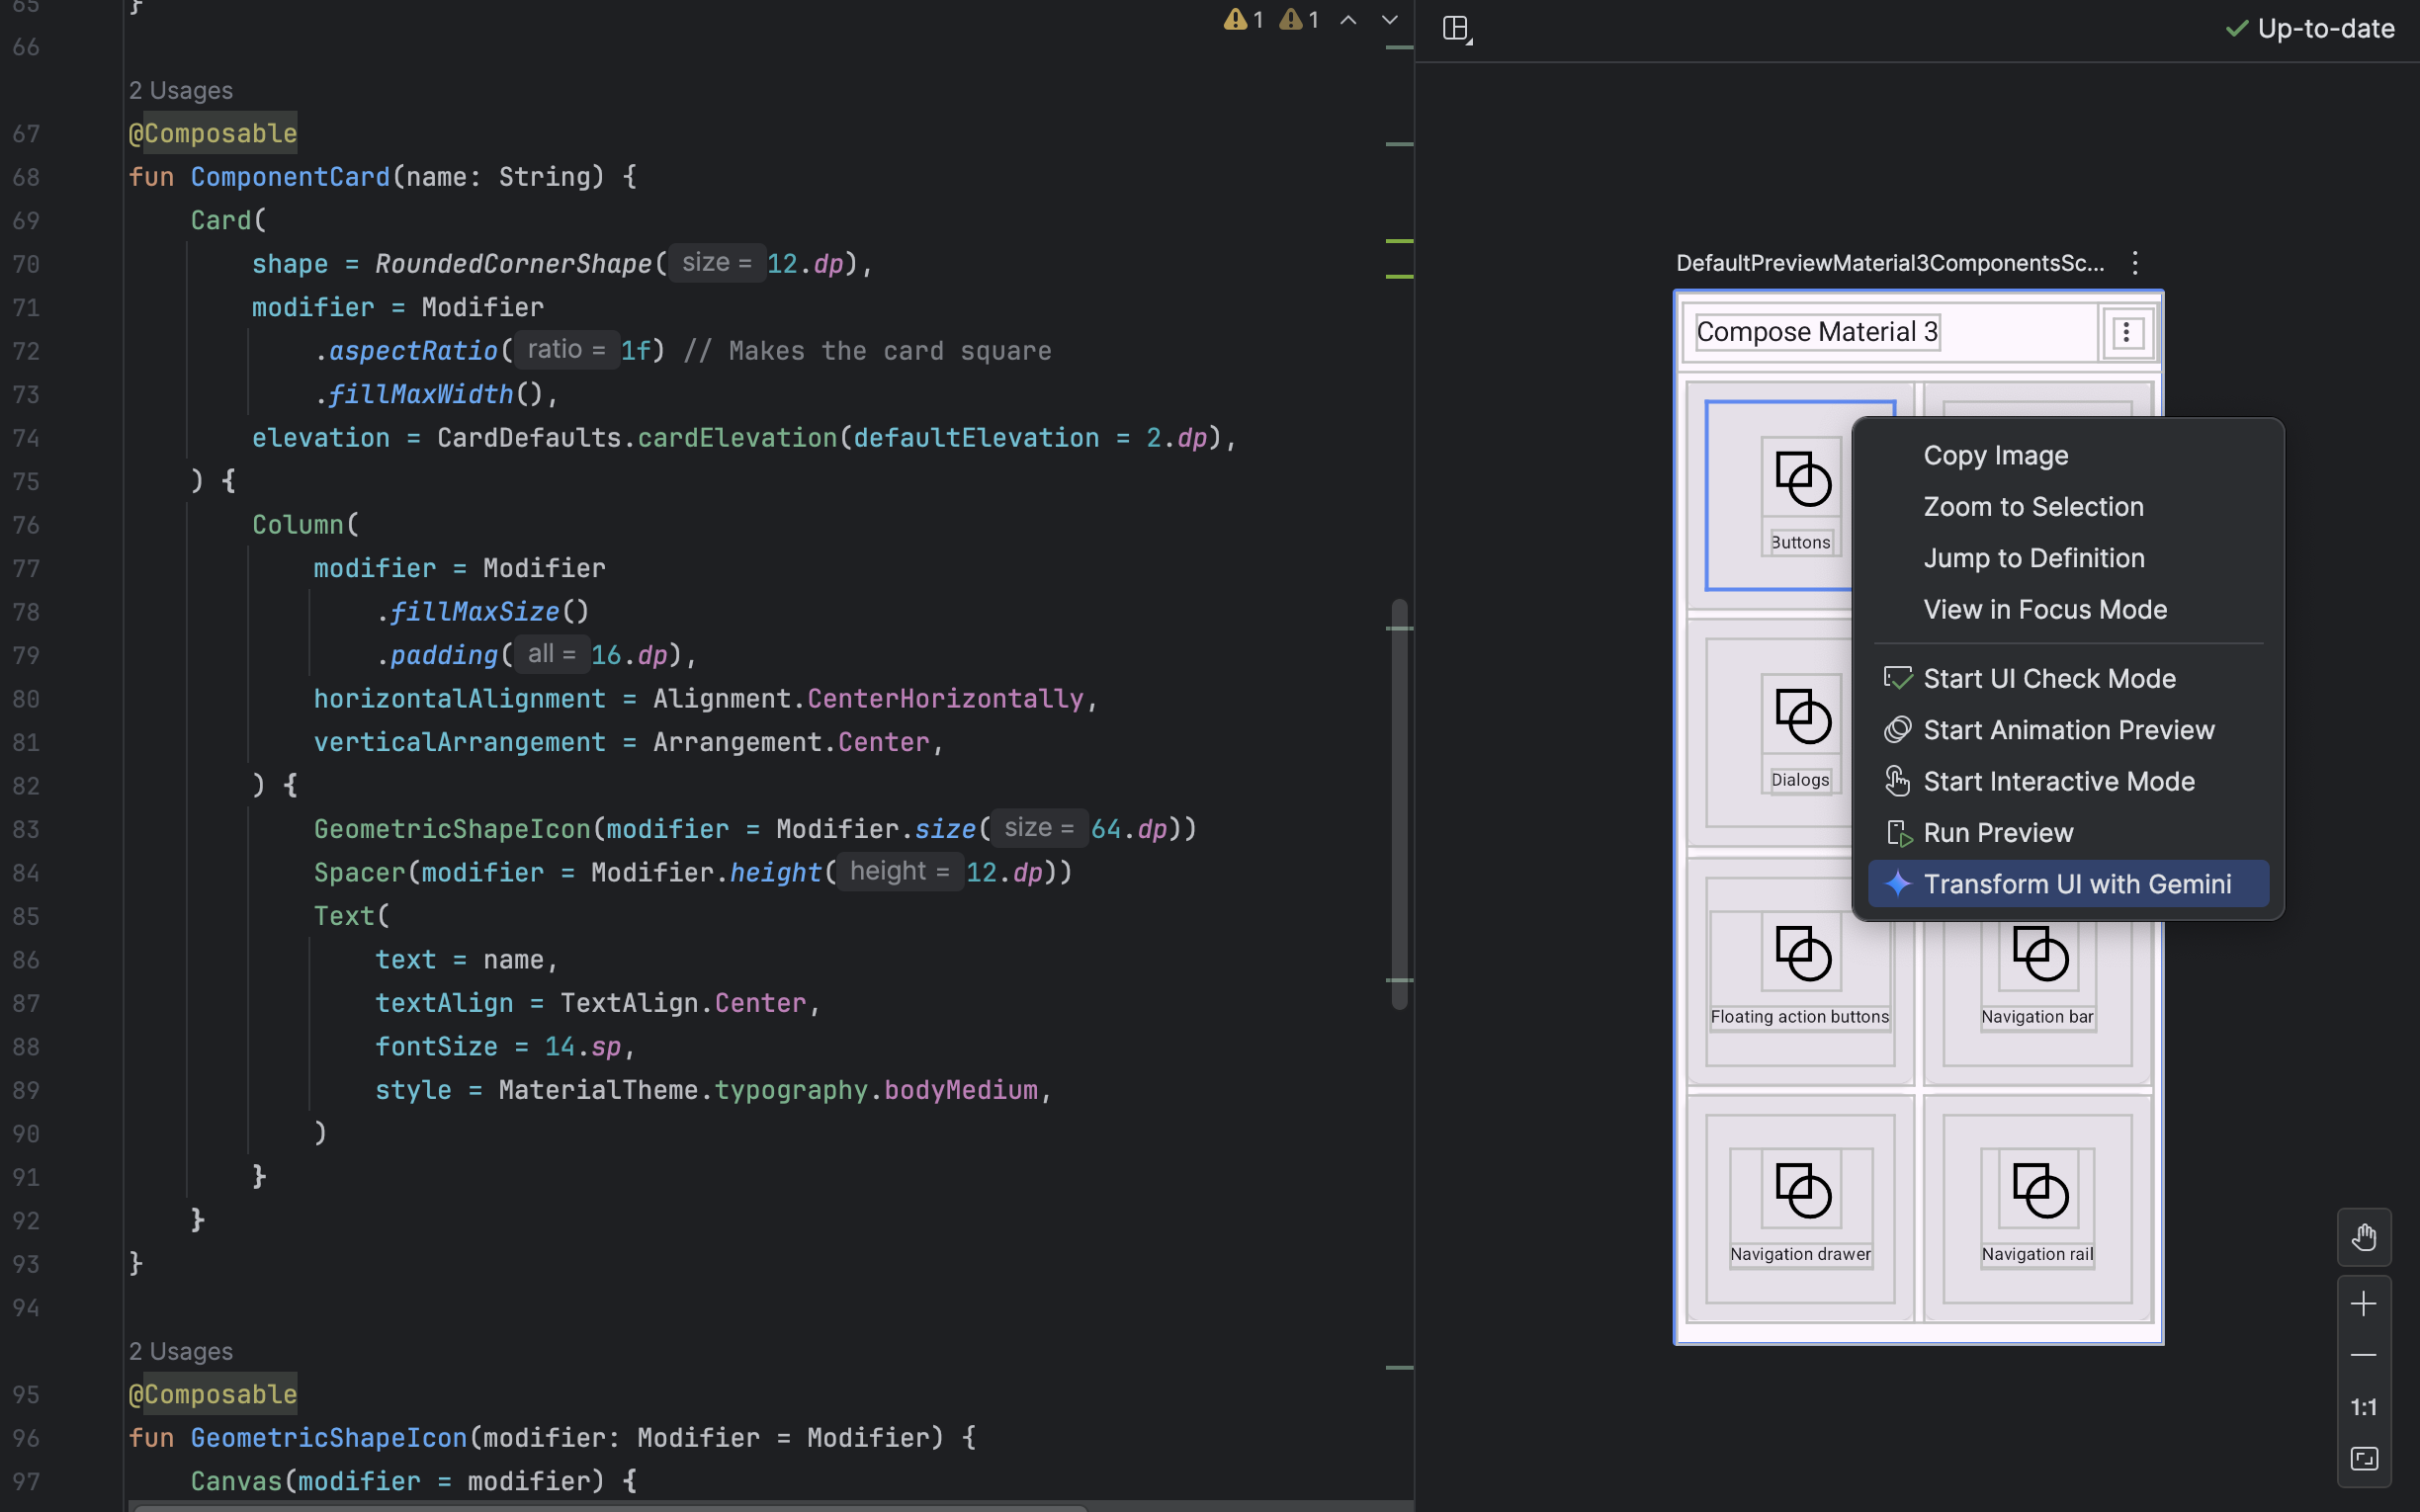
Figure 3: Using Gemini to transform UI elements directly from the Compose preview.