
Use the power of generative AI to accelerate your Android development workflow. The agent can help you go from an idea to an app prototype in minutes.
The agent reduces the time you spend setting up dependencies, writing boilerplate code, and creating basic navigation, allowing you to focus on the creative aspects of app development.
By default, the agent is highly optimized to scaffold modern, declarative UIs using Jetpack Compose.
What you can build
The agent is capable of generating a variety of apps:
- Single-screen apps: Build basic apps with static UI layouts, such as a profile screen, a settings page, or a calculator.
- Multipage apps: Create applications with basic navigation between screens, like a flashcard app for studying.
- AI-enhanced apps: Integrate Gemini APIs to add generative AI features to your app, such as a chatbot interface or a text summarizer.
- Apps with public API integration: Build apps that display data from public APIs, such as a weather app.
Get started
To use the agent to set up a project, do the following:
- Start Android Studio.
Select New Project on the Welcome to Android Studio screen (or File > New > New Project from within a project).
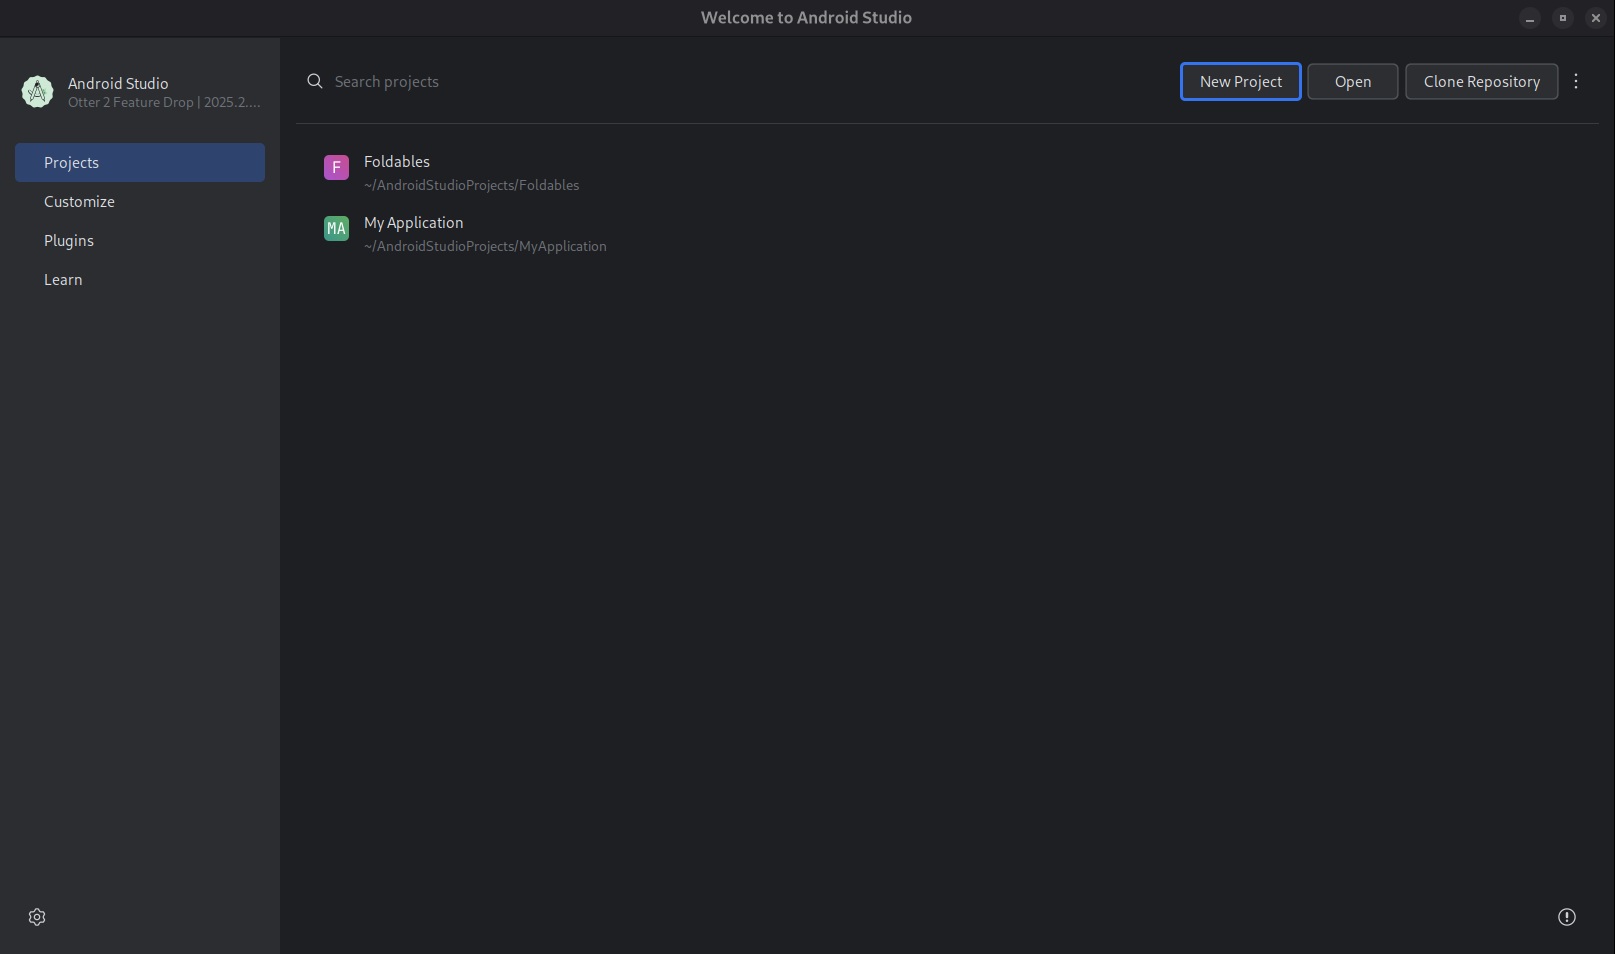
Figure 1. Start a project. Select Create with AI.

Figure 2. Select a project template or create your app with Gemini. Type your prompt into the text entry field and click Next.
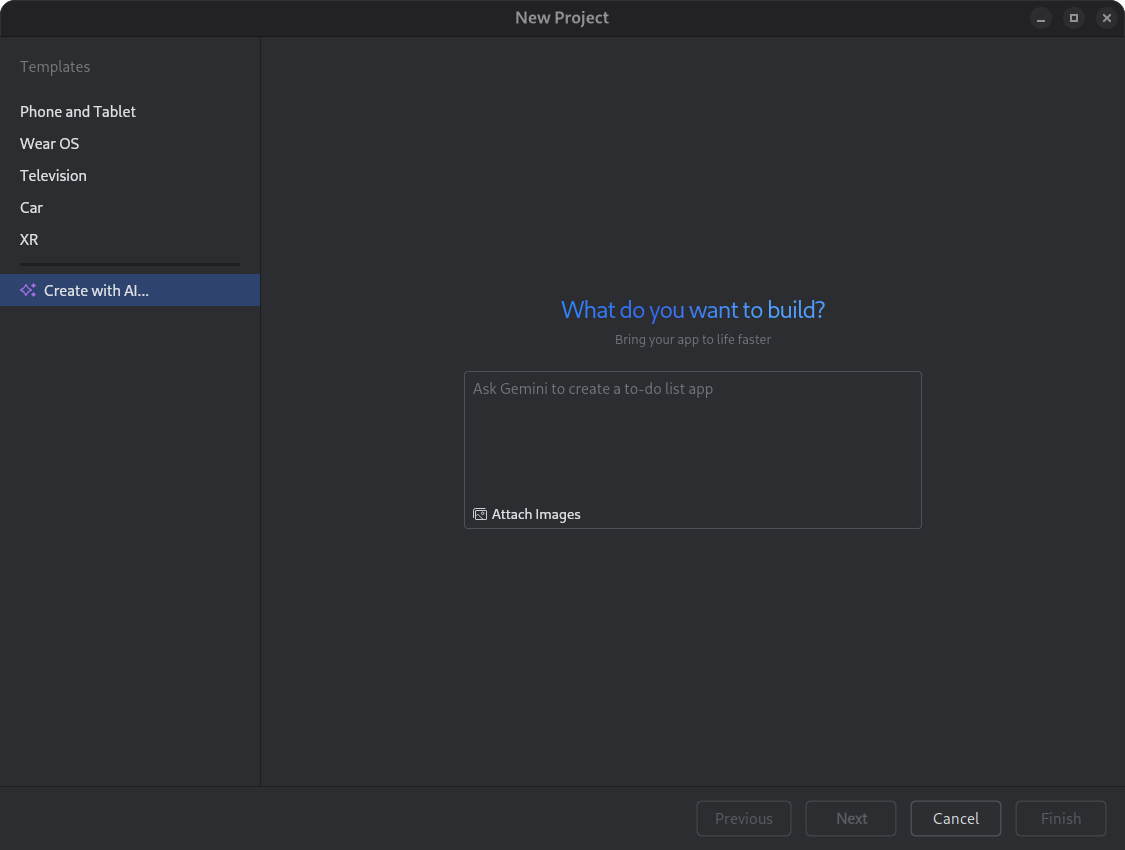
Figure 3. Dialog for setting up a new project. Name your app and click Finish to start the generation process.
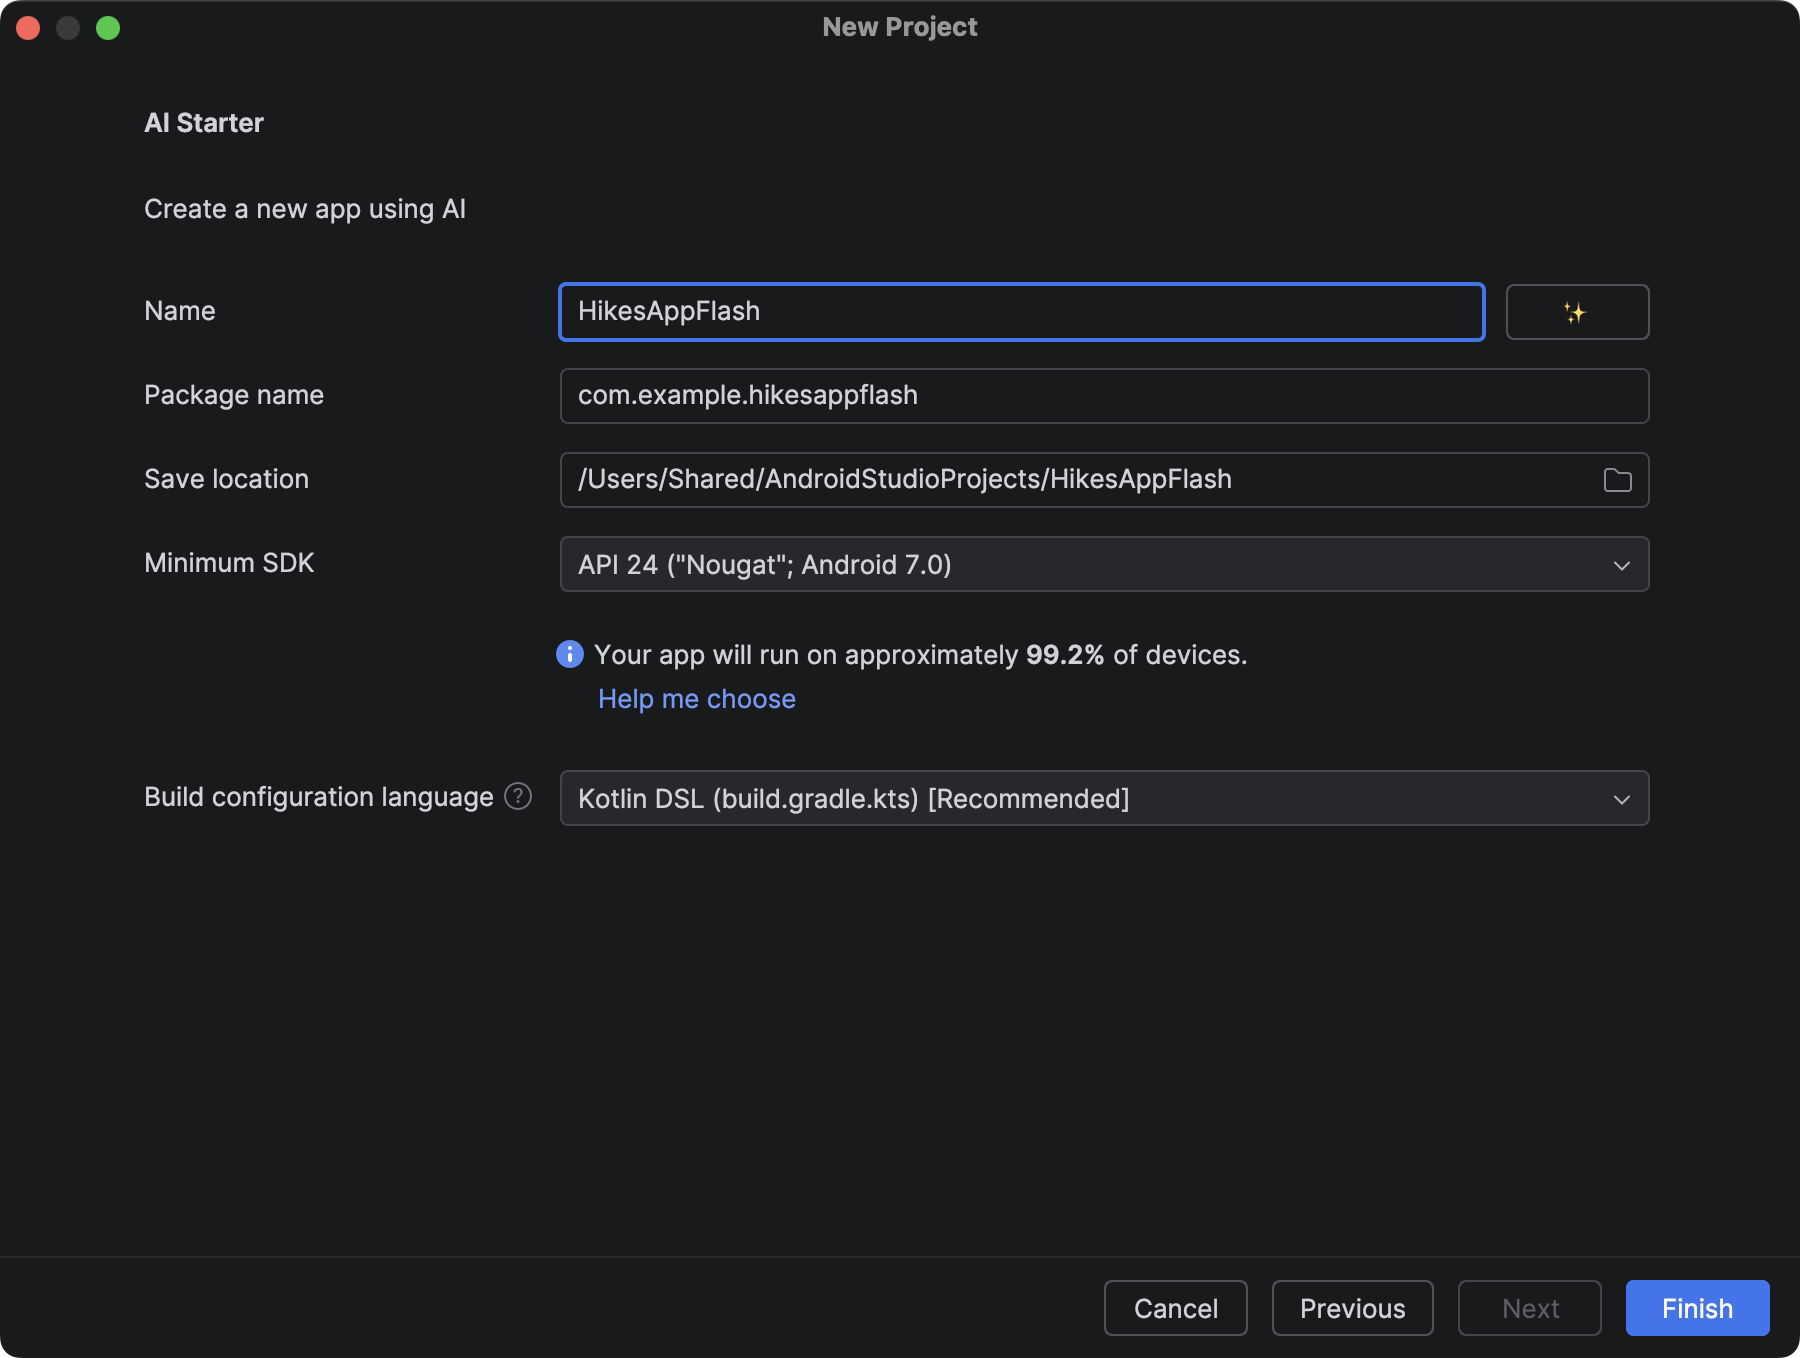
Figure 4. Dialog for naming a new project. Validate the finished app using the project plan and by running your app in the Android Emulator or on a device.
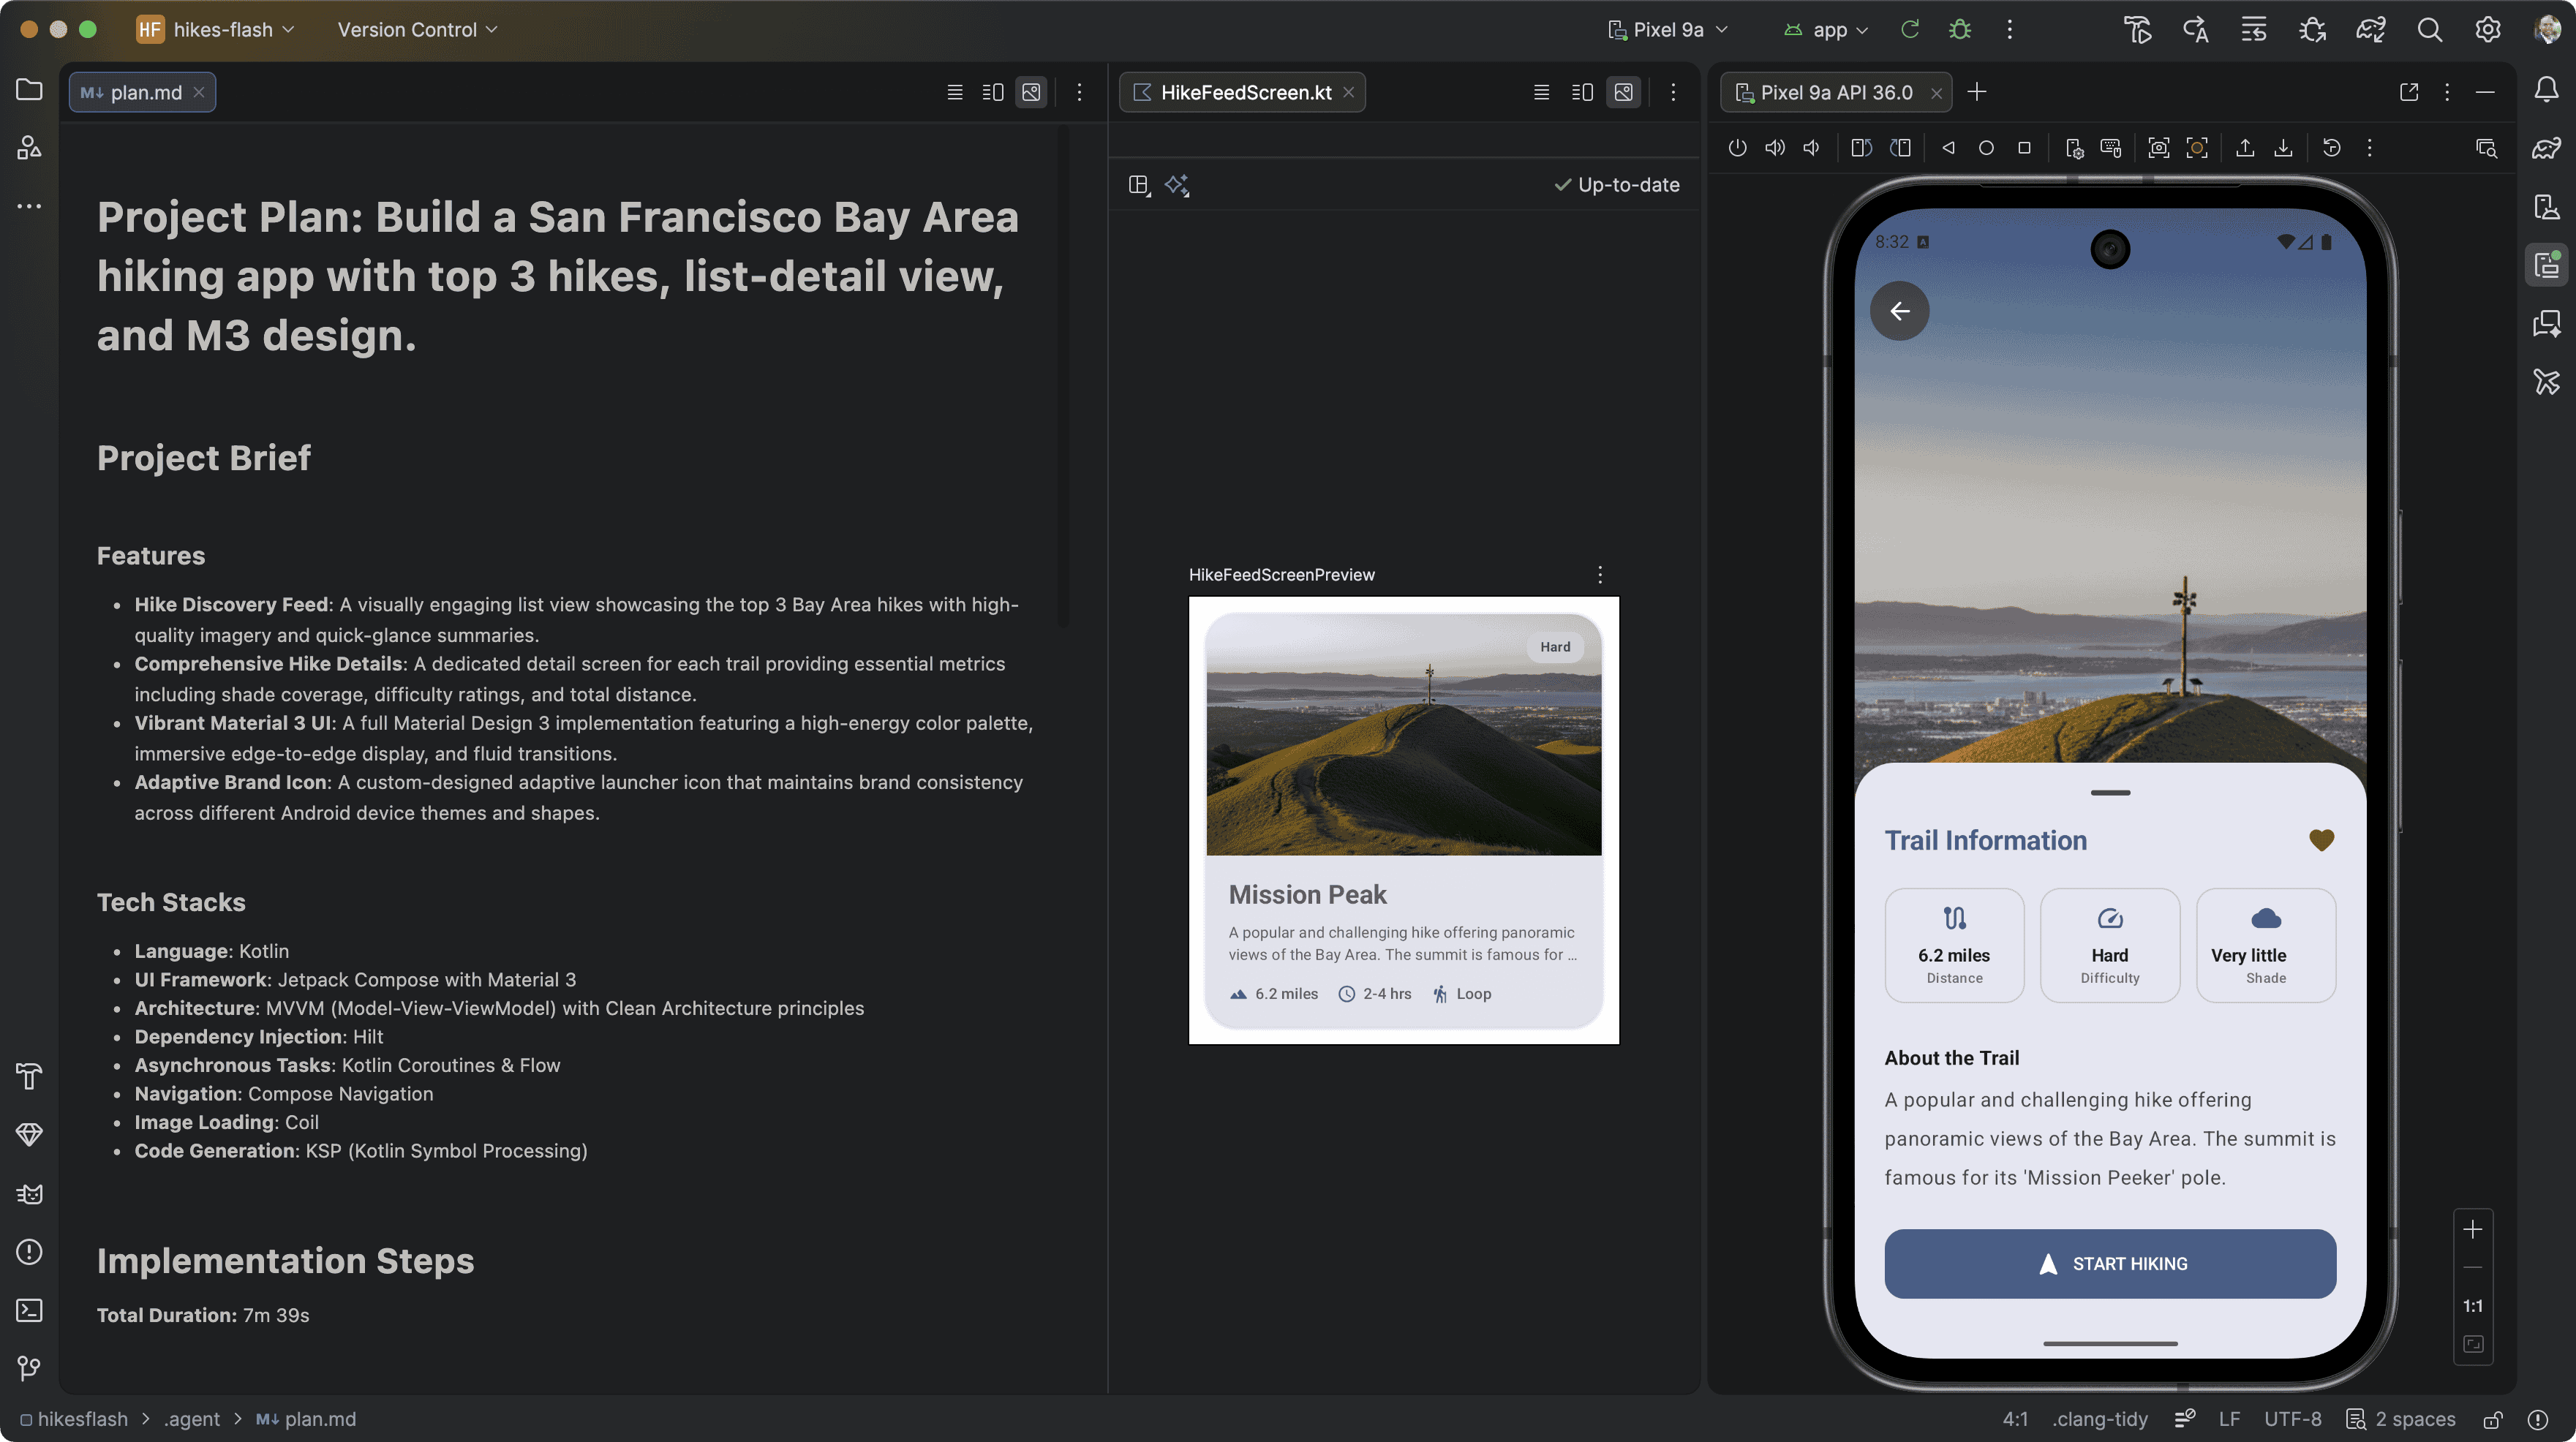
Figure 5. New app made from the New Project agent.
Enhance your experience with your own API key
While the agent works out-of-the-box using Android Studio's default (no-cost) Gemini model, providing your own Google AI Studio API key unlocks additional capabilities:
- Improved model performance: By providing your own API key, you benefit from priority access to the latest and most powerful Gemini models. These models offer superior understanding, code quality, and efficiency, leading to more accurate and comprehensive project scaffolding.
- Larger context windows: Your API key enables the use of longer context windows in Gemini. This means the agent can process more information from your prompts and provided files, leading to more nuanced and tailored project generation.
- Enhanced design generation: Providing an API key allows the agent to use Nano Banana to generate design mockups behind the scenes, significantly improving the look and feel of generated app designs. This results in more visually appealing and modern UI layouts within the generated project.
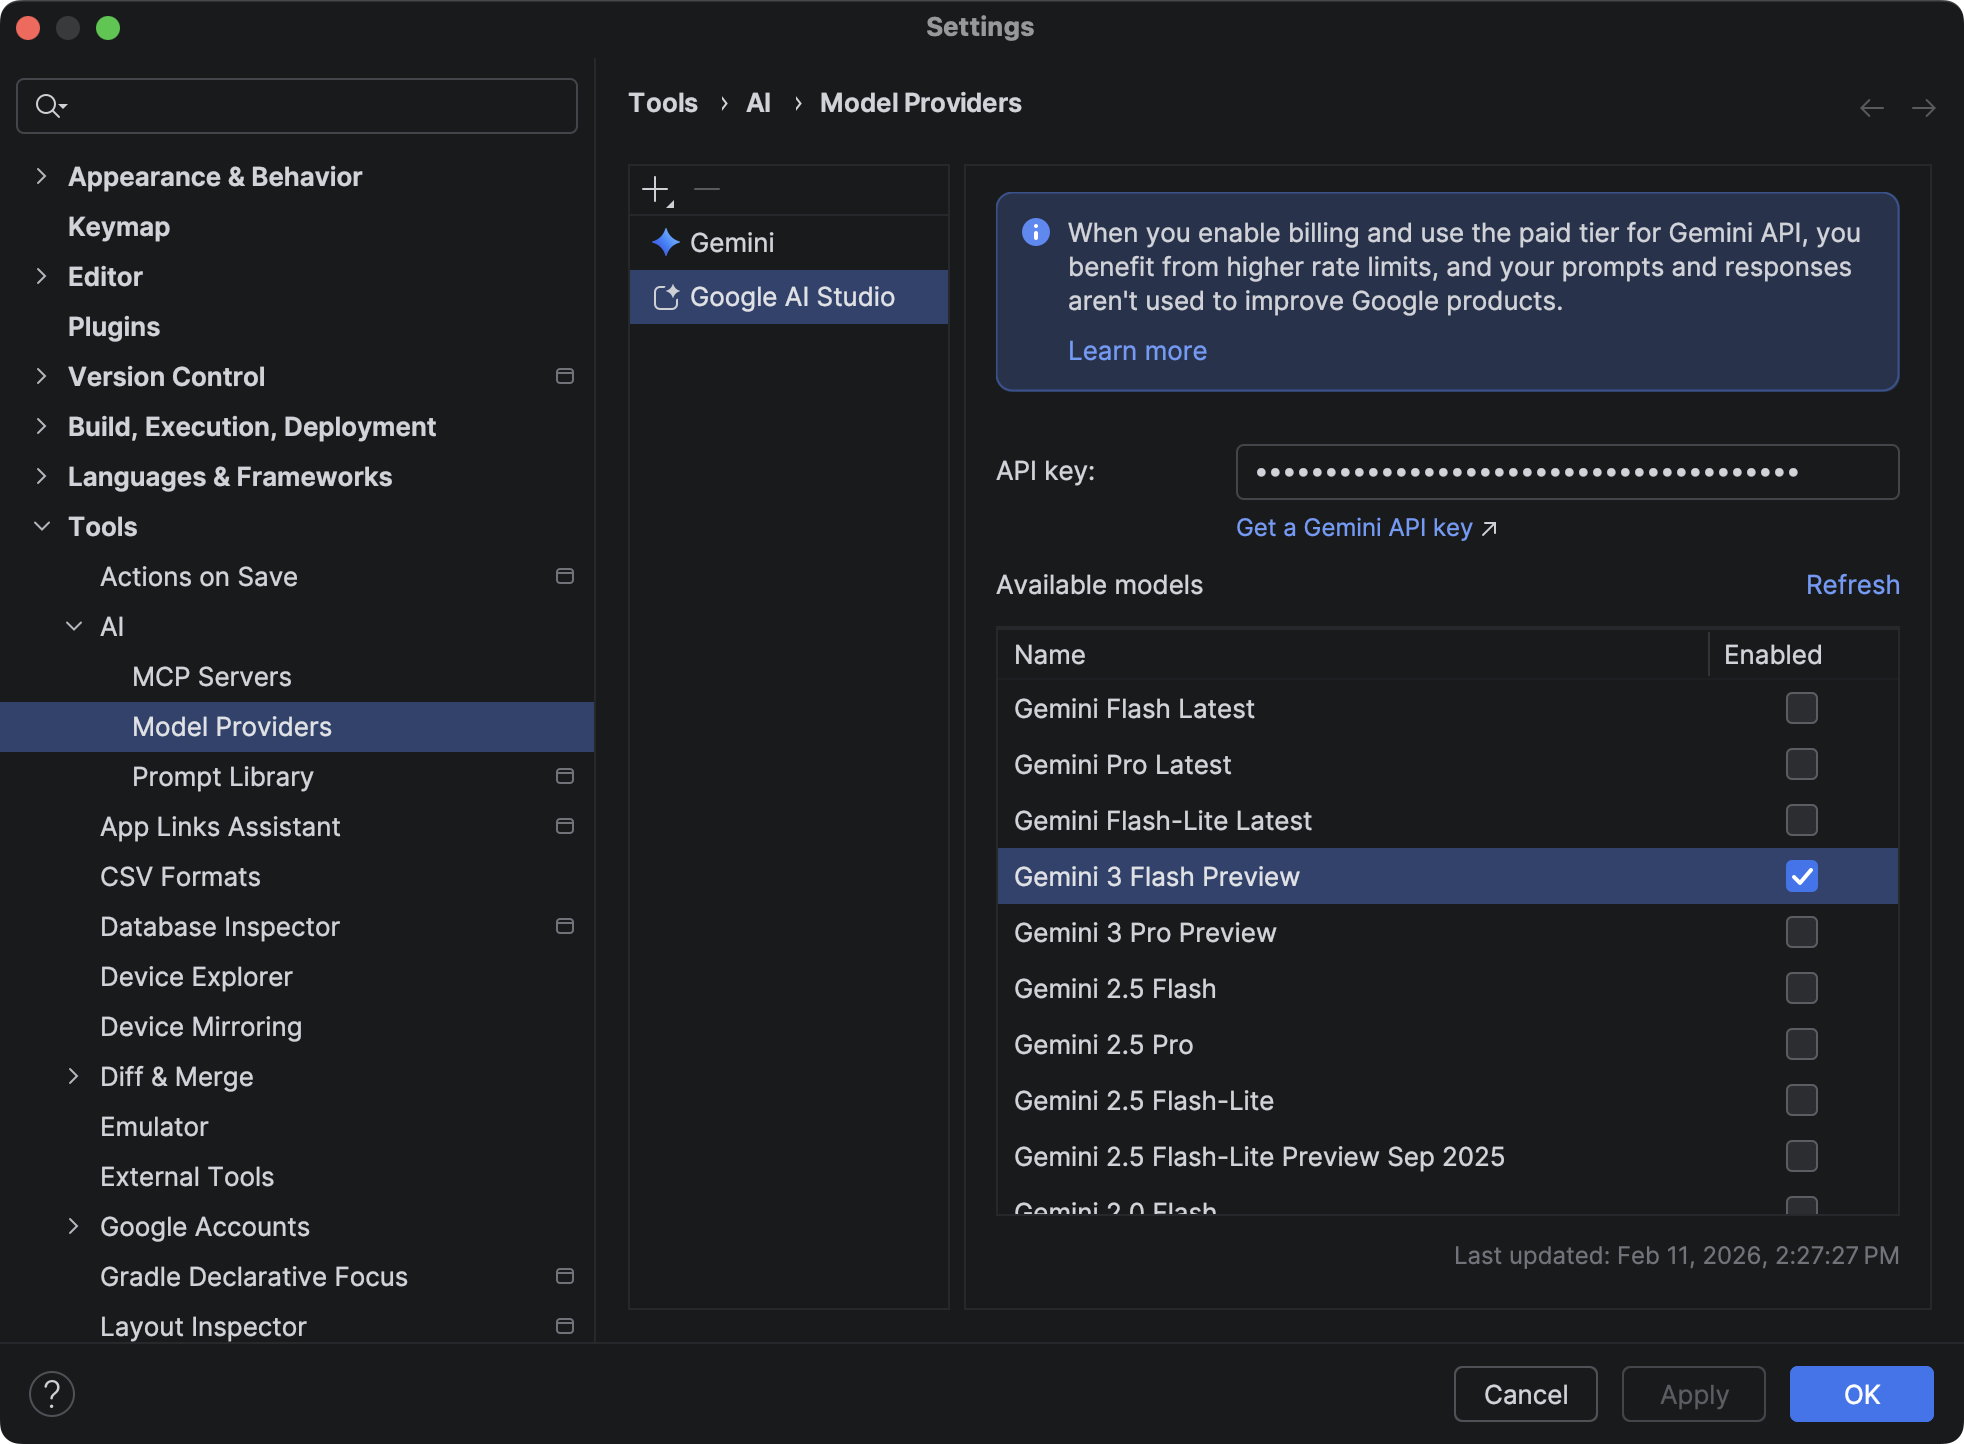
To use your own API key, navigate to Settings > Tools > AI > Model Providers in Android Studio, select Google AI Studio, and provide an API key generated from Google AI Studio. For more details, see Add your own Gemini API key.
How it works
The agent uses an iterative, AI-driven process to build your app. Here's what you can expect:
Describe your app: You start by providing a natural language prompt describing your app idea. You can also include images, such as sketches or mockups, to guide the generation process.
Review the plan: Based on your prompt, Gemini in Android Studio generates a structured plan for your app. You'll have the opportunity to review and change the plan or have Gemini in Android Studio propose another plan.
Approve and generate: Once you approve the plan, Gemini in Android Studio begins its autonomous generation loop.
- Generates the necessary code for all files.
- Builds the project.
- Analyzes any build errors and attempts to self-correct the code.
- Continues looping until the project builds successfully.
Tips for getting the best performance
To maximize the effectiveness of using the agent to generate new projects, consider the following tips:
- Clearly define project requirements: Start with a clear and detailed prompt. Specify the app's purpose, target audience, core functionalities, and any specific technologies or libraries you want to use. For example, instead of "Create a note app," try "Create a simple note-taking app, using Jetpack Compose and a Room database to let users add, edit, and delete notes. Use Material 3 with a vibrant color scheme."
- Specify Jetpack Compose: While the AI can generate legacy XML views if requested, we strongly recommend including "Jetpack Compose" in your prompt to get the most maintainable and modern UI code. If you are new to this paradigm, explore the Compose documentation.
- Use an AI Studio API key: Both code quality and the visual look and feel of the generated app are greatly improved when using the agent with an AI Studio API key to access the latest Gemini models.
- Upload design mockups: (Optional) If you have design mockups or wireframes from designers, provide them to the agent in the New Project dialog. Visual references greatly help the AI understand your intended layout and aesthetics, leading to generated code that more closely matches your design vision.
- Specify desired form factors: Clearly state which form factors you are targeting (for example, phone, tablet, Wear OS, Android TV). This helps the agent generate appropriate layouts and configurations for each device type. For example, "Generate a project for a phone and tablet, with responsive layouts for both." Verify that you have an appropriate emulator image configured for the agent to use during evaluation.
- Iterate and refine: Don't be afraid to iterate. If the initial output isn't perfect, refine your prompt or provide additional details in the Agent Mode chat to try again. The agent can learn from more specific instructions.
- Provide examples: If possible, include examples of similar apps or UI patterns you admire. This can guide the AI toward designs and structures that align with your preferences.